
A band of evil fey, led by a corrupt bralani, has raided an eladrin city and kidnapped several respected elders. The fomorian king claims the rogues don’t act on his behalf, but the eladrin city threatens the fomorians all the same. To prevent war, the PCs travel through the Underdark of the Feywild—a wondrous place filled with the beautiful and the horrifying—in search of the evil fey and their captives. Pgs. 96-101

In your many adventures since ridding the world of Sukits the Butcher you have heard whisperings of his boss in the area. The name Bromide the Wicked has been passed around as a greater threat to the freedom in the area as he is the slaver boss. The Plainsmen have given your party the general direction of this evil man and ask for your help in the matter. Is your party ready to deal with the slaver issue and take down the network of traffickers?

Ahoy, mateys! Join Captain Moonlight and her crew aboard the Dawn Chaser for swashbuckling adventures on the high seas. You'll fight pirates, tangle with storms, explore a ship wreck and confront an ancient power on a lost island! This easy-to-run adventure is designed for 3rd-4th level characters, and can be completed in 4-6 hours of play. This adventure was co-created with critically acclaimed DMs Guild author, Anthony Lesink. It includes several original maps by Daniel F. Walthall.

In the Yatil Mountains south of Perrenland there is rumored to be a magical hoard of unsurpassed value, a treasure of such fame that scores of adventurers have perished in search of it. Find the perilous Lost Caverns of Tsojanth and you may gain the hidden wealth of the long-dead arch-mage-- if you live. Module S4, this contains a brief wilderness journey to the caverns, but the bulk is underground. The caverns are noted as a previous lair of the Arch-mage Iggwilv- though she is long gone, her Demonomicon remains. This module marks the first appearance of several monsters and items that would later appear in the Monster Manual 2 and Unearthed Arcana. A labyrinth features in the caves. TSR 9061
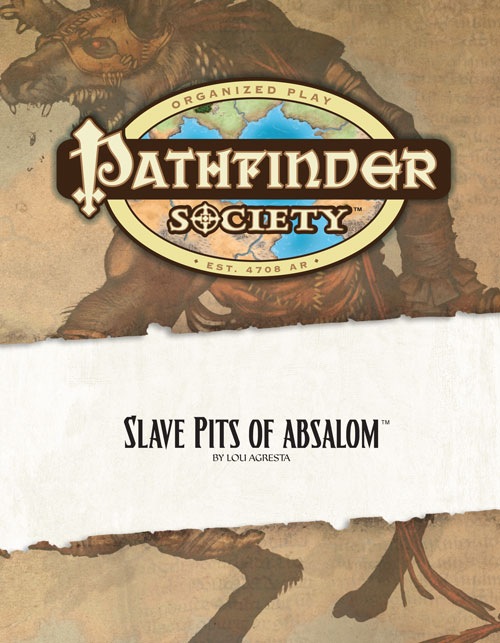
Someone kidnapped Lady Anilah Salhar—the Chelish wife of Dremdhet Salhar, one of Osirion's many Grand Ambassadors to Absalom—and sold her into slavery. With Salhar holding delve permits over the heads of the Decemvirute, the Pathfinders are sent to assist the Osirian Ambassador. Venturing into Absalom's darkest corners to save Lady Anilah, the Pathfinders must face the secrets of the Slave Pits to avoid becoming slaves themselves.
In the frozen wastes, one can find wealth, beauty and one's own death. A deadly hunt deep in the arctic wastes Pgs. 11-26
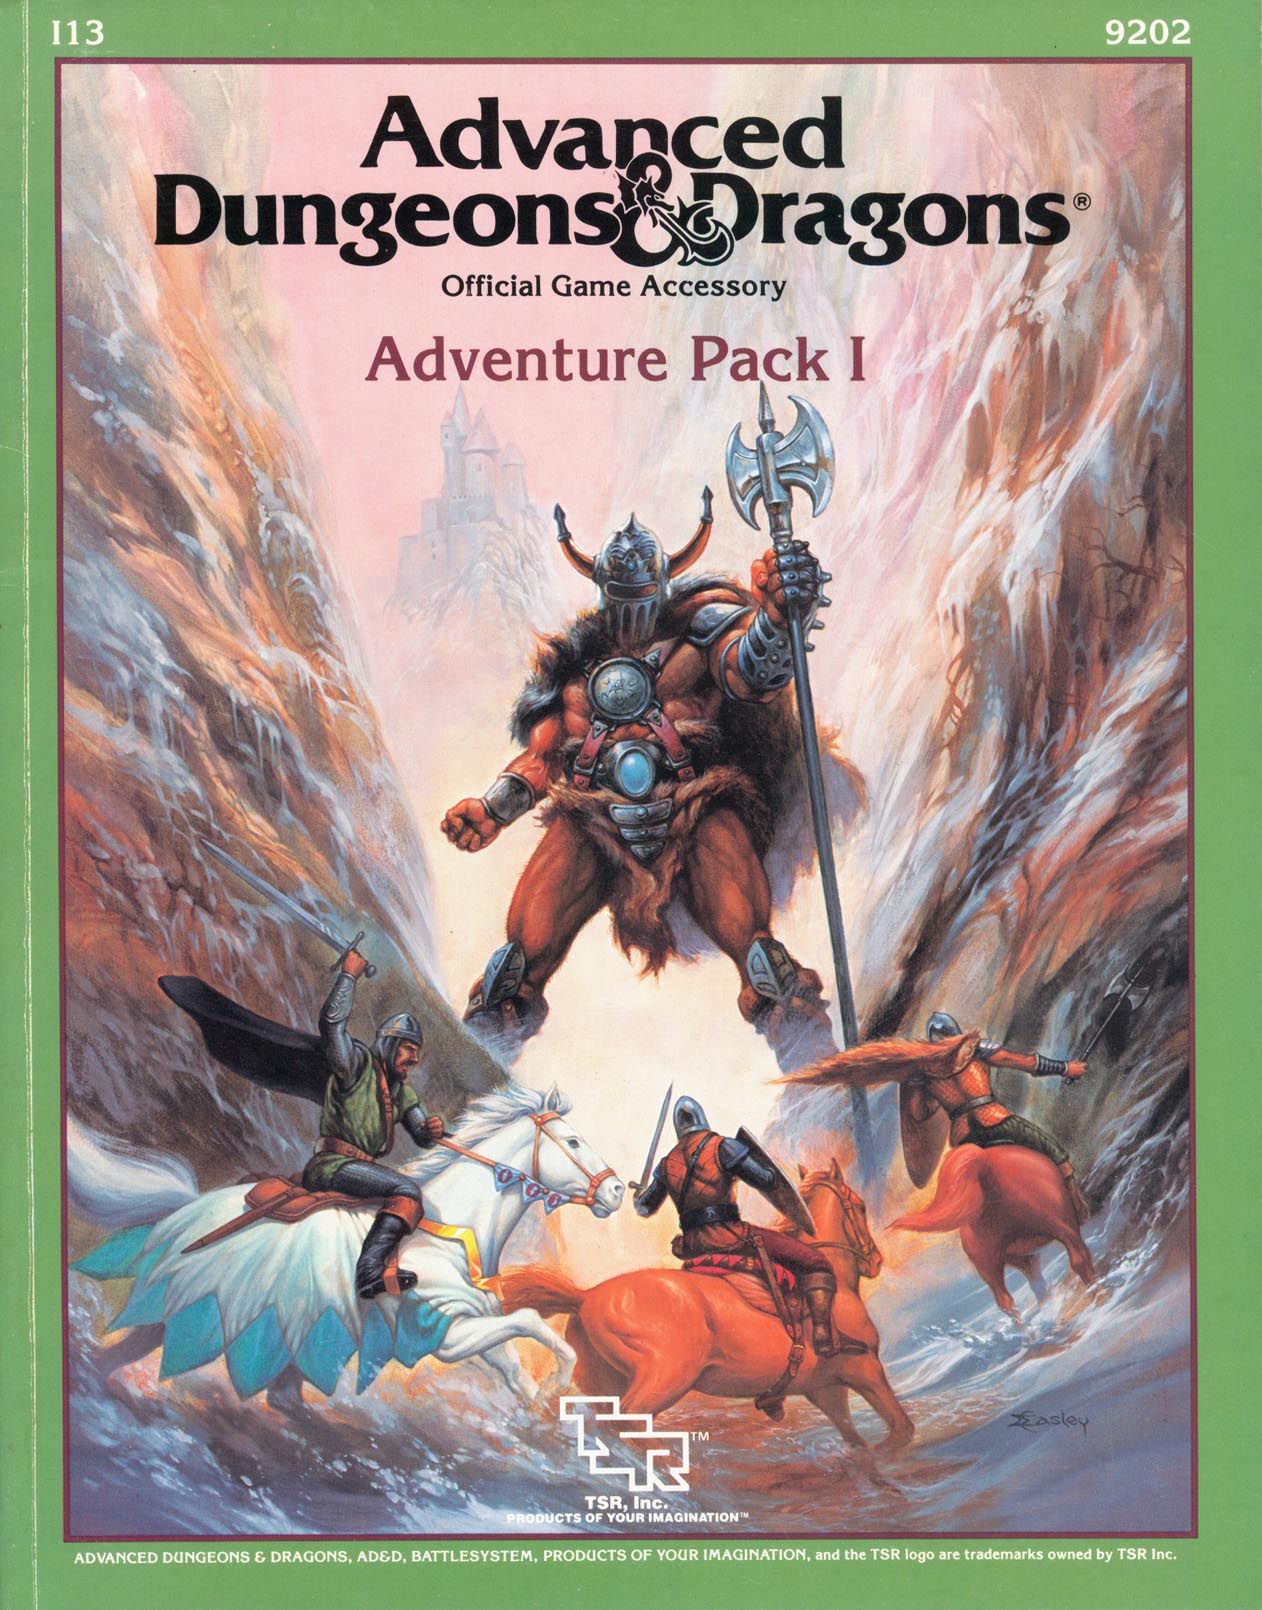
Two head-strong sisters and a dying giant all have something in common: they need help only adventurers can give. It seems there's this little problem. Included in I13 Adventure Pack I - https://www.adventurelookup.com/adventures/i13-adventure-pack-i TSR 9202

The enemy you hunt may not be the enemy you find. A midnight encounter with a halfling guerilla and a vengeful magic-user. Pgs. 33-38

While the name Codic Keep used to have prestige associated with it in the past, it is now a crumbling fortress blasted years ago by a large tornado. Now the ruin sits next to a swamp and is pretty much left ignored. Recently word has reached Feastelburg that strange lights have been noticed near the keep and many have wondered if the wanted criminal relative has returned to reclaim the property. Wanted posters of “Si” Codic have been circulating for quite some time with a reward of 1500 gp for his capture. Who’s up for a swamp trip?

Delve into the depths of the tomb of the long forgotten elven king to bring the eternal peace onto its disturbed dwellers. A 4-hour adventure for two 4th level characters. Small Party Adventure: Though the party size of 3–5 characters is considered optimal in D&D, there are times when you can only gather one or two players at most. This adventure is designed exactly for such occasions.

Designed for a party of five characters of at least 9th level, this adventure will challenge players seeking a powerful magic item of the GM’s choosing. A sphere of annihilation has been provided and is woven into several elements of the adventure, but any appropriately powerful item can be substituted if something else suits your campaign better. Though the adventure is designed to test every type of character class, a rogue who can deal with traps is essential, as is a wizard or sorcerer of at least 9th level. Larger groups will have an easier time; parties of four or fewer characters will be in for a very bad time unless you mitigate some of the tower’s more lethal traps and encounters. This adventure culminates in an encounter with devils and a sphere of annihilation. The sphere of annihilation is hidden deep within the tower-and-dungeon complex of Crane the Sorcerer. Originally set atop a high mountain in a secluded and wild part of the world, the tower and dungeon can be relocated to meet the situation in your campign. Crane, an introvert, stayed as far away from civilization as possible, as is detailed below. The tower above the dungeon doesn’t present many difficulties for a group of powerful characters or alert players. It might lull PCs into a false sense of security before they enter the areas where they’ll really be put to the test.
The characters arrive in Thaliost, a city rife with unresolved tensions from the Last War. Through danger and discovery, the party will discover that the Lammanian artifact they were sent to escort back to Sharn has been stolen. They’ll have to track down the thief, who jumps onto the Five Nations Express, House Orien’s flagship lightning rail service, in a bid to escape to the Eldeen Reaches and open a gate to apocalypse.

As the adventurers depart Honeyfest to go on their next adventure, one or more of the characters may suddenly come down with a terrible sickness. To make matters worse, as they make to leave town (or visit the local apothecary), the market square is suddenly thrown into chaos by a plague wizard and his pet otyugh spreading filth!
Two Red Wizards of Thay have undertaken a secret mission into the High Moors east of the Sword Coast. They are searching for something or someone. Whatever their goal out there in the cold and windswept hills, if the Red Wizards want to keep it secret then it is probably best uncovered swiftly for the good of everyone else. Even the mercenaries who escorted them into the wilderness earlier agree: someone should stop them. Pursuing the Red Wizards leads the adventurers to a barrow mound in the wild grasses of the High Moors. At the barrow, they discover the remnants of a wizards' sanctum still being plundered. The fate of its lore and treasures is up to the characters. Without caution, things may get out of hand. This Dungeons & Dragons adventure is written to suit four to six characters of 8th level. With this text and the core D&D manuals, you have everything you need to play. You may also benefit from the Sword Coast Adventurer's Guide to learn more about the High Moors of Faerûn. Made for the Magic: the Gathering set "Adventures in the Forgotten Realms".

The exciting artifact series concludes with AS3 – Peregrination. With a pair of control rods in hand you are guided to an ultimate prize, a Gnomish flying vessel! The rods have directed you to a crashed ship buried in the sandy beach. A check of the debris sheds light on the mystery of the artifact and a description of how to repair the intricate machine. Apparently finding the vessel is just the start!

This AD&D scenario is designed to be a humorous departure from regular adventuring. The "heroes" are a fellowship of monsters on a quest to recover a magical item for an orc chieftain whom they have displeased. Having lost the map given to them, they must gain entry to a frontier outpost - probably by sneaking through sewers - and recover the map from a locked safe in the commanders quarters. Once they again have the map, the monsters must travel overland to an abandoned elven witches' temple on the shore of a mountain lake, where they will find the object of their quest. Pgs. 23-32

Whilst spending time in Doorstep, the settlement that has grown up around the gates of Gauntlgrym, the town is attacked by an overwhelming force of orcs and you are pushed back into the city. You and your companions are offered an opportunity to escape the mountain through the trap laden, kobold infested, Red Wing Warrens and get help for the besieged city.
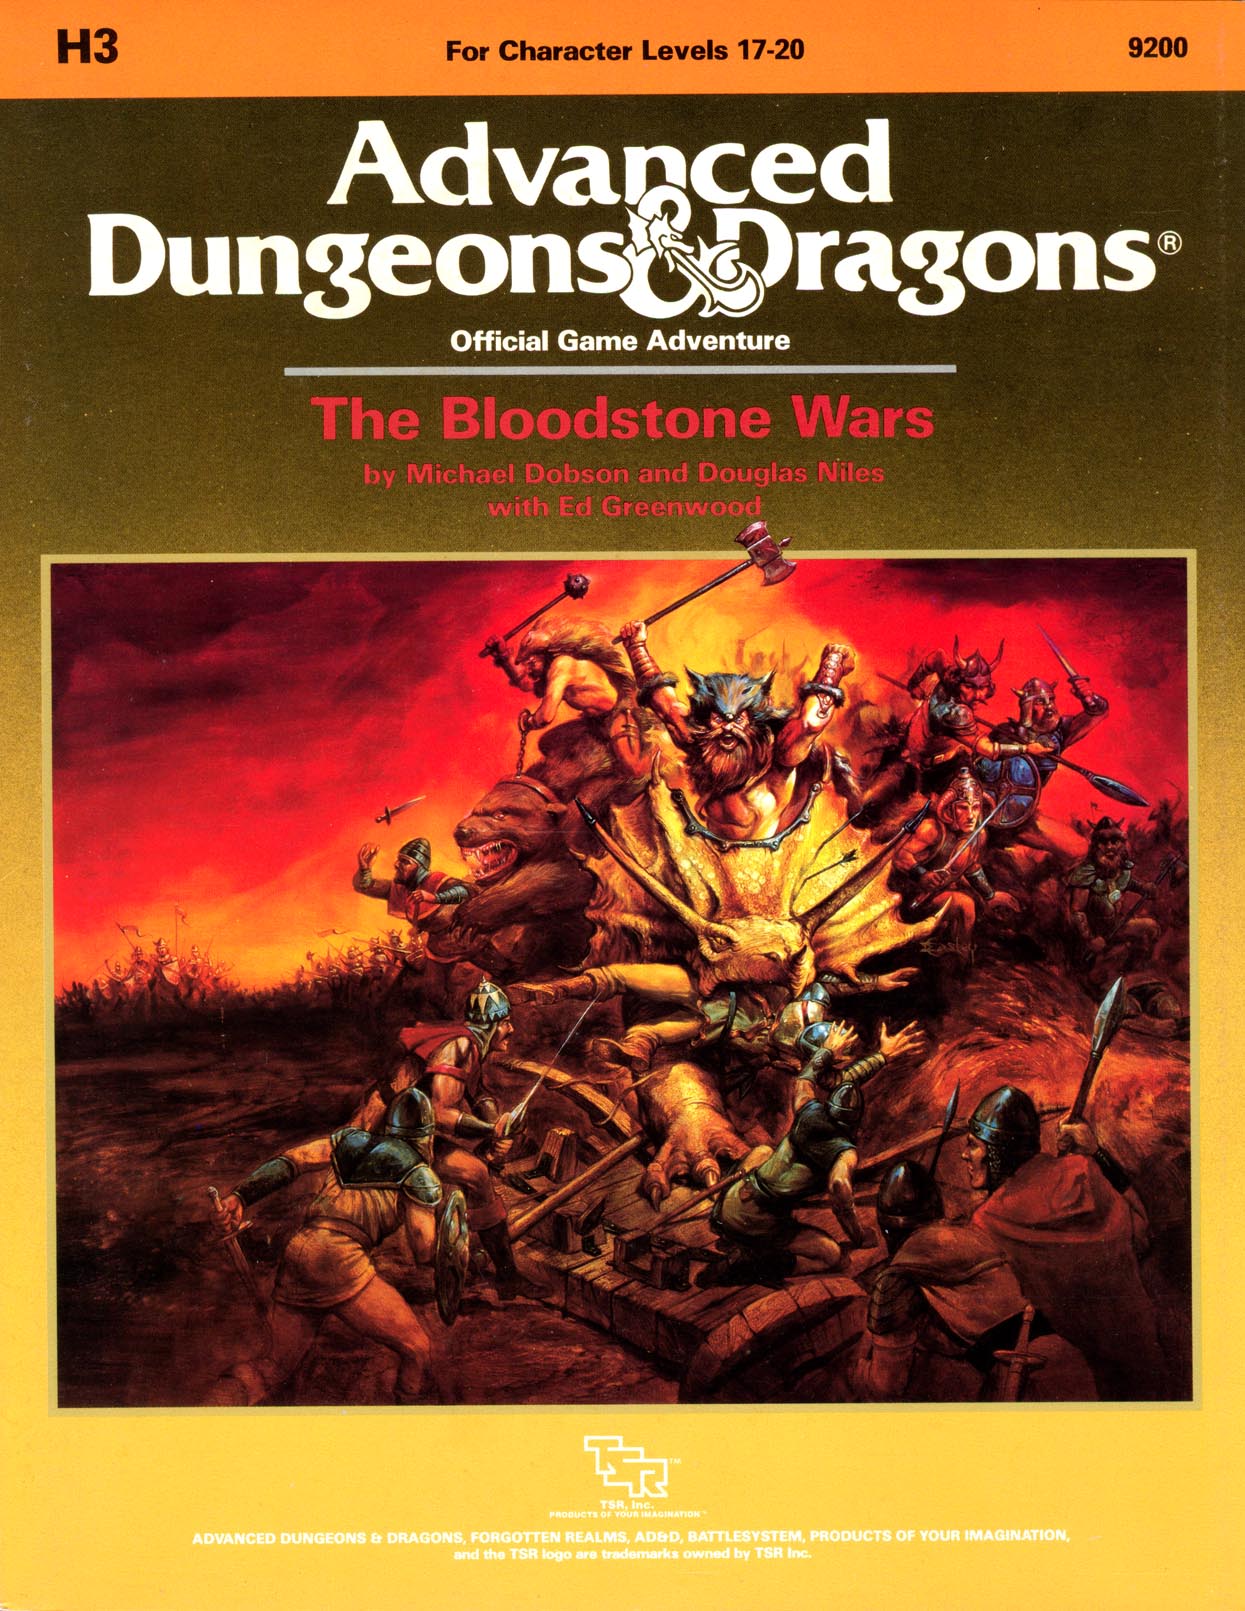
What strange role does Orcus, Prince of the Undead, play in the invasion of the peace-loving Damara? And what interest does the Grandfather of Assassins have in the tiny barony of Bloodstone Pass? With this adventure, your player characters inherit an entire barony - with a recently-reopened mine that produces immense wealth. Wealth enough to attract the dangerous attention of their neighbors...wealth enough to attract the attention of the Witch-King of Vassa...and Orcus himself! Now, your tiny barony is the pivotal point in a war that threatens to engulf the entire Forgotten Realms. Take command, and defend yourself against the encroachment of the evil, demonic forces of the nightmare realm of Vassa. A large, four-color map of the region makes your new realm come alive. Wild and wooly BATTLESYSTEM scenarios (with options if you're not into miniatures) give you the full range of battlefield excitement! Come learn why high-level AD&D game play can be much more than just monster bashing. The Army of Bloodstone wants you! TSR 9200

This adventure can be used as stand-alone or continuing the arc started by Death in Freeport. Terror in Freeport leads the PCs deeper into the intrigue they began to glimpse in Death in Freeport. The investigation takes them from the corridors of power to the bowels of the underworld, with terrifying insights into who really controls the city. They discover that the Brotherhood of the Yellow Sign has its claws in the town's power elite, but thanks to some clever camouflage by Sea Lord Drac. they may not find out just whom the serpents control until it's too late. As the adventure begins, the PCs are contacted once more by a very nervous Brother Egil. He tells them that while staying with Lucius one evening, he awoke to find a burglar in the roomstealing a scroll. Egil is certain that the Brotherhood have penetrated further into Freeport than anyone imagines. He wants the PCs to investigate Milos's other ties to the city and find out what's being done about the temple of the Unspeakable One. The PCs search the cultist's lodgings and discover it has been carefully gone over, and several possibly incriminating books are missing. But the burglars overlooked one thing: a Tome with a diagram of the Lighthouse of Drac sketched onto the back page, marked with the letter V. Upon leaving Milos's lodgings, the PCs come upon a gang of orcs beating up a hapless messenger. They lend a hand, only to discover they've been tricked - the messenger makes off with Milos's book! A chase through the back streets leads them to the boarded-up building the y discovered in Death What they find isn't encouraging. There is a guard posted out front, courtesy of "V"- -Verlaine. head of the Captains' Council. Meanwhile, down below, the cultists continue to have the run of the caverns-— in fact, they have been shipping their unholy relics to Verlaine's own home!
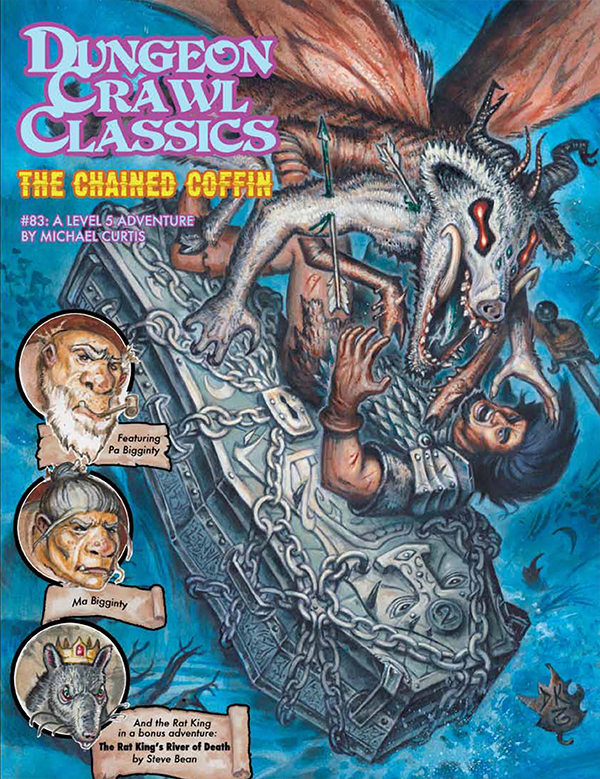
A whispered voice calls from a coffin bound in chains, urging the heroes into the depths of the Shudder Mountains, a place rife with superstition and forlorn secrets. In the shadowy, pine-grown valleys of the Deep Hollows lurk mysteries of a bygone age and a new evil emerging from the ruins of the past. The adventurers must plumb the mountains’ secluded reaches to root out this rising terror before its power comes to fruition. Standing in their path are cackling witches, subtle devils, lingering spirits, and a foul thing that moves in the night. Can the heroes appease that which lies within the Chained Coffin and thwart the dawn of a new and terrible age?