
SB16 – Zagzon’s Vault has an upper level (16th) group of PCs discovering an old tomb being discovered by a group of Halfling children. The remains of an evil necromancer lies within but he’s not quite “dead” and neither are his followers that were also entombed with him. Traps, tricks, and hurt lie within this adventure and it is not for the faint of heart!

This short adventure is set in the Forgotten Realms campaign setting; it may be run as a standalone adventure, or as a side trek for a larger module . Alternatively, this adventure could be inserted into any campaign setting. Trouble is brewing near the town of Red Larch; specifically, in the caves near Lance Rock. A few good adventurers are needed to investigate the increased orc and ogre sightings in the area.
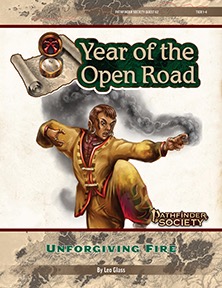
Venture-Captain Rashmivati Melipdra has called for a group of Pathfinders to travel to Jalmeray and assist her in retrieving a stolen relic. A former member of the Monastery of Unblinking Flame, Melipdra was in the process of negotiating with the monastery for custody of some of their most ancient and historically significant training devices. Before the deal could be completed, a rogue monk stole one of the relics and fled the monastery for the island of Veedesha. There, the monk seeks to use her training and the stolen devices to create a new competing monastery. As the PCs travel to a lawless island controlled by bandits and martial artists, they must find a way to retrieve the stolen goods from the new master of the Monastery of Unforgiving Fire.
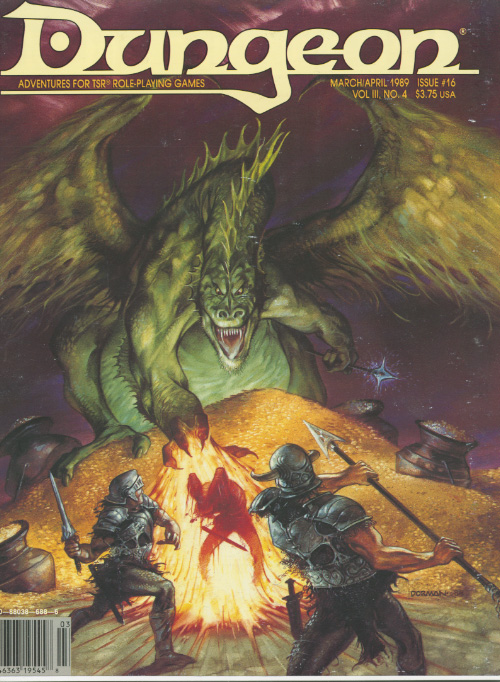
The giants are only a half-mile away - straight up. Giants and humanoids that sail down from the heavens? Where could they be coming from? No base town or general area map has been provided, as this adventure can take place anywhere and can be easily integrated into any existing campaign.The DM should make sure that the town in which the PCs start is large enough to provide most anticipated supplies, spells, and services. This module is not a simple hack·and slay expedition. It also involves diplomacy and wit; if the PCs attack everything in sight, they may be destroyed. But the adventure is not entirely negotiation, for it has a good share of hearty dungeon exploration as well. Pgs. 4-23
A very big problem from a very small source. Pay the toll or feed the troll' seems pretty obvious. Too bad that it isn't. A tricky gnome has used illusions to fleece anyone crossing a bridge, posing as a fearsome troll. To direct more traffic across his bridge, he has also set fire to the Great Bridge downstream. The players find the Great Bridge burned and follow this detour. At the bridge, the players will fight with the illusory troll. After a few rounds, it flees back to the gnome's lair under the bridge, and the players will need to deal with a combination of the gnome and his traps if they investigate. Pgs. 22,23 & 69
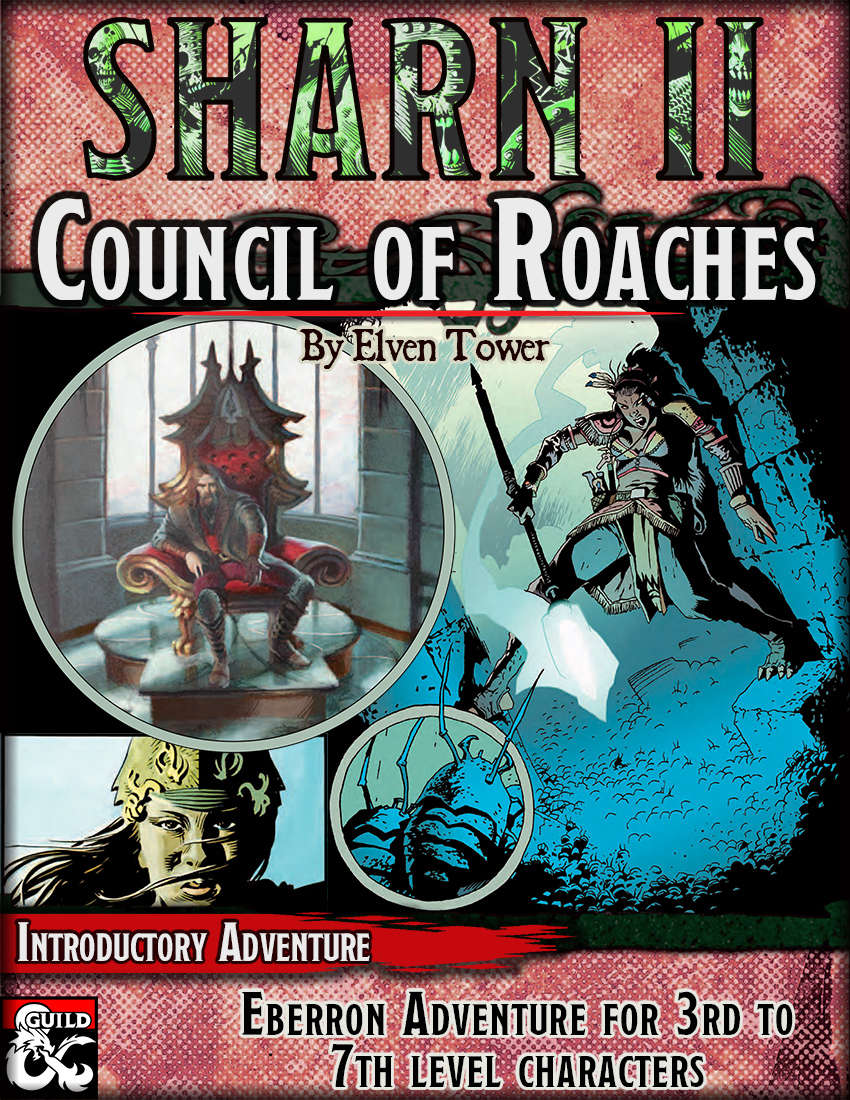
A roach thrall has infiltrated Sharn's highest circle of power, the council, and few have noticed. It's up to our adventurer's, with a little help from a perceptive councilor, to rid Sharn of the growing infestation.

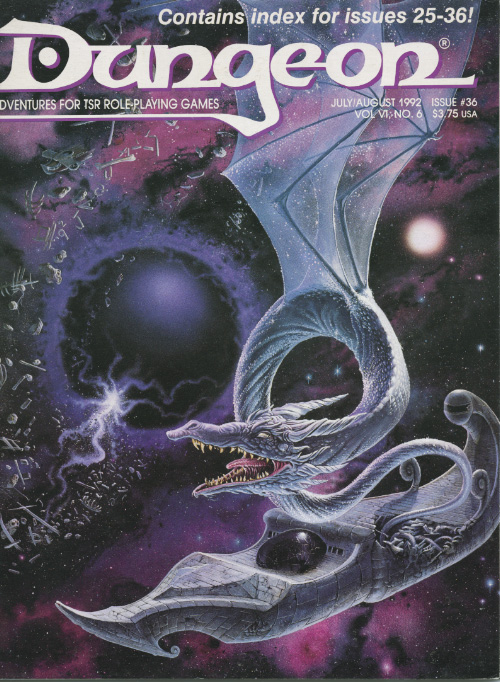
Once every decade, the tides of the Empyrean Ocean recede far enough to reveal the highest eaves of a mysterious undersea tower. Long ago this was an eldritch fastness of Sezrekan the Elder, the most wicked wizard ever to plague the Known World, but now the tower is known simply as the final resting place of the fabled Black Pearl – an artifact rumored to bring doom upon all who dare to posses it. Tonight the moon nearly fills the sky, and the tides have already begun to recede. Adventurers have eight short hours to explore the tower before the dark waters return. The fabled Black Pearl will be theirs for the taking…if they can survive the Pearl’s curse.

The hidden masters of the Ebon Triad have something special planned for the culmination of the Champion’s Games: a foul ritual designed to transform the arena into a stage of enormous carnage to honor their dark overgod. To stop them, the PCs must explore the dark complex of the arena’s master, and destroy his pet monster before it’s too late. An Age of Worms Adventure Path Adventure for 9th level characters. "The Champion's Belt" is the fifth installment of the Age of Worms Adventure Path, a complete campaign consisting of 12 adventures, several "Backdrop" articles to help Dungeon masters run the series, and a handful of poster maps of key locations. For additional aid in running this campaign, check out Dragon's monthly "Worm Food" articles, a series that provides additional materials to help players survive this campaign. Check out issue #337 of Dragon for guidelines on what they can purchase in the Free City. Pgs. 30-62

Who is the dying woman? Where is the lake that can save her? Even ladies in distress aren't all that they seem. Ideally, there should be at least a cleric, a magic-user, and a ranger in the party. Pgs. 11-18
A dangerous beast - but one with a mission. Even the gods slip up now and then, but few dare remind them of it. Ri Conn's son was killed by the white boar of Kilfay, and he has passed sentence of death upon it! What starts as a hunting expedition for the PCs ends up being a grand adventure through the forest. Several interesting set pieces on the path of the boar's rampage are included in the adventure. The path of destruction leads through a goblin camp and ends in the tower of a now-dead mage (which still holds the target of the boar's ire, a mutated bulette that the mage bred). Will the party help the boar kill the bulette mutation, or let it free? Pgs. 32-47

The goddess Erathis has never seemed the sort to demand the sacrifice of mortals in exchange for safe trade routes, but that’s exactly what her high priest has demanded. When a local ruler asks the characters to investigate the high priest, a chain of events is set in motion that could shake the city of Wyllea, and the church of Erathis, to its core. This adventure makes extensive use of roleplaying encounters and skill challenges, with fewer tactical combat encounters. There is a substantial focus on politics and intrigue. The Tariff of Relkingham is written for 3rd level PCs, but contains advice for lowering or raising the starting level from 2-4. It also contains a system for calculating an advantage or disadvantage in the final fight based on the players' actions during the adventure. Pgs. 83-103

East of Beregost, nestled in the outskirts of the Wood of Sharp Teeth, Durlag’s Tower has intrigued and yet stymied adventurers for decades. Stuffed full of mechanical traps and arcane wards, and rumored to be inhabited by fiends, very few have managed to extract any REAL treasure from the former home of Durlag Trollkiller. However, a powerful item in the ancient fight against the giants is said to be housed there, and the cloud giant Baron Rajiram has committed significant resources toward recovering it. After a pleasant tea in her garden, SEER calls upon you to beat him there and put a stop to his efforts! Continued in Durlag's Tomb.

Ever been on a long running campaign and in one of the sessions one or a few players couldn’t make it? This adventure was made to be used as sort of a filler episode to fix that. Made for a small party of 1st-4th lvl characters and to be played in a single session. Story summary - The Gold Knife Bandits, a gang formed by a former army squadron that deserted. They are remarkably loyal to each other and are known in the area for attacking army caravans and camps. However, after several months of unfortunate loots. They decided to house a cultist of Beshaba and do what he asks to take away the curse of misfortune the gang is obviously under. Unfortunately, that includes using some members of the party as a sacrifice. The party will find the bandits cavernous hideout, clear through it, face the cultist, the Bandit's old boss, or both! All in a day’s worth of adventuring.
Everybody's a fool for a lost kid. He wanted power but settled for scraps - for now. The outcast wizard Lertol has adopted two leucrotta, and their team is ambushing passing travelers and robbing them with no-one the wiser. The players first fall into this trap when the leucrottas mimic a lost child and a search party in the middle of a night at camp. If the players leave to investigate the voices, the wizard loots the camp while they are gone. The players can then follow the wizard back to his lair and get their treasure back. Pgs. 48-49 & 28

Picking up where Chapter 33: Adventures in the Ptolus book leaves off, the adventures in The Night of Dissolution cover an arc that pits player characters against the darkest foes the city of Ptolus has ever faced. Following the threads of a hidden conspiracy, the characters find themselves up against insane cultists, wild chaos magic, and horrors from the primordial days of the world. This adventure book is laced with urban intrigue, high action, and even some dungeon exploration. Some highlights include: A description of Pythoness House, a haunted oracle/brothel that hides a trove of weapons vital in the fight against the Cults of Chaos. A huge secret temple of chaos where insidious fanatics worship the dreaded Galchutt. Details of a city-wide network of covert spies and agents that extends even into the highest echelons of Ptolus’ elite society. These adventures culminate in the player characters’ attempt to stave off the Night of Dissolution, a dark time long foretold when the slumbering Galchutt will awaken in their hidden lairs deep below the city—and bring catastrophe and woe to the world. Published by Malhavoc Press

When the PCs stumble into the Feywild, they find themselves in the middle of Mithrendain— a glorious eladrin city of grace and beauty. But as the heroes find themselves the target of mysterious attacks, they begin to discover that something rotten lurks in the city’s heart. Sunlight bathes the soaring towers of the eladrin city of Mithrendain. Gentle breezes swirl through wooded parks and along well-kept streets, and in the ancient settlement whos golden hues have seen it named the Autumn City, thousands live in peace and prosperity. For centuries, the fomorian chasms deep beneath the city have stood silent below the great magical seals that closed them in the wanting days of the eladrin empire. Over long years, the folk of Mithrendain have forgotten the dark threats of old, becoming complacent in their tranquility. And so none suspect that corruption lurks at the heart of the city, spreading out from the shadows to taint all it touches. Pgs. 104-128

A "simple errand" is never what it seems. It's a wizard's privilege - and curse - to change his mind. Pgs. 3-7

A world unseen lies beyond a twisted, metal gate in a remote field of the Dhalpurna Mountains. Will the characters brave the alien monstrosities, technologies, and magic inside to learn the secrets that have been brooding in this strange place for millennia? Gate of the Lens Wizard is a science-fantasy exploration adventure and includes: -A gate that leads to the tunnels beneath a distant jungle moon -Intelligent spiders at war with glass-skulled astronomy wizards -An unfathomable artifact that can rewrite time itself -Combat cards for each monster, PC, and special treasure -High-quality digital maps for use with virtual table tops

Centuries ago, a green dragon terrorized the civilized lands near its lair. As the beast grew in power, countless cult followers gathered. With the help of its worshipers, the dragon transformed into a runescribed dracolich. The dragon and its cult grew larger and more powerful over the centuries. This, of course, led to war with the surrounding nations. After terrible battles and much loss, the cultists were slaughtered and the dragon destroyed, but its phylactery could not be found. The beast reformed, gathered cultists anew, and again was defeated. The phylactery still could not be found. This time, the powers of civilization decided not to destroy the beast, but to trap it, locking it away and setting various guards. Recently, a divination ritual performed by someone the PCs respect revealed that great peril will arise if a creature lairing in Mount Sorrowspire (the dracolich) is not destroyed. Pgs. 180-185

This 80-page supplement contains 38 encounters written by many of the Dungeon Masters Guild’s best-selling writers. Encounters in the Savage Jungles includes 23 encounters / mini-adventures of various difficulty that can be used while the adventuring party braves the uncharted and savage jungles. It also includes 15 Quick Encounters, and additional resources. Although inspired by the Tomb of Annihilation, these encounters can be used with any official D&D campaign, or in your own home campaign. Many could even be used in forest, wilderness, or swamp settings. These encounters are location generic and are designed to be easily added to any campaign. Use them to introduce new players, as inspiration for a new campaign, as a one-shot, or whatever else you can think of.