
Gadof Blinsky is a famed toymaker known for bringing joy to children throughout the bleak country of Barovia. Or at least, he used to be. That all changed after Blinsky and his wife welcomed their first child. The toymaker fell into a deep fit of anxiety and depression from which he never recovered. In this mini-adventure, you will investigate Blinsky's toy shop and battle a strange toy that seems to have taken on a life of its own, eventually uncovering what happened to Blinsky’s family and unraveling the secret of what the toymaker is hiding in his attic. Blinsky is No Fun! is a one or two session side adventure, for characters of levels 4-5, for use in the Curse of Strahd campaign setting.

Your cousin Rolph is dead - and while there is cause for sadness, there is also cause for celebration. As his heir, you were willed his dominion: Fenhold. Of course, the Deep Swamp is threatening to engulf all of your new holding. People are seeing ghosts and disappearing mysteriously. Animals die without reason, and crops are suddenly blighted. The farmers don't like the swampdwellers, the swampdwellers don't like the farmers, and no one likes the halflings. The entire civil service of the dominion seems to have either worked for the failure of the dominion or resigned due to actions of the others. It's going to be tough task to make all this ship-shape once again, but you're 15th level now. Isn't it about time you settled down? TSR 9210

Madness in Freeport, the final part of the Freeport Trilogy, details the final confrontation between the PCs, the Brotherhood of the Yellow Sign, and Sea Lord Milton Drac. In Part One, the Drac invites the PCs to the Grand Lighthouse Ball. Careful investigation can reveal the secret purpose of the lighthouse. In Parts Two and Three, the PCs must recover a powerful artifact to thwart the Brotherhood's plans. They must pass through an infamous pirate's hidden caves, then search a sunken temple of the serpent god Yig. In Part Four, the heroes must enter the Grand Lighthouse, AKA Milton's Folly, in a race against time to stop the Brotherhood's world-shaking master plan from coming to fruition. (Bibliographic note: This adventure was originally written for v.3.0, and later updated to the v.3.5 rules. The revised versions of Death, Terror, and Madness in Freeport were reprinted in an omnibus edition, along with two shorter filler adventures, as The Freeport Edition: Five Year Anniversary Edition.)
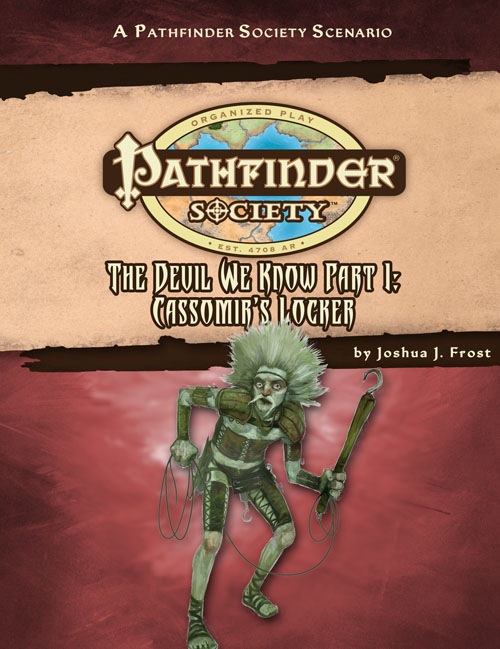
Part 2 of the "The Devil We Know" campaign arc. Cassomir's Locker is a Pathfinder Society Scenario designed for 1st to 7th level characters (Tiers: 1–2, 3–4, and 6–7). The Pathfinder Society dispatches you to the catacombs called Cassomir's Locker to find the source of a rat cult breeding monstrous vermin. After clearing Cassomir's dank sewers and delving into the dirty dungeons below, will you find the artifact that powers Cassomir's Locker or bring about the destruction of Taldor's most important port?

‘The Secrets of the Twisting Colossus’ is a tale of alchemy and transformation. The heroes are the material components in the creation of an addictive potion. The heroes are lured into the experiment by the alchemist Paricalus, and once the heroes understand the true purpose it will be too late. The only escape is to understand the subtle clues around them and to keep moving forward. At the end of the experiment lies salvation but also the grand finale. If the heroes escape the experiment, they can confront their tormentor. In this 5E module (suitable for level 4-6 & adaptable to any setting), you will find: • 40-page module. • 3 colored maps and downloadable options for FG, Roll20. • 3 Appendices covering NPCs, magic items, and alternative chambers. • Handouts containing visual depiction to entice players. • 2-3 sessions of gameplay. • A dynamic dungeon where chambers change position. • Rules for miniaturized game play. • Old-school play-style suggestions. • Possibilities to use the module as a springboard to planar adventures. If you enjoy this module please let me know. Any feedback is greatly appreciated. Have fun!

The Known Gnomes are a Gnomish adventuring party who must use their size to save Lady Kaja Foss from a horrible fate. This module is a level 5 primed adventure that requires an entirely Gnomish player character party. Come Gnome it up! This module was inspired by the porter Known Gnome by Off Color brewery located in Chicago, Illinois. 'The Known Gnomes' is meant to be fun and zany module for those looking to crack skulls and be silly. Included in a separate link (https://www.dmsguild.com/product/256719/The-Known-Gnomes-Maps--Extras) are: Maps Keeper Maps (Color & Low-Ink BW) Player Maps (Color & Low-Ink BW) Trap Prop

Mystery in the Moonsea! Disappearing shipments, missing alchemists—and proven musical acts whose rehearsals sound terrible! Instead of showing off Thentia to potential trading partners and giving the locals something to celebrate, the pall over this year’s Magic and Gold Festival threatens to drive business to Melvaunt and give the locals a reason to riot. Combat optional but possible. Role-playing opportunities abound.
Just beyond the fields of Orleans a small hole in the earth hides treasure and monsters. The townsfolk are far too scared to delve inside the abandoned cave, but the marquis needs its silver, and right quick. Just a couple of miles away from the town of Orleans, between rolling hills and well maintained forests, a small mine, long abandoned, lies in wait. Once a lucrative silver mine the “little cave” is now shunned by both the miners and its owners, the marquis of Orleans. Local whispers say that a few decades ago its miners stumbled upon something evil that lurked beneath the earth which killed the marquis’s son and twenty miners. Old people tell of a curse that lay on the mine which if reopened would cast doom upon the town. A few even tell of tiny demons, not taller than a housecat, that live in the mine and torment the smiths of the city. True or not these stories have all one thing in common: they have kept people from using the mine and extracting its precious silver ore. This that has plagued the marquises for three generations already and so the last heir of the family, Touvel of Orleans, is looking for brave adventurers, knights, sorcerers and all able bodied folk that wish to brave the mines and secure them from whatever evil may lurk inside them.

Azaketh, a sly and industrious devil, prepares his revenge against his bitter enemy Zirkex. Naturally, the mortals affected by his schemes are mere pawns to further his goals. It is up to the heroes to stop Azaketh in his tracks before he takes control of a powerful weapon – Logrimm’s Tower Golem. The Tower Golem is an adventure designed for 3-7 2nd to 4th level characters and is optimized for five characters with an average party level (APL) of 3. It's the second and final chapter of the saga about Logrimm’s Tower Golem. The first chapter The Soulmonger isn't necessary to play The Tower Golem but it sets up the villian Azaketh and introduces NPCs that can help the characters conquer the Tower. The focus of The Tower Golem is set on roleplaying and interesting fights. In theory, the Tower is an infinite web of rooms and portals that the characters may never escape. However, eventually, the characters reach the end for one final encounter. You can change, interweave, or exchange the different parts as you see fit. There are several proposals and fully fleshed out levels in this document, but you may add your own adventures to the list!

Operating as secret agents for the Lords of Waterdeep, a promising lead takes you deep into the world of the Xanathar, but what will it take for you to return?

A traditional "funhouse" dungeon, White Plume Mountain begins with the archmage Keraptis stealing three artifacts and leaving cryptic poems with their former owners. The players are hired to recover the items, and find a bizarre dungeon in the side of the eponymous volcano. TSR 9027

The village of Longbarrow faces a dire threat. Dozens of devils besiege the village to relieve the inhabitants of their souls. It is up to the heroes to put an end to the machinations of Igach, a sly devil in services of Azaketh. Seek out the source of the devil incursion, and deliver the helpless villagers! Igach's Reign of Terror is an adventure designed for 3-7 2nd to 4th level characters and is optimized for five characters with an average party level (APL) of 3. The adventure is the first of two chapters about the events surrounding Logrimm's Tower. The, yet to be released, second chapter deals with Logrimm's Tower itself and the characters' struggle to reach the top. With only minor adjustments, Igach's Reign of Terror can also serve as a 4 to 8 hour long one-shot adventure independent from Chapter 2.

Centuries past, Lady Ilse ascended to scion of House Liis by trading the archdevil Mammon what he wanted most: her immortal soul – and a diabolical betrothal. The triumph proved hollow, for every year on the eve of her fell covenant, she was beset by visions of Mammon and her foul promise. Seeking to save herself, she was buried alive, swaddled in the holy symbols of a dozen divergent faiths. This desperate ploy held Mammon at bay for centuries…but a devil can afford to wait a very long time. After hundreds of years, the last of the holy wards has fallen. The devil has come to collect his due. Tonight a storm crashes against the ancient manor house and forgotten spirits rise from the muck and mire. The fallen belfry tolls once more, announcing the hellish fete. As the adventurers arrive to explore the Black Manse, Mammon calls for his winsome bride. He will leave with a soul at the end of the night. The only question is: Whose?

Chapter 1 - When a relative of someone close to the characters goes missing from a nearby village, the players are asked to investigate. The party has to recover stolen goods from a thief before setting out from the City of Ravens Bluff. They travel through the wilds of Vesperin in search of the missing person, finding trouble and helping locals along the way. Chapter 2 - As the journey continues, the party arrives in a small hamlet suffering from a strange blight. The players will need to investigate the situation and choose sides in a longstanding feud between the mayor and a local magic user. Chapter 3 - After clearing a tribe of violent orcs from a nearby mountain pass to protect the residents of a town, the party will have to enter the lair of a long-dead dragon to rescue their quarry from a band of goblinoid slavers, where they discover an entrance into a dwarven city, lost and forgotten centuries ago. Chapter 4 - The party will have to traverse the ruins of the dwarven city, avoiding hazards and battling the horrors that lurk there, to uncover the identity of the slaver's leader. A discovery that will lead them through a treacherous forest to the city of Tsurlagol in search of a pirate ship called the Star Carver, and its drow captain, The Viper's Kiss. Along the way, they meet an unlikely ally. Chapter 5 - Once they arrive in Tsurlagol, the players will have to choose between gaining the assistance of the city council to fight the pirates head on, or making a deal with the Viper's Kiss, herself. The path they choose will either lead to an epic battle on the Sea of Fallen Stars, or into the deadly sewers and tunnels beneath the city to face an enclave of wererats, undead, and a tribe of mad, kraken-worshipping kuo-toa, in search of a fabled relic. The Laughing Horde of Ruin, Part 1 is the first module of an original 5e adventure campaign. It is designed for character level 1-5, and uses material from the Dungeon Master's Guide, Monster Manual, and Volo's Guide.

After several successful adventures, you and your associates have found safe haven in the city of Acre in Dilad. While you enjoy a meal in “The Hole”, you learn of a recent theft of a merchant ship. A Captain Ibanez approaches your group and offers a job opportunity to get the missing ship back!

AL19 – Junket to the Southlands has the PCs enjoying a little R&R in southern Allatrama when a caravan comes into town. Scuttlebutt has it that some famous Bard came in with them and is giving a performance later. With nothing else to do you opt to take a listen. After hearing the tales recited by the incredible poet you opt to visit the location of her stories. Saddle up folks, you’re heading into the frozen land to the south!
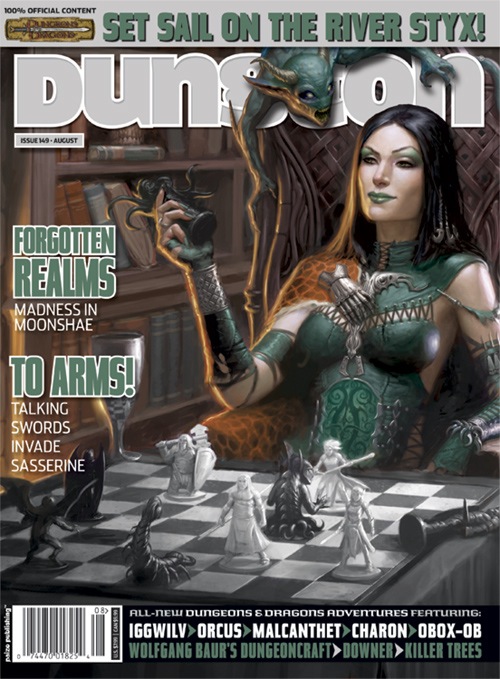
Iggwilv. Orcus. Maleanthet. Obox-Ob. Charon. These names are among the most notorious in the multiverse, appellations belonging to some of the most dangerous and powerful creatures on the lower planes. Heroes from countless worlds have raised their arms against these immortal foes and, in most cases, these heroes have perished to their soul-blasting, life-ending might. Their lairs are notorious as they are: the River Styx, beautiful but deadly Shendilavri, the Gray Wastes of Hades, frozen Thanatos, and mind-numbing Zionyn. Simply entering one of these scions of evil is akin to suicide. Yet now, as the Prince of Demons begins the final rituals to bring the savage tide to the Material Plane, heroes must approach these immortal villains not as enemies, but as allies. "Enemies of My Enemy" is the eleventh chapter in the Savage Tide Adventure Path, a complete campaign consisting of 12 adventures appearing in Dungeon magazine. For additional aid in running this campaign, check out Dragon magazine's monthly "Savage Tidings" articles, a series that helps players and DMs prepare for and expand on the campaign. Issue #358 of Dragon magazine features a map of the River Styx and advice for those who would use this notorious river as a route in exploring the lower planes. The time draws near for the final assault on Gaping Maw, but first the PCs must recruit allies from the depths of the Abyss to the eladrin Court of Stars. yet will this unlikely alliance of demons and eladrins be enough to stop the Prince of Demons? Pgs. 40-85
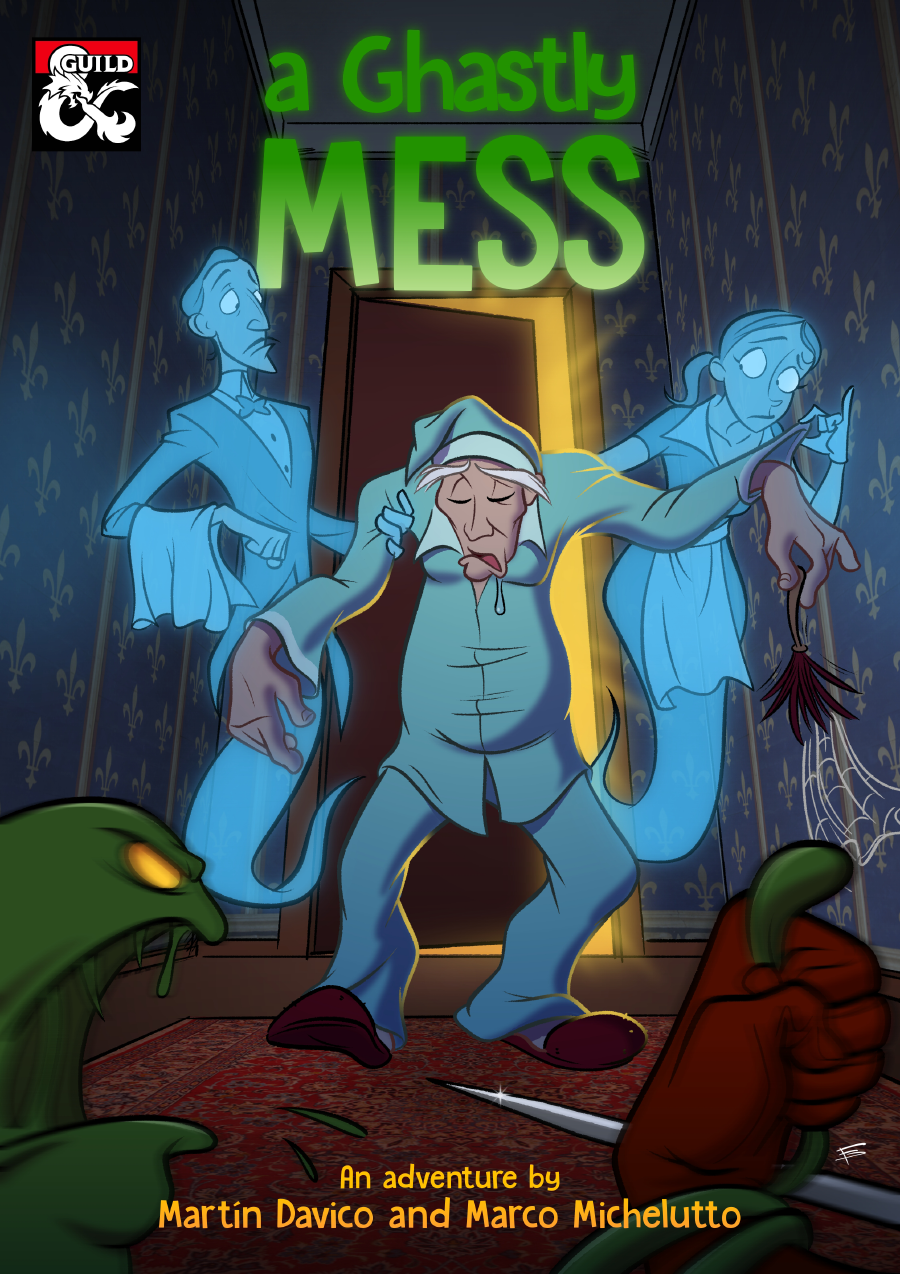
A Ghastly Mess is a one-shot adventure for a group of 3rd-level characters that takes place in a haunted mansion Unlike your regular haunted house, the inhabitants of this building are far from scary. The ghosts of the former staff still live in it—or, well, unlive—not realizing they’re deceased and unable to move on because of it. The Lord of the mansion still awaits the return of his beloved, Lenore, for which he has commanded the staff to have the house in pristine condition. Help the only alive member of the staff, a sleepwalking old-man, clean the house, defeat any and all monsters that might be lurking in the somewhat abandoned building and help the ghosts pass on to the great beyond in this short but exciting adventure! The story includes a host of interesting characters for your players to meet, each with their own unique personalities and accompanying art; an array of unique monsters specially designed to challenge your party in more ways than one; and an intriguing mystery surrounding Lenore’s fate and what happened to the members of the staff. Now, you might be thinking “hey, this ain’t spooky at all, what gives?” and to that I say: how dare you?! Nothing is scarier than doing your chores! That’s why we built an adventure around it! That being said, A Ghastly Mess is not meant to be a scary story, but rather an interesting mystery-type of social adventure. Most combats can be resolved by running away, the stakes are low, and the NPCs don’t think of the situation as anything more than a normal day in their lives. The tragic aspects of the story have already happened by the times the characters show up, and the intent is for everything to go well from there.
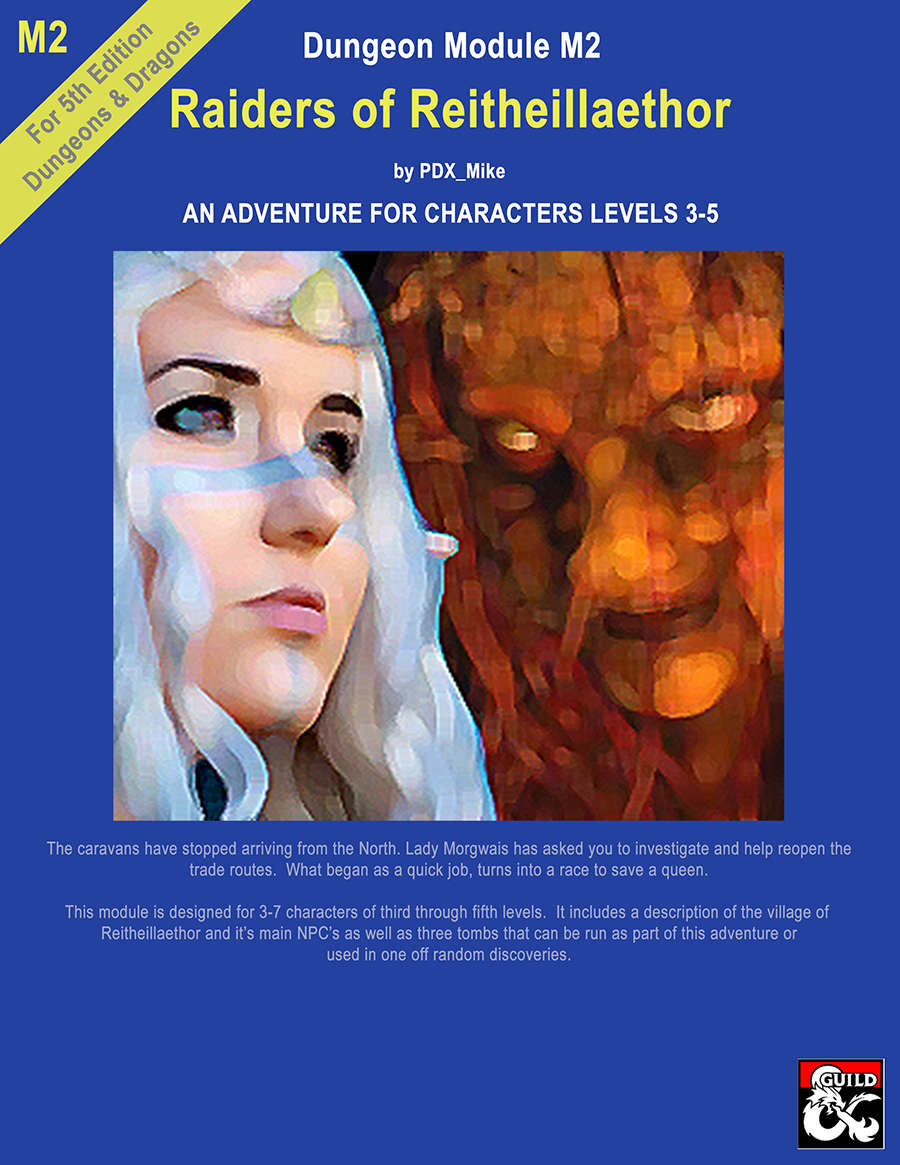
This is the second of the "High Forest Factbook" adventures series. The caravans have stopped arriving from the North. Lady Morgwais has asked you to investigate and help reopen the trade routes. What begins as a quick job turns into a race to save a queen. This module includes a detailed description of the Elven village of Reitheillaethor including it's NPCs. It can be run either as a continuation of the adventure started in "Menace of Merric", as an extended stand alone adventure or the three individual tombs included in it can be run as short one-off adventures.

When a Thayan research expedition returns from the Glacier of the White Wyrm with only two survivors that are reduced to whispering about an ancient pyramid under the ice, perhaps it is time to discover just what scares the life out of a nation of necromancers. The events of DDEP2 Mulmaster Undone resulted in terrible geographic upheaval all around the southeastern region of the Moonsea. Massive landslides, earthquakes, tidal waves, and gnashing tornados devastated the land and the city of Mulmaster was nearly scrubbed from the face of Faerun. Fortunately, these events also revealed previously hidden artifacts—trinkets, mostly—from the ancient Netherese all around the city. The Thayans have long held an interest in the port city and wasted no time in assisting in the rebuilding efforts. They simply asked that a blind eye be turned to their archaeological interests, and in return they would continue to spend their own resources (at no expense to the Mulmasterites or even the High Blade) to rebuild the city, bigger and better than before. It wasn’t long before their interests paid off with the discovery of a research laboratory beneath the Glacier of the White Worm, far to the east of Mulmaster and nestled in the mountains. The Thayans sent a sizable expeditionary force but only two acolytes returned. The visiting Zulkir has found this particularly troublesome, and with the assistance of Rastol Shan, the head of the Cloaks, has arranged for a mercenary force to perform a more pointed investigation of the area. In return the Thayan noble has promised significant compensation. Upon arrival at the dig site, the characters are quick to discover that the laboratory hides ancient and palpable evil. The purpose of the facility can be discerned with careful investigation, and the effect of the still-active fragment of the Dark Obelisk has empowered (some may say attracted) servants of the Worm that Walks. Danger and death await, certainly, though the characters always have the option of running away and living to fight another day…