
Your expedition to the wastelands proved fruitless until you came across a group of Bedouins. The locals report that they may have found a tomb hidden below the swirling desert sands. Intrigued, you and your group examine the site unaware that you are about to stumble into the deadly Gonnagetcha Tomb!
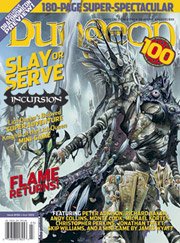
This sequel to issue #87’s ”Raiders of Galath’s Roost” takes the PCs back to the Dales region, where they must uncover a plot to destabilize the region. Zhentarim agents from Zhentil keep are disrupting trade along the Moonsea Ride, while drow from the forests are slaughtering merchants and taking their goods to sow discord between the humans of Misteldale and the elves of Cormanthor. The PCs must embark on a convoluted investigation to uncover the mystery behind the attacks. Pgs. 48-68

A combination wilderness/dungeon module, first searching for then exploring the temple of Tharizdun. Tharizdun is long gone from the place, so there's no epic final fight. Rather, a mysterious Black Cyst waits at the bottom of the dungeon. The encounter with it is almost scripted, having no hazard except for careless/foolish players. Contains several monsters from the Fiend Folio. Loosely follows Lost Caverns of Tsojcanth. TSR 9065
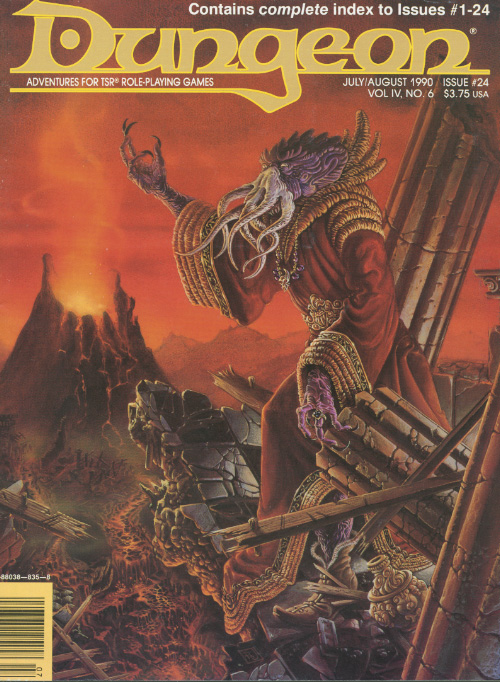
A trap that perhaps works too well. No matter how much loot you take, you never took anything at all. Confused? Wait until you try this dungeon. The players are hired to investigate and clear a tomb of a time wizard. This tomb is heavily guarded both by creatures and traps, and some sages are concerned that the defenses are lasting longer than they were supposed to. Unknown to the sages, the wizard, Sur-in Am, bound a time elemental to guard the treasures of the tomb. This guardian's duty is to frustrate robbers by returning stolen items to their original place and also reset traps in the tomb. Pgs. 26-36

An initial level adventure, this scenario has allowed for each PC to have an encounter as they get to the community of Lakedale (offered earlier) to prepare for their career. After successfully getting to the town the new PCs quickly discover a job opportunity pertaining to an overdue shipment from a Gnome Alchemist. Gelbo Green, alchemist, has an agreement with one of the merchants in town and is late on a delivery. Lettice Beauson runs the Purloined Purse and is looking for a group of adventurers to check on him. Time to start your careers!

In The Standing Stone, a tiefling sorcerer named Dyson discovers a circle of standing stones constructed centuries ago by druids to hold their annual rituals; the druid community was later destroyed by the great dragon Ashardalon. Dyson uses the magic of the stones to replace people with animals transformed into humanoid form, loyal to him. Dyson encounters the player characters in the village of Ossington and tries to manipulate them into eliminating the remaining enemies standing in his way.

Continue your duet campaign or add something new! Wake up in a druid colony and embark on a quest for trust and truth with plenty of political intrigue, hidden plots, and exciting combat along the way! Second Glance picks up where our first adventure, First Blush, left off and invites the PC to explore their world, test their growing abilities, and get to know their mysterious crystalline companion. However, this adventure can be inserted into any campaign setting and scaled accordingly. Second Glance is part of D&D Duet’s mission to bring you high-quality, ready-to-play material that supports adventuring parties of 1 Player and 1 DM. This adventure is written for a second-level character in a one-on-one 5th edition D&D campaign. It lets the PC explore a druid grove and observe its mysterious residents before traveling to a too-perfect town with twisted secrets. They’ll take on a calculating magistrate, addled cleric, and dark forest creatures but find that other, more ancient mysteries lie in wait just beneath the surface. Everything you need for your own two-person game is inside! This product includes: -A 2nd or 3rd-level adventure adaptable to any setting -Stat blocks for FOUR new creatures and three NPCs -A region map, two settlement maps, and two site maps to aid the PC’s investigations -A fully realized town complete with shops, fleshed out NPCs, and places to explore -Side-quests for curious adventurers or those fond of gold and magical items -Detailed backstory for the ancient warrior sheltered inside the PC’s treasured amulet -A custom magical item And helpful tips for DMing a one-on-one game This adventure is perfect for those looking to begin or continue their duet campaign. It could also serve as a story hook, session zero, or multiclassing narrative for a PC who wants to become a druid. Published by D&D Duet.
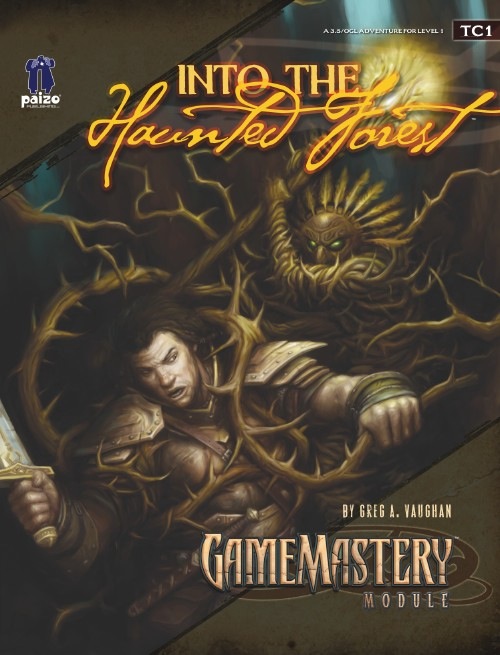
A barroom brawl at a country inn causes the destruction of a priceless relic and the heroes are responsible. Now they must chase down a host of ancient artifacts, lost in a haunted wood, to repay their debt. While the heroes search for the items to clear their name, another group of scoundrels plots their downfall from the depths of the mysterious forest. Only one group will emerge victorious. The Forest King is long dead and no one has seen his priceless regalia in many years, lost as it is to the depths of his haunted domain. Now the objects must be found if justice is to be served, but an eternal guardian stands watch, ready to deal with all intruders.

The bustling metropolis of Saydown City is the largest settlement in the Denali land and home to the current ruler King Pellet. As your party reaches the watery entrance a huge iron statue guards the docks. Upon closer inspection you notice that the item is actually a golem. After continued investigation you discover that the ‘heart’ of the creature has been stolen and you accept the job to uncover the loss!
Can you navigate fairy-tale intrigues among fey and living nightmares without getting trapped in the tale? Fight your dreams in the twelfth adventure of the Across Eberron: Convergence Manifesto adventure path with this adventure for 7th level characters. Written for use with either Eberron: Rising from the Last War or the Wayfinder's Guide to Eberron by Keith Baker. Adventure Summary: Using his recently acquired Aethervane, Provost Faurious locates the only connection between the material plane and Dal Quor, a feyspire called Taer Lian Doresh that exists simultaneously in both planes. The player characters are sent to retrieve a powerful artifact, the Mind’s Eye, the petrified eye of a kalaraq quori. As the party enters the feyspire and negotiates with its eladrin lord, what are they willing to give up in return? Negotiations unveil a far deeper story, centered around the machinations of the Inspired of Riedra and the kalashtar they persecute. Can the characters navigate the shifting stories of nightmares and dream-touched fey for possession of the Mind’s Eye?
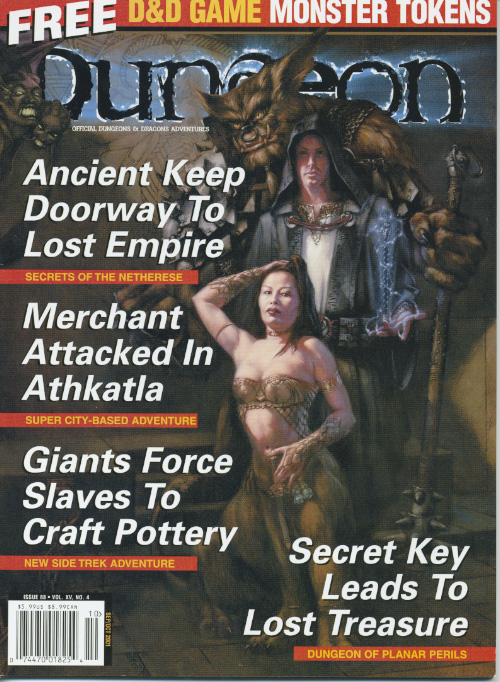
The PCs intervene in an attempted murder and are hired to find out what made a guy go mad. This leads them to search for Yenejg Togan's tower/a strange merchant in the nearby forest, where they discover that bugbears have moved in. After exploring the tower, finding the "merchant", and dealing with the bugbears and the lamia that caused the incident in the first place, they were still unable to get into Yenejg's inner sanctum without a key. The PCs return with the key and figure out how to use it to enter Yenejg's sanctum. They then explore it, dealing mostly with traps, and finally discover the resting place of the treasure Yenejg stole from the town. This adventure begins with a skill-based roof-top chase and can include some complex non-combat interactions with potentially hostile NPCs. It includes some semi-interesting traps as well as some nifty puzzles. No villain to speak of. Fool-hardy adventurers can get themselves killed, but some caution will result in only one extremely hard fight, and even that can be avoided if action is taken quickly. Pgs. 74-107

When old ruins are discovered, rumors swirl about the lost owner's magical blade. This scenario involves an overland crossing and a dungeon delve and none of it will be easy for the players.

One page side quest, one page maps. For decades old Alma Scarlet-thorn and her cat, Ferox, entwined as witch and familiar, reveled in tormenting travelers passing near her lair. But, recently, Alma has favored her newly created mist golem more. Although Ferox has enjoyed the power of their bond, she now believes the magical connection is no longer worth this jealousy. The cat, Ferox, has been searching for a way to punish her mistress or remove the golem. Adventure hooks provided. Published by Wicked Cool Games

The Hag's Hexes is a 66 page guide designed by Dungeon Masters Guild luminaries like JVC Parry and Janek Sielicki alongside rising stars and old stalwarts like Matt Butler, Matthew Gravelyn, and Tim Bannock. It was created with one thing in mind: to make hags more than the sum of their (often meager) Challenge ratings, giving them the mechanics, roleplay potential, and weird magic that can inspire campaigns, lay low kings and warlords, and potentially ensnare unwary Player Characters into campaign-changing curses or long-term bargains that force them into terrible moral quandaries! Split into five chapters, the authors have provided everything a DM needs to terrify their players for years to come. The Bestiary features over a dozen monsters; some are new hags, some are their minions or even their mobile lairs, and one of them -- the Shaitan AKA Desert Hag -- was featured in Monsters of the Guild! Bargains & Curses is a chapter filled with ideas that can kick-start campaigns, threaten valued NPCs, or put Player Characters' very existence and morality at stake. Chapter 3 includes two dozen items of wonderment, weirdness, and dread, ranging from fairy tale-inspired items of whimsy to terribly cursed items of horror. Chapter 4 is titled "Filthy, Vile & Downright Dirty" and provides dozens of roleplaying tips to make hags come alive, new mechanics inspired by and expanding on Volo's Guide to Monsters (coven spell lists, aunties, grandmothers, alternative coven members), and ends with useful combat tactics for each of the hags from the Monster Manual and Volo's Guide, as well as tactics for covens. Finally, Chapter 5 presents five encounter groups (with sub-encounters) to give you quick story seeds and monster lists that you can put together in minutes to create a single encounter or to inspire a full campaign, and ends with three full-length adventures -- each with 3-5 encounters -- that showcase many of the new monsters, rules, magic items, and so on that appeared in earlier chapters. Each of these adventures comes with an encounter map meant to act as inspiration for hag lairs, and they include useful mechanical ideas for terrain effects and descriptive keywords listed directly on the map for added inspiration and easy customization! Designed by Tim Bannock. Written by Matt Butler, JVC Parry, Janek Sielicki, and Tim Bannock. Edited by Matthew Gravelyn and Tim Bannock. Cover Art by Elena Naylor. Cartography by Tim Bannock using Inkwell Ideas' Dungeonographer (Dungeonographer is copyright Inkwell Ideas). Layout & Graphic Elements by Elena Naylor with Tim Bannock. Interior Art by Arcana Games, Bruno Balixa, David Lewis Johnson, Dean Spencer, Earl Geier, Filip Gutowski, Jacob E. Blackmon, Joyce Maureira, Petr Kratochvil, Jayaraj Paul, Brian Brinlee, and Wizards of the Coast.

With their first adventure under their belts, the newfound associate Gelbo Green, needs to get his alchemist shop back in order AND find some needed supplies for his potion business. As he can’t do both he has asked the party that saved his shop if they would be interested in an ingredient search. He has offered a comfortable sum and has described the items he is need of. Will your party help the Gnome out?

While many monuments exist to the defunct Adurite culture has been raided, this graveyard has remained undisturbed as it has been in the wilderness for several centuries. Recently a sage came to the area with information pertaining to the resting spot of the famous general and explorer fever has gripped the region. One group of adventurers did discover the resting spot a months ago but also located the trapped gate of the cemetery. Can you two brave adventurers do better?
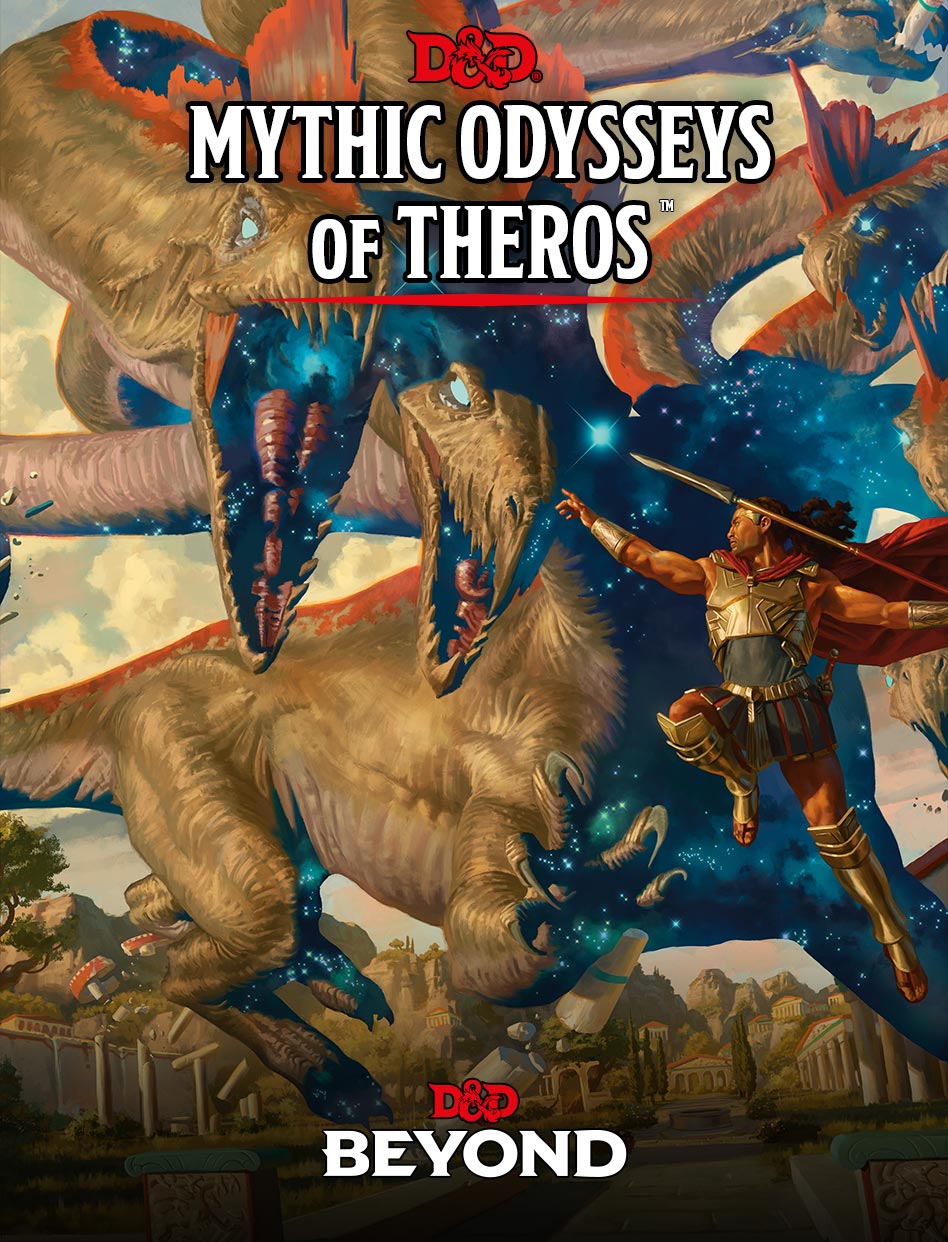
The adventure begins with the characters discovering the recently murdered Returned, Varyas, and confronting his killers. Varyas's gold mask bears a code on it, one that points toward the sage Khea who lives in the nearby polis. When the characters investigate, they learn from Khea that the writing is undecipherable except for the first line, which refers to the legendary Court of Orestes, a site sacred to the god Phenax. She also notes that a recent earthquake has uncovered a cave along the Khystonos River that could be the secret site's location. If so, then perhaps within lies the key to deciphering the mask, along with its own treasures. With the information provided by Khea, the adventurers set forth into the wilds, where they'll face multiple storied dangers before reaching the Court of Orestes. Once at the lost holy site, the characters discover ancient guardians, as well as an unliving entity with the potential to reveal Phenax's lost secret.
The road to the remote village of Swordfall is a long and winding one. It takes pilgrims who wish to visit the holy site from the main trade road, through the hills, and into the mountains where once, thousands of years ago, two gods engaged in an epic battle. Now, all that remains of the battlefield is a lone sword, several hundred feet tall, embedded in the ground at the center of a massive crater. Over the years, a large temple to Thuul, god of battle, sprung up around the site. Now, warriors and fighters from across the land travel to Swordfall to pay their respects once in their lifetime. Recently, however, pilgrims have begun going missing. Somewhere between the main road and Swordfall itself, something, or someone, has been waylaying travelers. Unbeknownst to most, a cult to Ghenna has taken over one of the lone inns along the route and has begun using it to capture and sacrifice pilgrims to their own dark god. Unless a group of adventurers can stop them, the sacrifices won't stop.

A quest to aid the Knights of the North, who have been overrun by a tribe of orcs, results in a group of 1st level characters learning everything there is to know about the basics of Dungeons and Dragons. This low-level adventure will use EVERY saving throw, ability score check and skill check, and goes over conditions, environments and different actions a player can make in combat.

FC9 - Diamond in the Rough is an adventure that has a group of PCs picking up a job for Dwarves of the Shieldcraft Clans in the West Keldon Mountains. It seems that a group of humanoids has pulled off a daring raid to the formerly secure vault and obtained a rather expensive gem. To recover this item the PCs will first have to reach the Dwarves, cross the valley and search the East Keldon Mountain range for these troublesome thieves. Of course finding the group of problems may prove a bit tougher than expected!