The ancient world of Harth withers beneath its dying sun…but it’s not dead yet. The land is still riddled with villages in danger, cultists in caves, angels gone mad, eldritch horrors making strange deals, raging dragons, bandits in the woods, and cruel monsters lurking in every shadow. These 13 adventures span a wide variety of locations, environments, creatures, and genres. They are meant for use as quick-play sessions or one-shots, or to be dropped into campaigns as side-quests. These are linear dungeons and mini-quests full of interactivity and strangeness, encouraging exploration, risk-taking, and creative combat. ADVENTURE TYPE: One-Shot / Low Level / Combat / Exploration / Village / Wilderness / City / Subterranean / Dungeon Delve DESIGN NOTES These 13 adventures are intended for low-level characters around Level 3 Overall, these adventures tend to be linear dungeon delves in caves or single buildings 93 unique encounter locations 69 original magic items 71 original monsters (with 28 illustrations) 13 maps/diagrams Each adventure runs 2-4 hours in length
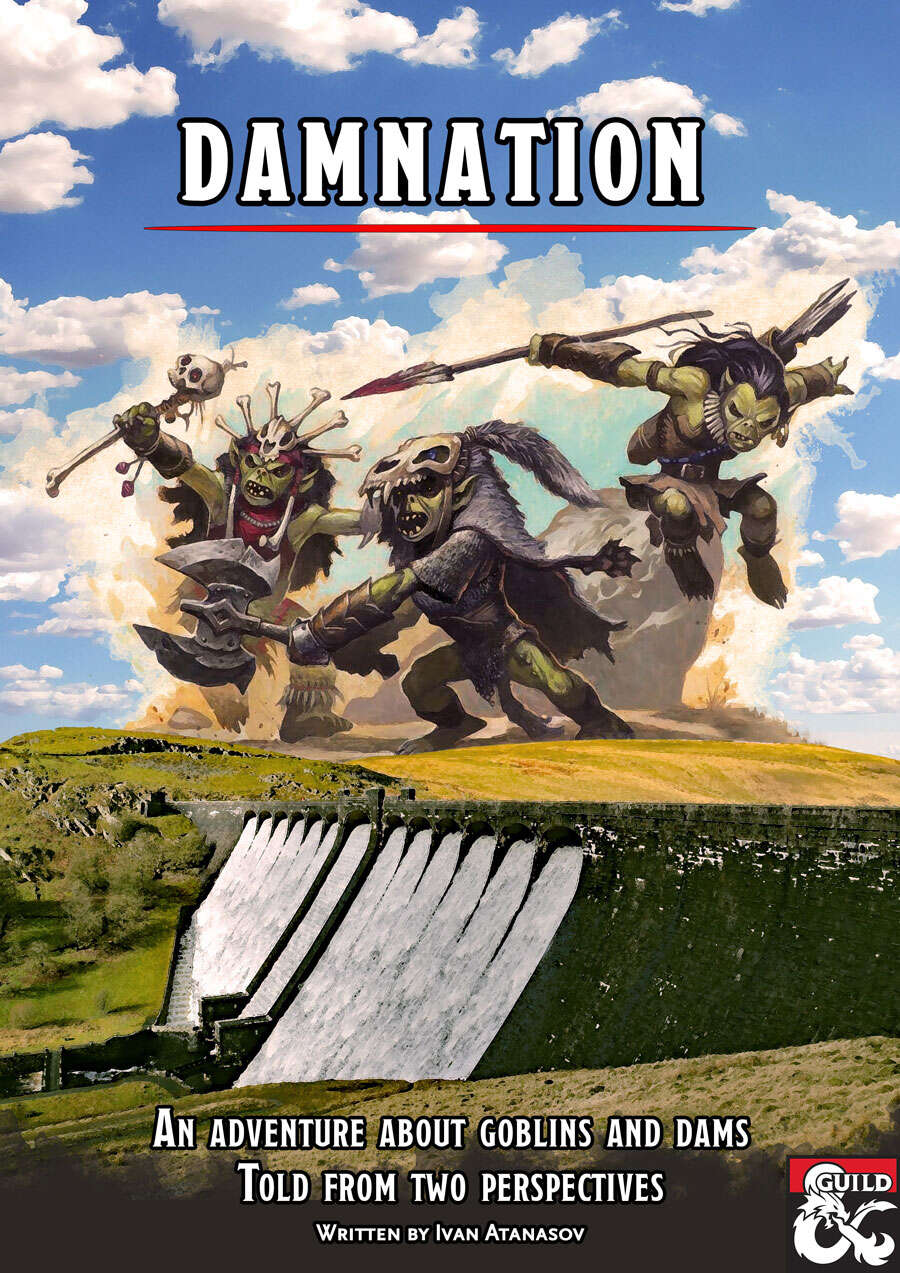
Twenty years ago, the humans built a dam and flooded Gormelin Valley. They drove the Cinderborn goblins away from their land. But now the Cinderborn are back and they want vengeance. The dam must fall and the human towns must drown! Damnation is a set of two parallel adventures that cover the same events, locations and characters. In The Heroes' Tale, the players control a traditional heroic party. They get to attend a wine festival, save a town from a flood, dive to the bottom of a lake, choose between retaliation and negotiation, and face a demon atop the dam as he attempts to demolish it. The Goblins' Tale tells the other side of the story, allowing players to take control of a party of goblins. As the Cinderborn, they must deal with human spies, sneak into a wizard's tower, trigger a catastrophic flood, choose between peace and vengeance, face their own demonic leader, or aid him in breaking the dam. Also included: maps and goblin pregens!

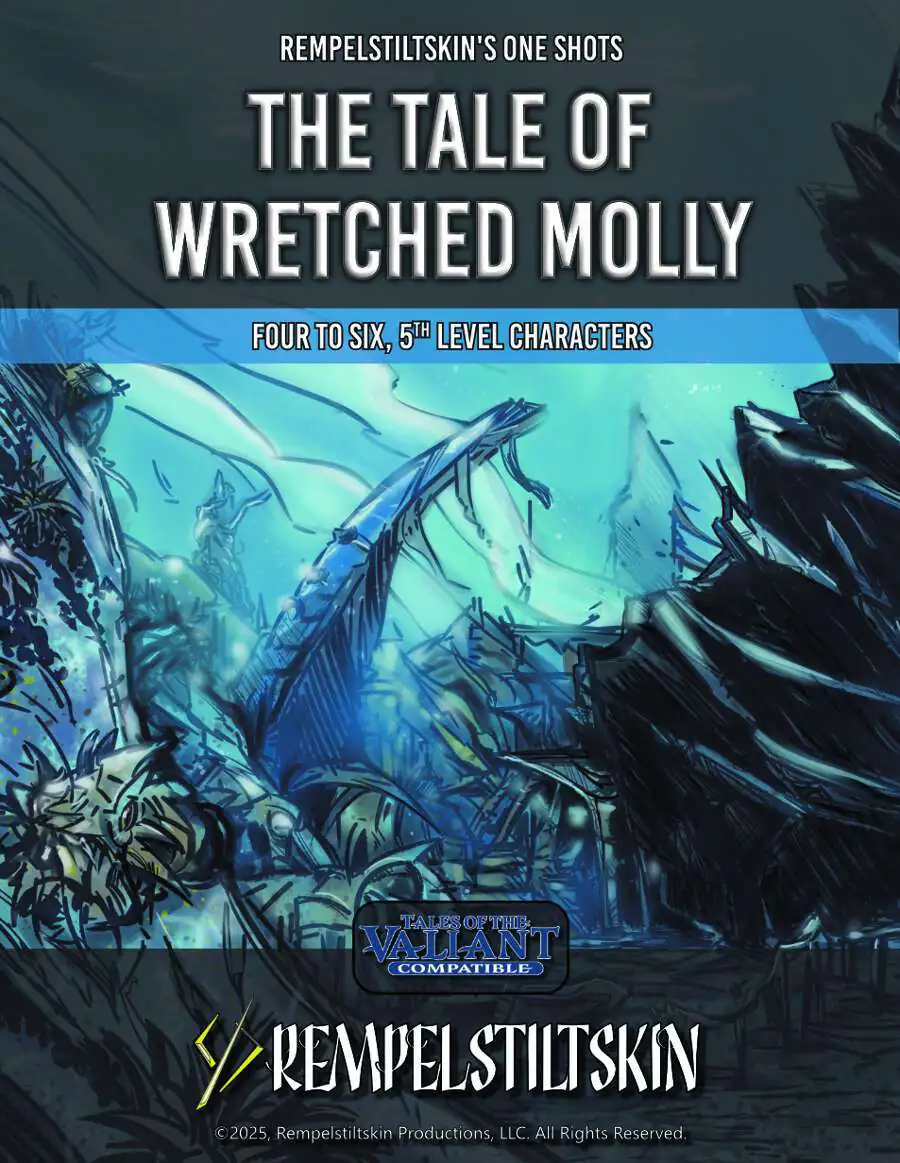
The Sea Witch is a short adventure for four 10th-level characters. The difficulty of the adventure can be adjusted by changing the level of main antagonist (Black Molly, the sea hag pirate) or by altering the number of her ogre servants. To tailor the encounter to groups of different levels, refer to table 4-1 in Chapter 4 of the DUNGEON MASTER’S GUIDE. The adventure is set off a lightly populated coastline known as Misty Bay, but adapts easily to any coastal region in existing campaigns. The sea hag known as Black Molly is a notorious pirate who has plagued the coastal cities for the better part of a decade. A successful Knowledge (local) check (DC 15) will reveal that Molly and her ogre crew have a filthy reputation as merciless killers who delight not only in plundering vessels for their riches, but also in destroying the ships themselves and sending all hands to the bottom of the sea. Now the villain and her followers have seized control of the Old Lighthouse of Misty Bay located off a lightly populated coastline. For generations the lighthouse beacon has protected the fishermen of this region, warning them of the dangerous rocks that lurk just below the level of the high tides. Recently, the hag has put out the beacon, darkening the lighthouse; misery and destruction are sure to follow as ships start to blunder into the rocks. Blackmail is apparently Black Molly’s aim in this venture: She conveyed a message to the nearest shore community, the fishing village of Poisson, demanding the princely sum of 50,000 gp. Until she receives this ransom, she intends to hold the lighthouse and its beacon hostage. The fate of the human keepers who tend the lighthouse is unknown to the seaside communities at this time, but they fear the worst. The Sea Witch is ostensibly a rescue mission: The PCs are pitted against the evil of Black Molly and the brawn of her savage ogre crew. It is the heroes’ task to retake the lighthouse and, if possible, free its captives from the clutches of their jailer. What neither the PCs nor the shore communities yet realize is that while she 1would be pleased to have the gold, Black Molly is in fact after bigger treasure. Molly has no intention of giving up the lighthouse — at least, not until she finds what her master sent her here for. Lying on the sea floor practically at the base of the rock on which the lighthouse sits is the wreck of the war galley Flying Cloud, which according to popular legend was captained by a cleric who wore around his neck an amulet of the planes. Black Molly wants this prize, but so far she hasn’t been able to find it. She’s scoured the wreck without finding any sign of the magic item. Now she’s trying to determine where to search next, for the item might well be somewhere near the wreck. If she can’t find it, she’ll start torturing her captives to find out if they have any useful knowledge about the amulet.
The shipping lanes south of Candlekeep have been disrupted. Unknown to anyone, an incredible alliance between a terran and a waterfolk tribe has caused the lamp at Gloomhaze Point lamptower to be extinguished. Merchant ships are being wrecked and plundered. The story unfolds in the nation of Amn. Adventurers will face a formidable kobold tribe that knows how to maximize its tactics, its smaller-than-human size tunnels, and an abundance of unique traps. The bloodthirsty sahaugin won’t be defeated without the adventurers taking a dive.

Mare Vinceret has kept the underwater city of Conatha thriving for centuries. Deep within the Greyspace lurks a force so strong that it could impede their progress toward peace. It dwells in a place beyond where they would ever choose to go, filled with dark aquatic life and a menacing presence that no one could match. Juliya Alastor, the leader of Mare Vinceret, sends her best to dispose of the threat known only as Biandra, the Hag of Conatha (sea hag). The Hag of Conatha seeks to fix what Mare Vinceret has done to the beautiful land that she sees as corruption in disguise, then live in peace. Biandra has taken their forgotten structure and made it her own. She sits within a threedomed greenhouse with walls blanketed by vines of kelp and seaweed and swimming with deadly aquatic creatures. Within the dark, polluted lair, Juliya's team falls into madness. One by one, Biandra's hallucinatory tricks destroy them, leaving each of them within her grasp. Believing all is lost, Juliya finds a glimmer of hope in a crackled communication one of the members of the party must be alive. She must send out one more group of brave adventurers to bring down Biandra for good and reclaim the underwater dome. Will the adventurers find the lost orc rogue, fight their way in, and investigate through the biodome maze? Or will they be confined to the underwater maze of Conatha in madness, trapped with the Hag of Conatha herself? Pgs. 35-41

Important: The adventure is 1e but it has monster conversion notes for D&D 4th edition The town of Highport, once a human community overlooking Wooly Bay from its perch on the northern coast of the Pomarj, fell prey to hordes of humanoids swarming out of the jungle-covered hills surrounding the settlement. Though the orcs, goblins, kobolds, ogres, and gnolls razed much of the place in their ferocious rampages, the smoldering ruins they left behind soon became a new kind of community, a place of trade between the humanoid “locals” and the unsavory human traders who have no compunction about doing business with them. Slaves are a commodity in ready supply in Highport’s market, since many pirates raid up and down the coast of the bay, putting fishing villages to the torch and filling their holds with captured refugees. Slavery has become a thriving business in the town, and rumors abound of a cartel of Slave Lords who run things from behind the scenes, filling their coffers in secret from the buying and selling of human chattel. The trade has become so prolific that the good folk to the north have grown tired of these depredations and decided to fight back. Forces of righteousness and honor have recently descended upon Highport, some openly and others in secret, in various attempts to destroy the machinations of the Slave Lords and abolish the abominable enterprise that has taken far too many loved ones from home and hearth. One such doughty servant of goodness is Mikaro Valasteen, a cleric of Trithereon. Mikaro slipped unnoticed past the crumbling walls of Highport with a single mission: to rescue and transport as many slaves to their freedom as possible. Mikaro and a handful of faithful assistants located a number of escaped slaves—as well as rescued a few more not sufficiently restrained and guarded—and shepherded them through the gates and beyond the reach of their humanoid tormentors, returning them to their lands and homes. This covert freedom brigade enjoyed remarkable success early on, since the servants of the Slave Lords were often lax in their vigilance and sloppy in their efforts to prevent loss of the “merchandise.” After one too many shipments never made its destination, the humanoids stepped up their security and the normal channels of escape from Highport closed to Mikaro and his team. He cannot risk exposure by smuggling the freed slaves through the gates as merchandise any longer, since shipments of goods are now regularly stopped and checked. No longer able to free the slaves in that manner, Mikaro began hiding his charges in an abandoned villa in a particularly rundown part of the town. Although they are safe for the moment, their numbers have grown unmanageable, and the priest fears it is only a matter of time before someone slips up and brings slavers to their doorstep. Ever more desperate to find a new means of escape from Highport, Mikaro has started work on a plan that is both daring and dangerous. He intends to use a series of old sewers coupled with natural caverns running beneath the town as an escape route to the sea beyond the walls. But he needs someone to clear out the creatures and pitfalls he knows lie within. Pgs. 2-27

After a successful mission for Earl Phenwick you return to receive your accolades. Upon your arrival it is discovered that the earl's child is missing. His daughter was last seen around a mirror of unknown power and an advisor believes that she may have made her way into a different world via the magical portal. Time to put on your hero hats!

The Submerged Spire of Sarpedon the Shaper lies to the west of the Isle of the Dismemberer. On the northwestern shore of this island, crumbling steps spill from the shore directly into the sea. There, a seaweed choked stone path can be glimpsed winding down into the depths. At low tide, a quarter mile along the path, a lone onion dome may be seen poking through the waves. In the twilight of the sorcerer lords, The Submerged Spire was the jewel of the Shattered Isles. Within his submarine redoubt, Sarpedon penetrated ever deeper into the organic mysteries. Now, its for- lorn dome the roost of seagulls, its secrets slumber beneath the waves.

Giants have emerged from their strongholds to threaten civilization as never before. Hill giants are stealing all the grain and livestock they can, while stone giants have been scouring settlements that have been around forever. Fire giants are press-ganging the small folk into the desert, while frost giant longships have been pillaging along the Sword Coast. Even the elusive cloud giants have been witnessed, their wondrous floating cities appearing above Waterdeep and Baldur’s Gate. Where is the storm giant King Hekaton, who is tasked with keeping order among the giants? The humans, dwarves, elves, and other small folk of the Sword Coast will be crushed underfoot from the onslaught of these giant foes. The only chance at survival is for the small folk to work together to investigate this invasion and harness the power of rune magic, the giants’ weapon against their ancient enemy the dragons. The only way the people of Faerun can restore order is to use the giants’ own power against them.
Part 4 of the Carrion Crown Adventure Path brings the heroes to the small fishing village of Illmarsh. The party is searching for a dark rider of the necromantic Whispering Way cult and will discover the strange practices of the deeply religious inhabitants of Illmarsh. Rumors of madness, strange disappearances and human sacrifices to things best left unnamed lead them to investigate the town church and its history. They'll find a desperate people, caught in a war between beings from beneath the seas and invaders from the darkest corners of the cosmos. Can the heroes save Illmarsh from its tradition of terror? It is worth noting that this story is heavily inspired by The Shadow over Innsmouth by H.P. Lovecraft and the role playing game Call of Cthulhu. If you're planning on going through the whole adventure path of Carrion Crown, the module Carrion Hill could easily be fit between book 3 and 4, as the party will travel directly through the area where this one shot adventure takes place. This book includes: - “Wake of the Watcher,” a Pathfinder RPG adventure for 9th-level characters, by Greg A. Vaughan - Blasphemous secrets of the foul faiths known collectively as the Old Cults and sanity-shattering gods such as Azathoth, Nyarlathotep, and Cthulhu, by James Jacobs - A giant bestiary filled with eight classic monsters inspired by the writing of H. P. Lovecraft and the tales of the Cthulhu Mythos, by James Jacobs and Greg A. Vaughan - Laurel Cylphra’s discovery that the dead aren’t the only dangers in Ardis in a new entry into the Pathfinder’s Journal, by F. Wesley Schneider.

The End of the World Is at Hand! A hideous death cult has seized control of an ancient artifact-monument known as Tovag Baragu. The power behind the cult is the Old One himself, Iuz the Evil, demonic master of an empire. He's on an all-or-nothing quest for supremacy over the world—and the heavens beyond. To stop him, heroes must face horrors never dreamed of, journeying to a shadowed city where Death rules and the living cower. Here, Iuz will achieve his mad dream by destroying the imprisoned master of that alien citadel: Vecna, the mightiest lich, an immortal demigod. Two items exist with the power to stop Iuz—the Eye and the Hand of Vecna—but using them carries fantastic risks. Not even the gods know what will be unleashed when these items are fully activated. Die Vecna Die! takes the heroes from the Greyhawk campaign to the demiplane of Ravenloft and then to the Planescape city of Sigil. However, none of the material from those settings is required for play. TSR 11662

An old elf has wandered into the city from the jungle--prattling on about his long-lost daughter to anyone whose ear he can bend. Though most in Port Nyanzaru dismiss him as mad, he speaks the truth. Can you find and save his daughter?
The Dungeon of Graves, is nothing more and nothing less than a good, old–fashioned, First Edition dungeon crawl updated for the 5th Edition Roleplaying Game. Very difficult, it should strike fear into the hearts of the most stalwart adventurers. It offers an abundance of traps, tricks, and monsters. We hope that you find this module as fun and exciting as those thousands of players who have ventured into (and not as often out of) the endless caverns and mazes of Rappan Athuk—The Dungeon of Graves. Rappan Athuk is a difficult dungeon. Even the upper dungeon levels should not be attempted by a party of less than six mid-level characters.

Do you want your players to feel like they are in a zombie movie, struggling against a deadly horde that tries to surround them, overpower them, and bear them down to the ground to be devoured? This is an adventure that can threaten even the stoutest of characters, and is not recommended for parties of levels 12 or below unless they are larger than normal. This module is designed to take 4-8 hours of play and cover a single day, depending on the party’s speed of play and how thoroughly they decide to explore. It includes suggestions and some plot hooks that can be used to tie this easily into a variety of long-running campaigns, or it can be run as an indepdent adventure. The players will come upon a sacked town, figure out what happened, track an item whose theft has ominious implications for the region, and explore a partly-flooded old temple to end the threat. It's primarily combat-focused, but there are a few areas where exploration and route choice makes a difference, as well as traps if the party goes for the optional temple treasury. The antagonists in this module are mostly ghasts and ghouls, but the module title and cover page are deliberately selected to not spoil this. These are greater ghouls and ghasts that can challenge higher-level characters, backed up by mobs of lesser ghouls that can surround, paralyze, and devour the weak and unlucky, led by a Warlord whose aura can drive even the stout-hearted into forgetting their plans in a moment of madness.

Venzor Trench is set for a group of characters hired to deliver a magical item between two warring countries. The sea voyage becomes tumultuous and the ship goes down. With the mission unfilled the players utilize the magic item to survive on the bottom of the sea floor and continue to trek their way towards completing their misson through the legendary Venzor Trench!
Terror Under the Sea The peaceful undersea village of Sequavia has been mysteriously abandoned. It looks like all of its Cheltarian residents have just stopped what they were doing and left. It’s up to a party of stalwart undersea adventurers to find where they all went, and bring them home. This Tales of the Valiant Compatible One Shot Adventure Provides: • A small dungeon for PC’s to explore • Statblocks for important NPCs. • 8 magic items that aren’t what they seem
Called by the Elder Elemental Eye to serve, four corrupt prophets have risen from the depths of anonymity to claim mighty weapons with direct links to the power of the elemental princes. Each of these prophets has assembled a cadre of cultists and creatures to serve them in the construction of four elemental temples of lethal design. It is up to adventurers from heroic factions such as the Emerald Enclave and the Order of the Gauntlet to discover where the true power of each prophet lay, and dismantle it before it comes boiling up to obliterate the Realms.

A Twisted Level 4 Adventure of Science and Sanity Lost by Infinite Initiative They wanted perfection. They got him instead. Beneath the sea lies a sunken research city—once a marvel of arcane progress, now a decaying labyrinth of broken glass, failed experiments, and whispers in the dark. At its heart, a mad scientist clings to his vision, bending corpses and constructs to his will. The players must brave an abandoned lighthouse, activate a long-dormant portal, and descend into the abyssal halls of a drowned facility. But something stirs in the tanks… and it’s not alone. Inside the Adventure: A puzzle-filled lighthouse and a cinematic octopus encounter A non-linear underwater dungeon teeming with mutated horrors Tactical environments: flickering labs, crumbling windows, and flooded chambers A final boss fight against a deranged scientist and his unstable Abomination Includes new stat blocks and a unique magic item: the Cloak of Protection (as a warded lab coat) This is a dark, atmospheric one-shot perfect for groups who enjoy horror, puzzles, and morally twisted villains. Part of the Thirsty Tiger Tales series by Infinite Initiative.

Stormy seas rock your vessel, tossing her about like a toy in the jaws of a hound. Thunder rolls in the distance. Then, an arc of lightning splits the sky, and the sound like an exploding fireball all but bursts your eardrums. Your mainmast, struck by lightning, burns, splinters, and topples onto the deck like a felled oak. The last thing you hear is the cracking of wood as the deck explodes into splinters, and the ship is torn asunder. All goes black. You awaken in shackles, half-submerged in water, and surrounded by salmon-pink coral. You survived, but what fate awaits you now? The sound of soggy footsteps echo down the hallway. A creature approaches with an answer. This week’s encounter is Coral Colosseum, a combat encounter in which the characters must prove themselves as worthy gladiators to escape the clutches of a ruthless sahuagin baron. This encounter can serve as a follow-up to Encounter of the Week: Sharkfin Shipwreck, or as a stand-alone mini-adventure. It could also serve as an introduction to Ghosts of Saltmarsh, which releases on May 21st, 2019.

In a cavern lying beneath the surface of the ocean is a series of trials awaiting any heroes who think they are worthy. Come meet the ancient tortoise who wants nothing other than to try out his riddles, partake in the bullywug tournament with such exciting events as Wig-Wag-Woe, and face down the wrath of a mindflayer. Contains multiple uniques puzzles and riddles to give your players a challenge beyond combat.