
To arms! To arms! The battle lines are drawn as desert men and inhuman tribes wait poised to strike on the fertile and rich lands of the east. The call has gone out through the civilized lands. The armies have been raised to match the invading foes from the west. Nobles and peasants have joined swords to greet the foes. But Fate or Chance has decreed another role for a small few. No glorious banners will wave on their march. No squadrons of knights will charge at their word. Instead, they will fight the war with stealth, secrecy, and cunning. The risks they will take are great, but the fates of both armies lie with them. It begins one night for your party far from the fighting. Suddenly you are entrusted with the most dangerous mission of the war. Can you cross the Sind Desert, occupied now by enemy armies, to find the Great Pass? Can you find the one known only as The Master? What will you do if you find him? So begins your adventure in The Master of the Desert Nomads, the first module of a two-part adventure that can be concluded in the exciting Temple of Death or played entirely on its own. Can your party do what must be done? TSR 9068

Sent on a desperate mission into an unknown land, you must seek out the one called "the Master" and his Temple of Death. There is little time to waste, as you must act before the Master's armies destroy your homelands. But to complete your task, you must battle fearsome guardians, travel through a hostile kingdom, and discover the secret of the master. Can you survive his defenses and win? This module contains referee's notes, background, maps and detailed keys. It is the second adventure in the two-part Desert Nomads series begun in X4, Master of the Desert Nomads, but it can stand on its own as a seperate adventure. Wheter you play Temple of Death by itself or as part of a series, the adventure will offer you hours of excitement and fun! TSR 9069
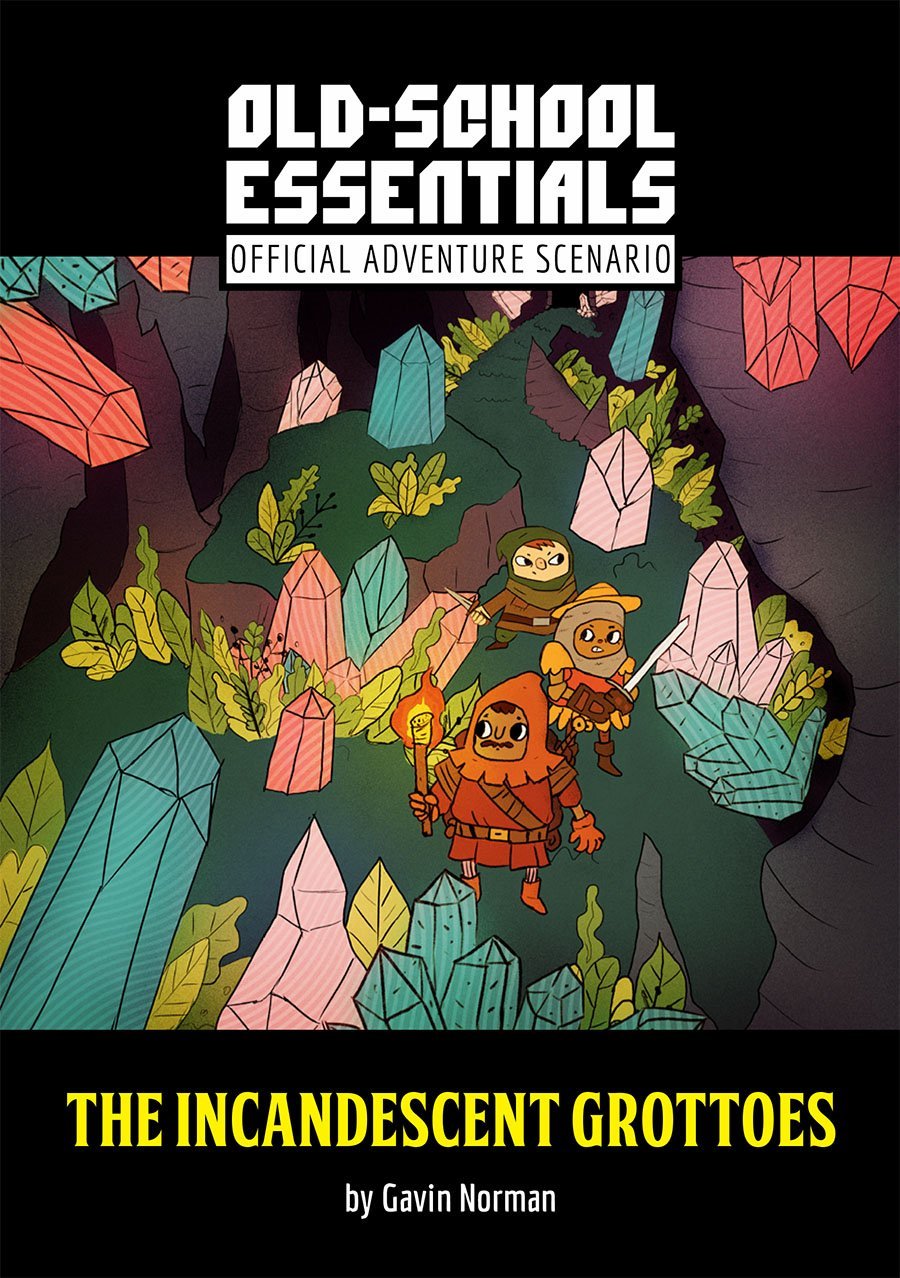
A bubbling stream cascades into a hole in the earth, leading to a series of underground watercourses and scintillating grottoes. Adventurers who delve within may discover odd mosses and fungi, a ruined temple complex, and the lair of a crystal-eating dream dragon.

The small town of Boldon, and its surrounding villages are afraid. Dozens of people are missing, some speculate lost to some nefarious purpose. A broken drunkard tells fantastic tales of an evil temple and the horrible things within. The rare few who know the legends and history of the region are beginning to think the dark times have returned; not seen since the fall of the first age of man. People are beginning to feel the icy fingers of fear closing in. The party becomes aware of these events, and is inspired to investigate. This leads them to a broken man who tells them a story of a lost temple. Has it been rediscovered by men seduced by its forgotten evil? The drunkard’s tale leads to others who might help the party discover more before they face The Lost Temple of Forgotten Evil. Published by Fat Goblin Games

The Land of Ash and Smoke. Once a hellish landscape of volcanic activity, now a nightmare region that hosts one of the scattered Soulmonger fragments. The fragment’s burgeoning power attracted the attention of the Red Wizards of Thay and, thankfully, adventurers who are willing to risk life and limb to keep the fragment from these vile arcanists. Can you reach the fragment before the Red Wizards make off with it? The hunt is on. Part Two of the Broken Chain Series. A Four-Hour Adventure for 17th-20th Level Characters

The Godless Depths For the first time in eons, ancient aberrations are emerging from the deep ocean. Driven by some otherworldly fervour, they encroach upon the local villages, searching with beady eyes for anyone linked to the Gods. Even now you hear rumours of kidnap, men and women dragged kicking and screaming into the depths.

Near the jungles of Chult, beneath the waves of Refuge Bay, lies a ruined city. Evil hags and their minions make their home among the ancient relics. Even deeper down, at the bottom of an old undersea lake, an otherworldly monstrosity guards its eclectic hoard of oddities. What does it know about the Soulmonger? An adventure for characters between levels 4-6 Requires the Tomb of Annihilation adventure This 44 page adventure adds Ishau as a location to your Tomb of Annihilation campaign. It describes the city's history and current inhabitants, including maps, new monsters, and treasure. In an undersea temple, characters face off against a coven of sea hags. The sunken wreck of the Decapus is the lair of sea spawn pirates. And among the ruins lurk giant crabs, skeletal sharks, vegetan mummies, and other monstrosities. A second location, complete with keyed maps, is available to characters who wish to dig deeper: the underwater island-domain of a Morkoth, pulled into Chult by Acererak's magic. The Morkoth's home is in disarray. Trophies it collected from across the multiverse are now running wild and its treasures are being looted by marauders from Ishau. If the characters help, it may share its secrets with them.
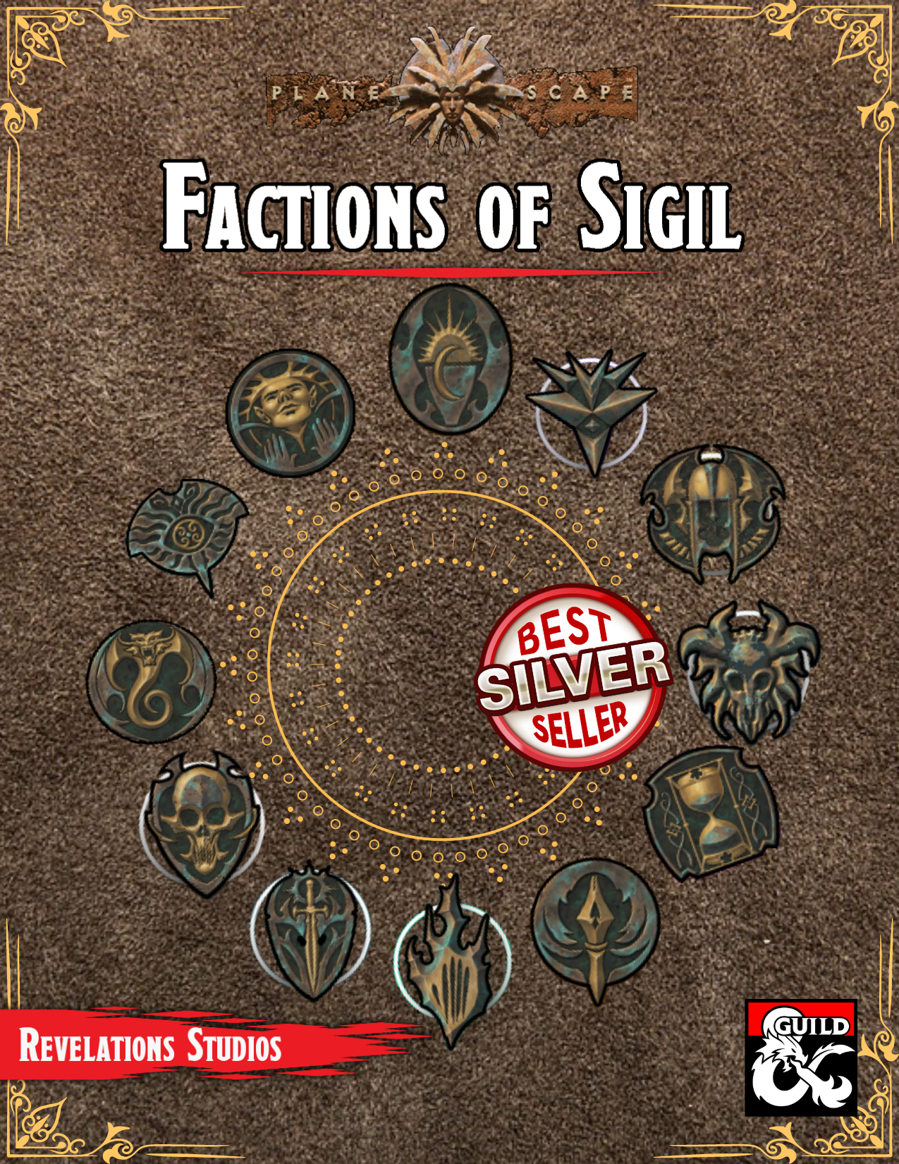
We get it. Factions are an integral part of D&D, but it's not always clear how to use them in your campaigns. Luckily, Factions of Sigil has you covered for each of the twelve main factions found across Sigil and the Outlands! This supplement goes over the various rules and lore around the primary factions found in Sigil and the Outlands, making it easy for any new or veteran DMs to integrate the factions more into the core stories being told, and making them feel more useful for the players that choose to join. This adventure sees the characters ally with the Athar of Sigil to raid the Abbey of the Iron Star and destroy the devils within who are attempting to bring Asmodeus to Sigil.
The characters, members of the Clifftop Adventurers’ Guild, have been tasked with acquiring the Chains of Mur’taal, an artifact tied to Thelanis, by their guild handler, Lhara. This artifact is the latest in a series that Provost Nigel Faurious has commissioned the Clifftop guild to retrieve for him. The adventure starts when the characters arrive in Rhukaan Draal via Orien caravan. They’re given a chance to explore a small portion of the city before they head to a local bar to meet their contact provided by Lhara. Accompanied by a local guide, they make their way to the Seawall Mountains, where they’ll have to follow clues and their intuition to find the Valley of the Hero, which conceals the artifact that they’ve been hired to obtain. In order to earn the artifact, characters must first pass three tests laid before them by the Story: The Test of Courage, the Challenge of Wisdom, and the Trial of Honor. Once they finish the tests and collect the artifact, the party heads back toward Rhukaan Draal. But there are Marguul forces in the area, and they don’t intend to let the heroes escape with a priceless piece of their folklore…

Do you want your players to feel like they are in a zombie movie, struggling against a deadly horde that tries to surround them, overpower them, and bear them down to the ground to be devoured? This is an adventure that can threaten even the stoutest of characters, and is not recommended for parties of levels 12 or below unless they are larger than normal. This module is designed to take 4-8 hours of play and cover a single day, depending on the party’s speed of play and how thoroughly they decide to explore. It includes suggestions and some plot hooks that can be used to tie this easily into a variety of long-running campaigns, or it can be run as an indepdent adventure. The players will come upon a sacked town, figure out what happened, track an item whose theft has ominious implications for the region, and explore a partly-flooded old temple to end the threat. It's primarily combat-focused, but there are a few areas where exploration and route choice makes a difference, as well as traps if the party goes for the optional temple treasury. The antagonists in this module are mostly ghasts and ghouls, but the module title and cover page are deliberately selected to not spoil this. These are greater ghouls and ghasts that can challenge higher-level characters, backed up by mobs of lesser ghouls that can surround, paralyze, and devour the weak and unlucky, led by a Warlord whose aura can drive even the stout-hearted into forgetting their plans in a moment of madness.
The temple of dawn was once a place of miracles and wonders, the jewel of its valley. Now it’s nothing more than a folk tale hidden in lullabies and tall tales of boastful hunters. But not everyone has lost faith in the Goddess of Dawn. In this brief adventure, for 3-4 adventurers of level 3-5, Kendrick Rosenbud asks the players to retrive a gem belonging to his family from the temple of Aurora. After some days of travelling the party reaches the temple. from here on out its the players job to discovere the hidden room with the gem and take it back to Kendrick.

FQ6 – Vortex at the Temple continues the quest for the missing pages of the Codex of Gamber Dauch. This adventure takes the PCs to the ancient temple of Kabish Mo-Del a former druidic stronghold. Once there the party will have to battle creatures and puzzles to continue. If successful the party may just find themselves in a foreign land and have to find their way back home!

A beloved priest has gone missing, and sinister trouble stirs beneath the Church of St. Terragnis. Can the heroes rescue the victims of an age-old evil before it claims more innocent lives?

Slumber in the Sands – A Level 6 Adventure Beneath the shifting desert dunes lies an ancient ruin, home to a fanatical goblin tribe that worships a slumbering blue dragon as their god. Traps, puzzles, and hidden dangers fill the dungeon, all designed to protect the dragon’s hoard. Can your party navigate the treacherous ruins and escape with the treasure before they awaken the beast? This adventure includes: ✅ A sandbox-style dungeon crawl with multiple paths to success ✅ Dynamic encounters featuring goblin zealots, deadly traps, and a cunning Sand Druid ✅ A time-twisting magical artifact – the Hourglass of Stilled Time ✅ DM-friendly layout for easy reference and play Perfect for one-shots or as a drop-in adventure for your desert campaigns! Will your party slip away unseen, or will they awaken the dragon’s wrath?

A group of orcs has decided to start ambushing travellers on a forest road between two prosperous towns. Led by the enigmatic "Big Man" these orcs focus on robbing people, but tend to avoid violence. When the characters stumble upon this band of orcs robbing a halfling, do they give up their money to save him? Or risk the halfling's life to attack these bandits?

The Shades of Bodach Ridge Whitepeak has a dark history of black magic originating with the evil witch Skruul the Reaper. The dark rituals she conducted seemed sure to plague the region, until a plucky group of adventurers thwarted her plans sending her into a state of perpetual fractured undeath. Now souls scatter from her old haunt on Bodach Ridge. What could have set these souls free?
An adventure for 3-4 characters of Levels 3-4 exploring a ruined temple in a deep forest, with new monsters, new magic items, and all new original art. Deep within the Forest of Legressia lies a ruined temple of a long forgotten goddess. This ancient, crumbling temple is rumored to contain an artifact of the faith deep within its bowels, but also to be guarded by a shadowy malevolence. Your party has been tasked with reconnoitering the temple and retrieving the artifact. Great rewards await those courageous (or foolish) enough to delve into the Shadowed Temple of the Forgotten Goddess... https://www.drivethrurpg.com/product/475049/OSR-One-Shot--Shadowed-Temple-of-the-Forgotten-Goddess?src=hottest_filtered The adventure includes: 5 fully fleshed out encounters within the temple. Traps, monsters, riddles, and mysteries abound Four new monsters, two of which are variants of the shadow-bound Umbrathi, charged as guardians of the temple's secrets Harvesting and crafting options, for defeated and destroyed foes A new magical item, the Amulet of Redemption Lore connected with the world, including tie-ins to adventures to come A professional battlemap/sitemap from the superb Silver Compass Maps Incredible orginal artwork from Simon Underwood and Carlos Castilho Map Pack: includes gridded and ungridded versions of both GM maps and player friendly maps. Also includes VTT compatible maps

Summoned by the ruler of the Moonshae Isles, the adventurers are asked to seek out the five lost Temples of the Earthmother. A 12 hour adventure for 5 players of 1st-3rd level characters.

A monastic community of elves and orcs worshipping a divine daughter of both Corellon and Gruumsh tried to bring peace and reconciliation between the two races. For their trouble, they were wiped out by zealots and erased from history. Centuries later, their mountaintop temple is rediscovered -- and rumor has it that two artifacts hearkening back to the very origin of elvenkind and orcdom are concealed within....

A dark and grievous peril has befallen the peaceful free-village of Peppermint as the forces of undeath raised by Senerith Wildblossom, ravage the land. An eon ago he was a proud elven healer of great renown in Duskwood Dell, that has been reduced to a mere husk of his former self, becoming a manifestation of pure evil, intent on wreaking havoc and mayhem to all the living – a Zombie Lord. The players are called to assist Peppermint village and investigate the nearby woodcutting hamlet of Snakewood. The hamlet has been destroyed by the despicable zombie lord, and his forces are now underway to attacking Peppermint too! The players will have to travel to Snakewood hamlet as well as what used to be Duskwood Dell, and then make a mad rush against time while also carrying an injured Halfling, to warn and defend the unsuspecting villagers.