
A monastic community of elves and orcs worshipping a divine daughter of both Corellon and Gruumsh tried to bring peace and reconciliation between the two races. For their trouble, they were wiped out by zealots and erased from history. Centuries later, their mountaintop temple is rediscovered -- and rumor has it that two artifacts hearkening back to the very origin of elvenkind and orcdom are concealed within....

Civil War Unrest. Turmoil. Rebellion. As above, so below - the cataclysmic events of the Wrath of the Immortals echo throughout the Hollow World setting. The Milenian Empire, with its classical Greek culture, has not escaped. Already the streets are un-safe, and the omens are getting worse... The emperor is dead... long live the emperor! But is the new emperor a man of the people, or a tool in the hands of malevolent powers? Walk carefully, for no stranger is safe upon the streets these days, and adventurers least of all! The mood of the capital city is turning ugly. Minions of the new emperor look on uncaring, while citizens disappear and philosophers fall to heedless mobs. The old emperor's elite guards are disbanded and scattered. Disorder reigns, and restless citizens threaten open revolt. And yet... a whisper is heard. Civil war can be averted. An ancient artifact, the Milenian Scepter, can rally those who would serve the Empire best. But the Scepter has been lost for generations, and who can say where it might be? The trail leads into the depths of the city, and across a dangerous wilderness to a forgotten oracle. For the lucky and the bold, perhaps it will lead to... THE MILENIAN SCEPTER This stand-alone adventure is compatible with the Wrath of the Immortals boxed set and the accessory HWR3, The Milenian Empire. You will need the D&D Hollow World boxed set to play this adventure. Easily adaptable to the AD&D game. TSR 9378

In the beginning, a pair of sphinxes — one male and one female — guarded a desert temple in relative peace. They watched over a vault that held a magical ring that could change the world. The androsphinx — Bazymoros — succumbed to corruption; he denounced the trickster god who created him. Bazymoros forged a pact with the demon god, Baphomet, becoming violent and sought to claim the item in the name of his patron. In an effort to save the world, the gynosphinx Asmuzi defeated him. She locked Bazymoros away, never again to see the light of day. The androsphinx remained as an example of what not to become. It has been so long since this battle that much of the knowledge of Bazymoros has disappeared from the collective memory of the races that inhabit the world. All that remains is the knowledge of the dangerous gynosphinx made from the flesh of human and creature. . . and the treasure she keeps.

The party is enlisted to assist the Righteous Host, an army formed as a last resort to defend the world against the monsters of Elemental Evil. The host is greatly outnumbered. Its leaders send the party on a series of missions, each of which will give the Righteous Host an edge in the great battle to come. This epic adventure ends with the final push against the forces of Elemental Evil in the Meadows, and the outcome is informed by how effective the party is in their missions... and whether they are willing to risk putting themselves in the front lines. If the Righteous Host loses, players may decide to travel to Hommlet or other nearby towns to defend them. Whether the host is successful or not, players can decide to follow many different plot threads: exploring the Temple of Elemental Evil, finding the lich Kell the Eldest's lair and destroying his phylactory, or following the will of Bitbaern's Shield and discovering historical sites that were previously lost. Pgs. 44-69

The Sunken City is a companion adventure made to go along with events unfolding in Folio #18 (WS5 The Shattered Tower). It contains the information needed to run a side adventure that will help characters in their journey through The Corsair Mists. After completing the tests of The Shattered Tower, the players are invited by the sea elven queen to ward their ship and crew from the Ghost Eye Corruption that lurks within the mists. Plunging into the waters that now cover one of the lost trade cities of Uthoria, the players must overcome a corrupted dwarven temple to find the cure for the contagion before it can take over their ship. This adventure is formatted to both 1E & 5E gaming rules.

Buried in fire, but hardly dead. Only the Keep survived the destruction of Koralgesh, but few adventurers will survive the terrors that now stalk the lost Keep's halls. Players hear rumours of the Keep at Koralgesh and then traverse it to acquire the treasure within. Pgs. 45-64
Hundreds of years have passed since the great war of Valhalla, but the repercussions are known throughout the lands. The Valkyries were once Odin’s greatest warriors who ferried the dead to the eternal resting place of Valhalla. Odin tells it that their duties asked too much of them and their minds were corrupted. In fits of uncontrollable rage and anguish, they began to slaughter the warriors they once protected. Only four Valkyries survived the war; in their cowardice, they fled to Midgard and hid amongst the mortals. You have been tasked with finding the last Valkyrie and destroying her, once and for all ending the Madness of the Valkyries. But there may be more to learn in the once-great halls.
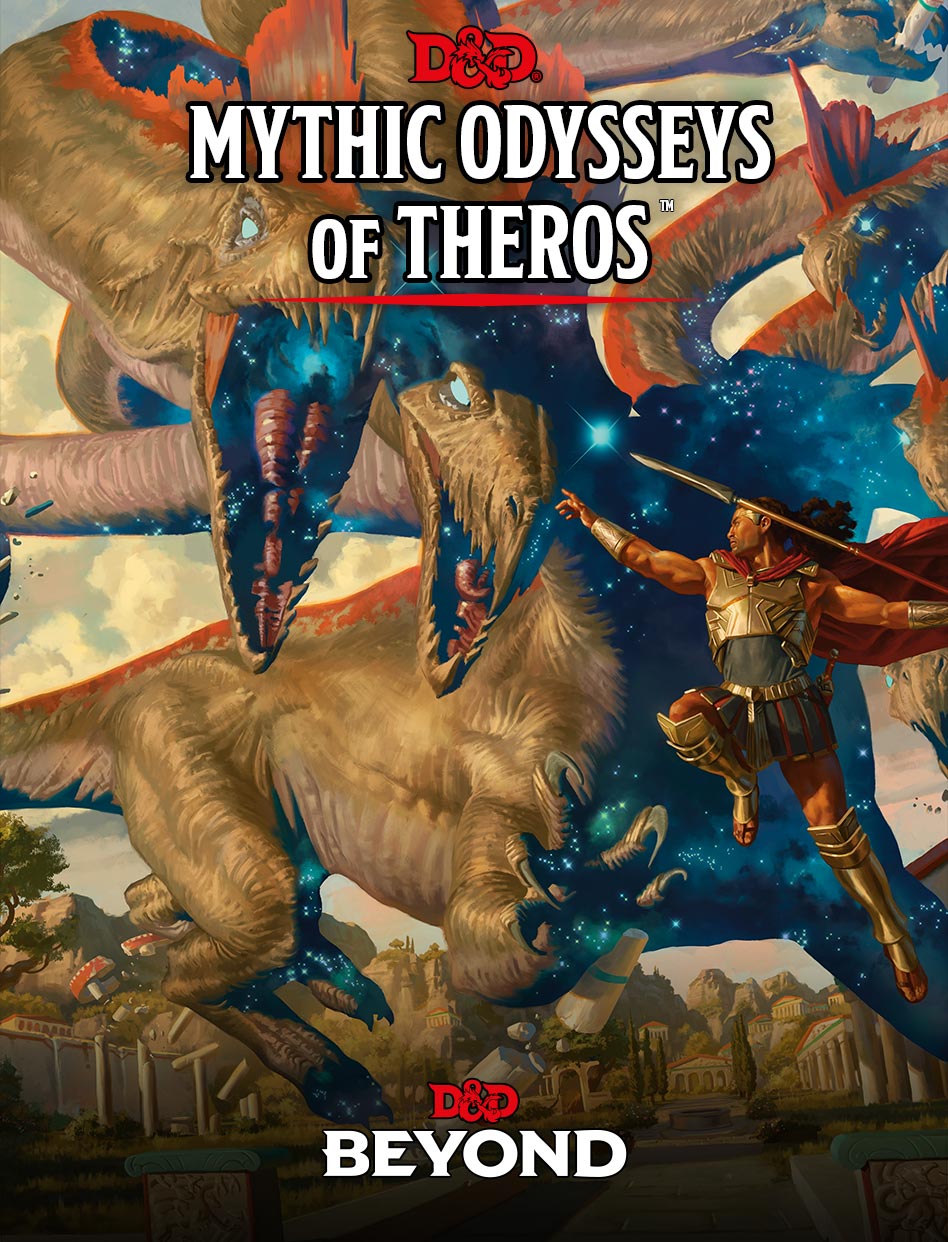
The adventure begins with the characters discovering the recently murdered Returned, Varyas, and confronting his killers. Varyas's gold mask bears a code on it, one that points toward the sage Khea who lives in the nearby polis. When the characters investigate, they learn from Khea that the writing is undecipherable except for the first line, which refers to the legendary Court of Orestes, a site sacred to the god Phenax. She also notes that a recent earthquake has uncovered a cave along the Khystonos River that could be the secret site's location. If so, then perhaps within lies the key to deciphering the mask, along with its own treasures. With the information provided by Khea, the adventurers set forth into the wilds, where they'll face multiple storied dangers before reaching the Court of Orestes. Once at the lost holy site, the characters discover ancient guardians, as well as an unliving entity with the potential to reveal Phenax's lost secret.

While traveling through a jungle expanse, the party meet a trader named Smera with a strange tale. Turned away from a nearby outpost, the trader is now heading back to civilization. Curiosity leads the party to the outpost, which has been destroyed. A strange disease has taken the outpost’s inhabitants, who built the place in support of a scholarly excavation of a nearby temple ruin. Following the path carved through the jungle by the excavation team, the PCs find the temple and its secrets. In this moss-covered and dark adventure, the party explores an old temple, faces its verdant guardians, and finds the source of the strange disease.

We saw it—don’t turn your heads. Up near Hilltop Crossroad and the temple. It walked south; the trees fell in its path. Even the moon hid. Gods help Father Dren . . .
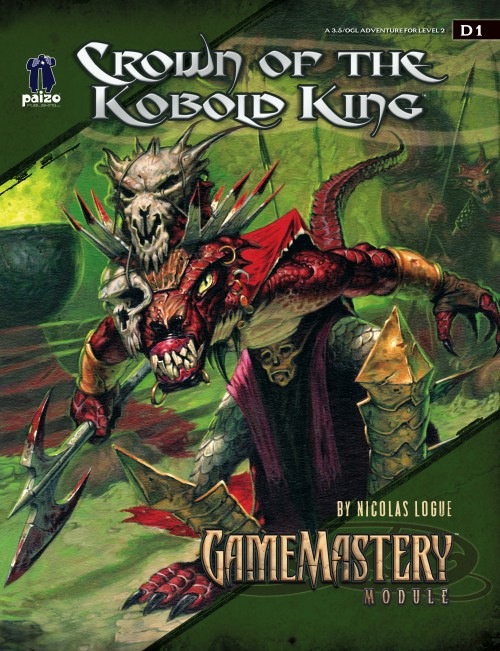
The crown of the kobold king will be anointed in blood. Five children from the town of Falcon’s Hollow have gone missing, dragged off into ruins underneath a cursed dwarven monastery. Soon they will be sacrificed to the crown, all to the glory of the twisted King of the Kobolds. If they are to be saved from this gruesome fate, brave heroes must follow their trail to the monastery and plumb the depths of its trap-laden and monster-infested halls.

Driven mad by the darkness of winter, the Prioress of the Red Abbey begins her work. After months of research and work in her lab, she found a way to summon beings of light to push back the darkness, if she could control their destructive natures. The characters find themselves investigating odd deaths, chasing weird weather phenomena and trying to help locals harmed by these creatures of light.
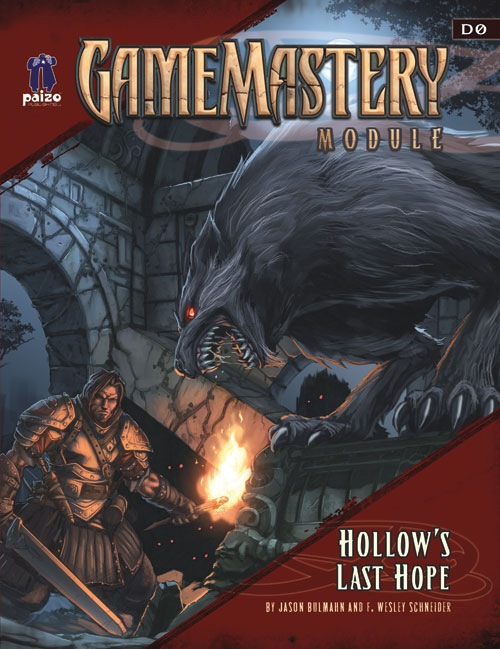
The town of Falcon's Hollow needs a miracle. The plague has come to the town of Falcon's Hollow, and not even the town's priest can abate its wretched course. With the coughs of the sick and the wails of the dying echoing through town, the local herbalist uncovers a cure, but she needs some brave heroes to retrieve the ingredients. Finding the cure means risking the dangerous Darkmoon Vale, infiltrating a witch's haunted hut, and delving the ruins of an abandoned dwarven monastery.
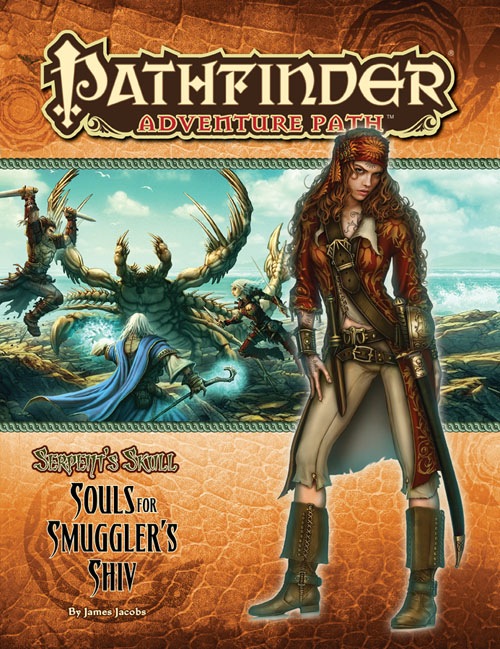
A deadly storm shipwrecks the passengers and crew of the Jenivere upon infamous Smuggler’s Shiv, an island off the coast of the jungle realm of Sargava. If they’re to have any hope of escaping the notorious pirates’ graveyard, the survivors will need to band together to outwit the isle’s strange beasts and legendary menaces. But can the PCs unite the swift-to-squabble castaways, especially when several seem to have mysterious goals of their own? And does Smuggler’s Shiv hide secrets even deadlier than its desperate denizens? This is part one of the Pathfinder Adventure Path "Serpent's Skull", but can be played as a standalone adventure that lasts approximately 10 four-five hour sessions. Great for first time dungeon masters. This is not a seafaring adventure. The PCs are shipwrecked on an island for the entire duration. This adventure ends with (hopefully) the PCs finding a way off the island (reaching level 3). It is therefore a great starting adventure with a definitive conclusion. After this module, you can continue with part two or change into your own homebrew.
For better or for worse. It's up to you to make sure this is the happiest day of their lives - not the most embarrassing! A wedding and a jealous lover what could go wrong. A small and light hearted adventure perfect for kicking off a campaign in a city. Pgs. 50-57
Why would a town refuse to be rescued? A highland town faces a greater danger than can be imagined - and no one wants your help against it. In a remote village in the desolate north, a spate of murders and kidnappings has the town on edge. A woman named Gwendolyn goes missing and it is suspected that Albee is the perpetrator. However there is a conspiracy in the village that the heroes must unravel, to which they discover is actually the sinister plot of a devil worshiping cult. Pgs. 33-43

An army has appeared from the desert wastes led by a sorcerer said to be immortal. Fearing imminent attack, the Border Kingdoms have sent assassins to slay this so called Ravager and find this terrible rumor is true. You are tasked with discovering the secret to the sorcerer's immortality, hidden amidst an ancient crypt.

Something's rotten in Restenford! A plague of giant rats is the least of Restenford's worries. The adventure is set in the town of Restenford but with a little work can be adapted to fit almost any setting that features pirates (or once did). Pgs. 10-29
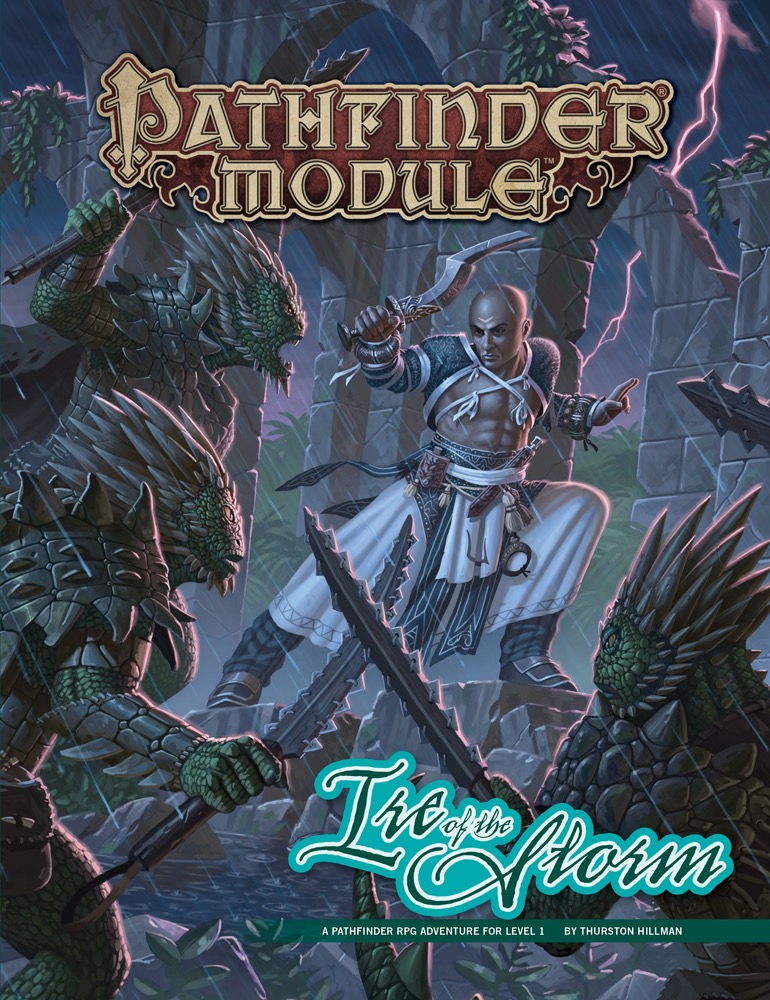
Pridon's Hearth is Sargava’s newest colony, pushing the country’s borders further south than ever before and attracting treasure-hunters, fortune-seekers, and troubled souls hoping for a fresh start. But unnaturally powerful storms rock the tiny settlement just as the local lizardfolk tribe declares war on the colonists within. Are these threats somehow related? What became of the heretical cult of Gozreh that journeyed to the region a century ago, and do its corrupt teachings hold the key to calming the growing hurricane? Can the heroes protect the growing community from raging tempests and hostile monsters alike? And what role does the shadowy Aspis Consortium play in these recent dangers? These challenges and more await heroes willing to face down the Ire of the Storm! Designed for use with Pathfinder Roleplaying Game, this adventure is packed with excitement and unique personalities! Written by rising star Thurston Hillman, Ire of the Storm is a deluxe adventure for 1st-level characters, and includes 64 action-packed pages of tropical dangers, jungle ruins, and two new monstrous foes, plus a gorgeous double-sided poster map featuring the Sargavan colony of Pridon's Hearth and an exploration map providing an overview of the entire surrounding region. Players can expect to reach 6th level upon completion of this adventure—or wind up food for all manner of scaly menaces!

Madness in Freeport, the final part of the Freeport Trilogy, details the final confrontation between the PCs, the Brotherhood of the Yellow Sign, and Sea Lord Milton Drac. In Part One, the Drac invites the PCs to the Grand Lighthouse Ball. Careful investigation can reveal the secret purpose of the lighthouse. In Parts Two and Three, the PCs must recover a powerful artifact to thwart the Brotherhood's plans. They must pass through an infamous pirate's hidden caves, then search a sunken temple of the serpent god Yig. In Part Four, the heroes must enter the Grand Lighthouse, AKA Milton's Folly, in a race against time to stop the Brotherhood's world-shaking master plan from coming to fruition. (Bibliographic note: This adventure was originally written for v.3.0, and later updated to the v.3.5 rules. The revised versions of Death, Terror, and Madness in Freeport were reprinted in an omnibus edition, along with two shorter filler adventures, as The Freeport Edition: Five Year Anniversary Edition.)