
In this adventure, the PCs discover that not all souls rest easy, particularly those spirited away to Nightwyrm Fortress. To learn the truth, players must pierce death's veil itself and enter the Shadowfell, where sinister echoes of life wing through eternal gloom. This adventure can be run as a stand-alone adventure or as Part Three of a three-part series of adventures (starting with P1 King of the Trollhaunt Warrens(TM) and P2 Demon Queen's Enclave(TM)) that spans 10 levels of gameplay.

A great evil force descended on the town of Phlan years ago. The townspeople were all either killed or driven away, and Phlan became (literally) a ghost town. Fifty years later, the survivors are ready to reclaim their town. But they need a band of strong and brave adventurers to lead the fight-they need you. Ruins of Adventure is a set of connected short adventures written by James Ward, David "Zeb" Cook, Steve Winter and Mike Breault-four names familiar to all AD&D game fans. It uses the same setting, locations and characters as the classic computer game Pool of Radiance by Strategic Simulations, Inc. In fact, many of the scenarios here in Ruins of Adventure will provide important clues to the successful completion of Pool of Radiance. TSR 9238

East of Beregost, nestled in the outskirts of the Wood of Sharp Teeth, Durlag’s Tower has intrigued and yet stymied adventurers for decades. Stuffed full of mechanical traps and arcane wards, and rumored to be inhabited by fiends, very few have managed to extract any REAL treasure from the former home of Durlag Trollkiller. However, a powerful item in the ancient fight against the giants is said to be housed there, and the cloud giant Baron Rajiram has committed significant resources toward recovering it. After a pleasant tea in her garden, SEER calls upon you to beat him there and put a stop to his efforts! Continued in Durlag's Tomb.
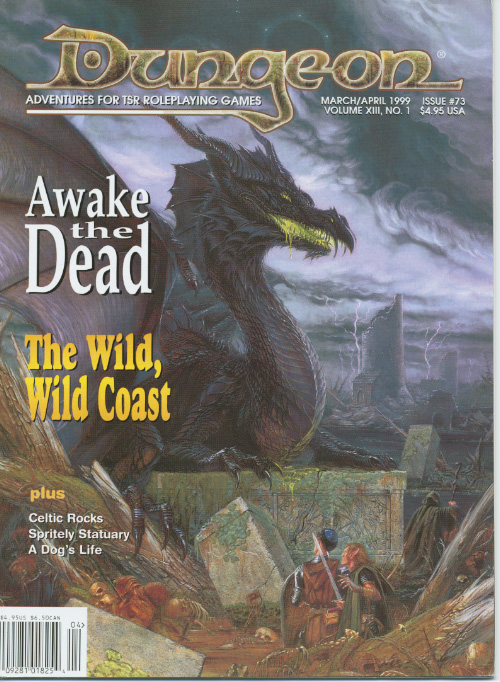
Retrieve the bones of a dracolich to save the life of a paladin. The epic conclusion of the Mere of Dead Men series. Set in the Mere of Dead Men region of the Forgotten Realms.

The battle against the slavers continues! You end your fellow adventurers have defeated the slavers of Highport, but you have learned of the existence of another slaver stronghold, and you have decided to continue the attack. But beware! Only the most fearless of adventurers could challenge the slavers on their own ground, and live to tell of It! Second part of Scourge of the Slavelords (A1-4) TSR 9040

Have you ever wanted to raid your neighbor’s garage for that tool they “borrowed” a year ago? Or dig through your friend’s closet because you know half your wardrobe is hiding in there? What if you had a band of adventurers to do it for you? The wizard Rastakeen needs a book returned that he lent his not-so-esteemed colleague, Frex, some time ago. Apprentices are for running errands you don’t want to do yourself, right?

A quick-paced exploration of the magic tower, home to the great Solomon, the Master Conjurer, an expert in fiendology. Adventurers have to find Control Orbs to disable the tower's security system before it destroys them, and discover the secrets of the tower in the process. Their progress will be ushered by a seemingly helpful entity with nefarious intent - Zarloxar, the blue Abishai. The success of adventurers could also finally spell freedom to the fiend... or not if players, under stress, will realize the trickery in time. Part of "Detailed Encounter" series - each "Detailed Encounter" - features new monsters with unique stat blocks, new magic items, a custom battle map, and detailed NPCs. It also has story hooks and advice enough, to quickly turn it into a separate adventure!
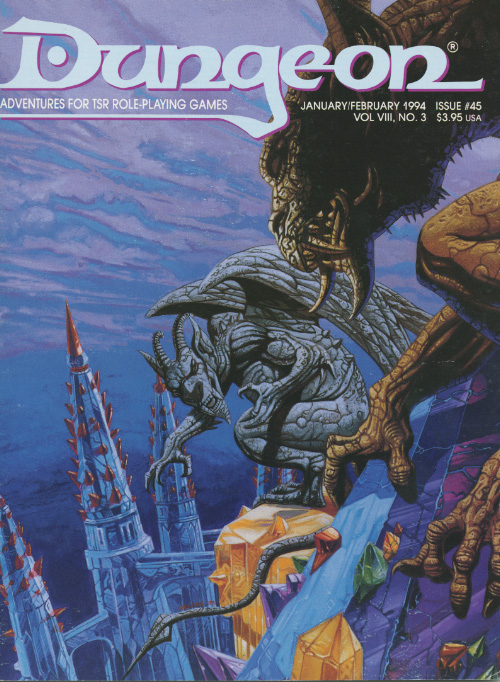
To a reigar, art doesn't imitate life, it is life. "An Artist's Errand" is an AD&D Spelljammer adventure for 4-6 good-aligned characters of level 6-8 (about 35 levels total). The module assumes the party is familiar with spelljamming. The party should include at least one spell-caster, preferably a wizard, but a party of resourceful (and powerful) fighters and rogues should be able to complete the adventure. PCs with an understanding of navigation, elvish, and engineering will come in handy as well. The party need not own a spelljamming ship to complete this adventure. Pgs. 8-31

Enter the Dwarven Forge world of Mythras with the first part of this new city and miniatures based trilogy, The Hidden Valoria Campaign. Discover the world built to provide tabletop with unique miniature opportunities using Dwarven Forge licensed products. Take on the adventure as newly relocated members of the neighborhood of the Patina Court. Battle gangs, undead, and other threats as you try to make a living inside this ancient and mysterious city. This adventure is formatted to both 1E & 5E gaming rules. Also available in PDF.

"The adventure begins with the PCs lost in the streets of Sigil's Lower Ward." --from the module. The PCs are approached by a tiefling telling them about a job. The tiefling's employer wants the heroes to search for a child who is rumored to be some sort of chosen one from an ancient prophecy. Includes a map of Durkayle's Stronghold, a map of the Black Sail Tavern, a map of the Screaming Tower, and an isometric map of Zactar Cathedral.
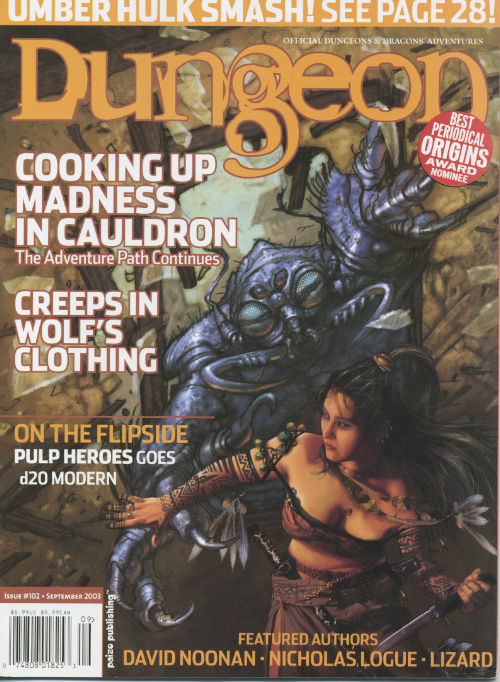
Part 3 of the Shackled City Adventure Path "Wherein a tribe of the Sea Mother's children suffer for sparing the life of a mad prisoner they probably should have eaten." Synopsis: The adventure begins with an Umber Hulk attack in the middle of the city. The fame gained by assisting during the attack allows them to gain the notice of a representative of Davked Splintershield. The group is asked to rescue Zenith Splintershield from a Kuo-Toan temple in the Underdark. But to find it, they have to visit Crazy Jared to locate an entrance to it. Upon journeying to Crazy Jared's, they fight Hookface's offspring. After more travelling, they are able to descend into the Underdark. Once they find the Kuo-Toan temple, they must fight through many hard challenges, only to realize that Zenith is not a prisoner, but instead is a prophet. Zenith does not go willingly, and so must be captured. Pgs. 28-61
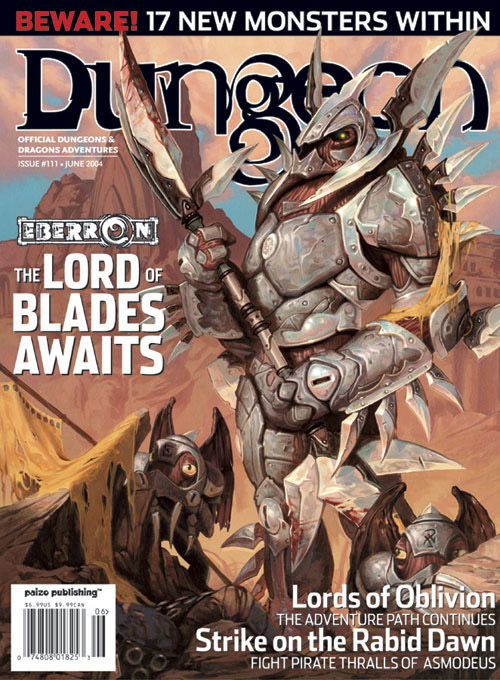
The Shackled City Adventure Path enters the home stretch as the forces of evil take direct action against the heroes of the Cauldron. Dangerous secrets are revealed, important NPCs bit the dust, and your heroes will never know who to trust again! This adventure is seventh part of the Shackled City Adventure Path that began with "Life's Bazaar" (Dungeon #97). Pgs. 36-67

An interesting and atypical adventure in its writing style. For one the module contains insightful "When things go Wrong" sections and DM guidance for sticking close enough to the rails for the story and fun's sake. Lots of DM hints about how to handle PCs' choices. Overall the story is fine too - a traditional hook, a mystery, some twists. There's a tower, a surprise pocket-dimension context, and a dungeon. It's mirror of life trapping, isn't it? Well, yes and no. People go in, and they don't come out. Nor can you talk with anyone inside. Somehow, that's not quite the way you remember those mirrors work. This Skarda fellow showed up a few years ago with a band of raiders, and no one in the land has been safe since then. Whole villages have disappeared into this Skarda's mirror. Your band is approached by relatives of one of the victims?and adventurer like yourselves. You have to get into that mirror of whatever-it-is, find this man, and get him out in one piece. The reward is more that adequate. Only problem is, no one out here can tell you what to expect once you get in? or even how to get there. TSR 9188

Greatwall is in peril - not from military forces of Iuz, but from lack of goods and supplies. Caravans from Willip have ceased thanks to increased dangers on the Willip Critwall Grabford Trail. As the key fort positioned to contain the Iuzian flood, Greatwall is a strategic necessity. Its failure would mean a major incursion along the border. Your characters are hired to escort a caravan from Greatwall to Willip; if its merchants are afraid to come to the fort, the fort will go to them. This should be simple, cut and dried guard job. Right? Of course not. There are many surprises in store for your little caravan, and your characters will need to keep their wits about them day and night in order to make it to the other end. Secret plans are afoot, conspiracies are brewing, and nothing is as it seems while on the Border Watch. This module uses information presented in the From the Ashes boxed set and the Iuz the Evil accessories. However, ownership of these two products is not necessary to play this module. TSR 9406

To Hell and Back Again is the perfect adventure for new players and veterans looking to experience Dungeons & Dragons in a new way! It's written as a solo adventure, where choices have gigantic consequences, but it also provides balanced rules to play with a group or a Dungeon Master as well! This 80 page adventure features: - A heart-pounding origins story that fits perfectly as either a prequel to Descent Into Avernus, a stand-alone adventure, or into your ongoing fantasy campaign. - Beloved characters like Lulu the hollyphant, Mad Maggie and her redcap gang, the archdevil Zariel, and many others brand new to this adventure. - Infernal War Machines, and exciting encounters with unique stat blocks. - Innovative Destiny and Traits mechanics that make your choices really matter. - A ton of possible outcomes that will fuel your character's many adventures to come! - Four gorgeous sample characters, with interactive character sheets designed to be new-player friendly so that you can jump right into the story if you'd like. - A community survey when you finish so that you can see how your outcomes and choices compared to other players!
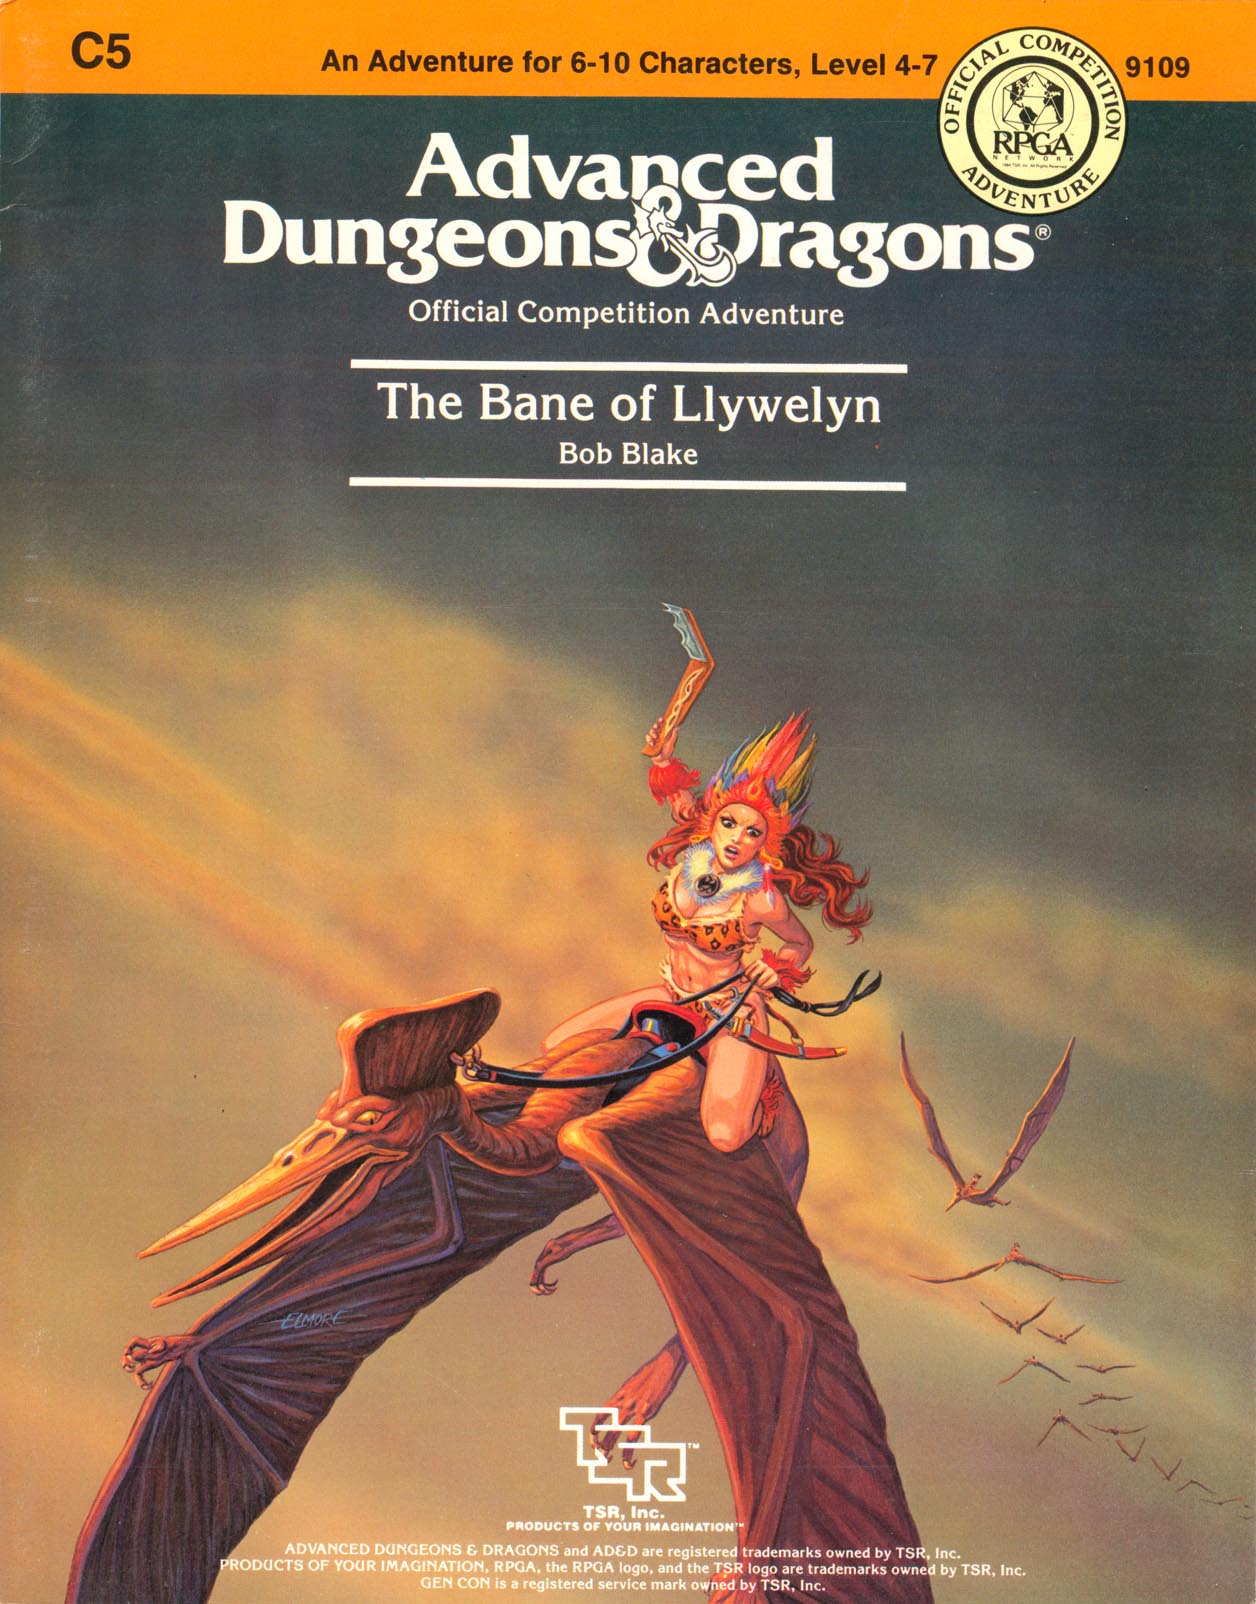
Excitement and unrest grip the land of Pellham. Two hundred years ago, the royal line of kings was deposed and replaced by a High Council. The current council is well-meaning but hopelessly incompetent. Everyone agrees that a drastic change is needed for the kingdom to survive. The ancient Prophecy of Brie foretells that in Pellham's darkest hour, a king from the past will return to restore the kingdom. The time of the prophecy is now. All is in readiness: the symbols of the ancient kings have been recovered, the keys to the royal tomb are in hand, powerful magics to revive the long-dead king have been secured at great cost. Only one problem remains... no one knows where the king is buried! The Bane of Llywelyn concludes the epic adventure of the Prophecy of Brie -- can YOU insure that the quest will be a success? The adventure can be played as a separate adventure or as the second part of the Prophecy of Brie series. TSR 9109

From the backcover: "Once a generation, they say, a strange comet appears in the sky overhead and the gates of Firestorm peak swing open, (twenty-seven years ago, your father led his band of adventurers into the mysterious mountain, never to return. Now the Dragon's Tear once more flickers in the sky, and the glass gates on the mountainside beckon. Will you pass through to discover the secrets that await beyond the portal none has ever dared and returned? The Gates of Firestorm Peak is the first adventure designed especially for use with the new rules presented in the three PLAYER'S OPTION books: Combat & Tactics, Skills & Powers, and Spells & Magic. While it can also be played using just the AD&D® game core rules (the Player's Handbook and the DUNGEON MASTER® Guide), this adventure offers a perfect opportunity to experience all the potential of the new optional rules. One of the highlights of this package is the first PLAYER'S OPTION player character record sheet. To meet the challenges of Firestorm Peak and escape with their lives, heroic adventurers must battle dark dwarves in their underground city, explore the abandoned caverns of the Elder Elves, and deal with weird alien entities from Beyond. Their goal is to stop the Master of the Twisted Caverns and his dark minions from completing his sinister plot before it's too late . . . if they can. Included in this product are a 96-page adventure book detailing the dungeon that lies beneath Firestorm Peak, 4 full-color poster maps detailing all the important locations in the complex, and a sheet of 56 counters for use with the tactical maps in major combats."

Blinsky's Toyshop is our take on what happens to Blinsky and Piccolo during, or after the Curse of Strahd campaign. Blinsky, the toymaker in Vallaki with the cute monkey wearing a pink tutu, received a large inheritance from a long-time client. The client, Obtavius Swat, a retired adventurer and avid collector of toys, left his entire estate to Blinsky. The estate included coin, precious gems, art, and his collection of toys, some made by Blinsky and others he acquired during his travels. Blinsky used the fortune to pay a wizard to create a small island in the middle of Lake Zarovich, located just outside of Vallaki. He then paid masons and workers to build a fantastic new toyshop, which he designed to be an experience for both the young and old alike. Though the number of children in Barovia was increasing, mostly imparted to the devil Strahd’s downfall, Blinsky wanted to touch the inner child of the adults in the city. He wanted happiness. He wanted smiles. He named the castle Blinsky’s Toyshop of Marvels. One of the toys, a small silver tiara kept in a black satin-lined ivory jewelry box, was such a lovely piece. Blinsky couldn’t stand the thought of leaving it in the box. He already had enough gold and losing the small tiara wouldn’t be a large loss, so he decided to give it to his monkey – Piccolo (see Creatures of the Toyshop). He smiled at the thought of her running around in her pretty, shiny tiara. Sadly, as Barovian luck would have it, trapped inside the tiara is the sole of an evil gnome wizard named Aribetha Strangge. In his old age, Obtavious Swat forgot that he and his fellow adventurers used the tiara to imprison the gnome’s soul. Yesterday, when Blinsky placed the tiara on Piccolo’s head, silver tendrils cascaded from the tiara and into poor Piccolo’s skull, allowing Aribetha to control the monkey. Now, Aribetha has incapacitated Blinsky in the toyshop’s tower, brought many of the toys to life, and imprisoned or killed many of the workers and customers. The adventure includes costumes (which the character may wear), Strahd Hand Puppets, and a possessed Piccolo.

Deicide is a campaign designed to begin with a party of four to six 1st-level characters, who should advance to 20th level by its conclusion. The Gods have abandoned Faerûn. Bringing loved ones back from the dead hasn’t been done in centuries, and communion with the deities is a spiritual exercise only. Holy warriors and messengers have lost their powers and have all but completely disappeared. In this bleak world, wars are frequent, crime runs rampant, and hope has faded. Rumours are abound of a mysterious crime lord taking control of the underworld. Monsters roam the lands and every road is increasingly more dangerous. Without guidance, the many civilizations of this world are plagued by greed and corruption. The only way forward is to bring the Gods back, or to take their place in the heavens. Deicide takes place across two islands, Aurora and Limdorkal. These landmasses are the westernmost islands of the Moonshae Isles, an archipelago located roughly 400 miles west of the region of Amn and to the southwest of the Sword Coast. Surrounding the Sea of Moonshae, these islands feature a wide array of cities, civilizations, climates, terrains, and monsters. Limdorkal is famously a harsher environment, home to exotic races, whereas Aurora is almost entirely dominated by the human kingdom. Elminster Aumar, the famous Old Mage of Faerûn, once visited these islands and claimed it surprising how such diverse environmental systems erupted here, and how varied were the people inhabiting them. While the Sword Coast is part of Faerûn, a continent of Toril in the Forgotten Realms, feel free to adapt these islands to any setting of your choice, such as Ravenloft, Eberron, Ravnica, or even on your homebrew world. The story told here happens some hundreds of years after the beginning of 5th Edition, and the Overgod Ao is trapped inside an artifact, which limits the workings of gods around Toril. The characters will be able to learn more about the missing Gods, about a mythical folklore artifact known as the Wand of Wonders, which carries the powers of the Gods, and about the crime lord Kaiser Soze. Through their adventures, they will be able to visit other realms, planes, and dimensions, as well as come into contact with different races and civilizations. In the end, it is up to them whether to ally with the Crime Lord, and whether to release the Gods or keep their power for themselves. This campaign can work as a loose set of modular adventures, which can be easily picked separately and played as one-shots of different levels. Even their locations on the map might be moved, and events happening in particular towns can happen on others. The adventures include dungeon crawls, murder mysteries, sandbox urban quests, exploration on land and in the seas, inter-planar travelling, among others.

Evil Reigns in the Elven Ruins Where elves once built the shining city of Myth Drannor, demons and devils now prowl in search of prey. Ancient evil slumbers beneath mossy stones, waiting for those foolish enough to venture within its grasp. Bold swordsmen, stealthy rogues, and skillful wizards have all met their end within the walls of Myth Drannor. But the lure of the city's magical treasures still draws heroes and villains alike to tempt death—or worse. Drawn by the dream of limitless magical power, the Cult of the Dragon has carved out a secret stronghold in the heart of the ruins. Using the power of a corrupted pool of radiance, the Cultists stand poised to attain their goal of subjugating all of Faerûn... unless a group of brave heroes can stop them first.