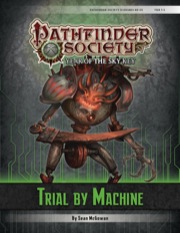
More than a millennium has passed since the "machine mage" Karamoss's failed siege of Absalom, and for years the Pathfinder Society has used upper reaches of his subterranean siege tower as a training ground for initiates. During a routine drill, the once-dormant dungeon springs to life, and it will take all the PCs' resourcefulness and skill to make it out alive.
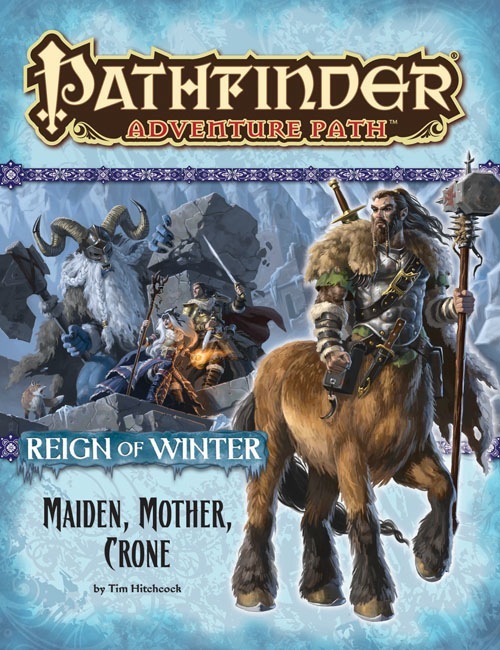
On the trail of Baba Yaga, the heroes find themselves transported to the barbaric land of lobaria on the far-off continent of Casmaron. They must explore three ancient, mystically linked dungeons in search of more clues to the fate of the Queen of Witches, while contending with savage centaurs and demon-worshiping frost giants who seek to claim Baba Yaga's secrets for themselves.

A One-on-One Competition Module for Thieves Level 8 Your peaceful evening has been interrupted by an unusual request. As a thief, your skills are unmatched, but can you rise to the challenge of thieving for a powerful and frightening wizard? Do you have a choice? The Gem and the Staff is a special One-on-One competition module designed for one player and on Dungeon Master. The Module contains two separate scenarios, so you can switch roles with the other player after the first adventure. Scoring sheets and encounter summaries are provided for each adventure to make running competitions quick and simple. Character figures and a map book are also provided to help visualize the adventures. The player's maps are designed so you can see the rooms as they would appear. Complete DM's Maps are included. TSR 9050

Under raging stormclouds, a lone figure stands silhouetted against the ancient walls of castle Ravenloft. Count Strahd von Zarovich stares down a sheer cliff at the village below. A cold, bitter wind spins dead leaves around him, billowing his cape in the darkness. Lightning splits the clouds overhead, casting stark white light across him. Strahd turns to the sky, revealing the angular muscles of his face and hands. He has a look of power - and of madness. His once-handsome face is contorted by a tragedy darker than the night itself. Rumbling thunder pounds the castle spires. The wind's howling increases as Strahd turns his gaze back to the village. Fas below, yet not beyond his keen eyesight, a party of adventurers has just entered his domain. Strahd's face forms a twisted smile as his dark plan unfolds. He knew they were coming, and he knows why they came, all according to his plan. He, the master of Ravenloft, will attend to them. Another lightning flash rips through the darkness, its thunder echoing through the castle's towers. But Strahd is gone. Only the howling of the wind - or perhaps a lone wolf - fills the midnight air. The master of Ravenloft is having guests for dinner. And you are invited. TSR 9075

Beneath the blood moon, a dark monastery appears for one night atop a high plateau. Inside its walls, the mighty black lotus flower reaches its full bloom. Can the characters steal inside the monastery, defeat its sorcerous guardians, and claim the blossom before the sun rises? Monastery of the Shadow Sorcerers is a fiendish sword-and-sorcery adventure and includes: -An extra-planar monastery brooding beneath the blood moon -Sorcerer-monks who move like smoke and strike with fire and blade -Combat cards for each monster, PC, and special treasure -High-quality digital maps for use with virtual table tops

𝐏𝐚𝐫𝐭 𝟒 of the Tower of Bondage “The Middle Tower” introduces Olive Slime and Slime Creatures from notable 1e AD&D fame as well as another of Aumvor’s tortured servants. In this adventure you will go deeper into the tower and find: ● 26 encounters ● More enslaved wraiths ● More traps ● More slime ● More phylacteries ● More danger Discover the Undying One’s library and find tools needed to defeat him, if your players are to escape the tower alive. This release also includes a side view of the tower to better understand the layout of the dungeons. 𝐀𝐥𝐬𝐨, 𝐟𝐨𝐫 𝐭𝐡𝐨𝐬𝐞 𝐰𝐡𝐨 𝐮𝐬𝐞 𝐑𝐨𝐥𝐥𝟐𝟎, 𝐜𝐨𝐦𝐢𝐧𝐠 𝐬𝐨𝐨𝐧: Roll20 Map Pack for Roll20, featuring plain maps for players, without the secret doors and other goodies marked. Coming very SOON. Look for it on DM’s Guild.

Aumvor is aware of the intruders and sends a warning with a powerful fire ball. Satisfied that the party has lost interest, Aumvor returns to his vault where he can safely leave his remains and travel the planes in search of greater power. Perhaps the PCs that survive the blast may have the upper hand. Growing closer to the final chapter, the party of adventurers will find that the only way out is into the tank for a swim. Aumvor the Undying has hidden here in this dungeon for centuries, waiting for his chance to resurface as the emperor of Netheril. The time has passed slowly and Aumvor’s powers are waning. He has hidden phylacteries well, but what use will they be if he has no vessel I which to dwell. Aumvor makes a final effort to kill the party before returning to his vault to wait in ambush for them. In “𝐏𝐚𝐫𝐭 𝟓 The Lower Tower”, you will find the secret at the bottom of the tower, 16 exciting and deadly encounters, and a lot of zombies floating in cadaver soup. Ever fight zombies while swimming and dodging specters? Here is your opportunity. Also coming soon, Roll 20 Map Pack for The Tower of Bondage.
"Something is weird about this party in 16th century Scotland! A famous thief stole a magical jewel and hid inside a castle where a party is taking place. Enter the party, find the jewel, escape with your life. In the first half of the adventure, the player characters will explore a weird party in search of the thief Jougal. They’ll likely piece together that this party is not “normal” and that this castle is not safe. In the second half, the baobhan sith will reveal themselves, red caps will set the castle on fire, and the PCs will find themselves locked in a burning hellhole. The adventure will likely change from a fun party-crawl into a stressful fight for survival. This is the NIGHTMARE PHASE." This adventure blends elements of horror, survival, and mystery, requiring players to use both their combat skills and their wits to navigate through the treacherous and evolving scenarios within Firnhirst Castle. Written for Cairn RPG

"The adventure begins with the PCs lost in the streets of Sigil's Lower Ward." --from the module. The PCs are approached by a tiefling telling them about a job. The tiefling's employer wants the heroes to search for a child who is rumored to be some sort of chosen one from an ancient prophecy. Includes a map of Durkayle's Stronghold, a map of the Black Sail Tavern, a map of the Screaming Tower, and an isometric map of Zactar Cathedral.

The Goblins of Kaelnor Forest – Adventure This first level adventure takes the adventurers into the Kaelnor Forest. While the eastern side of the forest has long been the home of the forest elves, the western side is infested with goblins, boggarts, spiders, and more. The adventure takes players through the forest, investigating a rumor of raiding creatures. They begin in South Hollow, a farming community south of Ferryport proper, and will travel deep within the dark, enchanted woods. Are there supernatural creatures in the woods taking the farmers’ stores? Will they survive the strange fey forest? The adventure comes with 5 pre-made Uteria player characters, so players can jump right into the adventure.
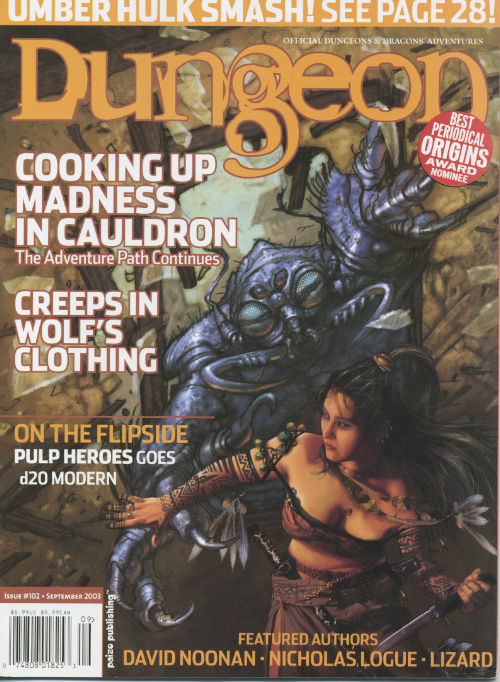
Part 3 of the Shackled City Adventure Path "Wherein a tribe of the Sea Mother's children suffer for sparing the life of a mad prisoner they probably should have eaten." Synopsis: The adventure begins with an Umber Hulk attack in the middle of the city. The fame gained by assisting during the attack allows them to gain the notice of a representative of Davked Splintershield. The group is asked to rescue Zenith Splintershield from a Kuo-Toan temple in the Underdark. But to find it, they have to visit Crazy Jared to locate an entrance to it. Upon journeying to Crazy Jared's, they fight Hookface's offspring. After more travelling, they are able to descend into the Underdark. Once they find the Kuo-Toan temple, they must fight through many hard challenges, only to realize that Zenith is not a prisoner, but instead is a prophet. Zenith does not go willingly, and so must be captured. Pgs. 28-61
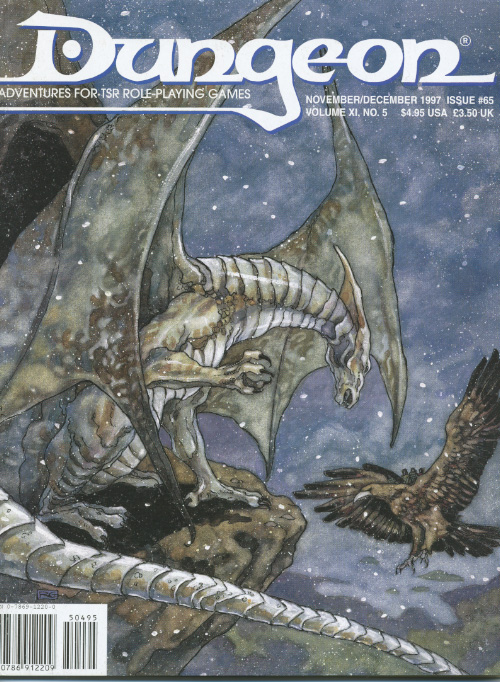
The Ice Tyrant is a Dragonlance Firth Age adventure set in Southern Ergoth, the domain of Gellidus the white dragon. This scenario takes the heroes from a coldswept refuge of the Silvanesti elves to the citadel of Anghanor, left untouched since the Knights of Takhisis' withdrawal in 383 A.C. (just before the Second Catalcysm). The once-familiar locales of Ergoth have changed since the War of the Lance. Now, in the Age of Mortals, most of Southern Ergoth is covered by a great glacier, and the capital city of Daltigoth has fallen to ogres loyal to the brutal dragon overlord Gellidus (known to humans as Frost). The adventure begins when the heroes join a band of Silvanesti renegades who have successfully evaded Gellidus' clutches. The elves plan to strike back at the cruel Ice Tyrant by uncovering his "secret" in Anghanor. --from the adventure. NOTE: this module uses the Fifth Age rules based on the Saga card system. It is supplemented by AD&D rule text boxes. As such, there is no recommended level although Tier 2 play seems appropriate. Includes an overland map and a map of the tower and keep. Pgs. 26-49
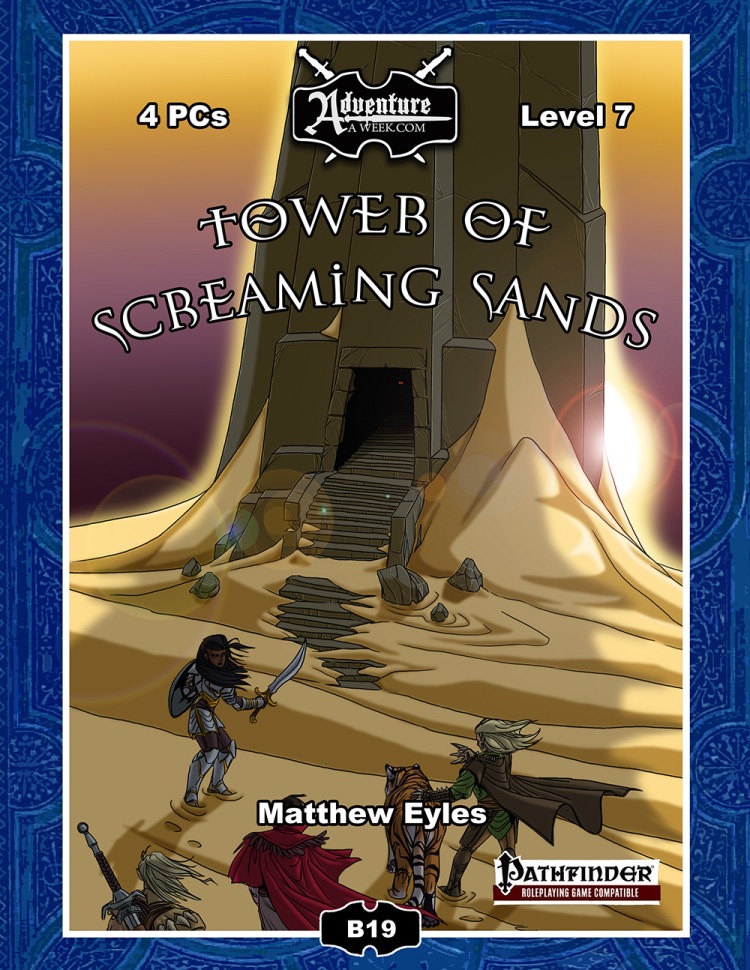
Deep within the blasted desert wastes a mysterious black tower has been sighted. The structure is not marked on any known map and has not been seen in this location by travellers in the region, yet there it stands. The adventurers set out to explore this ancient, isolated tower that appears ripe for the plundering. Within they face a gauntlet of insidious traps and supernatural horrors. The deeper the adventurers delve, the more secrets of the tower’s origins they uncover. The tower’s sinister creator does not rest easy in his arid grave – the adventurers must face him if they are to survive the Tower of Screaming Sands. Also included in “Tower of Screaming Sands”: Five deadly new traps: The Chamber of Ten Thousand Teeth, The God’s Grasp, Chamber of Flooding Sand, Hall of Arcing Blades and Descending Stone Block. A new monster – the scorpion swarm. Rules for whirlwinds, a new magical hazard GM tips for running overland travel.

Lore of Aetherra: The Lost Druid is an award-winning 5th Edition adventure designed to bring characters from level one to five, and is the first in an expansive 4-book saga of science-fantasy adventures that will take your players to level 20. Fano. Things here haven't always been so grim. Time and chance have conspired to transform this once magnificent city upon the lake into a run-down sanctum for the destitute and depraved alike. Those who would see Fano renewed seek a lost druid who brings with him the hope to restore the city to its former glory and awaken the ancient technology hidden deep within its constructs. Could Fano's awakening usher in a new era of peace and prosperity, or will it unearth a conspiracy lurking in the shadows? Lore of Aetherra: The Lost Druid is a 5th Edition adventure designed to bring characters from level one to five, and is the first in an expansive 4-book saga of science-fantasy adventures that will take your players to level 20. A uniquely immersive RPG experience, The Lost Druid employs a myriad of digital content that can be experienced using the Alchemy RPG platform. Enjoy a cinematic storytelling structure, breaking chapters into scenes supplemented by expansive soundscapes, dynamic musical scores, voice-acted flavor text, and environmental motion graphics. 2023 IPPY Awards Winner: GOLD in Reference Product Contents: Over 250 Pages Over 2 hours of Audio Content 5 Premade Player Characters 6 Side Quests 7 Tavern Mini Games 35 New NPCs and Monsters Maps: 8 area, 1 city, and 1 region New Backgrounds, Spells, and Magic Items Over 60 NPC Profile Blocks AI Combat Tactics for Every Encounter Published by HITPOINT Press

After a restful time in Queen’s Point you begin to hear rumors of some “lost city” being discovered. After speaking with some of the locals and visiting the library you become intrigued. Apparently Harvick was abandoned during the plague years and its riches were never recovered. Along with the regular valuables one would find in an abandoned city, it is rumored that an ancient artifact or two may also be present. Sounds like it’s time to strap on the adventuring gear and take a look around.
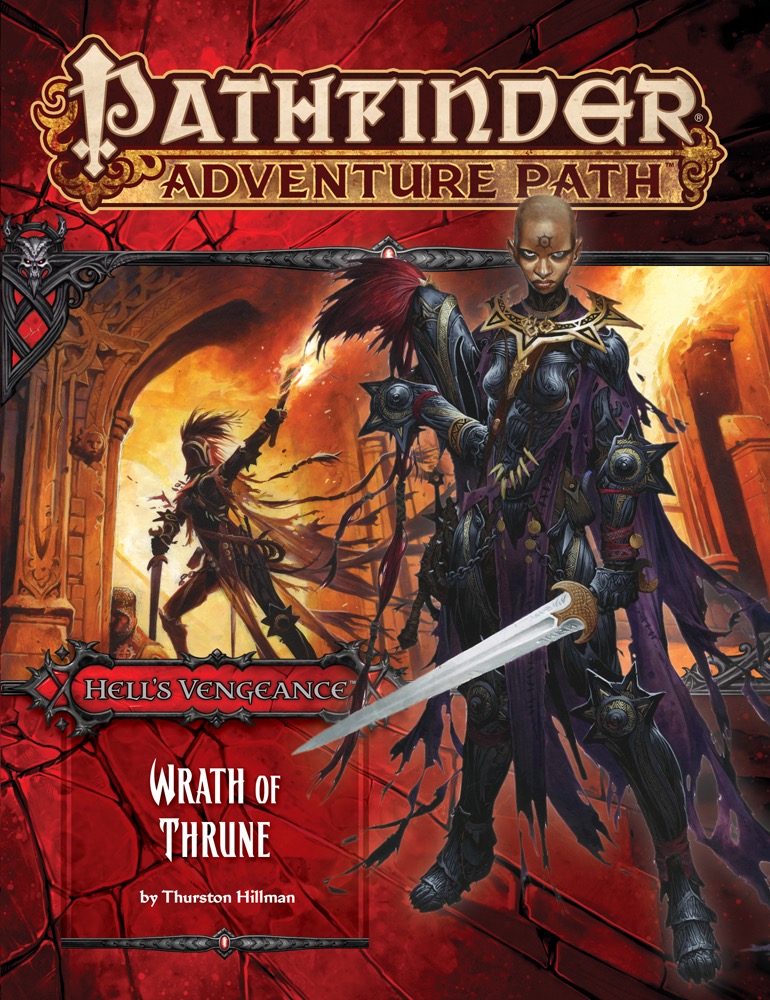
The knightly order known as the Glorious Reclamation continues its crusade against diabolic Cheliax, conquering the town of Kantaria, where the goddess Iomedae once ruled as a mortal. The villainous adventurers, now official agents of House Thrune, must retake the town, depriving the knights of a valuable holy site. Can the evil characters earn greater infamy and prestige by dealing the Glorious Reclamation a serious defeat in their most substantial territorial gain so far, or will the knights' rebellion continue unchecked across Cheliax?

Lots of stronghold assaults and shipboard travel/encounters in this one. This adventure's deep political basis might be seen as an introduction for the domain-focused adventures of Companion-level play. This adventure is for use with the Dungeons & Dragons Basic, Expert, and Companion Rules, and includes the intrigue of engaging with nobility's lands and agendas. Intro: All is not well in the kingdom of Vestland. Not only is the king dead and the holy Sonora Crown missing, but the heir to the kingdom was lost at birth and no on knows where to find him. As if this wasn't bad enough, the forces of the Ethengar Khanate, never on the best of terms with Vestland, are now massing on the borders, hoping to take advantage of Vestland's plight. To complete the rosy picture, traitors from within also threaten to speed the downfall of the High Kingdom. Sounds like a job for you. You must find the long-lost heir to the kingdom and recover the Sonora Crown, the mystical device without which a king cannot be crowned. Standing in your way are traitors and spies from within and invaders from without the kingdom of Vestland. Time is running out! Can you save Vestland from disaster? TSR 9218

In Necromancer’s Last Stand, your high level party is placed into the middle of a several decades old conflict. A new plan has developed as the forces of good begin to make headway. Called to the general’s tent you and your associates are asked to accept a hazardous ‘end around’ move to attempt to take out the evil leader. The way will not be easy and a plethora of challenges lay between the general’s tent and victory. There will not be attack and retreat opportunities and you know you’ve only got one shot at ending the violent conflict.

This deluxe adventure takes heroes into the ruins of Gardmore Abbey, a monastery that was once the base of a militant order of paladins devoted to Bahamut. According to legend, the paladins brought a dark artifact back from a far crusade and stored it in their abbey for safekeeping, and evil forces gathered to assault the abbey and take it back. What the legends don’t tell is that this artifact was actually the Deck of Many Things, a force of pure Chaos. This adventure brings characters into the extensive dungeons beneath the ruins - dungeons that are warped and twisted with the raw forces of Chaos surrounding the cards of the deck.

𝐓𝐡𝐢𝐬 𝐢𝐬 𝐭𝐡𝐞 𝐭𝐡𝐫𝐢𝐥𝐥𝐢𝐧𝐠 𝐟𝐢𝐧𝐢𝐬𝐡 𝐭𝐨 𝐭𝐡𝐞 𝐓𝐨𝐰𝐞𝐫 𝐨𝐟 𝐁𝐨𝐧𝐝𝐚𝐠𝐞 𝐟𝐞𝐚𝐭𝐮𝐫𝐢𝐧𝐠: ● Eight deadly encounters ● More deadly traps ● The water maze ● and Aumvor himself! Will your PCs escape with their lives or stand and face Aunvor and put an end to his deadly game?