
THE FIRST SET OF DUNGEONS ON DEMAND ADVENTURES! The first volume of Dungeons on Demand includes the first four dungeons: Bandit's Nest - Level 1 Adventure Dungeon Insidious Experiments - Level 4 Adventure Dungeon Fierce Tempers - Level 8 Adventure Dungeon Lord of Gloomthrone - Level 12 Adventure Dungeon It also includes the following supplements: New Twists on Old Monsters - Gaming Supplement Imbued with Magic - Gaming Supplement The bundle includes hundreds of pages worth of materials and supplements sure to keep your gaming sessions busy!

There's trouble in Allesley! An Eastbrook farm has been attacked and people slain. But by what? The people are frightened, the Reeve is concerned, and the Constable wants you to figure out what’s going on. The last time this happened, goblins attacked the town. Does this mean war? This is the first adventure in a series to come in 2017 which builds on the introductory mini-adventure in the Eastbrook starting area.

5e Solo Gamebooks presents The Tortured Land, the fourth in our series of solo adventures set in the Forgotten Realms. With this adventure, we take off the gloves and throw your PC into the thick of some serious danger in the frigid north of Faerun. Only the most hardened adventurers will make it through this adventure in one piece, and with several different paths available, replayability is assured. The Tortured Land will provide you with hours of enjoyable, challenging play time. Arriving in a lonely village in the middle of the northern plain known as The Ride, your hero is soon drawn into a quest to retrieve a precious artifact. From there they will journey even further north, towards the barren waste known as the Tortured Land, in search of an unknown enemy. There are items to collect, codewords to activate and perils to avoid. And of course, many combat encounters! As always, hyperlinks are included in the text to facilitate easy navigation, removing the need for scrolling between entries.

In Necromancer’s Last Stand, your high level party is placed into the middle of a several decades old conflict. A new plan has developed as the forces of good begin to make headway. Called to the general’s tent you and your associates are asked to accept a hazardous ‘end around’ move to attempt to take out the evil leader. The way will not be easy and a plethora of challenges lay between the general’s tent and victory. There will not be attack and retreat opportunities and you know you’ve only got one shot at ending the violent conflict.

Where's Robin Hood When You Need Him? The Sheriff of Nottingham and the outlaws of Sherwood Forest share a common enemy. Will an unlikely alliance end this newest threat to the land? Pgs. 42-67
A wandering farm boy falls foul of an ancient trap and is plunged into a death-like sleep. The cure lies in a temple hidden in the green gloom of Merthington Woods, but to find it, the adventurers must brave a set of terrible traps laid by a forgotten sect of priests...

This short adventure is set in the Ravenloft domain of Lamordia where the PCs find themselves trying to save a beautiful maiden from the mad scientist, Dr. Victor Mordenheim, who is trying to restore life to his dead wife. TSR 9336
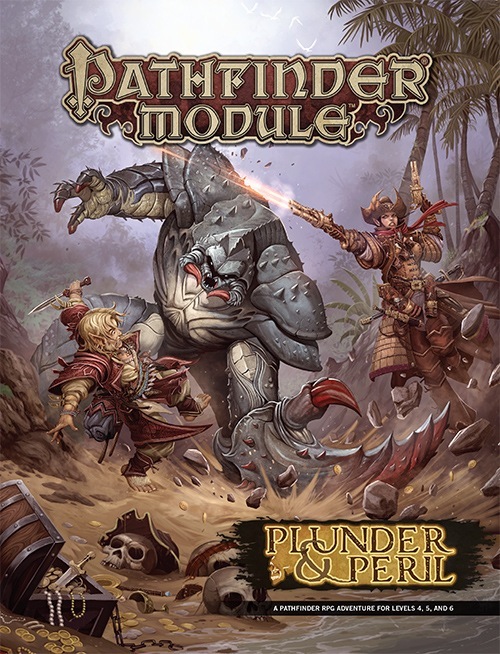
Tall tales of hidden riches are common in the pirate-infested taverns of the Shackles, but when Captain Varossa Lanteri claims to know the location of the secret treasure hoard of legendary Captain Jemma Redclaw, it seems she may be telling the truth. Captain Lanteri hires the PCs on as crew to help her assemble the magic key that will open the door to Redclaw’s treasure... and the ancient cyclops stronghold in which it’s hidden! Can the PCs survive long enough to claim their share of the lost loot, or will their enemies—or their allies—send them to a watery grave?

A Ravaged Land... Villains that really are larger than life... A time for heroes... A decade ago, the land of Geoff was overrun by a horde of giants, ogres, and evil humanoids, its people either slain, enslaved, or driven into exile. Now at last the tide has turned. The time to free the people of Geoff from their servitude to the giantish tyrants has come! But don't forget to watch your step when you confront the true masters behind the giant Clans! Contains the full text of three classic adventures by Gary Gygax: G1, Steading of the Hill Giant Chief; G2, The Glacial Rift of the Frost Giant Jarl; and G3, Hall of the Fire GIant King. Details Eighteen new encounter sites in the war-torn land of Geoff, linked together to form a grand campaign. Provides dozens of hours of gameplay as the heroes struggle to free an entire country from the grasp of giant overlords. TSR 11413

The Sea Witch is a short adventure for four 10th-level characters. The difficulty of the adventure can be adjusted by changing the level of main antagonist (Black Molly, the sea hag pirate) or by altering the number of her ogre servants. To tailor the encounter to groups of different levels, refer to table 4-1 in Chapter 4 of the DUNGEON MASTER’S GUIDE. The adventure is set off a lightly populated coastline known as Misty Bay, but adapts easily to any coastal region in existing campaigns. The sea hag known as Black Molly is a notorious pirate who has plagued the coastal cities for the better part of a decade. A successful Knowledge (local) check (DC 15) will reveal that Molly and her ogre crew have a filthy reputation as merciless killers who delight not only in plundering vessels for their riches, but also in destroying the ships themselves and sending all hands to the bottom of the sea. Now the villain and her followers have seized control of the Old Lighthouse of Misty Bay located off a lightly populated coastline. For generations the lighthouse beacon has protected the fishermen of this region, warning them of the dangerous rocks that lurk just below the level of the high tides. Recently, the hag has put out the beacon, darkening the lighthouse; misery and destruction are sure to follow as ships start to blunder into the rocks. Blackmail is apparently Black Molly’s aim in this venture: She conveyed a message to the nearest shore community, the fishing village of Poisson, demanding the princely sum of 50,000 gp. Until she receives this ransom, she intends to hold the lighthouse and its beacon hostage. The fate of the human keepers who tend the lighthouse is unknown to the seaside communities at this time, but they fear the worst. The Sea Witch is ostensibly a rescue mission: The PCs are pitted against the evil of Black Molly and the brawn of her savage ogre crew. It is the heroes’ task to retake the lighthouse and, if possible, free its captives from the clutches of their jailer. What neither the PCs nor the shore communities yet realize is that while she 1would be pleased to have the gold, Black Molly is in fact after bigger treasure. Molly has no intention of giving up the lighthouse — at least, not until she finds what her master sent her here for. Lying on the sea floor practically at the base of the rock on which the lighthouse sits is the wreck of the war galley Flying Cloud, which according to popular legend was captained by a cleric who wore around his neck an amulet of the planes. Black Molly wants this prize, but so far she hasn’t been able to find it. She’s scoured the wreck without finding any sign of the magic item. Now she’s trying to determine where to search next, for the item might well be somewhere near the wreck. If she can’t find it, she’ll start torturing her captives to find out if they have any useful knowledge about the amulet.

This adventure focuses on a Zhentarim attempt to spread terror in Mistledale, although it is suitable for almost any lightly settled area northwest of the Sea of Fallen Stars. "The Raiders of Galath's Roost" is suitable for four 1st-level characters, but PCs should be at least 2nd level before tackling the adventure's second half, the Zhentarim Citadel. Even in the first half of the adventure, many of the encounters are quite formidable for 1st-level characters, and the PCs might find it necessary to withdraw and recover one or more times before completely exploring the ruins.
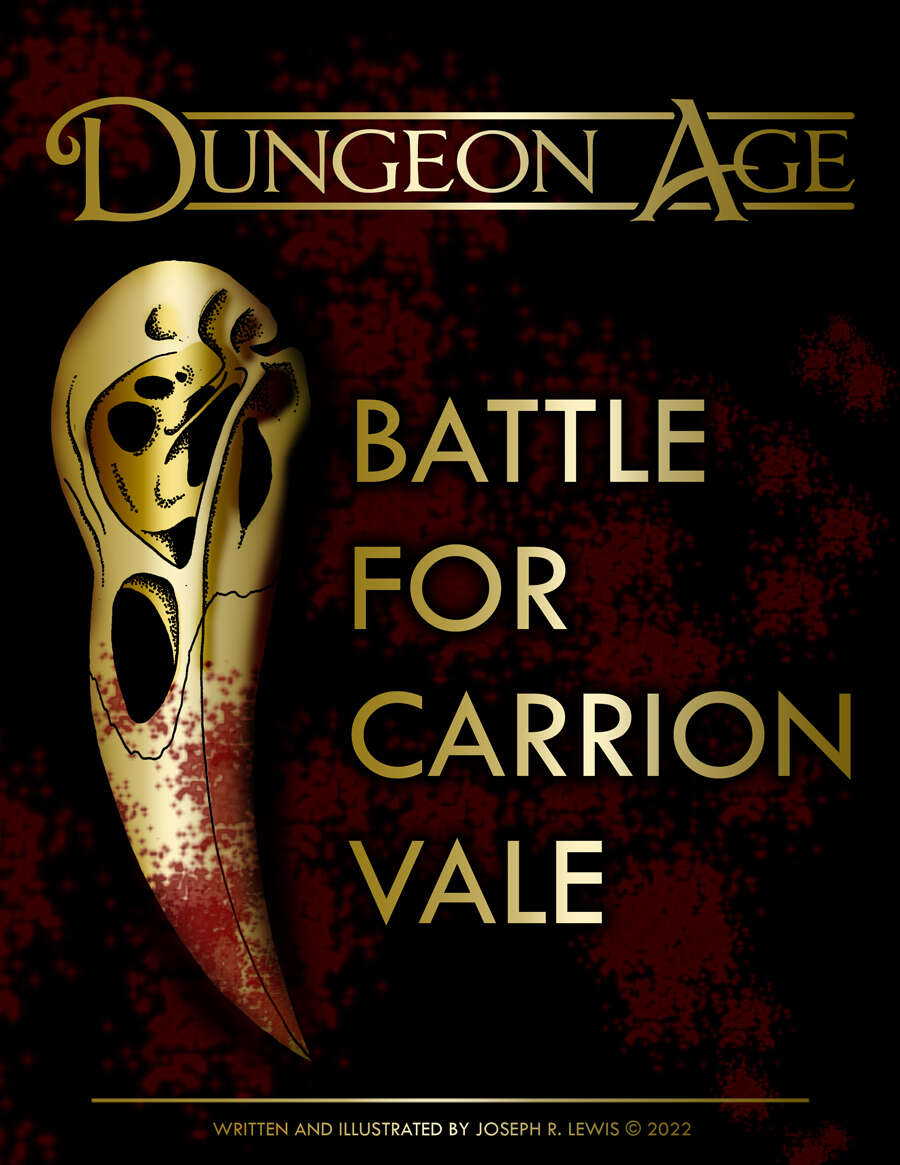
This morning, the forces of Law and Chaos clashed at Castle Yennagor. The battle raged all day, but as darkness fell, a cataclysmic explosion destroyed most of the castle and leveled both armies. Now, as night claims the vale, flickers of life return. Survivors make camp, flee the field, or continue the fight. Scavengers creep over the dead. And one question remains unanswered: what happened inside the castle? This is a dark sandbox adventure. Players take the role of battlefield survivors. They can choose which side they are on (or neither), and they can choose their goal, such as to escape the field with their lives, to plunder the dead, or to reach the castle and finish the mission. ADVENTURE TYPE: Mid Level / Combat / Diplomancy / Battlefield / War / Dark Fantasy / Factions DESIGN NOTES This adventure is intended for mid-level characters around Level 6-7 Players navigate a battlefield full of competing factions and gruesome situations 30 unique encounter locations 70+ original magic items 30+ original monsters One map and multiple illustrations Estimated play time: 1-4 sessions (4-16 hours)

The ship makes its way into the Corsair Mists, a region of the Halo Ocean said to devour ships and drive sailors mad. Somewhere in the oppressive fog, the White Ship awaits, but before the Adventurers can make it to their final desination, they must overcome the challenges of the mist. The fell necromancer Molo of the Thirteen Wives is still out there, still seeking to find his key to immortality and power that could jeopardize the entire Nameless Realms, and only the fearless crew can stop him. Join a sea elven ritual to hunt megalodon sharks, explore a long-cursed alchemist's tower made of blue crystal, and journey to the forge of Hyperion, Titan of Fire, himself. This adventure is formatted to both 1E & 5E gaming rules. Also available in PDF.

The Tower of Zoramadria is hidden away in the Feywild. The tower is an arcane academy under the tutelage of the lich Parthal. Parthal and his students lead serene lives of study and contemplation, except when they engage in a bout of bloody necromantic research that requires innocent souls as vital components. Parthal has a score to settle, and the Feywild itself might shudder and scream before the lich has had his revenge on those who killed his love. Pgs. 104-111

Hot on the trail of Selise Teshwave and Baron Rajiram, the adventurers must enter newly exposed mountain excavations in the Galena mountains. Swift action must be taken to prevent the Baron from obtaining a powerful weapon from this ruin. Meanwhile, the mysterious Teshwave siblings, Abigail and Char, are hot on the trail of their older sister. This is Adventurer's League legal adventure set near the Galena Mountains. This module first premiered at Carnagecon 2018. Part Two of the Storm Series.

Mimic Madness is a psudeo-adventure with four interesting mimic encounters. These four encounters are structured in a way that they can be used together as one adventure, or each individually dropped into any adventure from EL4 to 7. The encounters vary the mimic's tactics significantly, such as by having them we a weapon rack that wields the weapon it holds, pretending to be animated furniture using its ability to speak, and pretending to be a floor covering a pit; none of them rely on the typical chest or door mimics. Pgs. 24-25
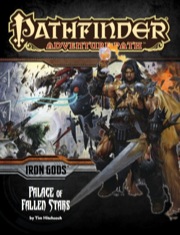
Book 5 in the Iron Gods campaign: Somewhere deep within Silver Mount, the greatest of the Iron Gods is rising to power. But before the heroes of Numeria can oppose it, they must f irst defeat the Technic League and the Black Sovereign, for the corrupt cabal controls access to the legendary site. Will the clues harvested from an ancient android oracle and the technological wonders gathered from strange ruins across Numeria be enough for the heroes to prevail? Or will they simply become the latest upstarts to be crushed under the Technic League’s metal boot?
Displace Beast Maze is an adventure that has one long encounter that is a combination of a puzzle (maze) and combat encounter (Displacer beast). The Displacer beast tentacle's ability to attack through the maze walls, knowledge of the layout, and hit-and-run tactics make the labyrinth both a useful and possibly deadly lair for the creature. Pgs. 27-29

The door slams open so hard that the wall shakes and the hinges groan. To everyone’s astonishment, a goblin staggers in. He is badly wounded, with dried blood covering about half of his body. Only a moment before the air was full of the rattle of dice, the slap of cards, and cries of victory and defeat. Now the Gambling Golem is dead silent. The goblin lurches toward your table then collapses right in front of you. “Help me,” he croaks, looking up at you with bloodshot eyes. “I’ll make you rich!”
While traveling a mountainous road, the party hears a "song, echoing faintly through the hills around you--a single, achingly beautiful feminine voice that burns its sorrow straight into your gut. The words are Elvish, but you don't have to speak that language to understand the sense of loss and heartache that fills every note." --from the adventure. Includes map of the tower.