
The Blistering Forge Situated atop Mount Marazbor, an active volcano, it the dwarven lava-forge once known as Citadel Grungharaz. Once, this great armoury produced hordes of weaponry for dwarven regiments in far off lands, but now it has been taken over by rampaging fire giants. Are you capable of infiltrating the Gauntlet of Flame?

The increasingly erratic behavior of Lady Selyse, Knight Captain of the small, but strongly held frontier outpost Fort Selsmire, is provoking unrest among her soldiers and fear from passing supply caravans. Many whisper of how the Captain now goes without sleep for days at a time, pacing the walls of the keep long into the night. Despite these rumors, the party has found employment at Fort Selsmire, conducting additional patrols of the nearby forests. While patrolling, they find evidence that may lead to the strange creature who seems to be provoking the Captain to madness. Pgs. 69-73

The Tower of Zoramadria is hidden away in the Feywild. The tower is an arcane academy under the tutelage of the lich Parthal. Parthal and his students lead serene lives of study and contemplation, except when they engage in a bout of bloody necromantic research that requires innocent souls as vital components. Parthal has a score to settle, and the Feywild itself might shudder and scream before the lich has had his revenge on those who killed his love. Pgs. 104-111

The power of prophecy is given to few. Wise are they who guard this gift well, for those who thirst after such knowledge are not always men of principle. Bastion of destiny, the Tower of the Heavens stands silhouetted against the star-studded night sky. From within his darkened observatory, perched like an eyrie on the highest turret, a figure in white charts the course of a shooting-star as it disappears behind the snow-capped peaks of the Tegefed mountains. The old man smiles grimly to himself; the event foretold has come to pass! Power, glory, riches - it takes years to acquire them. The uncanny accuracy of their predictions has brought all these and more to the sages of the Tower of the Heavens. But what is hard to win is often easier to lose, and the future of the tower now hangs in the balance. For it is written that the day of reckoning draws nearer when a star falls.... TSR 9120

In part one of the Randal Morn Trilogy, "The Sword of the Dales," the legendary leader of Daggerdale, Randal Morn, was captured by unknown assailants as he sought to regain the great weapon for which that adventure was named. A stalwart band of enthusiastic heroes was recruited to ride to his aid, yet all they recovered was the Sword itself and a message: "Seek me in Spiderhaunt Wood." In the second part of the trilogy, "The Secret of Spiderhaunt," those same adventurers found Randal and freed him briefly, yet he was almost as quickly torn from their grasp by an agent of the evil Zhentarim, seeking to end the threat of Randal Morn's return to power. In this final episode, the heroes must follow the kidnapper's trail and rescue Randal Morn again before the Zhentarim finish interrogating him and the axe falls upon his neck. Armed with the Sword of the Dales and aided by a powerful spirit that lives within the weapon, the heroes must march into the heart of Zhent-occupied Dagger Falls, free Randal Morn, and save the city from utter destruction. The job is dangerous - perhaps more than the heroes can handle - yet those who would live in songs and legends cannot concern themselves with living to a ripe old age! This is the final part of a trilogy of modules that began with "The Sword of the Dales" and "The Secret of Spiderhaunt." TSR 9488

The Archpriest, leader of the Church, has defied a summons to the Immortal Capital. You have been chosen to retrieve the recalcitrant pontiff. Kidnap the Archpriest is designed to be an implicit tutorial for diplomacy, stealth, theft, bluffing, and cunning. It is a system-less, setting-less heist module featuring: a city (with a map) a fortress (with interior and exterior maps) two hectic days and nights a guide to designing your own heists. glorious black and white art by Luka Rejec scheming cardinals, frantic servants, and secret plots By the author of the CoinsandScrolls blog and Tomb of the Serpent Kings.

Aumvor is aware of the intruders and sends a warning with a powerful fire ball. Satisfied that the party has lost interest, Aumvor returns to his vault where he can safely leave his remains and travel the planes in search of greater power. Perhaps the PCs that survive the blast may have the upper hand. Growing closer to the final chapter, the party of adventurers will find that the only way out is into the tank for a swim. Aumvor the Undying has hidden here in this dungeon for centuries, waiting for his chance to resurface as the emperor of Netheril. The time has passed slowly and Aumvor’s powers are waning. He has hidden phylacteries well, but what use will they be if he has no vessel I which to dwell. Aumvor makes a final effort to kill the party before returning to his vault to wait in ambush for them. In “𝐏𝐚𝐫𝐭 𝟓 The Lower Tower”, you will find the secret at the bottom of the tower, 16 exciting and deadly encounters, and a lot of zombies floating in cadaver soup. Ever fight zombies while swimming and dodging specters? Here is your opportunity. Also coming soon, Roll 20 Map Pack for The Tower of Bondage.

This high level adventure returns the PCs to Helvana. A recent adventure has netted the party some Adamant, a rare ore in Filbar that is excellent for constructing weapons of amazing quality. As you arrive in Vorshmorgan to locate a smith you quickly discover there are problems in town. The scenario was designed to give upper level players a challenge and pits them against one of the most feared creatures in the land!
"Something Fishy" - a Celtic-world campaign. "Iasc" is set in a small Celtic kingdom that can be fit into any medieval/fantasy campaign. The PCs need not be Celts. The likelihood of combat is very high, and the party is recommended to host several warriors.

Lots of stronghold assaults and shipboard travel/encounters in this one. This adventure's deep political basis might be seen as an introduction for the domain-focused adventures of Companion-level play. This adventure is for use with the Dungeons & Dragons Basic, Expert, and Companion Rules, and includes the intrigue of engaging with nobility's lands and agendas. Intro: All is not well in the kingdom of Vestland. Not only is the king dead and the holy Sonora Crown missing, but the heir to the kingdom was lost at birth and no on knows where to find him. As if this wasn't bad enough, the forces of the Ethengar Khanate, never on the best of terms with Vestland, are now massing on the borders, hoping to take advantage of Vestland's plight. To complete the rosy picture, traitors from within also threaten to speed the downfall of the High Kingdom. Sounds like a job for you. You must find the long-lost heir to the kingdom and recover the Sonora Crown, the mystical device without which a king cannot be crowned. Standing in your way are traitors and spies from within and invaders from without the kingdom of Vestland. Time is running out! Can you save Vestland from disaster? TSR 9218
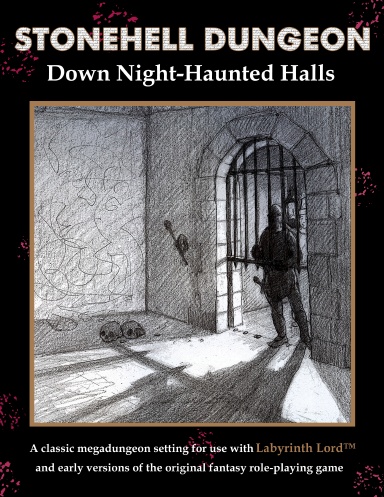
Beware All Who Enter These Benighted Halls of Stone. Within Lies No Solace Nor Any Comforts of Home. Toiling For Our Crimes We Must Dig Where We Dwell, With No Freedom or Mercy In Our Vast Stony Hell. Stonehell Dungeon is a classic-style megadungeon, filled with enough monsters, traps, weirdness, and treasure to keep you gaming for a long, long time. Explore over 700 rooms, encounter more than 40 new monsters, and discover 18 mysterious magical items -- and that's just in the first book! Stonehell Dungeon: Down Night-Haunted Halls details the first six levels of a megadungeon intended for use with the Labyrinth Lord™ role-playing game, but is easily adaptable to most early versions of the original fantasy role-playing game and its retro-clones. Featuring art by J.A. D'Andrea, Lee Barber, Marcelo Paschoalin, and Ralph Pasucci, Stonehell Dungeon gives the game master all the necessary information to run his players through the dungeon, while offering enormous opportunities to customize and expand on the site. The monsters of Stonehell Dungeon are waiting to meet you. Won't you come in? Published by Three-Headed Monster Games.

To arms! To arms! The battle lines are drawn as desert men and inhuman tribes wait poised to strike on the fertile and rich lands of the east. The call has gone out through the civilized lands. The armies have been raised to match the invading foes from the west. Nobles and peasants have joined swords to greet the foes. But Fate or Chance has decreed another role for a small few. No glorious banners will wave on their march. No squadrons of knights will charge at their word. Instead, they will fight the war with stealth, secrecy, and cunning. The risks they will take are great, but the fates of both armies lie with them. It begins one night for your party far from the fighting. Suddenly you are entrusted with the most dangerous mission of the war. Can you cross the Sind Desert, occupied now by enemy armies, to find the Great Pass? Can you find the one known only as The Master? What will you do if you find him? So begins your adventure in The Master of the Desert Nomads, the first module of a two-part adventure that can be concluded in the exciting Temple of Death or played entirely on its own. Can your party do what must be done? TSR 9068
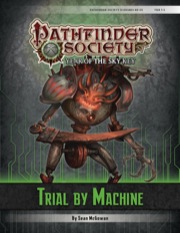
More than a millennium has passed since the "machine mage" Karamoss's failed siege of Absalom, and for years the Pathfinder Society has used upper reaches of his subterranean siege tower as a training ground for initiates. During a routine drill, the once-dormant dungeon springs to life, and it will take all the PCs' resourcefulness and skill to make it out alive.
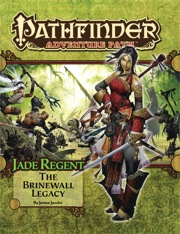
The town of Sandpoint, Varisia, Inner Sea Region has put out a bounty on the nearby tribe of Licktoad Goblins in retribution for the goblins raiding traders and travelers near the quiet town. The party takes up the bounty and ventures into the swamp; eventually finding the goblin village in ruins and it's inhabitants scared in it's burned huts. The party finds out; either through investigation of the ruins or the goblins themselves; that a group of skeletons with eastern arms and armor had ransacked the village and took a stash of fireworks that the goblins stole from an old shipwreck. The party then makes it to this cave and finds it empty except for a half dozen skeletons. Further in past the skeletons is their leader, a skeletal samurai who fights the party in an attempt to defend his treasure. The treasure turns out to be a letter that reveals that secrets of the Kaijitsu family; the same family their good friend Ameiko who runs the Rusty Dragon inn belongs to; that lies in wait in the abandoned town of Brinewall to the northern boarder of Varisia. Ameiko along with several other important NPCs with a caravan north. It's recommended that GMs create encounters for the caravan trip north as it's essentially 3 weeks of travel with nothing in it. It's also recommended that GMs completely ignore caravan rules; they're not flushed out and they're not fun to run. The party and the caravan reaches the abandoned town of Brinewall where their friend Ameiko becomes possessed and is thrown into a coma; where the other NPCs agree to take care of her while the party explores the town and castle. The castle is a three floor behemoth of a dungeon populated by Dire Corbies, Troglodytes, and various other monsters all under the leadership of Kikonu, an Yamabushi Tengu Oni. The goal of exploring Brinewall Castle is to find the two keys to the vault; one of which is on the Yamabushi Tengu while the other is on a Half-Fiend Decapus that lives in the basement of Brinewall. Once the PCs enter the vault they find the Amatatsu Seal; one of the seals that cement authority to one of the ruling houses in Minkai of Tian Xia; as well as several visions that show that Ameiko Kaijitsu is the rightful heir to be ruler of Minkai and that they'll need to travel north to do so. Such ends the first book of six.

For years the Verbeeg clan on Clover Island has lived peacefully with the human settlement of Corsair Bay. A peace treaty has remained in effect that both groups attested to and have lived by. Recently the annual tribute that is to be paid to the giants has not come and now the giants are preparing for battle. Can your party go and act as an envoy to the giants or will they choose to go to war against them?
The lost Bloodtower has returned, arising from its earthen grave to stand as a mute sentinel over the fog-shrouded moorland. In the weeks since it's return, local travelers have spoken of new undead roaming the countryside. Pgs. 80-87

The baron’s wife is dead. But she isn’t gone. Can the players lay her to rest and defeat the festering evil hidden away inside the Gilded Tower? Another thrilling tale of madness and mystery inspired by Edgar Allan Poe’s writing! Following the events of Masque of the Worms, the story continues into the hauntingly beautiful forests of the Painted Valley… Valley of the Gilded Tower is a one-shot for four to six 2nd-level characters. It takes about 2-3 hours to complete and includes: Events inspired by Edgar Allan Poe's most ethereal writing: -A new monster that can take over the minds of its victims -Combat cards for each monster, PC, and special treasure -Gorgeous, hand-drawn maps by Jake from Beware the Wizard

Driven mad by the darkness of winter, the Prioress of the Red Abbey begins her work. After months of research and work in her lab, she found a way to summon beings of light to push back the darkness, if she could control their destructive natures. The characters find themselves investigating odd deaths, chasing weird weather phenomena and trying to help locals harmed by these creatures of light.
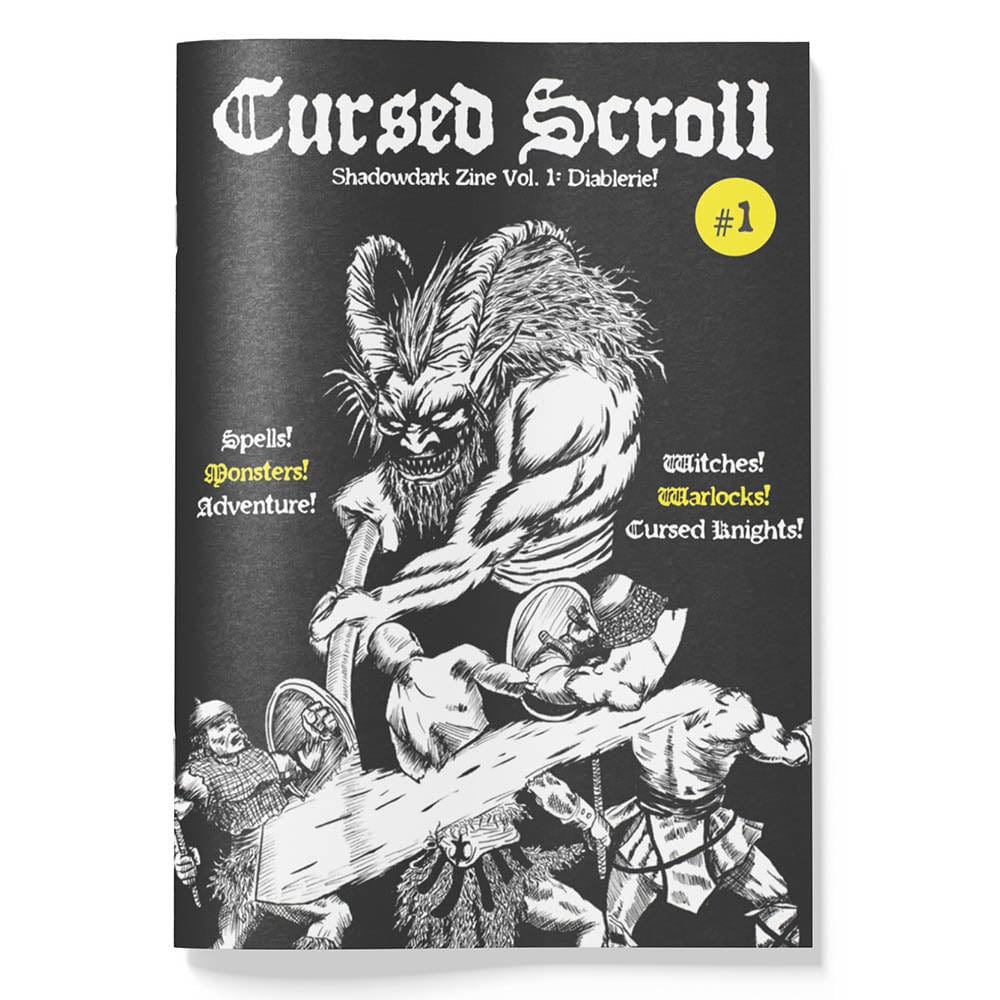
A 1st-level dungeon crawl heavy on exploration, factions, and sorcerous wonder for Shadowdark RPG! Go below the dripping ruins of Bittermold Keep to hunt for legendary treasures and face off against three competing factions that want to claim the Hideous Halls: the degenerate Bittermold family, the wild halfling Howlers, and the disgruntled mutant catfish. The characters might even encounter the abominable god-ooze, Mugdulblub! Winner of "The Best" rating from tenfootpole.org! View the adventure walkthrough video here: https://www.youtube.com/watch?v=mVJ-t7qMjPo This adventure is part of Cursed Scroll Zine 1: Diablerie! Inside the zine, you'll find cursed knights channeling demonic power, mist-addled forests where witches and warlocks stalk the trees, and crumbling castles housing ancient, eldritch creatures. Shadowdark RPG is what classic, old-school fantasy gaming would look like after being redesigned with 50 years of innovation. It's the world's greatest roleplaying game in a whole new light! Learn more and download the free rules here: https://www.thearcanelibrary.com/pages/shadowdark

The Ogre Magi of Jade Rock is a companion adventure made to go along with the events unfolding in Folio#16 (WS3 Distant Turtle City). It contains information needed to run a side adventure that will help characters in their journey through Distant Turtle City. The Ogre Magi of Jade Rock has invited the characters to reclaim his lost home, and in turn collect valuable supplies of magical healing that will certainly be required to win the day against the corrupted forces of the city's fortified castle. This adventure is formatted to both 1E & 5E gaming rules.