
This week’s Filbar offering is a mid-level adventure with the party headed out towards the frontier. As they move towards high adventure, adventure finds them first! Keldor Keep is the last bastion of civilization on the frontier but has recently come under attack. With its defenders scattered it falls to the party to save the fortress and protect the border! A hit at Who’s Yer Con 2016, this adventure is more than enough challenge for a group of 4-6 level characters!
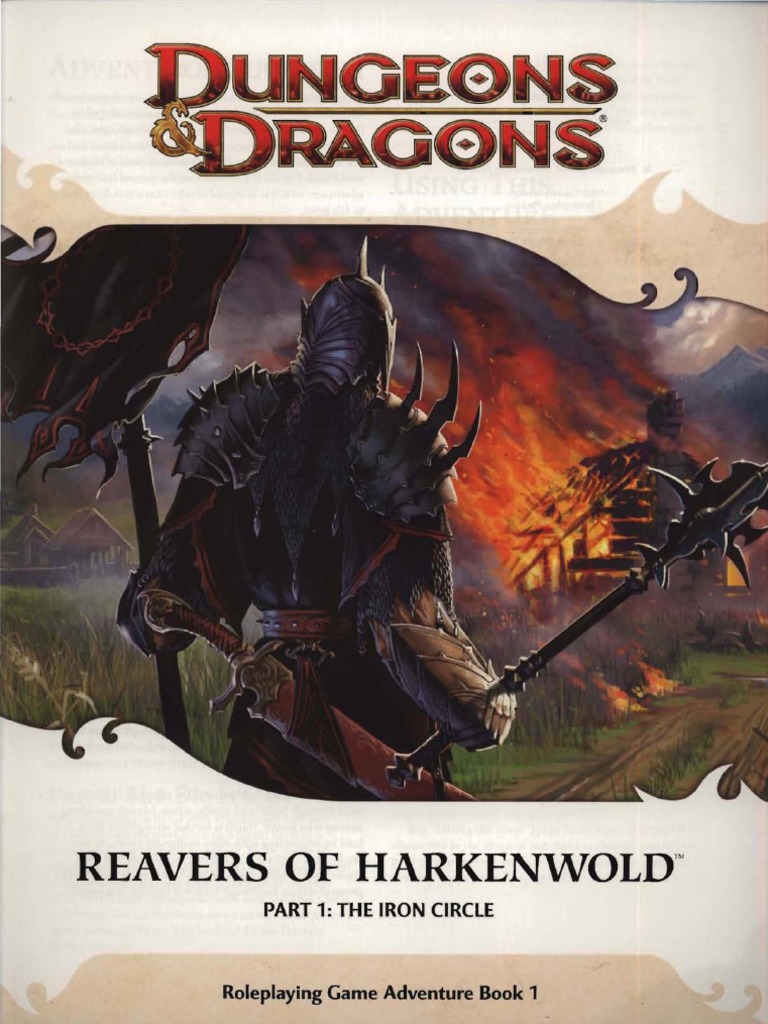
Reavers of Harkenwold pits the heroes against the Iron Circle, a company of cruel mercenaries that has seized control of the small land of Harkenwold. In this adventure, the heroes become daring rebels and lead the folk of Harkenwold against their oppressors.
A boxful of trouble. Sugar and spice and everything nice, that's what little girls are made of - but not this one! Think of this short adventure as 'Home Alone' meets AD&D. An apprentice to the town's wizard accidentally got into the cursed items while her teacher was away. Now she's acting strangely and playing a dangerous game of hide and seek with the party! Pgs. 44-47

In this prelude to the full Princes of the Apocalypse campaign book, adventurers face off against the influence of Elemental Cultists in the hills and canyons of the Dessarin Valley. The four mini-adventures within are only tangentially related to each-other, and instead serve as starting points and hooks for the plots of the complete Princes of the Apocalypse Campaign. Players start in the well-described town of Red Larch; first investigating a local necromancer, then uncovering cult influences within the town, and finally heading off to infiltrate or do battle with two small elemental cultist strongholds. All parts of this adventure can serve as great places to seed hooks for other campaigns.

Devastated in a war with a nearby wizards' school, the Fighters' Academy has since been surrounded by a foul and dank swamp - the Gloomfens. Since the climatctic battle between the wizards and fighters, the tower has decayed. The spirit of the head of the academy haunts the building, eternally plotting his revenge on the wizards who killed him. his loyal sutdents remain faithful to him even in death. Other foul undead have made their home in the rotting, spacious academy. From their lair, they make forays into farmsteads near the swamp in search of victims to feed their unspeakable appetites. The Problem of these terrible attacks by the savage undead will not stop until the evil that has found a home at the tower is burned from the face of the land forever. Will your party heed the call and help the town of Melinir? Will they be able to clear the former Academy of its undead? Lair of the Vampire Lord is the third in a three part adventure, The Haunted Tower. Or, it can be ran as a stand alone adventure. The choice is up to you. Part of TSR 1081 The Haunted Tower

His name is Conan, and no man can stand before him in battle." "Conan the Conqueror" by Robert E. Howard In an age long ago, there existed a hero - Conan. With fiery will, he slashed his name across the ancient lands of Hyboria. It was a time when bravery, trickery, and magic decided men's fates, and a steel sword could make the difference between life and death. For the daring, strong, and clever, there were fortunes to find and lands to rule. Travel back to this with Conan and his companions, Juma, Valeria, and Nestor. Travel back to defeat the dark horrors of his land! TSR 9123

The Sea Witch is a short adventure for four 10th-level characters. The difficulty of the adventure can be adjusted by changing the level of main antagonist (Black Molly, the sea hag pirate) or by altering the number of her ogre servants. To tailor the encounter to groups of different levels, refer to table 4-1 in Chapter 4 of the DUNGEON MASTER’S GUIDE. The adventure is set off a lightly populated coastline known as Misty Bay, but adapts easily to any coastal region in existing campaigns. The sea hag known as Black Molly is a notorious pirate who has plagued the coastal cities for the better part of a decade. A successful Knowledge (local) check (DC 15) will reveal that Molly and her ogre crew have a filthy reputation as merciless killers who delight not only in plundering vessels for their riches, but also in destroying the ships themselves and sending all hands to the bottom of the sea. Now the villain and her followers have seized control of the Old Lighthouse of Misty Bay located off a lightly populated coastline. For generations the lighthouse beacon has protected the fishermen of this region, warning them of the dangerous rocks that lurk just below the level of the high tides. Recently, the hag has put out the beacon, darkening the lighthouse; misery and destruction are sure to follow as ships start to blunder into the rocks. Blackmail is apparently Black Molly’s aim in this venture: She conveyed a message to the nearest shore community, the fishing village of Poisson, demanding the princely sum of 50,000 gp. Until she receives this ransom, she intends to hold the lighthouse and its beacon hostage. The fate of the human keepers who tend the lighthouse is unknown to the seaside communities at this time, but they fear the worst. The Sea Witch is ostensibly a rescue mission: The PCs are pitted against the evil of Black Molly and the brawn of her savage ogre crew. It is the heroes’ task to retake the lighthouse and, if possible, free its captives from the clutches of their jailer. What neither the PCs nor the shore communities yet realize is that while she 1would be pleased to have the gold, Black Molly is in fact after bigger treasure. Molly has no intention of giving up the lighthouse — at least, not until she finds what her master sent her here for. Lying on the sea floor practically at the base of the rock on which the lighthouse sits is the wreck of the war galley Flying Cloud, which according to popular legend was captained by a cleric who wore around his neck an amulet of the planes. Black Molly wants this prize, but so far she hasn’t been able to find it. She’s scoured the wreck without finding any sign of the magic item. Now she’s trying to determine where to search next, for the item might well be somewhere near the wreck. If she can’t find it, she’ll start torturing her captives to find out if they have any useful knowledge about the amulet.
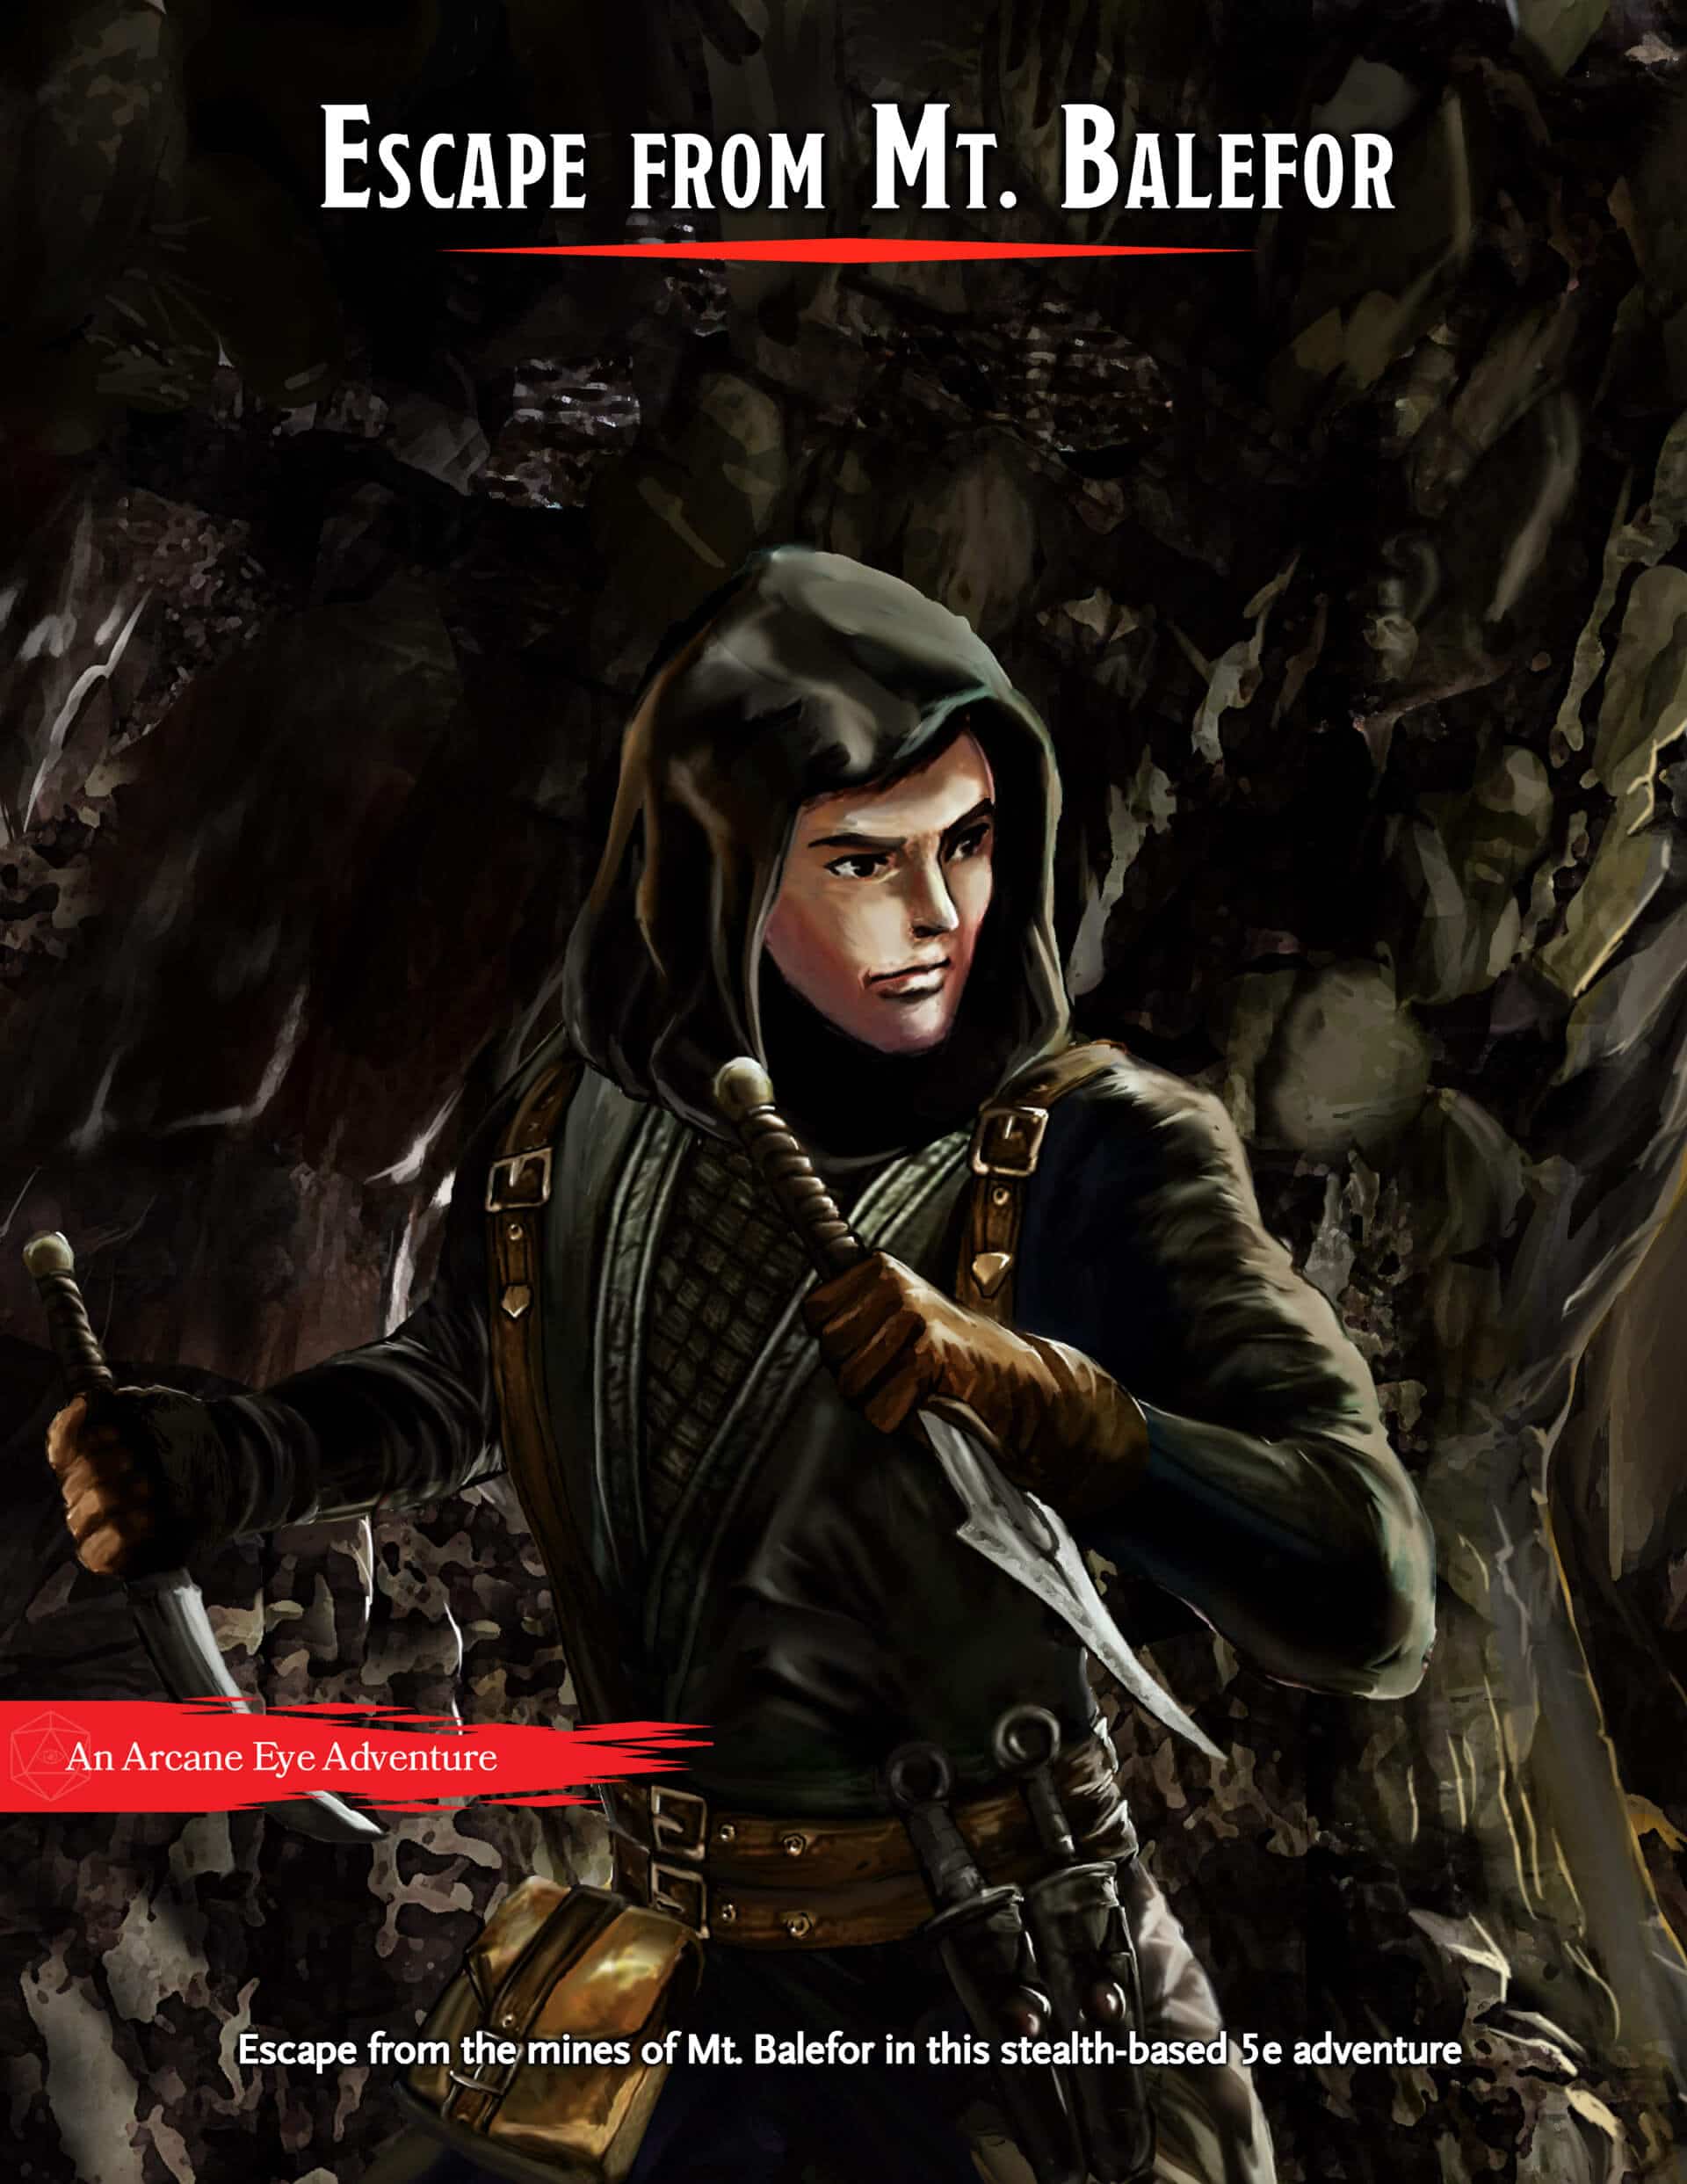
What’s Included Escape from Mt. Balefor is a self-contained 8-10 hour adventure for three to five 5th level characters. This premium module contains a full three-part story, battle maps, and NPC stat blocks. Your Mission Your party of Wood Elves will start in the mines and have to sneak and backstab their way to freedom. There are a number of chances to choose your path, whether you plan to avoid fighting or want to kill every last High Elf in the mines. There will also be a number of ways to affect the world around you if you choose to continue the story after the party escapes from the mines.

This third installment of the Aumvor saga includes: ● 19 encounters ● Stats for Living Zombies (converted from 3.5e) ● and an introduction to the tower The adventure continues as your PCs make their way to the upper reaches of the tower and learn of the danger involved in moving deeper into Aumvor's dark realm. For centuries Aumvor the Undying has fed upon the life force of innocent folk who stumbled upon his portal traps. For centuries he has planned for and prepared for the eventual return of Netheril as a power in the world. That hope has now faded, and he has returned to his vault to regain strength and begin anew. Even now, he is deep in his tower vault plotting. 𝐁𝐞 𝐬𝐮𝐫𝐞 𝐭𝐨 𝐜𝐡𝐞𝐜𝐤 𝐨𝐮𝐭 𝐓𝐡𝐞 𝐓𝐨𝐰𝐞𝐫 𝐨𝐟 𝐁𝐨𝐧𝐝𝐚𝐠𝐞 𝐩𝐚𝐫𝐭 𝟏 “𝐀𝐮𝐦𝐯𝐨𝐫𝐬’ 𝐖𝐞𝐥𝐜𝐨𝐦𝐞” 𝐚𝐧𝐝 𝐩𝐚𝐫𝐭 𝟐 “𝐅𝐚𝐧𝐞 𝐨𝐟 𝐭𝐡𝐞 𝐉𝐚𝐢𝐥𝐞𝐫𝐬”.

The first part of the Dreams of Red Wizards adventure path originally published for the D&D NEXT Playtest. Following the events Ghosts of Dragonspear Castle, a new set of adventurer's will see some of the repercussions of that adventure. This adventure is intended to be continued in the Dead in Thay adventure (Note that they Dead in Thay 5e adventure featured in Tales from the Yawning Portal is missing a significant portion of interlude that links Scourge of the Sword Coast to the events within the Doomvault). The adventurers arrive when Daggerford is crowded with refugees from outlying lands. Goblins, gnolls, and orcs have been raiding the countryside. Now, food is scarce and tension is high. Blame for a theft has fallen on the refugees, and the Duke of Daggerford has forbidden more of the displaced from coming into town. After overcoming difficulties to enter Daggerford, the characters learn more about the raids. As they fight against the humanoids and delve deeper in the darkness that encircles Daggerford, the characters learn of Bloodgate Keep. After a final fiendish ambush, they’re ready to confront the real threat to the area. DM Note: This adventure points the adventurers strongly towards Bloodgate Keep but that location does not appear until the Dead in Thay adventure; at several points the party may feel drawn to explore that location rather than continue their investigations around Daggerford. However, since Bloodgate Keep is only eluded to as a source of great evil power, it can serve to easily segue to an entirely different adventure path. As a NEXT Playtest adventure, Scourge of the Sword Coast uses milestone leveling and the included stat blocks for creatures do not necessarily match or even appear in the 5e Monster Manual, nor do they have XP values or challenge ratings. In some places it will reference rules used in the Playtest but dropped or changed in the 5e release, these are unlikely to substantially impact gampley with 5e rules.

The nephew of a once famous adventurer decides to make a name for himself and bites off more than he can chew. Short on options, and worried for his nephew’s life, he needs your help. Travel to the ruins of Dhonin's Lookout atop Standiac Hill to find and rescue the young adventurer. Uncover a plot that could lead to the destruction of the village of Millvein, and even more dire future consequences. Includes: A 3-4 hour adventure for 1st level characters Map of the village of Millvein 2 DM maps Stat blocks for all monsters the players might encounter. The adventure continues in Into the Underdark - Part 2 The Spider's Den

New to Loudwater, the heroes learn of a tower locked in ice in the nearby wilderness. Traveling there, they discover that the tower’s master left many surprises behind for the unwary. Also available with e 5e solo conversion: https://www.dmsguild.com/product/247505/DD-Solo-Adventure-Menace-of-the-Icy-Spire-5e-Solo-Conversion Pgs. 4-22

The Tower of Bondage 𝐏𝐚𝐫𝐭 𝟐 “Fane of the Jailers” takes you deeper into Aumvor the Undying’s dungeon of terror. As your players draw closer to the tower below, they will meet new horrors that include: ● 15 encounters with dark denizens including undead ● New Monster, “Walking Ooze” ● Margoyles of the AD&D era converted for 5th Edition. This adventure is part two of a six-part series that comprises six levels of dungeon and culminates in the PC’s escape from an underground prison of torture and madness, and if they choose, the destruction of the Lich known as Aumvor the Undying. In early 1320 DR Aumvor the Undying collected the greatest of all of the relics and lore of the Netherese Empire and secreted it away in his domain in Endless Caverns. There he awaited the return of the City of Shade. He did not have to wait long for it was but thirty eight years when it appeared. The undying one saw this as his long awaited opportunity to return and bring the Netherse Empire to its full glory. As quickly as it rose, it also fell, for even Aumvor could not foretell the advent of the second sundering. This change in the weave left him weakened and the nations placed under his yoke, rebelled. By 1487 DR the City of Shade fell and the end of Netheril was not far behind. From the ashes of an empire two times fallen, Aumvor the Undying plots again to restore Netheril. His ancient portal traps still in operation, he feeds on the living and grows strong again. Who can stop him? 𝐅𝐨𝐫 𝐦𝐨𝐫𝐞 𝐨𝐧 𝐀𝐮𝐦𝐯𝐨𝐫𝐞 𝐭𝐡𝐞 𝐔𝐧𝐝𝐲𝐢𝐧𝐠 𝐚𝐧𝐝 𝐭𝐡𝐞 𝐡𝐢𝐬𝐭𝐨𝐫𝐲 𝐨𝐟 𝐭𝐡𝐞 𝐄𝐦𝐩𝐢𝐫𝐞 𝐨𝐟 𝐍𝐞𝐭𝐡𝐞𝐫𝐢𝐥, 𝐜𝐨𝐧𝐬𝐮𝐥𝐭 𝐂𝐡𝐚𝐦𝐩𝐢𝐨𝐧𝐬 𝐨𝐟 𝐕𝐚𝐥𝐨𝐫 𝐚𝐧𝐝 𝐒𝐰𝐨𝐫𝐝 𝐂𝐨𝐚𝐬𝐭 𝐀𝐝𝐯𝐞𝐧𝐭𝐮𝐫𝐞𝐫’𝐬 𝐆𝐮𝐢𝐝𝐞. This exciting series presents the dungeons of Aumvor the Undying after the second sundering, desperately clinging to what little he has left. This may be the time to strike him down once and for all.

While doing due diligence going over some dusty tomes you have discovered a scrap giving you a clue about some magical items in a strange obelisk somewhere in the vicinity. The adventure takes the PCs across the Torgoth’s Causeway into the frontier. A few coins to a local sage and you will have a better idea on where to go…or so it would seem.

Things are darkest before they go totally black. He wears black, hires orcs, and looks depraved - but don't be fooled. He's far more dangerous than he seems. Thaddigren Dentiata recently arrived in the village of Sisak, and within 3 months had constructed a great tower on the outskirts. The villagers have become more wary of him, since he employs the help of orc henchment (albeit polite ones), and also is suspected of using dark magic. Since then, livestock has begun disappearing from the surrounding pastures, and two drunk men fell upon a terrible fate when they went to investigate the tower secretly. One was killed and the other remains missing. The villagers have confronted Dentiata, but he and his henchmen politely turned aside their questioning. The players arrive just after one of the town elders was taken by orcs from the village after trying in vain to rally the rest of the townspeople. The players will spend some time in the village gathering information and then attack the tower itself, ending in a final battle with the evil wizard. The module provides details on all buildings in the town as well as all NPCs and stores. Pgs. 6-24
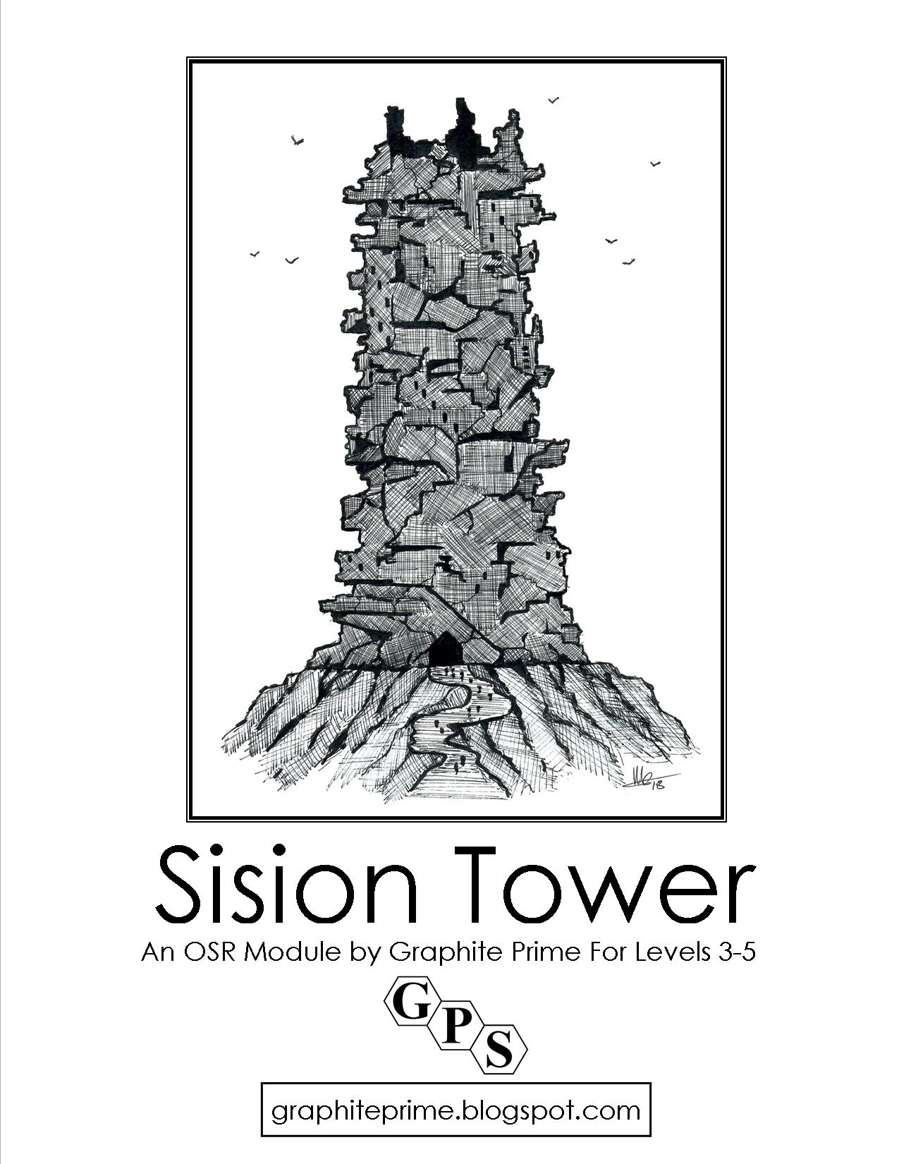
Some time ago, the wind began to sing of death in the Sision River Valley, and if purgatory was a song, Glovakians are now listening to it. The source of this soul-crushing music was tracked to about 90 miles northwest of Ambir. What was found? A massive, oddly built stone tower that wasn't there before. Word quickly spread and the curious set out in droves. Many turned back however, as every passing day the music got worse, but a brave, or foolish few, managed to make camp and eventually go inside. If anyone's made it out, no one really knows, but there's no shortage of rumors as to what's really going on in the place that's come to be known as, Sision Tower. Sision Tower is an OSR styled, vertical dungeon-crawl where the PCs explore an odd domain of Holy origins. Here, they will test their survival skills as well as their Faith. Here, they will meet Saints and Seraphs. Here, in the struggle between Law and Chaos they have to decide.....Plunder??......Sacrifice??......or Both!!! Sision Tower includes: All original black and white art. Over a dozen, fully illustrated, new magic items. Unique monsters and a sample setting. A vertical dungeon-crawl of 35 rooms. A spiritual setting in the same vein as Praise the Fallen. Sision Tower is designed to challenge character levels 3-5 and is easily used with most tradtional fantasy role-play systems.

This scenario was presented to Gryphcon's 30th anniversary last year. The party finds themselves coming to the Triland on their way to Taco Del Toro. This island chain is unique in that it has a land mass made of clouds, hovering over the island. Upon landing, your group discovers that the governor's child has been abducted by a Cloud Giantess. Time for your hero hats...
Two thieves' guilds fight to the death - with you in the middle. Run silently; the Midnight Stalkers are after you. Escape from the Tower of Midnight is an AD&D* game module for 2-6 thieves of 2nd-4th level. The Dungeon Master may change the names of the thieves’ guilds, countries, deities, and so forth to fit the individual campaign. Note that all player characters are assumed to have been imprisoned at the start of the adventure; little or no equipment will be available at first. This module is well suited for tournament use. Adventure Background It must be assumed, for the sake of the adventure to follow, that the PCs have no way of avoiding capture by the Midnight Stalkers. However, the DM may find a way to play out this adventure and have some or all of the PCs captured, allowing any who escape to attempt to rescue their comrades. Pgs. 16-27

Driven mad by the darkness of winter, the Prioress of the Red Abbey begins her work. After months of research and work in her lab, she found a way to summon beings of light to push back the darkness, if she could control their destructive natures. The characters find themselves investigating odd deaths, chasing weird weather phenomena and trying to help locals harmed by these creatures of light.

Along the windswept sea coast are several natural stone columns, sacred to the Sea Goddess Pelagia. One of these pillars is the tower of a reclusive wizard, a devout follower of Pelagia. But the wizard has gone missing, and the locals suspect foul play. Surely a powerful wizard must have many enemies! A band of fledgling heroes is tasked with entering one of the Pillars of Pelagia to contend with all manner of magical defenses, while uncovering cryptic clues to the wizard’s disappearance planted by an unknown benefactor. The insidious evil plot they uncover could spell eventual doom for the surface world. But the Pillars are sacred to Pelagia, and the Sea Goddess herself might just play a minor role, aiding the heroes as they attempt to thwart a nefarious plot.