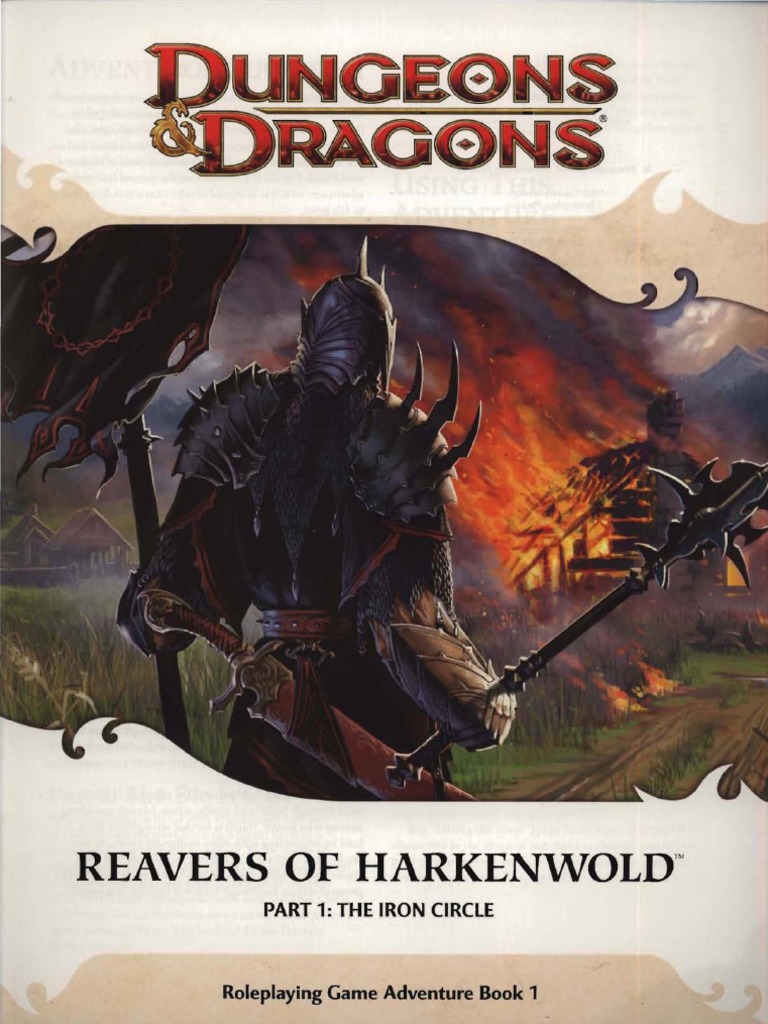
Reavers of Harkenwold pits the heroes against the Iron Circle, a company of cruel mercenaries that has seized control of the small land of Harkenwold. In this adventure, the heroes become daring rebels and lead the folk of Harkenwold against their oppressors.

The tournament of the bloody stones has come to Taux, and the streets are said to run red with the blood of the combatants. Now, amid the crackdowns of the Sturgeons and the secret duels of the three great fencing schools, the heroes must once and for all solve the mystery of the House Vash blood feud. Taking on the guise of foreign swashbucklers, all must brave bloody single combat, pirates, ravenous cursed lowl, and evne magical reverberations from distant Roslof Keep! Complete the Adventures of the Emperald Serpent trilogy with this module. This adventure is formatted to both 1E & 5E gaming rules. Also available in PDF.

The baron’s wife is dead. But she isn’t gone. Can the players lay her to rest and defeat the festering evil hidden away inside the Gilded Tower? Another thrilling tale of madness and mystery inspired by Edgar Allan Poe’s writing! Following the events of Masque of the Worms, the story continues into the hauntingly beautiful forests of the Painted Valley… Valley of the Gilded Tower is a one-shot for four to six 2nd-level characters. It takes about 2-3 hours to complete and includes: Events inspired by Edgar Allan Poe's most ethereal writing: -A new monster that can take over the minds of its victims -Combat cards for each monster, PC, and special treasure -Gorgeous, hand-drawn maps by Jake from Beware the Wizard
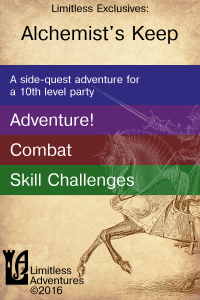
A side-quest adventure - An abandoned keep in the forest provides a exploration sidequest, and an excellent base of operations for your party once cleared. Includes a great new monster and mechanic to repair the keep. Published by Limitless Adventures

The residents of Castle Gealladh have been visited by an ominous banshee with a warning: “Leave or die”. Your adventuring company finds themselves drafted by a wizard named Milo Tenpenny and tasked with investigating the castle and ridding it of undead. In your investigation, you will find that there is more to this warning than it seems — and that something far worse than spirits haunt this castle.

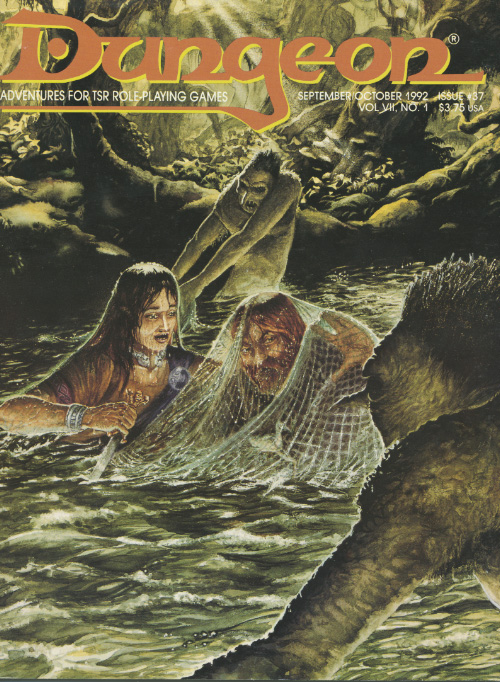
The Sea Witch is a short adventure for four 10th-level characters. The difficulty of the adventure can be adjusted by changing the level of main antagonist (Black Molly, the sea hag pirate) or by altering the number of her ogre servants. To tailor the encounter to groups of different levels, refer to table 4-1 in Chapter 4 of the DUNGEON MASTER’S GUIDE. The adventure is set off a lightly populated coastline known as Misty Bay, but adapts easily to any coastal region in existing campaigns. The sea hag known as Black Molly is a notorious pirate who has plagued the coastal cities for the better part of a decade. A successful Knowledge (local) check (DC 15) will reveal that Molly and her ogre crew have a filthy reputation as merciless killers who delight not only in plundering vessels for their riches, but also in destroying the ships themselves and sending all hands to the bottom of the sea. Now the villain and her followers have seized control of the Old Lighthouse of Misty Bay located off a lightly populated coastline. For generations the lighthouse beacon has protected the fishermen of this region, warning them of the dangerous rocks that lurk just below the level of the high tides. Recently, the hag has put out the beacon, darkening the lighthouse; misery and destruction are sure to follow as ships start to blunder into the rocks. Blackmail is apparently Black Molly’s aim in this venture: She conveyed a message to the nearest shore community, the fishing village of Poisson, demanding the princely sum of 50,000 gp. Until she receives this ransom, she intends to hold the lighthouse and its beacon hostage. The fate of the human keepers who tend the lighthouse is unknown to the seaside communities at this time, but they fear the worst. The Sea Witch is ostensibly a rescue mission: The PCs are pitted against the evil of Black Molly and the brawn of her savage ogre crew. It is the heroes’ task to retake the lighthouse and, if possible, free its captives from the clutches of their jailer. What neither the PCs nor the shore communities yet realize is that while she 1would be pleased to have the gold, Black Molly is in fact after bigger treasure. Molly has no intention of giving up the lighthouse — at least, not until she finds what her master sent her here for. Lying on the sea floor practically at the base of the rock on which the lighthouse sits is the wreck of the war galley Flying Cloud, which according to popular legend was captained by a cleric who wore around his neck an amulet of the planes. Black Molly wants this prize, but so far she hasn’t been able to find it. She’s scoured the wreck without finding any sign of the magic item. Now she’s trying to determine where to search next, for the item might well be somewhere near the wreck. If she can’t find it, she’ll start torturing her captives to find out if they have any useful knowledge about the amulet.

Dracula, the Lord of Shadow and Darkness, has covered the land in shadow and dispatched armies of monsters and undead from his magical castle. His armies threaten to overrun major cities and plunge the world into a literal Dark Age. The last of the vampire-hunting clan that traditionally opposed him has disappeared, and still the armies advance. He must be stopped. If that's not enough motivation, it is well-known that his castle is full of magical items and great riches... but also great danger. If you've ever wanted D&D and Castlevania to meet, look no further. This adventure is exactly what you wanted. Every area of the castle poses different and unique challenges to keep the party engaged and on their toes. Written for the DM as a ready-to-run adventure, it is designed for four to six characters. The adventure starts at level 3 at the outer defenses of the castle, and ends with the party advancing to level 13 after defeating Dracula in an epic battle. The adventure includes documentation to help even a new DM succed, including suggestions for how to run each of the area "boss" monsters in combat. There are approximately 50 new enemies and over 3 dozen new magical items. It also comes with a list of suggested music for many areas of the castle, and a 25-page campaign log recounting an actual tabletop play-through of this adventure from the DM's perspective.

Designed for a party of five characters of at least 9th level, this adventure will challenge players seeking a powerful magic item of the GM’s choosing. A sphere of annihilation has been provided and is woven into several elements of the adventure, but any appropriately powerful item can be substituted if something else suits your campaign better. Though the adventure is designed to test every type of character class, a rogue who can deal with traps is essential, as is a wizard or sorcerer of at least 9th level. Larger groups will have an easier time; parties of four or fewer characters will be in for a very bad time unless you mitigate some of the tower’s more lethal traps and encounters. This adventure culminates in an encounter with devils and a sphere of annihilation. The sphere of annihilation is hidden deep within the tower-and-dungeon complex of Crane the Sorcerer. Originally set atop a high mountain in a secluded and wild part of the world, the tower and dungeon can be relocated to meet the situation in your campign. Crane, an introvert, stayed as far away from civilization as possible, as is detailed below. The tower above the dungeon doesn’t present many difficulties for a group of powerful characters or alert players. It might lull PCs into a false sense of security before they enter the areas where they’ll really be put to the test.

The loss of Skyreach Castle in Hoard of the Dragon Queen was a major setback to the Cult of the Dragon, but still only a setback. The cult is determined to retake the castle and claim Tiamat’s lost treasure buried in its frozen walls and cloudstuff vaults, but they aren’t the only ones. Blagothkus the cloud giant is still the master of Skyreach, and he has gone to the hall of his cousin Brunvild, ice lord of Uldoveld, for the resources to repair and reoccupy the castle. At the same time, the party is dispatched by the Council of Waterdeep to reclaim some of the stolen treasures lost when the castle fell.

Retrieve the bones of a dracolich to save the life of a paladin. The epic conclusion of the Mere of Dead Men series. Set in the Mere of Dead Men region of the Forgotten Realms.
While traveling a mountainous road, the party hears a "song, echoing faintly through the hills around you--a single, achingly beautiful feminine voice that burns its sorrow straight into your gut. The words are Elvish, but you don't have to speak that language to understand the sense of loss and heartache that fills every note." --from the adventure. Includes map of the tower.

The wizard Kavorquian is dead. But certain items belonging to his adopted son were in the wizard's keeping at the time of his demise. Now someone must venture into the silent vaults of Kavorquian's stronghold and recover the missing property. Queen's Harvest picks up its story where B11, King's Festival, left off. It can be played as a sequel to that adventure or as a complete adventure in itself. It is tailored for beginning Dungeon Masters and players and contains helpful hints on adventuring and the land of Karameikos. The story develops simply, but ultimately leads the player characters into the nether reaches of Penhaligon's politics to confront Ilyana Penhaligon, mad pretender to the throne! TSR 9261

The local nobles of the region have sent word to your group requesting a meeting. Later that day you find the Black Raven roadside tavern and are met at the door. After being escorted to a back room which has seen its share of shady dealings you are propositioned with an offer to investigate and depose a set of local nobles who are brothers. Rumor has it that the Ironrod brothers, who have been overtaxing the citizens, have now employed humanoids as guards. This is forbidden and if true, the brothers need to be brought to justice immediately!
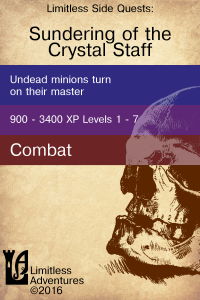
Undead minions turn on their master - When the necromancer's staff is broken, a party of undead become self aware. Play as undead and choose to side with your former master, or the paladin order assaulting his tower. Published by Limitless Adventures.

Driven by Molo of the Five Wives, this adventure revolves around a test to determine membership into the famed Wizard's Conclave. Does the party have what it takes to pass this test, thus gaing them much needed access to the Conclave's resources? This adventure is formatted to both 1E & 5E gaming rules.

What is the Lost Lands? The Lost Lands is the home campaign world of Necromancer Game's and Frog God Game's own Bill Webb. This campaign has been continuously running since 1977. Many of the adventures published by Necromancer Games and Frog God Games are directly inspired by this campaign. They have evolved over the decades, and more material continues to flow from it as the dice keep rolling. Sages and wizards of legend speak of the Lost Lands—many of the players who have lived and died in Bill's campaign over the years now have a place in history (in the books). Frac Cher the dwarf, Flail the Great, Bannor the Paladin, Speigle the Mage, and Helman the Halfling are well known to the fans of Bill's work. This is the game world, and these are the adventures in which the players of these famous characters lived and died. Hundreds of players over the past 35 years have experienced the thrills and terrors of this world. The Sword of Air is the centerpiece of the Lost Lands. Currently, this epic tome consists of several parts: 1. The Hel’s Temple Dungeon—kind of like Tomb of Horrors on crack. This six-level, trap-and-puzzle infested dungeon formed the basis of Bill's game through his high school and college years. Clark Peterson’s very own Bannor the Paladin spent several real life months in the place, and, sadly, finished the objective. This is where the fragments of the fabled Sword of Air can be found…perhaps. 2. The Wilderness of the Lost Lands extending to the humanoid-infested Deepfells Mountains and providing detail about the nearby Wizard’s Wall. This so-called “wall” was raised by the archmages Margon and Alycthron harnessing the Spirit of the Stoneheart Mountains to raise the land itself, creating a massive escarpment to block invaders from the Haunted Steppes. These archmages are actual player characters from the early 1980s who live on in the legends of the Lost Lands. Over 70 unique encounter areas are detailed, and each one is a mini-adventure in itself. New wilderness areas may be added based on bonus goals described below! 3. The Ruined City of Tsen. Legend has it the city was destroyed by a falling meteor. This place forms an aboveground dungeon area the size of a city, with over 100 detailed encounter areas. It’s a very dark place…even at noon. 4. The Wizard’s Feud—This campaign-style adventure pits the players in a long-running series of intrigues and battles between two archmages. Which side will they take? Their actions all play into the overall quest, and could well determine which side wins. Law and Chaos are not always what they seem, and if the wrong decisions are made, the entire ordeal could fail. Remember, one of the wizards WANTS Tsathogga to win. 5. New monsters, new demons, new spells, and new rules for various aspects of play. 6. The Tower of Bells. This dungeon is the result of the workshop Bill ran at PaizoCon 2013, where the participants assisted him in building an old-school dungeon. Visit the tower and discover the secrets of the “artist” within. Beware: those entering may never come out!
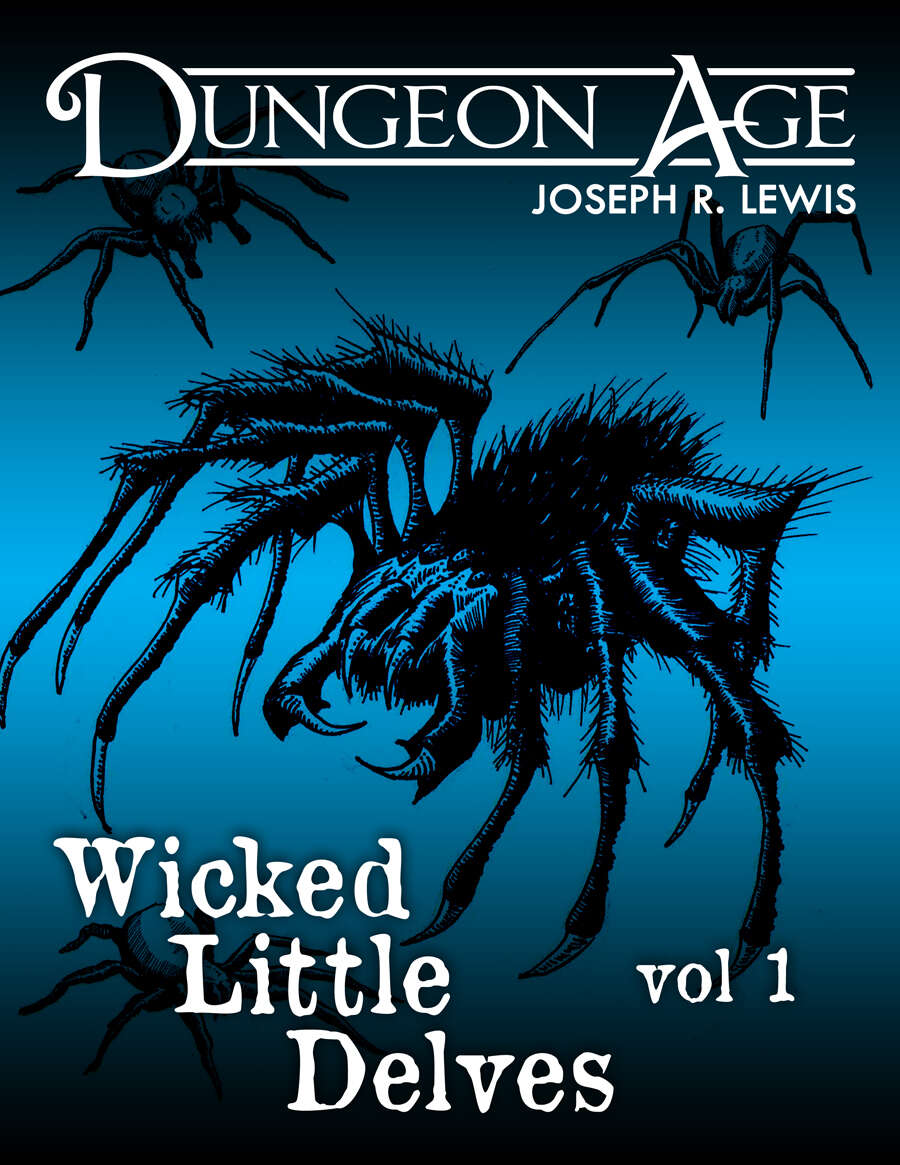
These are three one-shot dungeon delves. Each delve features nine rooms or locations full of challenges and interactivity. Each delve has only one type of monster, but they are complex, and there are lots of them! This volume of Wicked Little Delves includes three small dungeon adventures: - a new twist on the classic spiders-in-the-cellar, - a prison full of attack dogs, and - an abandoned cult lair full of pirate treasure and killer crabs. SYSTEM: Each monster has stats for Fifth Edition, Old School Essentials, and Into the Odd. These adventures are intended for characters at levels 1, 2, and 3. They are mainly focused on exploration and combat, with some minor social encounters. Estimated run time for each: 1 session, or 2-5 hours. Each adventure includes one complex original monster and a variety of unique treasures. ADVENTURE TYPE: Low Level / Combat / Exploration / One-Shot / Dungeon Delve

It is an adventure designed to interrupt a party of adventurers who are going from point A to point B. on a message delivery assignment. While on the mission the party runs into a blizzard, pack of wolves, and a rogue band of humanoids attempting a roadblock! Can your party deal with this growing problem and survive?
If love overcomes evil, remember to get rid of the imp! It took only the love of one good woman - and the hatred of one evil familiar. After leading a life a villainy, the wizard Elzid Natholin gradually left his wicked ways, transformed by the true love of a young maiden. His imp familiar was not pleased with this benign transformation and tricked his master into detonating himself and his tower. The players will investigate the tower to determine the nature of the explosion. The imp still guards the treasure in the dungeon, and is waiting for a legion of infernal soldiers to come claim the treasure for their devil lords. Pgs. 20-28

The Tower of Zoramadria is hidden away in the Feywild. The tower is an arcane academy under the tutelage of the lich Parthal. Parthal and his students lead serene lives of study and contemplation, except when they engage in a bout of bloody necromantic research that requires innocent souls as vital components. Parthal has a score to settle, and the Feywild itself might shudder and scream before the lich has had his revenge on those who killed his love. Pgs. 104-111