
While the name Codic Keep used to have prestige associated with it in the past, it is now a crumbling fortress blasted years ago by a large tornado. Now the ruin sits next to a swamp and is pretty much left ignored. Recently word has reached Feastelburg that strange lights have been noticed near the keep and many have wondered if the wanted criminal relative has returned to reclaim the property. Wanted posters of “Si” Codic have been circulating for quite some time with a reward of 1500 gp for his capture. Who’s up for a swamp trip?
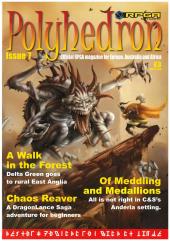
In the dark days of the Chaos War, a band of heroes sets forth to recover the famed Chaos Reaver - a sword said to possess the power to banish creatures of Chaos from the land. Converted to 3.5e from the original SAGA version published in Polyhedron UK #7 (1999).
Under raging storm clouds, the vampire Count Strahd von Zarovich stands silhouetted against the ancient walls of Castle Ravenloft. Rumbling thunder pounds the castle spires. The wind’s howling increases as he turns his gaze down toward the village of Barovia. A lightning flash rips through the darkness, but Strahd is gone. Only the howling of the wind fills the midnight air. The master of Castle Ravenloft is having guests for dinner—and you are invited. Spans levels 1-10.
Shadows in the forest deepen as an Oracle among the Yuirwood's half-elf inhabitants fire tells the reemergence of the Duskwalker, an ancient and corrupt star elf wizard. Missing travelers and lost goods all point to a circle of standing stones within the forest. Perhaps, like it's counterparts elsewhere in the Yuirwood, this stone henge allows for travel to travel to another place - but where? And what growing darkness awaits those bold enough to find out?
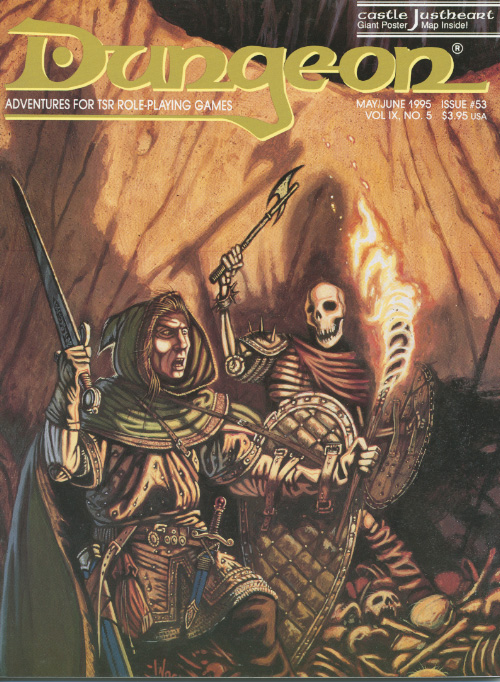
"While staying in the quant rual town of Keswig, the PCs are approached by a troubled young woman named Elexa Justheart. Elexa has just returned from the Galhanor Crusades--a war fought against giants and humanoids in the distant Galhanor Mountains. After serving six months as a cleric in a series of major battles, she recently arrived home to find her uncle's castle occupied by evil brigands." -- from the module. Includes overland maps and maps of the tower and castle.

Devastated in a war with a nearby wizards' school, the Fighters' Academy has since been surrounded by a foul and dank swamp - the Gloomfens. Since the climatctic battle between the wizards and fighters, the tower has decayed. The spirit of the head of the academy haunts the building, eternally plotting his revenge on the wizards who killed him. his loyal sutdents remain faithful to him even in death. Other foul undead have made their home in the rotting, spacious academy. From their lair, they make forays into farmsteads near the swamp in search of victims to feed their unspeakable appetites. The Problem of these terrible attacks by the savage undead will not stop until the evil that has found a home at the tower is burned from the face of the land forever. Will your party heed the call and help the town of Melinir? Will they be able to clear the former Academy of its undead? Lair of the Vampire Lord is the third in a three part adventure, The Haunted Tower. Or, it can be ran as a stand alone adventure. The choice is up to you. Part of TSR 1081 The Haunted Tower

The Sea Witch is a short adventure for four 10th-level characters. The difficulty of the adventure can be adjusted by changing the level of main antagonist (Black Molly, the sea hag pirate) or by altering the number of her ogre servants. To tailor the encounter to groups of different levels, refer to table 4-1 in Chapter 4 of the DUNGEON MASTER’S GUIDE. The adventure is set off a lightly populated coastline known as Misty Bay, but adapts easily to any coastal region in existing campaigns. The sea hag known as Black Molly is a notorious pirate who has plagued the coastal cities for the better part of a decade. A successful Knowledge (local) check (DC 15) will reveal that Molly and her ogre crew have a filthy reputation as merciless killers who delight not only in plundering vessels for their riches, but also in destroying the ships themselves and sending all hands to the bottom of the sea. Now the villain and her followers have seized control of the Old Lighthouse of Misty Bay located off a lightly populated coastline. For generations the lighthouse beacon has protected the fishermen of this region, warning them of the dangerous rocks that lurk just below the level of the high tides. Recently, the hag has put out the beacon, darkening the lighthouse; misery and destruction are sure to follow as ships start to blunder into the rocks. Blackmail is apparently Black Molly’s aim in this venture: She conveyed a message to the nearest shore community, the fishing village of Poisson, demanding the princely sum of 50,000 gp. Until she receives this ransom, she intends to hold the lighthouse and its beacon hostage. The fate of the human keepers who tend the lighthouse is unknown to the seaside communities at this time, but they fear the worst. The Sea Witch is ostensibly a rescue mission: The PCs are pitted against the evil of Black Molly and the brawn of her savage ogre crew. It is the heroes’ task to retake the lighthouse and, if possible, free its captives from the clutches of their jailer. What neither the PCs nor the shore communities yet realize is that while she 1would be pleased to have the gold, Black Molly is in fact after bigger treasure. Molly has no intention of giving up the lighthouse — at least, not until she finds what her master sent her here for. Lying on the sea floor practically at the base of the rock on which the lighthouse sits is the wreck of the war galley Flying Cloud, which according to popular legend was captained by a cleric who wore around his neck an amulet of the planes. Black Molly wants this prize, but so far she hasn’t been able to find it. She’s scoured the wreck without finding any sign of the magic item. Now she’s trying to determine where to search next, for the item might well be somewhere near the wreck. If she can’t find it, she’ll start torturing her captives to find out if they have any useful knowledge about the amulet.
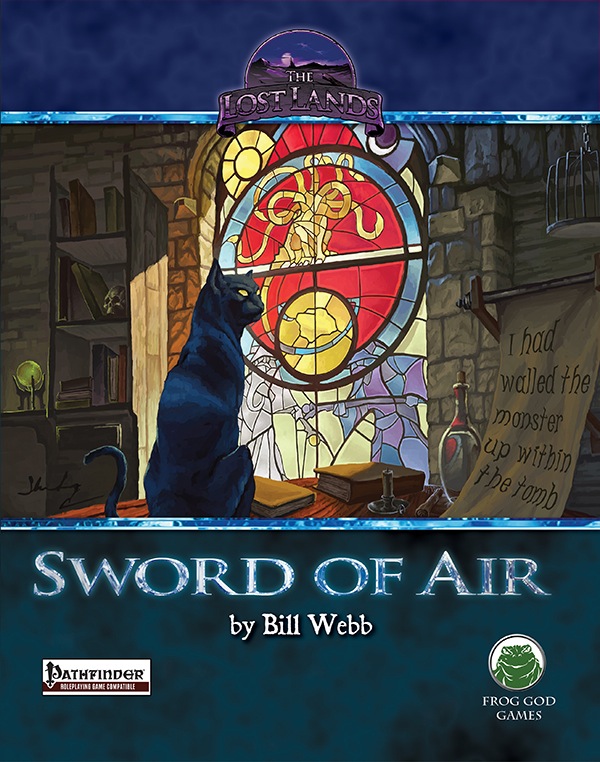
What is the Lost Lands? The Lost Lands is the home campaign world of Necromancer Game's and Frog God Game's own Bill Webb. This campaign has been continuously running since 1977. Many of the adventures published by Necromancer Games and Frog God Games are directly inspired by this campaign. They have evolved over the decades, and more material continues to flow from it as the dice keep rolling. Sages and wizards of legend speak of the Lost Lands—many of the players who have lived and died in Bill's campaign over the years now have a place in history (in the books). Frac Cher the dwarf, Flail the Great, Bannor the Paladin, Speigle the Mage, and Helman the Halfling are well known to the fans of Bill's work. This is the game world, and these are the adventures in which the players of these famous characters lived and died. Hundreds of players over the past 35 years have experienced the thrills and terrors of this world. The Sword of Air is the centerpiece of the Lost Lands. Currently, this epic tome consists of several parts: 1. The Hel’s Temple Dungeon—kind of like Tomb of Horrors on crack. This six-level, trap-and-puzzle infested dungeon formed the basis of Bill's game through his high school and college years. Clark Peterson’s very own Bannor the Paladin spent several real life months in the place, and, sadly, finished the objective. This is where the fragments of the fabled Sword of Air can be found…perhaps. 2. The Wilderness of the Lost Lands extending to the humanoid-infested Deepfells Mountains and providing detail about the nearby Wizard’s Wall. This so-called “wall” was raised by the archmages Margon and Alycthron harnessing the Spirit of the Stoneheart Mountains to raise the land itself, creating a massive escarpment to block invaders from the Haunted Steppes. These archmages are actual player characters from the early 1980s who live on in the legends of the Lost Lands. Over 70 unique encounter areas are detailed, and each one is a mini-adventure in itself. New wilderness areas may be added based on bonus goals described below! 3. The Ruined City of Tsen. Legend has it the city was destroyed by a falling meteor. This place forms an aboveground dungeon area the size of a city, with over 100 detailed encounter areas. It’s a very dark place…even at noon. 4. The Wizard’s Feud—This campaign-style adventure pits the players in a long-running series of intrigues and battles between two archmages. Which side will they take? Their actions all play into the overall quest, and could well determine which side wins. Law and Chaos are not always what they seem, and if the wrong decisions are made, the entire ordeal could fail. Remember, one of the wizards WANTS Tsathogga to win. 5. New monsters, new demons, new spells, and new rules for various aspects of play. 6. The Tower of Bells. This dungeon is the result of the workshop Bill ran at PaizoCon 2013, where the participants assisted him in building an old-school dungeon. Visit the tower and discover the secrets of the “artist” within. Beware: those entering may never come out!
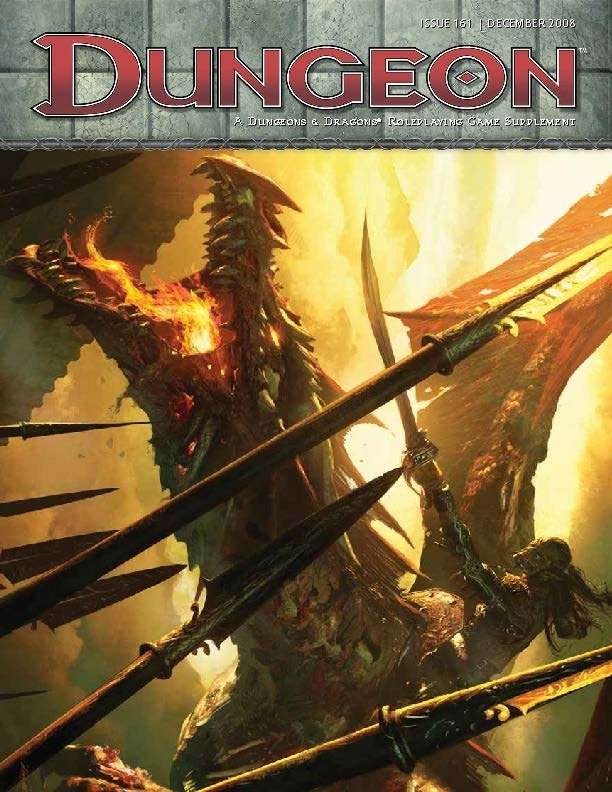
Beyond the mortal world, somewhere outside the bounds of the Astral Sea, the Far Realm yawns immeasurable. Beyond the reality of gods and mortals, this plane is a realm of contradictions, a mad place of fevered creation checked only by pointless extinction. The Outside is a sea of diseased possibilities, where the stuff of madness seethes in a soup of the incomprehensible and the unnamable—shuddering, squirming, and sentient. The Stormcrows, responding to the psychic cry from the stone, dispatched a force to retrieve it. The attackers descend on Wellspring, slaughtering and destroying in the search for their treasure. PCs can come to the town’s defense and repel the horde. A priestess of Ioun then turns to the heroes to find the item the monsters were seeking. From the recovering town, the heroes cross the wilderness to the Kaorti Temple. The trail ends at a ruined tower overlooking a deep ravine. Inside the tower, the heroes must overcome the terrible creatures in their search. In the end, they find the relic has been stolen.

Designed for a party of five characters of at least 9th level, this adventure will challenge players seeking a powerful magic item of the GM’s choosing. A sphere of annihilation has been provided and is woven into several elements of the adventure, but any appropriately powerful item can be substituted if something else suits your campaign better. Though the adventure is designed to test every type of character class, a rogue who can deal with traps is essential, as is a wizard or sorcerer of at least 9th level. Larger groups will have an easier time; parties of four or fewer characters will be in for a very bad time unless you mitigate some of the tower’s more lethal traps and encounters. This adventure culminates in an encounter with devils and a sphere of annihilation. The sphere of annihilation is hidden deep within the tower-and-dungeon complex of Crane the Sorcerer. Originally set atop a high mountain in a secluded and wild part of the world, the tower and dungeon can be relocated to meet the situation in your campign. Crane, an introvert, stayed as far away from civilization as possible, as is detailed below. The tower above the dungeon doesn’t present many difficulties for a group of powerful characters or alert players. It might lull PCs into a false sense of security before they enter the areas where they’ll really be put to the test.

Deep beneath the keep of Castle Greyhawk, a really nasty device is creating mutated, unpleasant monsters that are running wild throughout the castle and the twelve-level dungeon beneath. The call has gone out for heroic, fearless, and perhaps foolish adventures to out-hack, out-slash, and sometimes even out-think hordes of doughmen, headless mice, manic bee queens, really bad dead things, burgermen, crazed chefs, and movie moguls. If they survive these and much odder obstacles, the characters still have to find the nasty monster creator and put it out of business. Castle Greyhawkcontains 13 detailed levels for adventuring and exploration. Each is a separate adventure written by different author and each has its own unique brand of baffling weirdness. Some levels involve solving puzzles and some require good old hacking and slashing. The adventure can be played separately or all together as a grand quest to free Castle Greyhawk from the evil, rotten hordes that are plaguing it. The common theme of this dungeon is that no joke is so old, no pun so bad, and no schtick so obvious that it can't be used to confuse and trip up PCs! 13 Adventures for Character Levels 0 to 25. TSR 9222

Slain in disgrace, reborn in fury, armed to the teeth: Flame returns! Flame is back - and is he mad! The sequel to "Into the Fire" from Dungeon 1. Pgs. 42-63

5e Solo Gamebooks presents Drums at Daggerford, the fifth in our continual series of solo adventures set in the Forgotten Realms. This quest enables you to experience D&D without a dungeon master! Simply roll up a level 5 PC and get playing. Drums at Daggerford is the way you must experience solo adventuring. Players and DMs beware, a new standard has been set. This solo adventure continues the story arc first begun in Death Knight’s Squire, developed further in Tyrant of Zhentil Keep & Citadel of the Raven, and left in The Tortured Land. Drums at Daggerford’s ability to echo a Tolkien spirit reverberates throughout the narrative no matter which path you may choose. But choose wisely because a razor’s edge separates peril from glory. Over a year in the writing, this latest instalment in our solo adventure series is a mini sandbox campaign that will give you anywhere up to 8 hours of solo adventuring enjoyment. Completionists and those who like to replay these adventures will get even more gametime. There are mysteries to be uncovered, items and sidekicks to be gained, codewords to unlock and villains to conquer! With lots of exploration, meaningful decisions, hard fights, and a variety of rewards and stories, Drums at Daggerford will continue to resonate with you long after solving the big mystery behind Krond Vikkurk’s malevolent plans.

Beginning in the prison of the Castellan of Whitecliff, this campaign arc takes the players from level one to four, presented as a sandbox area in a lonely and gritty peninsula full of villains and opportunities for the players to explore. Much like Stonehell, but for regional play. Published by Coldlight Press

Legends tell of a wizard so arrogant that he felt the entire sky was naught but a lens for him to view the stars. So great was the hubris and defiance of this man that the gods smote him with the power of storm and fire. Oh did the wizard laugh at such a pathetic gesture. He did not fear the gods, for he drew his knowledge from something greater. Something darker. The legend of this wizard grew, first whispered by men in fear, and later in awe. The wizard, they said, attacked the gods just as they had attacked him. And his joy only grew as the land around him died. But then there was no more news. No more talk. Something had finally brought the wizard low, for though the sky still blazed down on him and his abode, he no longer blazed back. And now you’re going to walk right through this wizard’s front door.
Undead minions turn on their master - When the necromancer's staff is broken, a party of undead become self aware. Play as undead and choose to side with your former master, or the paladin order assaulting his tower. Published by Limitless Adventures.

Aumvor is aware of the intruders and sends a warning with a powerful fire ball. Satisfied that the party has lost interest, Aumvor returns to his vault where he can safely leave his remains and travel the planes in search of greater power. Perhaps the PCs that survive the blast may have the upper hand. Growing closer to the final chapter, the party of adventurers will find that the only way out is into the tank for a swim. Aumvor the Undying has hidden here in this dungeon for centuries, waiting for his chance to resurface as the emperor of Netheril. The time has passed slowly and Aumvor’s powers are waning. He has hidden phylacteries well, but what use will they be if he has no vessel I which to dwell. Aumvor makes a final effort to kill the party before returning to his vault to wait in ambush for them. In “𝐏𝐚𝐫𝐭 𝟓 The Lower Tower”, you will find the secret at the bottom of the tower, 16 exciting and deadly encounters, and a lot of zombies floating in cadaver soup. Ever fight zombies while swimming and dodging specters? Here is your opportunity. Also coming soon, Roll 20 Map Pack for The Tower of Bondage.
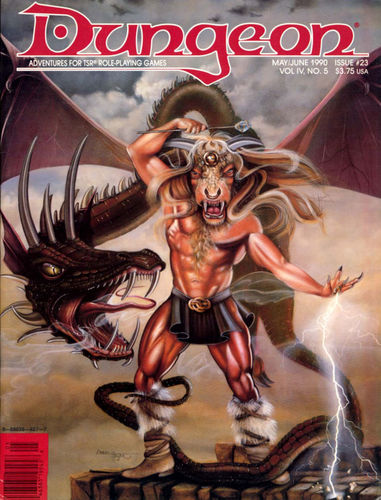
Looks can lie as well as words. Magical minotaurs? Mutant giants? Vampires? One or more of these is preying upon the caravans, and you're going to stop them. A band of ogre magi took over an abandoned dwarven stronghold and have started ambushing merchant caravans. Their leader, Krugii, wants to gain enough power to eventually control a kingdom. In his quest for power, he has bonded a young bronze dragon and has accelerated its growth. The ogre mages all have different personalities and different forms that they prefer to polymorph into. The PCs are hired to take a caravan through Deception Pass and protect it against the random monsters that have been marauding lately (actually ogre mages in disguise). After protecting the caravan, the players track the attacks back to the stronghold of the ogre magi and clear it out. Pgs. 40-62
"When the adventurers decide to help a man who has lost his memory, little do they realize he’s Gethirah Kugothan, the notorious anti-paladin! Can the man they know as “Michael” leave his evil past behind and become a champion of good? The answer lies in Gethirah’s former stronghold, a magnificent castle perched atop a waterfall." - Christopher Perkins From the magazine: "The Forgotten Man" is an AD&D adventure designed for 4-5 PCs of levels 6-8 (about 35 total levels)... This adventure focuses on Gethirah Kugothan (also known as Michael), a formerly evil man whose memory has since taken up residence in a church of the god of rebirth and renewal. The premise of the adventure hinges on the possibility that such a man can be turned from the path of evil and become good. The main goal of the PCs is to keep Gethirah from becoming the man he used to be.

Enter the Dwarven Forge world of Mythras with the first part of this new city and miniatures based trilogy, The Hidden Valoria Campaign. Discover the world built to provide tabletop with unique miniature opportunities using Dwarven Forge licensed products. Take on the adventure as newly relocated members of the neighborhood of the Patina Court. Battle gangs, undead, and other threats as you try to make a living inside this ancient and mysterious city. This adventure is formatted to both 1E & 5E gaming rules. Also available in PDF.