
𝐓𝐡𝐞 𝐟𝐨𝐮𝐫𝐭𝐡 𝐚𝐧𝐝 𝐟𝐢𝐧𝐚𝐥 𝐚𝐝𝐯𝐞𝐧𝐭𝐮𝐞 𝐢𝐧 𝐭𝐡𝐞 𝐔𝐩𝐫𝐢𝐬𝐢𝐧𝐠 𝐒𝐚𝐠𝐚. The orc uprising around Nirzumbil must come to an end! The Mercur trade coster is benefiting too much from the blockade of the dwarven stronghold and threatens to corner the market on iron ore and gems for years to come. If the orc warlord commanding the armies can be slain, the orc forces will surely fall apart. But how to find and kill a warlord who is powerful enough to unite thousands of orcs? This adventure features 5th edition conversions of the krenshar, senmurv, portal drake, and stone flyer.

While the PCs continue the quest for the missing pages of the Codex of Gamber Dauch they find the lands of Count Elam. The ruler has recently been informed of an agricultural problem with a herd of Anhkheg tearing up the lush farmland. Further investigation will uncover darker secrets in the area, and those involving Drow and Derro!
Only You can prevent forest curses! The population of a small town have been disappearing and its up to the party to save them and the town from a looming disaster.

When a wizard makes a mistake, he makes a MISTAKE. Hirward the Wizard has a little problem on his hands - and it's destroying his fortress, followers and future. A good mix of character types is strongly advised, but paladins, rangers, dwarves, and gnomes may not be comfortable sparing the lives of Hirward’s kobold assistants. A generally neutral party composed of humans and half-orcs will stand the best chance of completing Hirward’s Task. This not a standard "hack-and-slash” adventure. The PCs will have to do some fighting to he successful in completing the module, but most of the time they must use their brains to figure out the best way to complete their mission. Pgs. 45-64

Modrons, Mephits & Mayhem is a Dungeons & Dragons 5E tier 2 adventure for three to five characters of levels 5-8. It is primarily set in a modron-designed research facility that has been abandoned by its creators but retains guardians that are still active. Additionally, two groups have broken into the facility with their own goals in mind; the githyanki and their red dragon cohort are antagonistic and provide the main source of combat in this adventure, while a modron traveling with a few mephits may prove friendly although ultimately troublesome. Inspired by adventure games in which the protagonists explore baroque, esoteric technological fortresses, and seeded throughout with factions that sport competing and often bizarre goals, Modrons, Mephits & Mayhem is sure to test the mettle of any group of players, and will provide endless amusement for Dungeon Masters seeking something different from the typical hack-and-slash dungeon crawl. This 70-page adventure features: *Two wilderness areas, random wilderness encounters, and a massive, interlinking 3-level dungeon filled with bizarre puzzles. *Ancient machinery powered by elemental portals, all of which can be activated, turned off, or manipulated by the player characters and the various factions within the modron facility. *Planar creatures like githzerai and githyanki, modrons, mephits, and elemental guardians, skillfully placed into the High Moor area of the Forgotten Realms setting. *Monsters and NPCs that have detailed (yet easy to run!) personalities and goals that will provide tons of roleplaying opportunities. *Notes and sidebars on running the NPCs with added complexity, or simplifying the NPCs' motives to make the adventure more straightforward. *Tactics notes for every single encounter! *An appendix that features all monster stat blocks, and both tagged (DM) and untagged (Player) versions of the dungeon maps. *Wilderness hex map by Elven Tower Cartography! Three interlinked dungeon levels by Dyson Logos...and one of them is a flying fortress! Cover art by Patrick E. Pullen!

The door to the Abyss can be opened with good intentions. An act of mercy released a creature of unspeakable evil. Now, only you have a chance to stop it. A vrock has been trapped inside a stone circle outside the village of Sundown. This stone circle remained untouched for thousands of years, until an unwitting mage decided to depetrify one of the standing stones that he mistakenly thought was a helpless farmer. This released the vrock, who killed the mage and has been trying to regain enough power to plane shift back to its home. This module primarily is based on investigation and problem solving, with a final fight with the vrock at the end. Roleplaying should be emphasized. The town of Sundown is fleshed out with NPCs and stores for player exploration. Pgs. 4-16
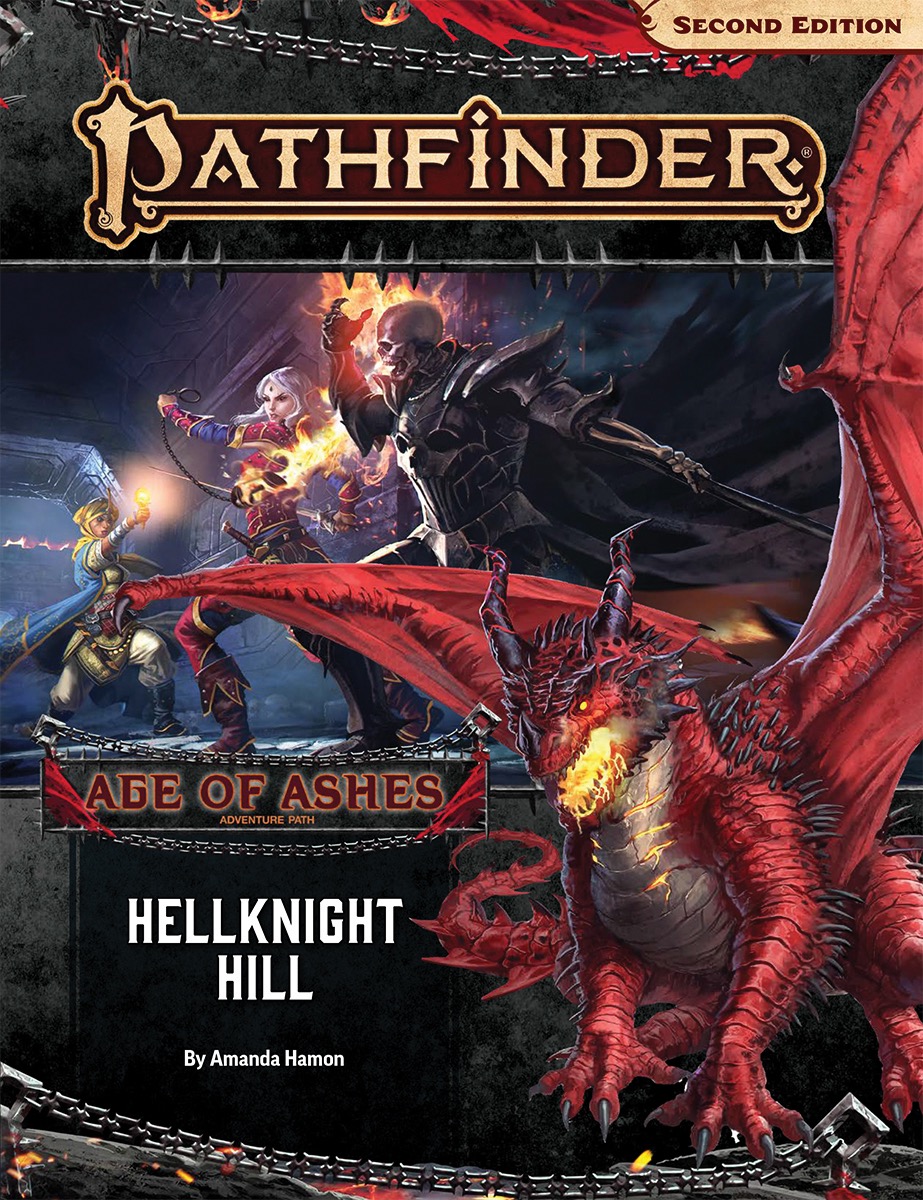
Fires burn atop the ruined citadel on Hellknight Hill, sending plumes of red smoke into the air that could be a call for help. Within the old keep, strange invaders from a distant land, mysterious long-lost ruins, and the machinations of a shadowy organization await discovery. Something dire is building toward an apocalyptic event, and it falls to your characters to stop the end before it begins. The Age of Ashes Adventure Path begins with “Hellknight Hill”—a complete adventure for 1st- to 4th-level characters. Age of Ashes is a 6 part adventure that runs from levels 1 - 20, Maps are available as a separate product Disclaimer: This was the first Adventure Path released for the Pathfinder 2e system as such the difficulty curve is a little on the high end if run as written.

Immortals lie chained atop a mountain in the Broken Lands. Their bonds relentlessly drain their power while demons cavort with glee around the wispy barrier, as strong as any prison. Have you the courage to embark on a dangerous mission for the materials necessary to craft an artifact? If you survive that task, you must then assume the Identities of legendary heroes of Darokin and face deadly Immortal foes without revealing your Immortality! The demons of Entropy stand between you and your final Goal. Have you the power to rescue the imprisoned Immortals and preserve the Prime Plane? The future of the Prime Plane is in your Hands! TSR 9189

The village of Silverwell lies at the foot of a mountain range in the icy north. Through most of its history it has enjoyed relative peace, save for its battles with the harsh elements. Recently however, a group of villagers were attacked by bandits while hunting in nearby Rothir’s Pass. The bandits left behind a grim message warning for none to follow. Frightened by the possibility of a larger attack on the village, the headman will happily reward any brave adventurers that can help. Unknown to the inhabitants of the remote village of Silverwell, this new terror pales in comparison to the troubles that have already begun to flood down from the distant Mount Neboria – troubles stemming from the dark wish of a dying dragon. This is an introductory adventure for a group of four or five 1st level characters, which should run for roughly 4 hours of gameplay (excluding preparation time), ending with a quest hook for groups that wish to continue into a full campaign. It includes extra tips and tricks both for new DMs and for interaction with new players.

The Hag's Hexes is a 66 page guide designed by Dungeon Masters Guild luminaries like JVC Parry and Janek Sielicki alongside rising stars and old stalwarts like Matt Butler, Matthew Gravelyn, and Tim Bannock. It was created with one thing in mind: to make hags more than the sum of their (often meager) Challenge ratings, giving them the mechanics, roleplay potential, and weird magic that can inspire campaigns, lay low kings and warlords, and potentially ensnare unwary Player Characters into campaign-changing curses or long-term bargains that force them into terrible moral quandaries! Split into five chapters, the authors have provided everything a DM needs to terrify their players for years to come. The Bestiary features over a dozen monsters; some are new hags, some are their minions or even their mobile lairs, and one of them -- the Shaitan AKA Desert Hag -- was featured in Monsters of the Guild! Bargains & Curses is a chapter filled with ideas that can kick-start campaigns, threaten valued NPCs, or put Player Characters' very existence and morality at stake. Chapter 3 includes two dozen items of wonderment, weirdness, and dread, ranging from fairy tale-inspired items of whimsy to terribly cursed items of horror. Chapter 4 is titled "Filthy, Vile & Downright Dirty" and provides dozens of roleplaying tips to make hags come alive, new mechanics inspired by and expanding on Volo's Guide to Monsters (coven spell lists, aunties, grandmothers, alternative coven members), and ends with useful combat tactics for each of the hags from the Monster Manual and Volo's Guide, as well as tactics for covens. Finally, Chapter 5 presents five encounter groups (with sub-encounters) to give you quick story seeds and monster lists that you can put together in minutes to create a single encounter or to inspire a full campaign, and ends with three full-length adventures -- each with 3-5 encounters -- that showcase many of the new monsters, rules, magic items, and so on that appeared in earlier chapters. Each of these adventures comes with an encounter map meant to act as inspiration for hag lairs, and they include useful mechanical ideas for terrain effects and descriptive keywords listed directly on the map for added inspiration and easy customization! Designed by Tim Bannock. Written by Matt Butler, JVC Parry, Janek Sielicki, and Tim Bannock. Edited by Matthew Gravelyn and Tim Bannock. Cover Art by Elena Naylor. Cartography by Tim Bannock using Inkwell Ideas' Dungeonographer (Dungeonographer is copyright Inkwell Ideas). Layout & Graphic Elements by Elena Naylor with Tim Bannock. Interior Art by Arcana Games, Bruno Balixa, David Lewis Johnson, Dean Spencer, Earl Geier, Filip Gutowski, Jacob E. Blackmon, Joyce Maureira, Petr Kratochvil, Jayaraj Paul, Brian Brinlee, and Wizards of the Coast.
A Giant Ransom is a short adventure for four 11th-level characters. There are opportunities for diplomacy, stealth, and combat, based on the choices the PCs make, so any mix of classes is appropriate. The adventure can be set in any campaign world, in a frontier region near glacier-covered mountains. In the first episode, the PCs were employed by Duke Ambrinigan to exchange a ransom of 10,000 gp in gems for a golden lion that was taken by frost giants in a recent raid. While waiting for the giants to arrive at the designated meeting place, the PCs watched as the white dragon Whildenstrank attacked the giants and then flew off with the statue. Charged with returning the golden lion statue at all costs, the PCs dealt with the remaining frost giants and then headed west, toward the lair of the dragon in the midst of the nearby glacier. Along the way, they encountered Velg the Dragon Tamer, another frost giant who was also on the trail of the dragon. Velg may or may not be with the party now. The PCs are now traveling across the flat icy surface of the glacier, and may have just noticed something burrowing under the ice, heading straight toward them.

When the water source of the city-state of Guerino is poisoned and its citizens enchanted, a group of adventurers must follow the treacherous path deep into Mistfall Mountain and restore balance to the kingdom. Pgs. 91-97

"Lost Halls of Everforge" is a flame dragon wyrmling lair suitable for four or five 3rd level characters. This adventure can be completed in one session.
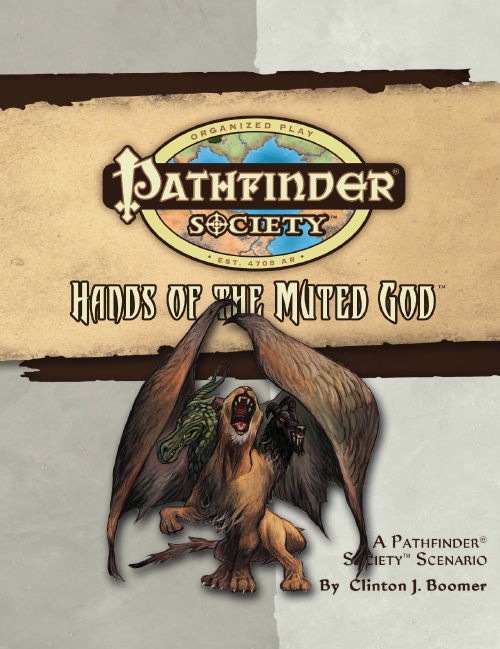
When the man who would be the Muted God wordlessly stepped beyond the gates of the Starstone's Cathedral, his thousand and one faithful ringing the Ascendant Court watched with the silent contemplation that is their highest sacrament. When he failed to emerge, many of his penitents abandoned their vows but a small sect remained loyal and worshipful. You and your fellow Pathfinders are sent into the mountains north of Absalom to follow the path of a doomed party and uncover the secrets of the Muted God. His loyal band of followers, called the Hand, will stop at nothing to keep you away from their shrine—even forming an alliance with some of Golarion's most evil denizens.

Phandalin is a great location from which PCs can adventure. The information in this supplement can be used in conjunction with Lost Mine of Phandelver, After Lost Mine, other adventures set in and around Phandalin, or used to add more flavor to any town. Nine of the NPCs featured in this supplement can be found in Lost Mine of Phandalin and ten others were introduced in After Lost Mine, but each has added information. The rest of the material here is new. 2 New Backgrounds; 2 New Feats; 3 New Adventure Hooks

After enjoying a bit of free time in Cullifield while some members of your party finish their training, you hear word of a quick trip out to sea. Further investigation leads you to understand a certain list needs fulfilled and a drunken sea captain is willing to split the profits. Well, no need to sit around on your hands…let’s hit the waves!

The peaks of a nearby mountain range have been home to Krikk, an old white dragon, for as long as anyone can remember. Aside from claiming ownership of a few villages and settlements near her range, she hasn’t posed much of a threat or even taken much notice of political events around her. Last week, a king’s prophet had a vision of golems made of ice that wouldn’t melt smashing through the royal castle walls, and of crops frozen under sheets of ice formed by the white dragon’s breath. Alarmed, the king has sent word that he desires someone brave enough to go to the dragon and find out whether she’s about to attack. If she is, the party must stop her before it’s too late. But, another prophet warns that the white dragon has an entirely different plot afoot, and that an icy grave awaits anyone who goes up the mountain. The player characters (PCs) have to figure out what’s going on—then decide on their own what they should do about it, while the fate of a king and his castle hangs in the balance.

"An army on the move, an ancient artifact, its purpose long forgotten, and the sinister plans of an unknown foe: When these elements combine, it's bad news for the good-aligned cities of the Blood Plateau. A massive band of orcs is marching on the Monastery of the Yellow Lotus, intent upon taking the "Flower That Does Not Bloom." The heroes must trek through goblin-infested tunnels and monster-filled woods ahead of the orcish horde, in a deadly Race to the Yellow Lotus." This adventure is the second in the "Tales from the Blood Plateau" series, but works well as a standalone or an intro to another campaign. Though the party does not actually engage the Death Knight/Blackguard antagonist, he is the primary driving force behind the events of the adventure. Published by MonkeyGod Enterprises and Highmoon Press
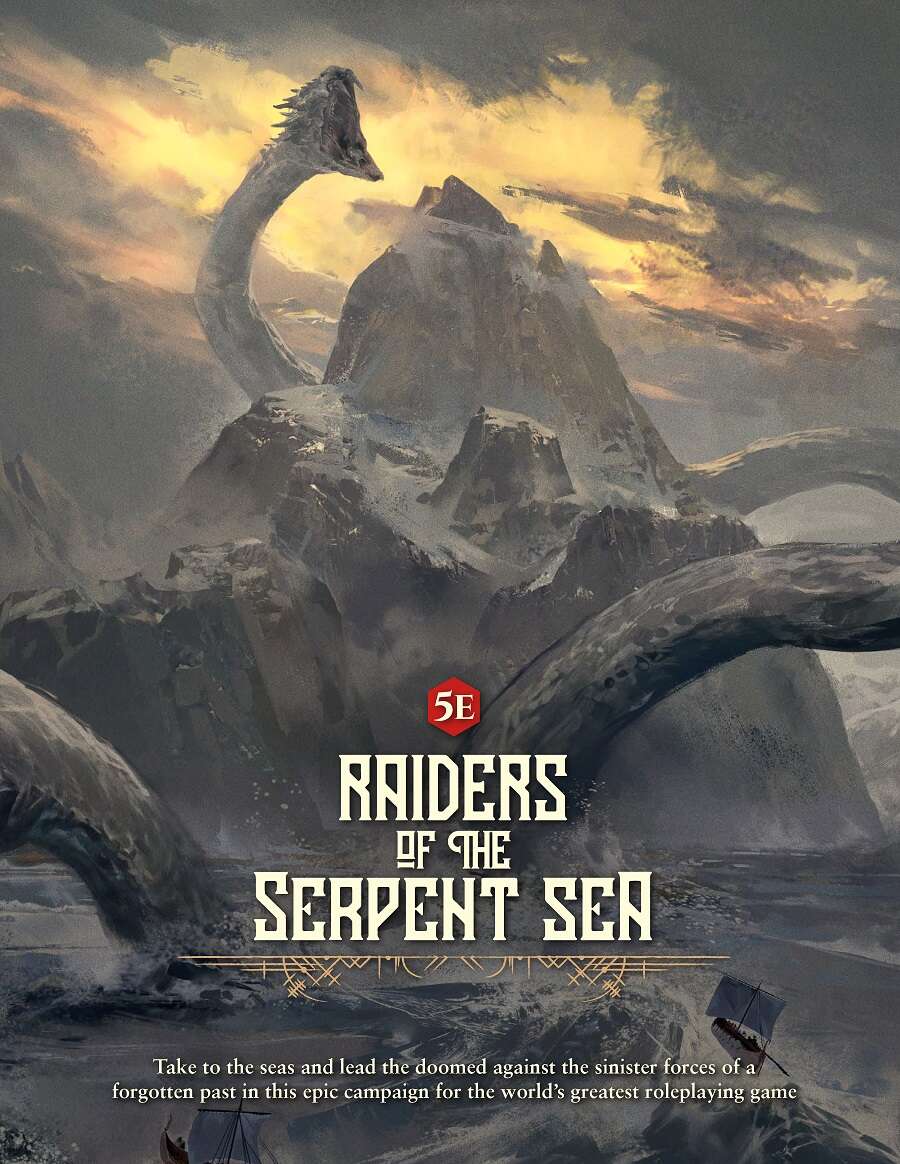
From the lead designer of Dragon Age Origins, in partnership with the creators of Odyssey of the Dragonlords, comes Raiders of the Serpent Sea! Take to the seas of Grimnir and battle against the sinister forces of a forgotten past in an epic campaign for the 5th Edition of the world’s greatest roleplaying game! Guide 4-6 players through tumultuous waters as they become heroes across a campaign that will take them from 1st to 16th level. Raiders of the Serpent Sea is a blend of high fantasy and a darker world of grim seafaring raiders. Grimnir’s clans constantly fight to survive in this doomed world filled with ancient and fantastic creatures - giants, sea serpents, saber-toothed tigers, and the world-devouring Yoten. Nowhere is safe, danger and glory abound! The Raiders of the Serpent Sea Campaign Guide PDF includes almost 500 pages of epic adventure and supplemental material with full-color maps and illustrations that breathe life into the campaign world.

The gnomes built a dragon. Can you turn it off? We gnomes built this wonderful dragon but now the darn thing seems to be out of control. The party meets a hapless gnome tinkerer who's mechanical dragon has gone haywire! The construct is possessed by a spirit named Ahmoras. The party is led to a town called Gnomevale on the way to Mount Nevermind. Finding the town devastated by the automaton, the party follows in the wake into the mountains. The party has many ways to defeat the automaton, ranging from brute force to tricking the spirit of Ahmoras out of the construct. Pgs. 36-49