Rennie and Linde are in search of their father, Petring, who they saw disappear into the crypts beneath town. The crypt is thick with supernatural shadow. Torches can be lit from a brazier of green faerie fire in the entrance that cuts through magical darkness. The torches burn rapidly, and the PCs must travel quickly to preserve their light until they reach the funeral pyre in the heart of the crypt. There they can learn the way to the Carrion Shrine of Qorgeth.

In “Rescue at Rivenroar,” the player characters must brave the depths of ancient catacombs in search of prisoners taken from the town of Brindol in a midnight raid. The hobgoblins, bandits that style themselves after an invading horde from long ago, have taken refuge in a dungeon under a ruined mountain fortress, and the PCs must clear them out to find the captive townsfolk and the treasures taken from Brindol. “Rescue at Rivenroar” also marks the first step in a great journey - the Scales of War Adventure Path, which spans 30 levels and put the PCs at the crux of events that shapes the world for centuries to come. While the scope of this adventure isn’t as grand, it represents the seed from which an epic tale will surely grow. Pgs. 4-45

The Cult of the Dragon, along with its dragon allies and the Red Wizards of Thay, seek to bring Tiamat from her prison in the Nine Hells to Faerûn. To this end, they are sweeping from town to town, laying waste to all those who oppose them and gathering a hoard of riches for their dread queen. Continued in The Rise of Tiamat.

In the Tower of Yladhra the Grim, a party of adventurers braves the dangers and puzzles of an enchanted wizard's tower, and finally confronts the wizard herself. The adventure is designed for a party of five adventurers between levels five and eight. It features: Encounters by Level - Varying types and quantities of creatures are suggested based on the party's actual level, allowing each encounter to present the appropriate challenge to the party. Encounter Notes - Suggestions for how to run combats are provided for game masters who place an emphasis on engaging, tactical battles. Inciting Action - Suggestions for ways to present the adventure to players are provided. Aftermath - Ideas for future adventures based on this one. Unique Magic Items - New magic items to introduce into a campaign. Ease of Use - The format and style of the document allows the game master to find information quickly while running the game at the table. Detailed Maps - What's an adventure without maps? Not much else to say here.
Do you want to run or play an adventure where characters start at level 13 instead of ending at level 13, and actually get to progress to 20 like the rules say they should? Do your players like to travel far and wide, exploring a huge unknown area? Do your players like to change their plans on a whim, and travel somewhere other than where they told you they planned to go last session? Do your players feel like fighting against an empire at odds of 20,000 to 1? Do your players want to commit occasional acts of sky piracy? Do you want an adventure that is designed to handle players using Scrying, Transport Via Plants, and Teleportation on a daily basis? If you answered yes to some of these questions, this adventure may be for you. Check out the detailed preview packet, which includes a campaign log showing how this adventure has actually played out. WARNING: FULL OF SPOILERS; VERY LONG. Against the Idol of the Sun is an epic hexcrawl campaign designed for high-level play. Adventuring parties should start at about level 13, and will likely end the campaign at level 20 with multiple Epic Boons. As a hexcrawl, there is no set adventure path that the party must follow. There is only one encounter that's even close to plot-mandatory aside from the climactic battle. Anything else can be skipped or handled in any order. The players are free to move about the map in any direction at any time, limited only by the risk of enemy action and encounters. The DM, meanwhile, is encouraged to have foes react to and actively hunt the PCs once they become a threat. Along the way, they may find and explore a number of dungeons, including a millenia-old laboratory in the grips of a time distortion, several mines that were abandoned for good reason yet may hold wealth within, and other challenges appropriate for high-level characters. This module is heavy on Exploration and Combat, but the Social aspect of D&D also is necessary as the player characters meet new peoples, work to convince them that they can make a difference, motivate them to action, and create overall plans for the NPCs and factions to follow off-screen to support the players in their main assaults. The key set piece encounters, which are optional but highly probable, involve attacking well-defended temples in the centers of enemy cities. Planning for these attacks will require paying attention to reconnaissance, timing, the use of allies, how to enter, and how to exit and break contact succesfully when dealing with enemies that fly faster than most player characters can walk. The adventure does not include artwork, and the maps are basic.

In this prelude to the full Princes of the Apocalypse campaign book, adventurers face off against the influence of Elemental Cultists in the hills and canyons of the Dessarin Valley. The four mini-adventures within are only tangentially related to each-other, and instead serve as starting points and hooks for the plots of the complete Princes of the Apocalypse Campaign. Players start in the well-described town of Red Larch; first investigating a local necromancer, then uncovering cult influences within the town, and finally heading off to infiltrate or do battle with two small elemental cultist strongholds. All parts of this adventure can serve as great places to seed hooks for other campaigns.

Something strange lurks within the stony confines of an abandoned wizard’s tower. The sole surviving member of a forlorn adventuring party is desperate to find out what happened to his friends and is willing to provide a generous reward to anybody willing to launch a second expedition. Will the heroes uncover the secrets of the tower, or will they also disappear into the darkness?

A world unseen lies beyond a twisted, metal gate in a remote field of the Dhalpurna Mountains. Will the characters brave the alien monstrosities, technologies, and magic inside to learn the secrets that have been brooding in this strange place for millennia? Gate of the Lens Wizard is a science-fantasy exploration adventure and includes: -A gate that leads to the tunnels beneath a distant jungle moon -Intelligent spiders at war with glass-skulled astronomy wizards -An unfathomable artifact that can rewrite time itself -Combat cards for each monster, PC, and special treasure -High-quality digital maps for use with virtual table tops

The Stranger Stone, a rock that is to be used in a ritual to save the town of Berribury, has been stolen. The characters must track down the thieves and retrieve the Stone. A Four-Hour Adventure for Tier 1 Characters. Optimized for APL 3
The High Hunt leaves the streets of Waterdeep and heads beneath the City of the Dead where monstrous criminal overlords compete for the favor of their mysterious master. It will take more than skill with a blade to cut through the web of deceit and treachery that surrounds the Vampire Master of Waterdeep. Do you have what it takes to survive the Dungeon of the Crypt? "Dungeon of the Crypt" is part two of the three-part Vampires of Waterdeep Campaign Arc. Pgs. 62-88
Tall tales of hidden riches are common in the pirate-infested taverns of the Shackles, but when Captain Varossa Lanteri claims to know the location of the secret treasure hoard of legendary Captain Jemma Redclaw, it seems she may be telling the truth. Captain Lanteri hires the PCs on as crew to help her assemble the magic key that will open the door to Redclaw’s treasure... and the ancient cyclops stronghold in which it’s hidden! Can the PCs survive long enough to claim their share of the lost loot, or will their enemies—or their allies—send them to a watery grave?

After beating back the forces of The Triad the party’s fame has spread. Jobs have come in droves but none seem to interest the group until a strange letter is delivered by a young courier. A historian named Nagel Littlestrom would like some bodyguards for a pending trip to a place called the Delo Ruins to the east. Certainly a few items can be located that would be of interest to the party…
The Free City: a shining gem in the crown of cultured civilization. Beneath the surface of this bustling metropolis is a rot, festering in the darkness, manipulating the lives of those unaware of its presence. Now a small adventuring band from out of town may be in over their heads. Their actions in Diamond Lake have attracted the wrath of one of the city’s hidden masters. A gang of infiltrators and an enigmatic mastermind plot their destruction, and only tracing the rot to the root can stop the onslaught. "The Hall of Harsh Reflections" is the fourth installment of the Age of Worms Adventure Path, a complete campaign consisting of 12 adventures, several "Backdrop" articles to help Dungeon masters run the series, and a handful of poster maps of key locations. For additional aid in running this campaign, check out Dragon's monthly "Worm Food" articles, a series that provides additional materials to help players survive this campaign. Check out issue #336 of Dragon for five attractions to tempt your PCs to spend some of their hard-earned loot. This issue of Dragon also features an Ecology of the Spawn of Kyuss, one of the central creatures featured in this campaign. Pgs. 34-60
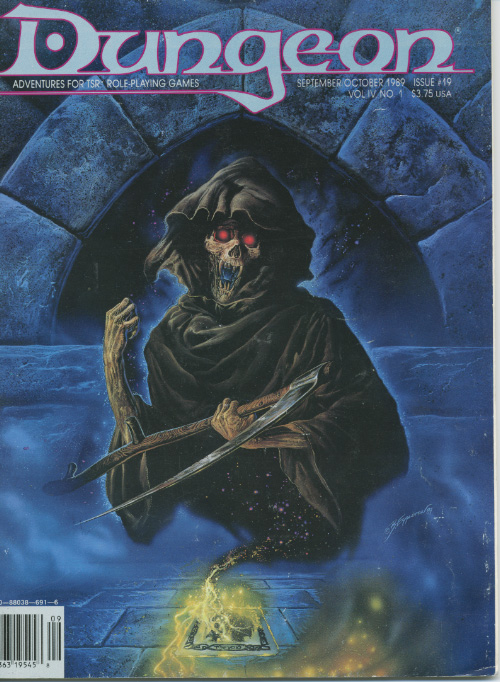
The fate of a city lies within a dungeon whose doors are sealed with - cards It's up to you to bring it tumbling down. “House of Cards” combined dungeon exploration with the Deck of Many Things to create an adventure experience unlike anything seen before. The deck is both a treasure and a trap, guarding a tomb complex that’s being used by the Night Masks thieves’ guild as a lair. If the PCs want the deck for themselves, they must first gather all the cards, which is easier said than done. - Christopher Perkins Pgs. 38-64
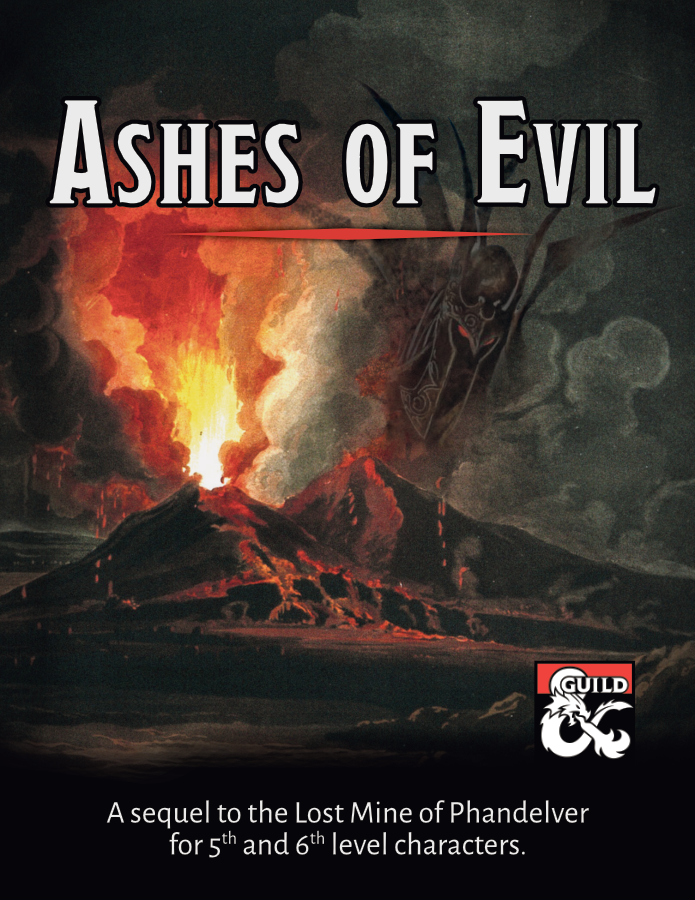
A sequel to the Lost Mine of Phandelver adventure for 5th and 6th level characters. An ancient forgotten evil threatens the Sword Coast once again! Our party of intrepid adventurers returns to Phandalin and Wave Echo Cave for what is at first glance a rescue and exploration mission. Prospectors for the Rockseeker mining concern have disappeared deep inside the flooded caverns that give the cave its name. The peril extends much deeper than mere lost explorers though, as the party stumbles upon an ancient, long-forgotten struggle between good and evil. Inexplicable cultists hide in ambush at every turn. A risky raft ride through treacherous underground waterways leads to an ominous discovery. Ancient ruins tell a story of the terrors of the night and a noble alliance sworn to fight them. A search for a powerful weapon of light leads the party on a mind-blowing, sky-high ascent into the unknown. Then, a whirlwind of danger: A rumbling volcano. Legions of undead. A desperate battle for the survival of the region. This adventure was designed as part of “The Next Adventure” Design Jam at the DMs Guild. It works best for a party that has just completed the Lost Mine of Phandelver adventure, but it can easily be inserted into any campaign. It is designed for a party of four to six 5th or 6th level characters and, based on playtesting, will take an average of about 3 sessions to complete.

The nephew of a once famous adventurer decides to make a name for himself and bites off more than he can chew. Short on options, and worried for his nephew’s life, he needs your help. Travel to the ruins of Dhonin's Lookout atop Standiac Hill to find and rescue the young adventurer. Uncover a plot that could lead to the destruction of the village of Millvein, and even more dire future consequences. Includes: A 3-4 hour adventure for 1st level characters Map of the village of Millvein 2 DM maps Stat blocks for all monsters the players might encounter. The adventure continues in Into the Underdark - Part 2 The Spider's Den

The Bloody Maul of Kord is a magic weapon protected by the priests of Kord, who occasionally allow a noteworthy hero to use it when going on a dangerous quest worthy of the storm deity’s blessing. Six months ago, Atrimos of Ardor took the Bloody Maul for a quest to the Caverns of Demise, hoping to end attacks to the realm being launched from the caverns. He never returned. Now, the clerics of Kord hire the PCs to go into the caverns to retrieve the Bloody Maul of Kord—and to find Atrimos, if possible. Pgs. 108-113

An older man named Mars Barz approaches you and your associate as you wander the small town of Senja. He is a local alchemist and purveyor of elixirs and has a delivery mission he needs fulfilled. You’ve got time to kill…why not!

Gnomish tinkerer Antikythera Ulam thought she’d struck upon a clever idea when she constructed a clockwork servant smart enough create other creatures of its own design. However, she soon found that the problem with giving things minds of their own isn’t always the wisest of ideas… Note: This adventure is intended to work with Mordenkainen's Tome of Foes, and requires a copy of the book to run succesfully.

A millennium has passed since the Green Death swept across Hyperborea. In that bygone age of pestilence, a noble family fled the City-State of Khromarium. Far beyond the walls of the city, they entombed themselves in order to elude the inescapable plague. Their necromancer placed them in a deep slumber from which they never wakened. Also he summoned a mythical serpent to guard the vault, a beast reputed to shed gems for tears from eyeless sockets. Tales speak of this beast as the Sightless Serpent. Now, a knave of Khromarium claims to have witnessed the legendary beast. For a pittance he will lead your party to its trail in this swords and sorcery style adventure