
The final adventure (maybe) in the Provincia series is Dungeons of Harvick. Deep below the ruins of the once great city lie twisting tunnels and rooms filled with danger. While clearing the ruins above was no easy feat, clearing out the winding corridors below will challenge even the most courageous of delvers. Do your players have what it takes to eliminate the danger of the depths?

In the far reaches of the world, under a lost and lonely hill, lies the sinister Tomb of Horrors. This labyrinthine crypt is filled with terrible traps, strange and ferocious monsters, rich and magical treasures, and somewhere within rests the demilich. Remake of the original AD&D adventure.

After undead start appearing near the local town of Angstadt, the Burgomaster and Father become worried. What could be causing these foul creatures to rise? After conducting research, the clergy discover that the throne room of a celestial avatar is located only a few days away from the town. Perhaps this holy site could hold a relic capable of turning the undead?
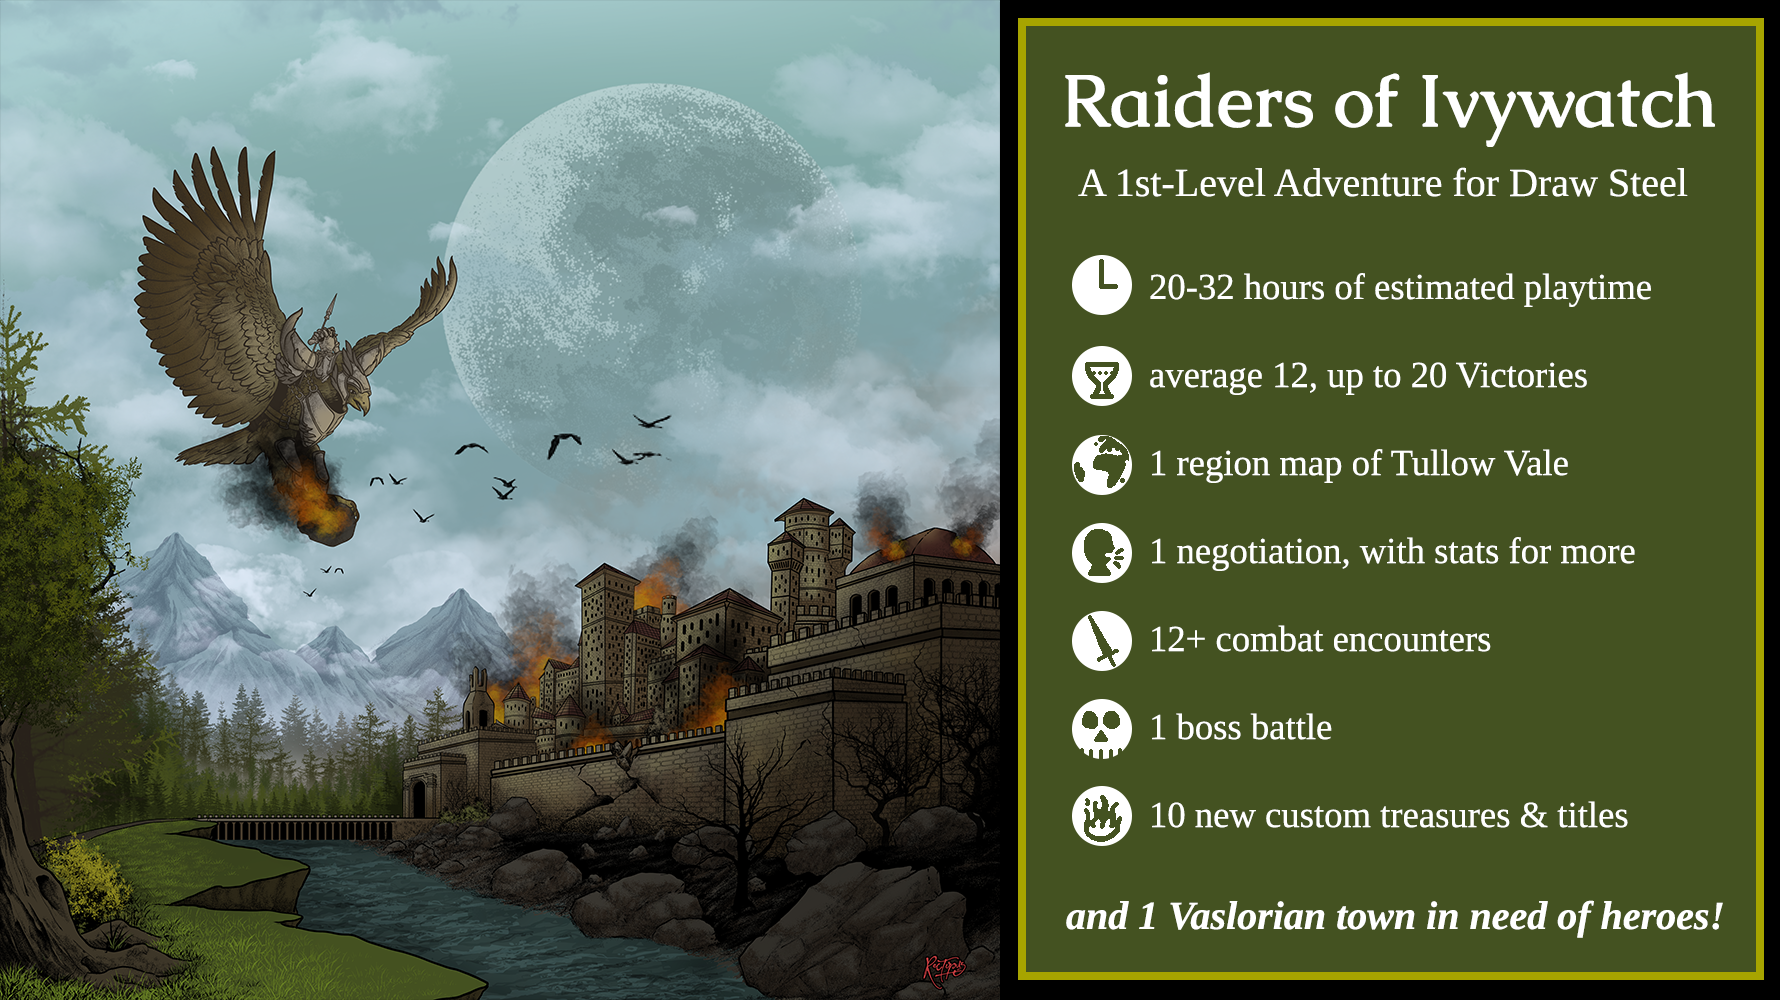
This adventure is about fighting monsters and being heroic. It’s also about discovering hidden and forgotten secrets, and then using those secrets later to the heroes’ advantage. The heroes will fight lizardfolk and hawklords, undead and basilisks, and some strange and malevolent creatures from a plane beyond Orden. The heroes will have the opportunity for a handful of negotiations which can be hugely influenced by piecing together secret information uncovered earlier in the adventure. Combat encounters in the adventure are built to generally take at least 3 rounds, sometimes more - they can be complex! The heroes will be expected to spin multiple plates at the same time! The adventure reward an average of 12, but as many as 20 Victories. Depending on your experience running and your table’s experience playing Draw Steel, how many side objectives the heroes follow, as well as a bunch of other factors, it could run around 20 to 32 hours of playtime. In the Tullow Vale of Vasloria, a centuries old town is built around a weathered statue said to seal away an ancient evil. Ajax's Hawklords bombard and lay waste to the town, stealing the statue, and in the chaos, the pitiless Deatheye Yslansh and her lizardfolk minions abduct the citizens! Can you save the people of Ivywatch before they are put to the Deatheye's fell purpose? And what or who exactly have the Hawklords unsealed? This adventure is about fighting monsters and being heroic. It’s also about discovering hidden and forgotten secrets, and then using those secrets later to the heroes’ advantage. The heroes will fight lizardfolk and hawklords, ogres and basilisks, and some strange and malevolent creatures from a plane beyond Orden. The heroes will have the opportunity for a handful of negotiations which can be hugely influenced by piecing together secret information uncovered earlier in the adventure. Combat encounters in the adventure are built to generally take at least 3 rounds, sometimes more - they can be complex! The heroes will be expected to spin multiple plates at the same time! The adventure will reward an average of 8 to 18 Victories. Depending on your experience running and your table’s experience playing Draw Steel, how many side objectives the heroes follow, as well as a bunch of other factors, it could run around 20 to 32 hours of playtime. The adventure contains: - 12+ combat scenes, including a boss battle. Most combats have objectives beyond just “kill everything” - 2-3 montage tests - 1 small, safe location to take respites in, full of NPCs with opinions - 1 big, complex, puzzle-y negotiation - 10 new custom treasures and titles, and other player rewards - A brief setting primer to Tullow Vale
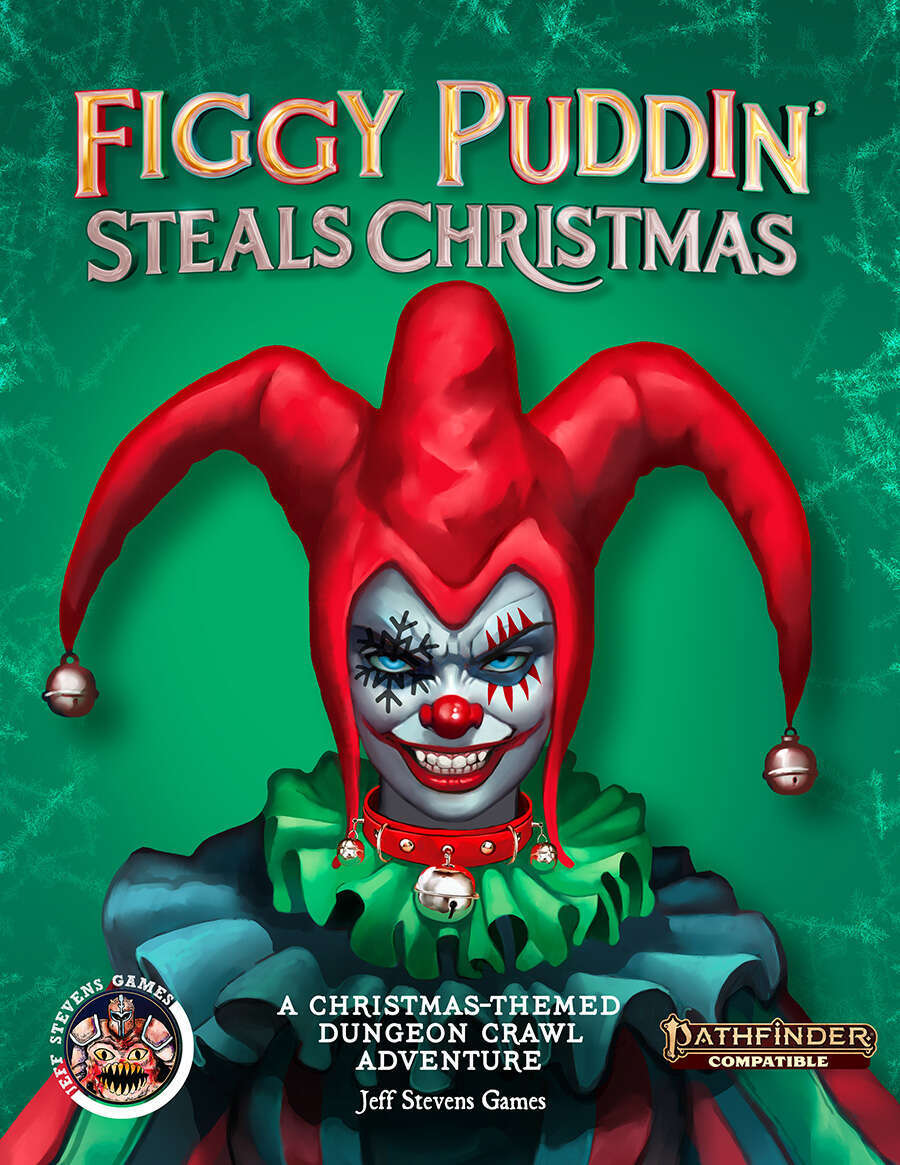
Figgy Puddin' Steals Christmas is a short adventure for three to six characters, and optimized for 2nd level characters. We also include Scaling Suggestions, allowing you to run this adventure for lower- or higher-level characters. We anticipate a run-time of 2- to 4-hours. There's a bit of roleplay in this adventure, which may extend the playtime. Adventure Background A traveling jester known as Figgy Puddin’ and her Coal Smudge Gang have stolen Christmas presents and now hold them for ransom. While safe and secure in her lair, she awaits either a payment of an outrageous ransom, or a crew of heroes to claim the presents after they navigate her not-so-festive lair. What's the Adventure? After you introduce the hook, the adventure occurs in Figgy Puddin's lair - a refurbished kobold bunker consisting of eight rooms. As the characters explore the linear dungeon, they encounter new creatures, complete challenges, and are tested about their Christmas knowledge. However, the final confrontation with the naughty Figgy Puddin' could make for a very Unhappy and Unmerry Christmas for our heroes, the children of Thistleton, and their parents. Who Is Figgy Puddin’? Figgy Puddin’ was once a happy jester who loved Christmas. For years she traveled the realm, bringing fun and festive cheer to villages and children while preparing the way for Santa. However, times have become tough, and entertainment doesn’t always pay as well as one would like. As Figgy prepares for retirement, she’s learned she doesn’t have enough gold to last. During this time, she’s also decided that Santa doesn’t know who she is, let alone appreciate the work she puts in every year. Using her savings, extortion, blackmail, and other nefarious means, she’s convinced several mechanical geniuses and arcane specialists to help her refurbish her underground bunker with wondrous effects, creatures, and tests. To fund her retirement, she’s taken extreme measures to make some quick gold — holding Christmas presents for ransom.

An ancient secret is discovered in an overrun border town, long ago forgotten by the elves of the east. It is a magical key—so obscure that history does not remember its form or even what it unlocks. But an unseen evil searches tirelessly, even as the lost knowledge finds its way into the most unlikely hands. The adventure contained within these pages will take a group of heroes from city to ruins, from wasteland to dungeon, and from despair to hope. It presents new creatures, spells and magic items. Published by Sovereign Press.

A museum of the Mad Archmage, it contains curiosities and treasures from all over the multiverse, and the challenges of the Watery Caves, which are a series of living caves connected by an underground river. This adventure can be used as an expansion to the Castle of the Mad Archmage mega-dungeon adventure, or as a stand-alone adventure. Published by BRW Games

The heroes hurry to reclaim a treasured item that an evil hag has hidden away. The item they seek is well guarded by dangerous foes bent on destroying any that dare enter their domain. Estimated play time - 1 hour. This product contains two combat encounters designed for 4th level PCs, an extensive backstory, new monsters and new magic items. The encounters are easily adapted to almost any campaign setting. The text also includes optional changes that DMs may consider when running the adventure for their own campaigns. This side trek encounter is the second of a three-part "Fey's Bargain" encounter series.

A fiend lurks among the Black Blade goblins. A shapeshifting barghest fashioned by the General of Gehenna to exact revenge on all goblin-kind. It’s aim: to kill as many goblin leaders as possible… A masked goblin approaches the party asking for help. Two tribe leaders are dead. But a rival for chief has control of the crime scene. Will the party discover the barghest among the goblin ranks? Can they stop this imposter before it strikes again? Adventure Overview The adventure’s story is spread over 4 parts and takes approximately 4 hours to play. The adventure begins with a Call to Action scene. Part 1: Goblin Politics. Krill sends his emissaries to implore help from any strong intermediary. The party is asked to investigate the murder of Thrawn in Dringly’s lair. This is Story Objective A. Part 2: The Opposition. Gain entry into Dringly’s lair and investigate the murder of Thrawn. Gather enough evidence to find the killer. This is Story Objective B. Part 3: To The Lair! Now that the players have determined the barghest (Yeep) is to blame, they need to get to Krill’s lair quickly as he is in imminent danger. This is Story Objective C. Part 4: The Barghest.When the players arrive at the lair, they need to get to Krill and expose and defeat the barghest. This is Story Objective D. Adventure Background A barghest named Yeep has begun its onslaught of attacks against the Black Blade goblins. Starting with Chief Gnar, then his second in command Thrawn, the barghest is moving methodically down the line of command. Krill is now chief. But he has some problems: Two leaders of the Black Blades are dead. Who killed them and why? Is he next? Dringly, the next in command, has decided to take his lair for himself, declaring himself Chief of the Black Blades. Who are the Black Blades? The Black Blades are a tribe of goblins in the local area. They are known for dipping their blades in a dark black substance. It is rumored these blades are poisonous. The Black Blades regularly attack passersby on the road to rob them. The Black Blades have two lairs, one run by a chief who leads the whole tribe, and another overseen by a boss lieutenant. The Black Blades have a well-established pecking order which is how Krill stands to become chief. The next in line is Dringly, who has also declared himself chief and wants Krill dead. Krill suspects that there is something suspicious about two leaders being killed within a day of each other, but he has already burned Gnar’s body without any investigation. He needs to investigate the body of Thrawn, but it is in Dringly’s lair. Krill wishes to avoid direct confrontation with Dringly at the present for three reasons: 1) Any violence would only kill his own tribe members and further divide the lairs. 2) He believes there is still hope for negotiation to reunite the Black Blades. 3) He believes that if he were to attempt negotiations himself, Dringly would kill him. This adventure features: Two maps. Ready for your favorite Virtual Tabletop. A full color pdf. A black and white pdf. One custom monster, a reprint of barghest, all others available in the Monster Manual. Four hours of entertainment involving: roll playing a goblin bard, investigating a murder scene, tracking down a barghest before it strikes again. Applicable to any setting.
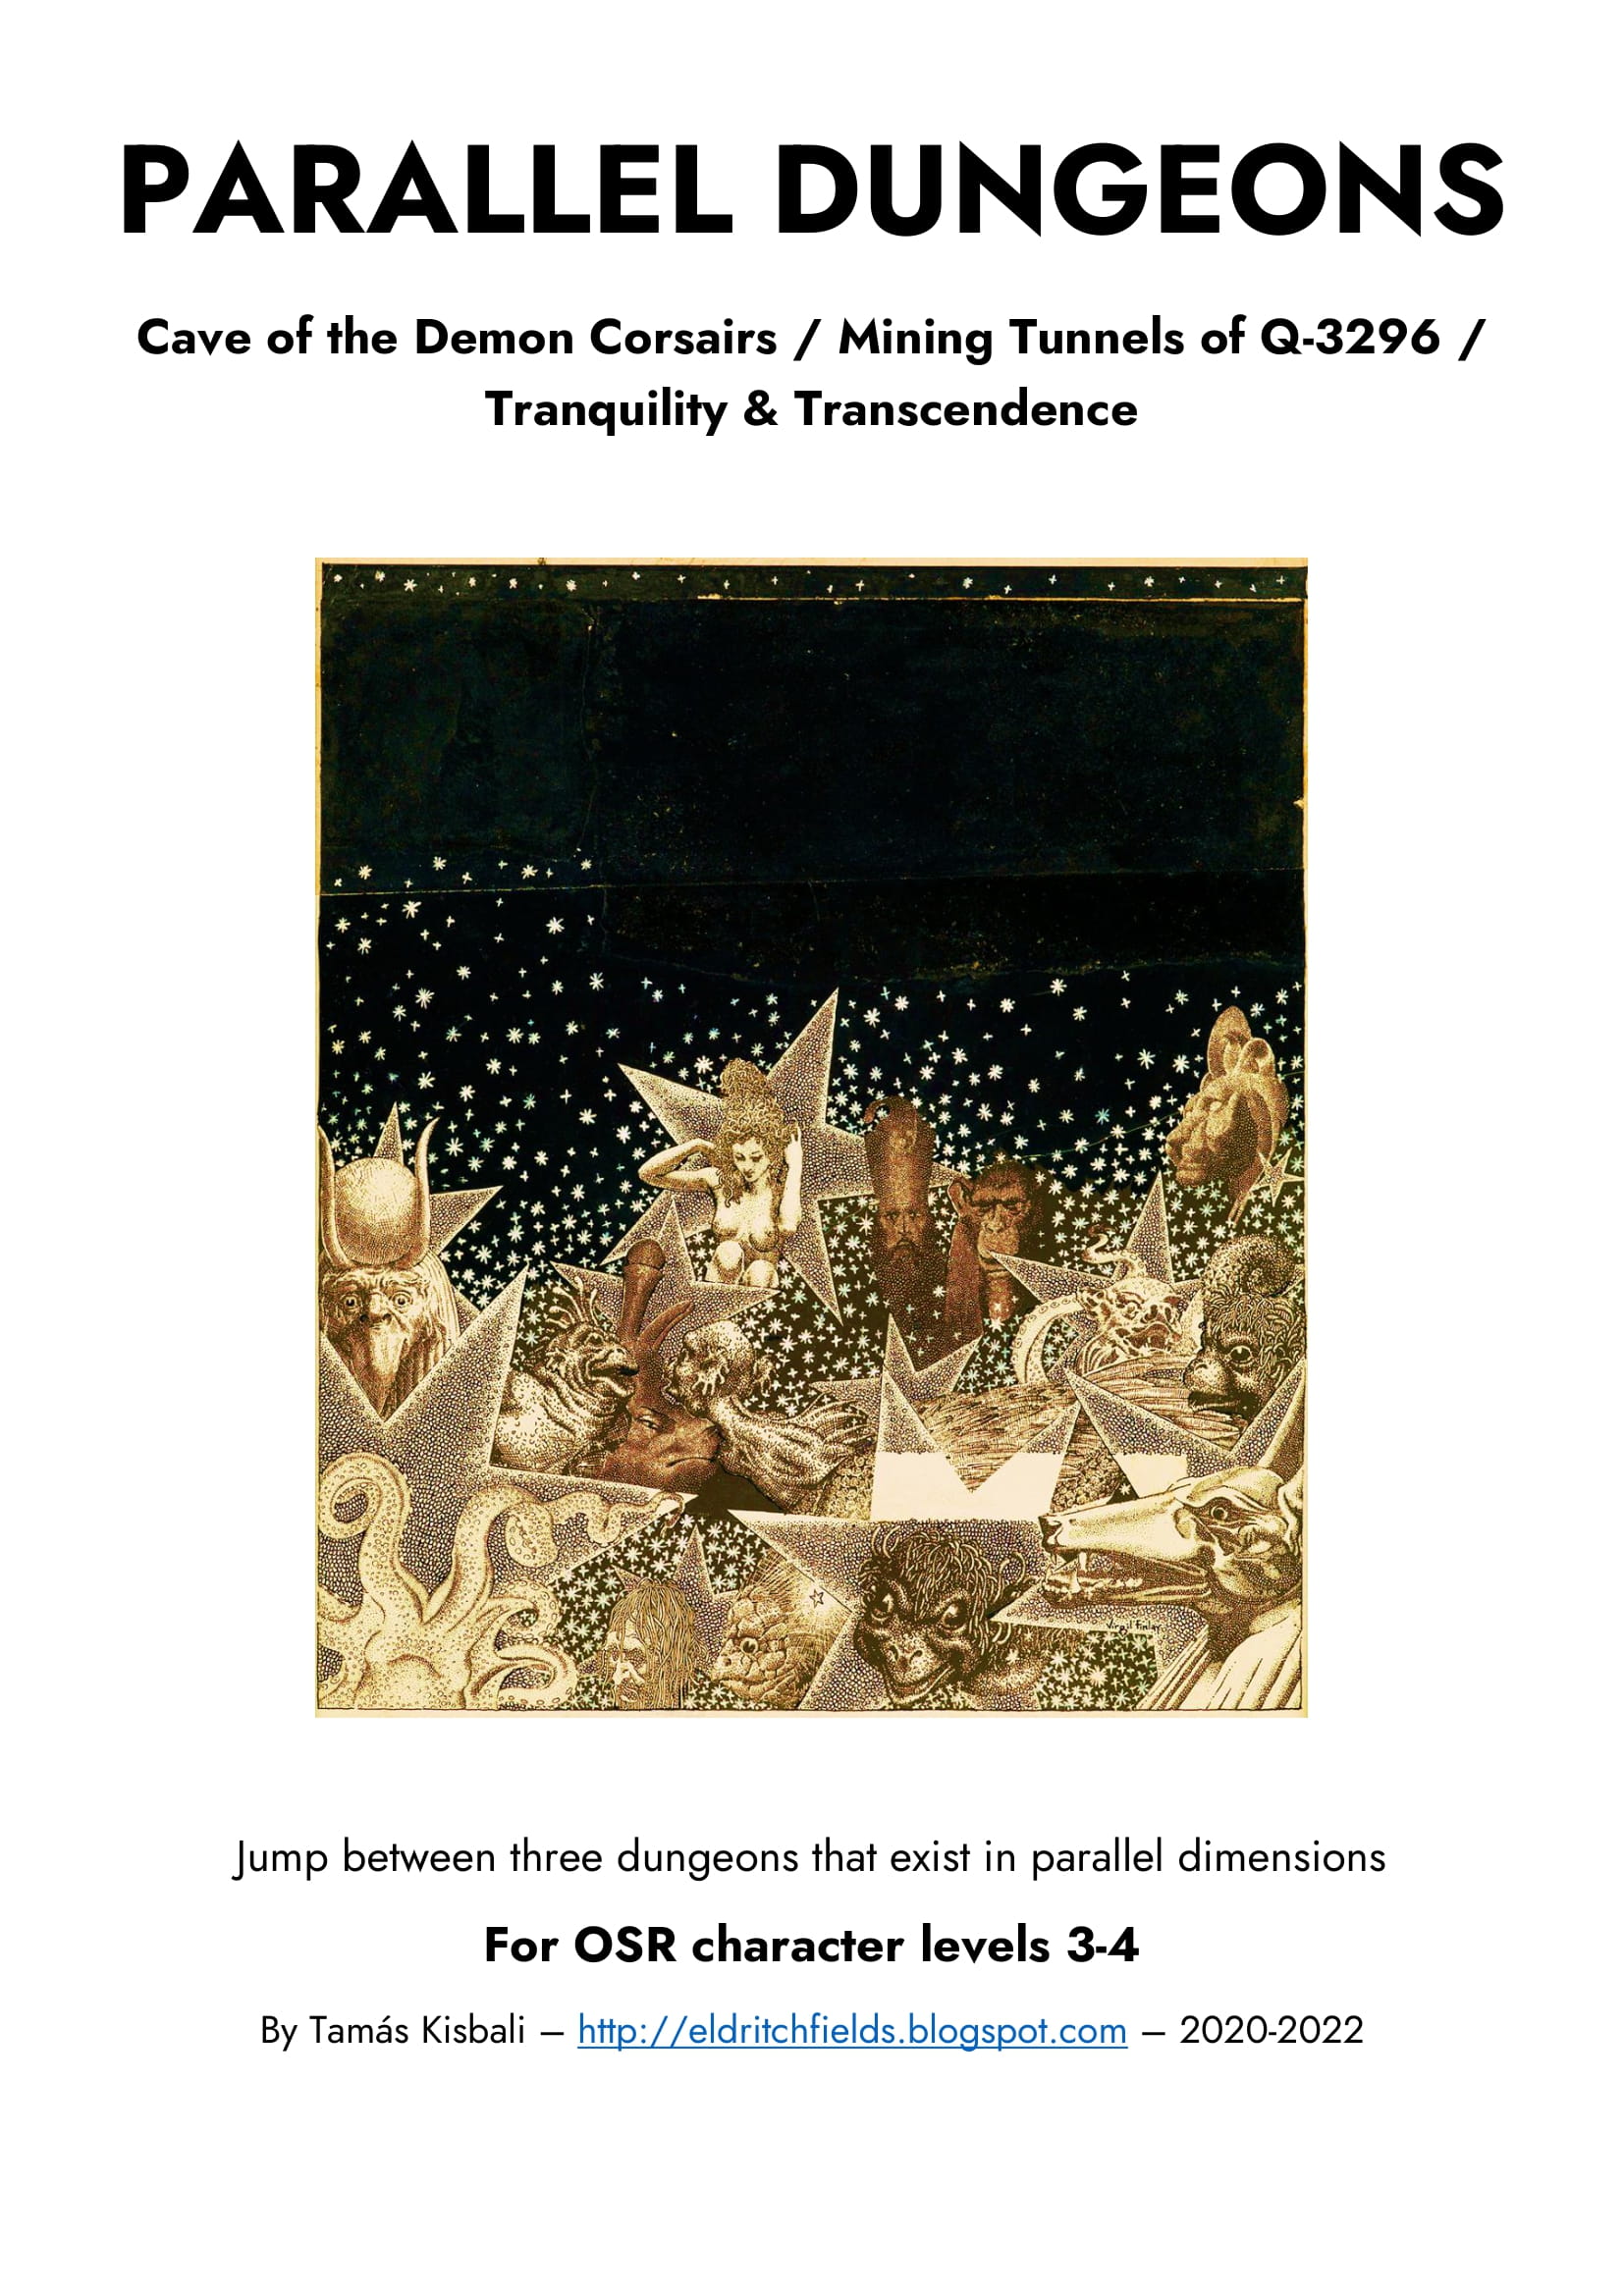
Three dungeons in one! The party is given a "dimension shifting device" and sets out to explore a 15-area cave, simultaneously occupied by the DEMON CORSAIRS, the remnants of an ASTEROID MINING OPERATION, and the MONASTERY OF TRANQUILITY & TRANSCENDENCE! The three dungeons are presented in three columns, so when the characters shift from one dimension into another, it's easy to find the corresponding area description. For use with old-school or OSR RPG systems. Recommended for character levels 3-4. Published by Eldritch Fields.
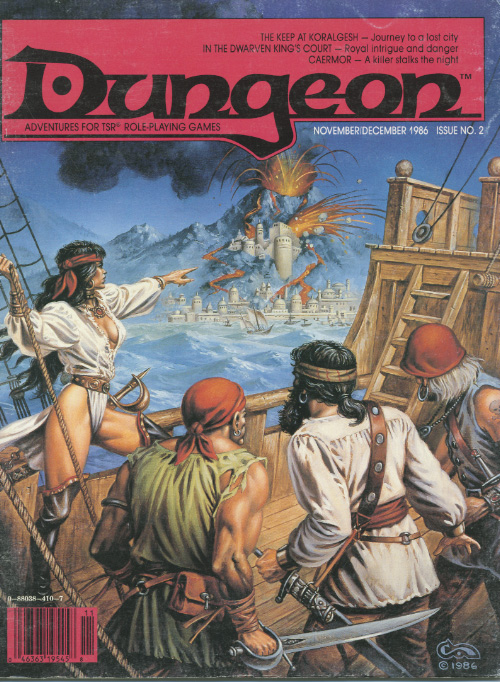
Buried in fire, but hardly dead. Only the Keep survived the destruction of Koralgesh, but few adventurers will survive the terrors that now stalk the lost Keep's halls. Players hear rumours of the Keep at Koralgesh and then traverse it to acquire the treasure within. Pgs. 45-64

A half-marilith, half-medusa druidess lich known as the Hate Blossom lairs in this dungeon, having been run out of mortal society and shunned by demonkind. She possesses the petrified-yet-still-living body of Melenkir, the first human arch-mage and the single creature to remember a ritual that may save the realm from an extraplanar threat. Only slaying Hate Blossom or convincing her to lift the curse will revive Melenkir. Published by Defy Danger and Save Verses Death
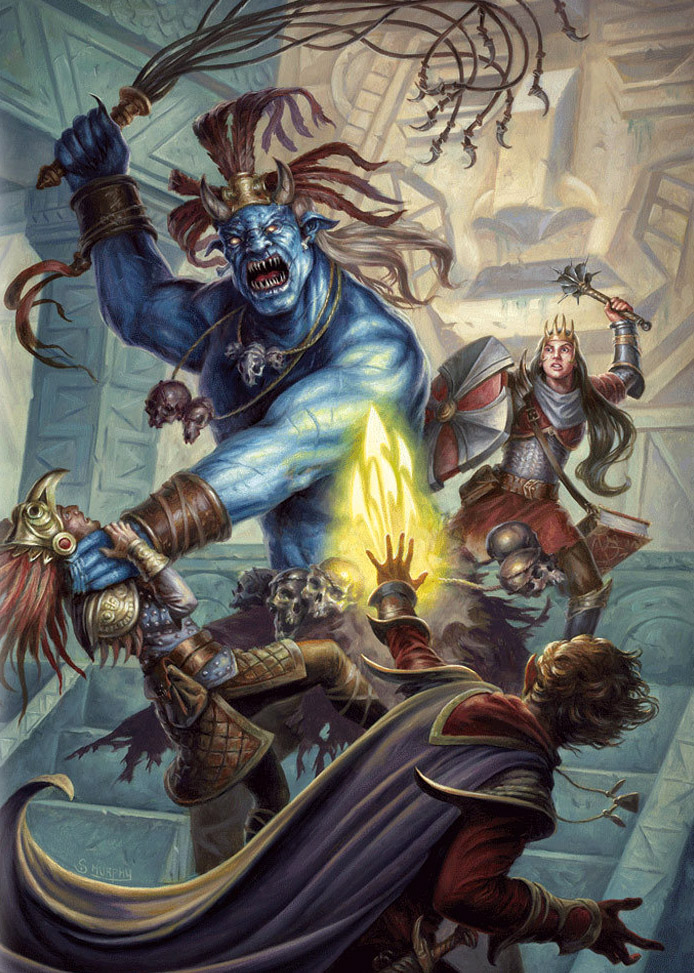
The ancient ruined city of Tamoacha is familiar to a select few scholars and fortune seekers, who know of it but not always exactly where it is. Even more secluded, lying somewhere within or beneath the ruins, is a hidden shrine said to be dedicated to Zotzilaha, the vampire god of the underworld. Adventurers who catch wind of the place are likely to find its lure irresistible. Remake of the AD&D module by the same name.
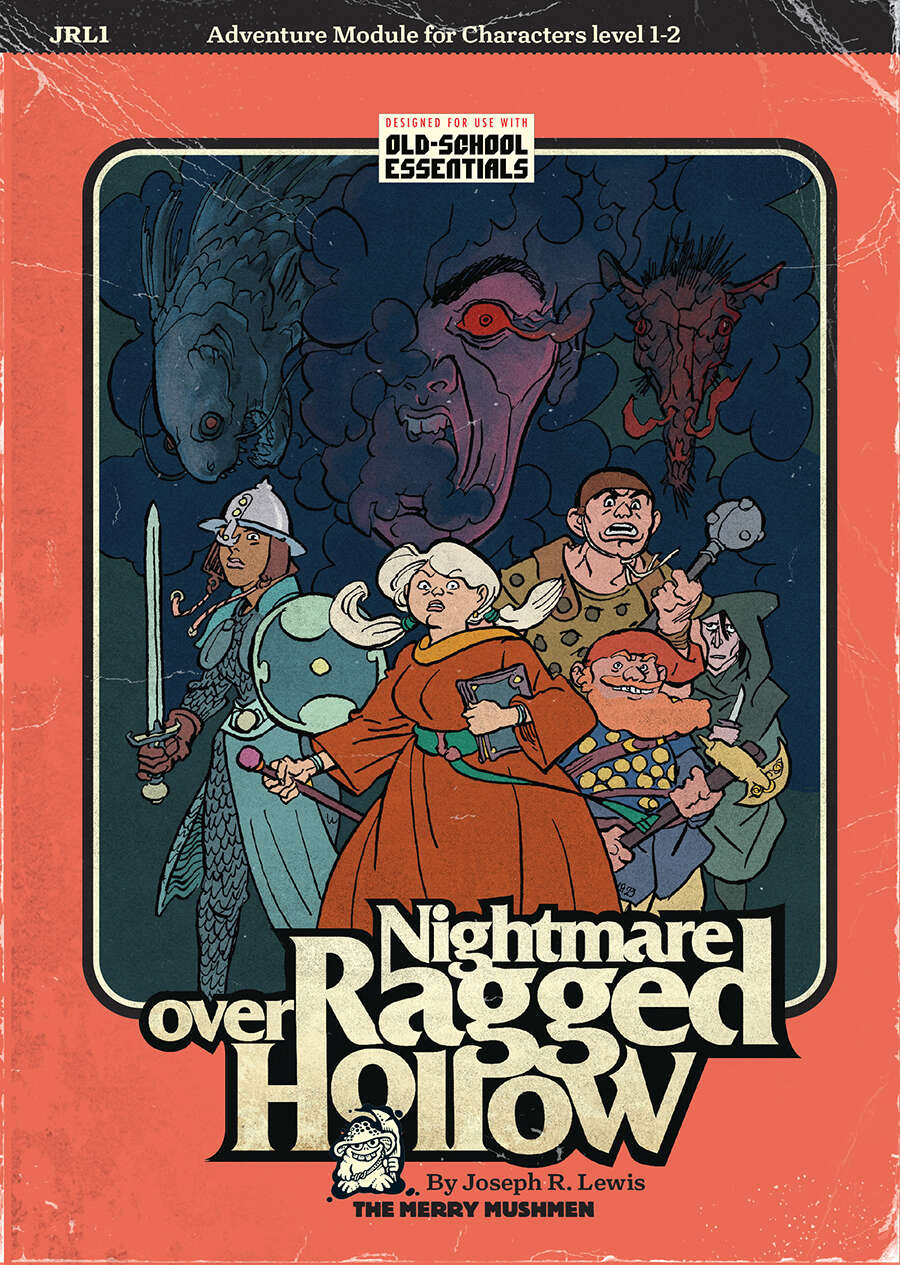
A new, expanded, OSR-ised, prettified edition of Joseph R. Lewis’ Ragged Hollow Nightmare which was rated among The Best by Tenfootpole. Joseph Lewis hit a perfect balance between the classics of dungeonverse fantasy and the whimsy of the folk tales we love so much (as testified by our Folklore Bestiary. we released last year), adding a dash of dreamworld strangeness and a pinch of body horror to spice up his brew. We did our best to respect his recipe when adding our extra material (about 30 pages of it). We worked with Joe and Li-An (the perfect artist to give life to spooky Ragged Hollow and its strange surroundings) to make the best module we could: a solid introduction to old-school gaming for both players and gamemasters. And for the veterans among us, it also makes an excellent, full-fledged campaign starter. Nightmare over Ragged Hollow is a sandbox adventure centred around a quaint town at the edge of the kingdom. But however quiet life in Ragged Hollow is, the town lies between places where you shouldn’t be traveling alone. Places like Gloam Wood (“A witch or two lurk there!”), the Bleak Mountains (“I’m told there are bugbears…”) and their infamous Mount Mourn (“Home, they say, to cursed Dwarven ruins”), not to forget the Wailing Hills (“Bandits on every road!”). There’s even a haunted house by the river (“That mad inventor riddled it with traps!”). But only when an impenetrable dome of golden light materialises around the Temple of Halcyon (“Hey, my kids go to school there!”) do things really get out of hand. Some selfless heroes (or, failing that, a bunch of greedy ne’er-do-wells) should really get involved. One town with three adventure mini-sites Three small dungeons One 50-room dungeon Three hexes with 16 detailed locations Two groups of potential allies or rivals Sixteen pre-generated characters One deadly countdown! Written for the Old-School Essentials (OSE) rule system
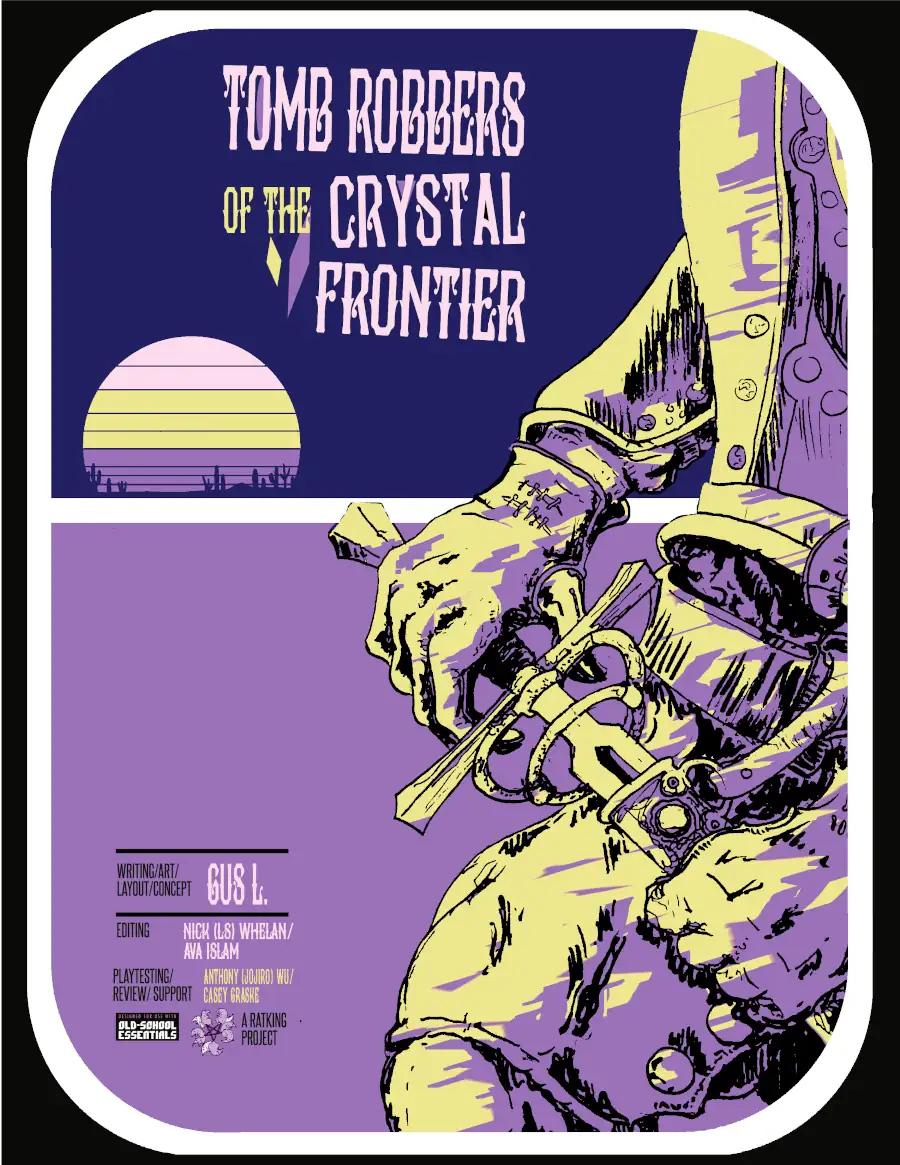
Adventure in a desolate magic-stained wasteland where fabulous crystal spires and fortresses plummet from the skies to tempt the desperate and the bold with magical gems and golden treasures. Find your fortune or find your death as you plunder the fallen sky tomb of an Empyrean despot. SCHEME with the unnatural denizens of the Crystal Tomb! UNRAVEL the secrets of the Dead King and his realm of misrule! LOOT strange magics and Opulent Treasures from beyond the sky's vault! A complete adventure for Level 1 characters and an introduction to both the dungeon crawl style play and the Crystal Frontier setting. Written with the new referee and players unfamiliar with older style games in mind, Tomb Robbers of the Crystal Frontier is built to start a campaign, use as a one-shot, or to drop in as an adventure locale in almost any fantasy world. The adventure has been designed for and tested with OSE, but is easy to use with any of the wayward offspring of the early editions of the first fantasy roleplaying game. Tomb Robbers of the Crystal Frontier emphasizes problem solving, faction intrigue, and exploration in the tradition of classic dungeon crawl adventures, but with a phantasmagoric fantasy Western aesthetic. NOW AVAILABLE FOR ERRANT AND OLD SCHOOL ESSENTIALS!

A Ravaged Land... Villains that really are larger than life... A time for heroes... A decade ago, the land of Geoff was overrun by a horde of giants, ogres, and evil humanoids, its people either slain, enslaved, or driven into exile. Now at last the tide has turned. The time to free the people of Geoff from their servitude to the giantish tyrants has come! But don't forget to watch your step when you confront the true masters behind the giant Clans! Contains the full text of three classic adventures by Gary Gygax: G1, Steading of the Hill Giant Chief; G2, The Glacial Rift of the Frost Giant Jarl; and G3, Hall of the Fire GIant King. Details Eighteen new encounter sites in the war-torn land of Geoff, linked together to form a grand campaign. Provides dozens of hours of gameplay as the heroes struggle to free an entire country from the grasp of giant overlords. TSR 11413
The town of Somber Hill is a quiet settlement in the foothills of a mountain range. A few days travel from the nearest city, the people of Somber Hill are a humble and self-reliant bunch. Unbeknownst to its people, the small town hides a sinister secret, some of the residents of Somber Hill belong to a cult that worships a long dead entity. Known only as The Dark One by their followers, this ancient being once called Old Somber Hill home. Their dark master is entombed in the catacombs beneath the town, and the cult hopes to resurrect their master with a blood sacrifice. The Crypt of Somber Hill is a Setting Neutral adventure and thus can be easily included in any existing story-line with minor alterations and adjustments or outright slotted into any existing campaign setting.
In this Adventure, the heroes explore the lair of an adult green dragon who has become a dracolich. She is served by living and undead minions and slaves. Pages 302-307

A group of snaketongue cultists has occupied an abandoned, partially sunken temple near a swamp. They grow impatient waiting for their yuan-ti master to join them, unaware that he has been slain by a rival faction of yuan-ti. Frustrated, the cult strikes against nearby villages in the hope of drawing the favor of Zehir. Investigating rumors of a serpent cult harassing a nearby town, the PCs have explored the swamp and discovered the overgrown temple. Its once-ornate stone door now hangs off its hinges, providing a narrow space for one character at a time to squeeze through. Pgs. 42-47
The PCs have traveled to the Nine Hells to confront an outpost of devils responsible for slave raids on their homeland. In this realm of burning ash and fire-streaked skies, the infernal legions prepare constantly for war. Pgs. 138-143