
Civil War Unrest. Turmoil. Rebellion. As above, so below - the cataclysmic events of the Wrath of the Immortals echo throughout the Hollow World setting. The Milenian Empire, with its classical Greek culture, has not escaped. Already the streets are un-safe, and the omens are getting worse... The emperor is dead... long live the emperor! But is the new emperor a man of the people, or a tool in the hands of malevolent powers? Walk carefully, for no stranger is safe upon the streets these days, and adventurers least of all! The mood of the capital city is turning ugly. Minions of the new emperor look on uncaring, while citizens disappear and philosophers fall to heedless mobs. The old emperor's elite guards are disbanded and scattered. Disorder reigns, and restless citizens threaten open revolt. And yet... a whisper is heard. Civil war can be averted. An ancient artifact, the Milenian Scepter, can rally those who would serve the Empire best. But the Scepter has been lost for generations, and who can say where it might be? The trail leads into the depths of the city, and across a dangerous wilderness to a forgotten oracle. For the lucky and the bold, perhaps it will lead to... THE MILENIAN SCEPTER This stand-alone adventure is compatible with the Wrath of the Immortals boxed set and the accessory HWR3, The Milenian Empire. You will need the D&D Hollow World boxed set to play this adventure. Easily adaptable to the AD&D game. TSR 9378
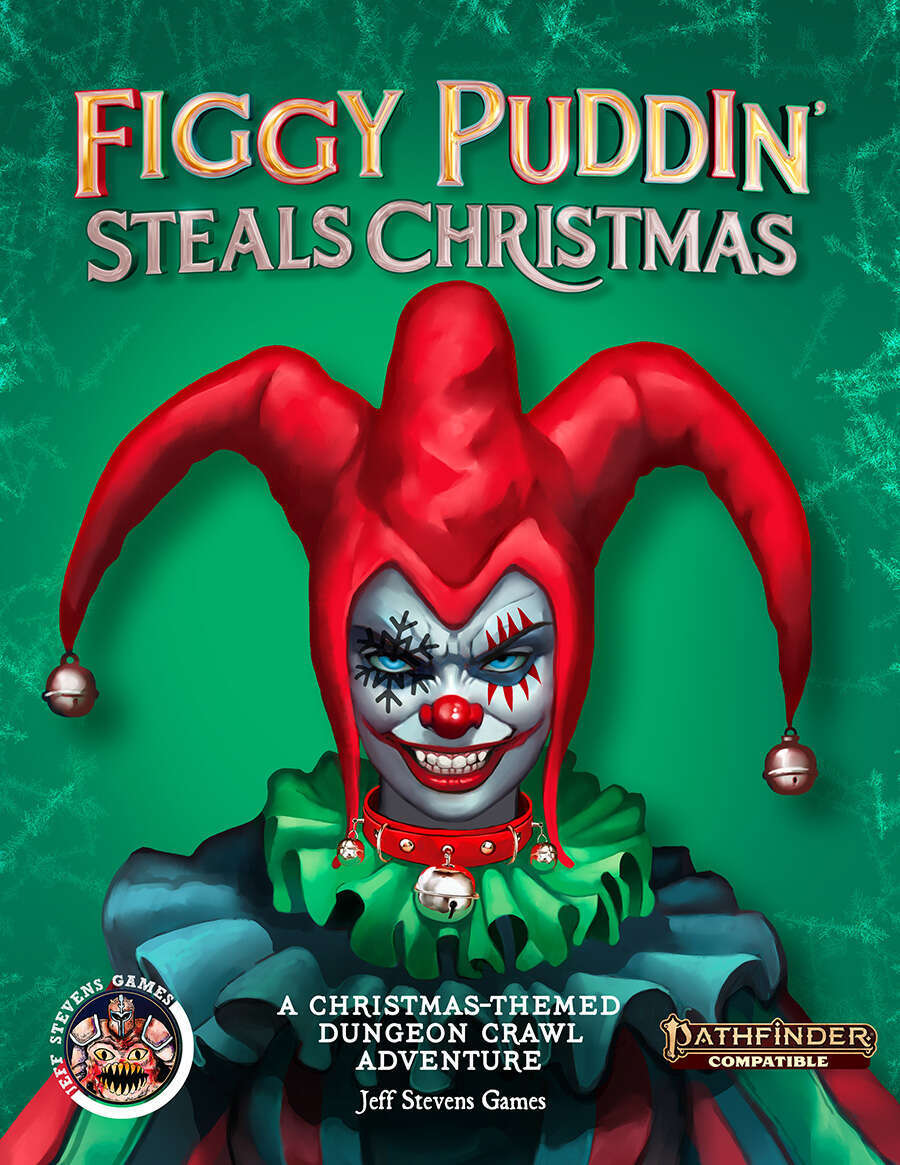
Figgy Puddin' Steals Christmas is a short adventure for three to six characters, and optimized for 2nd level characters. We also include Scaling Suggestions, allowing you to run this adventure for lower- or higher-level characters. We anticipate a run-time of 2- to 4-hours. There's a bit of roleplay in this adventure, which may extend the playtime. Adventure Background A traveling jester known as Figgy Puddin’ and her Coal Smudge Gang have stolen Christmas presents and now hold them for ransom. While safe and secure in her lair, she awaits either a payment of an outrageous ransom, or a crew of heroes to claim the presents after they navigate her not-so-festive lair. What's the Adventure? After you introduce the hook, the adventure occurs in Figgy Puddin's lair - a refurbished kobold bunker consisting of eight rooms. As the characters explore the linear dungeon, they encounter new creatures, complete challenges, and are tested about their Christmas knowledge. However, the final confrontation with the naughty Figgy Puddin' could make for a very Unhappy and Unmerry Christmas for our heroes, the children of Thistleton, and their parents. Who Is Figgy Puddin’? Figgy Puddin’ was once a happy jester who loved Christmas. For years she traveled the realm, bringing fun and festive cheer to villages and children while preparing the way for Santa. However, times have become tough, and entertainment doesn’t always pay as well as one would like. As Figgy prepares for retirement, she’s learned she doesn’t have enough gold to last. During this time, she’s also decided that Santa doesn’t know who she is, let alone appreciate the work she puts in every year. Using her savings, extortion, blackmail, and other nefarious means, she’s convinced several mechanical geniuses and arcane specialists to help her refurbish her underground bunker with wondrous effects, creatures, and tests. To fund her retirement, she’s taken extreme measures to make some quick gold — holding Christmas presents for ransom.

Goblins of the Malauth tribe have occupied a dwarven crypt in the Nether Mountains. When a dwarf from the hamlet of Hilltop goes missing, his brother enlists adventurers in Rauvin Vale to head up to the tomb and discover what happened to him. An introductory adventure for 1st level characters.

A half-marilith, half-medusa druidess lich known as the Hate Blossom lairs in this dungeon, having been run out of mortal society and shunned by demonkind. She possesses the petrified-yet-still-living body of Melenkir, the first human arch-mage and the single creature to remember a ritual that may save the realm from an extraplanar threat. Only slaying Hate Blossom or convincing her to lift the curse will revive Melenkir. Published by Defy Danger and Save Verses Death

Long ago, before the arrival of civilized humanoids, a large colony of ogres thrived in the local area. When a great invasion from another dimension threatened this colony, their king, Koptila, prayed for his people to be spared. The gods heard these pleas, but commanded Koptila to sacrifice himself. The leader did so, and the clan disappeared—whisked away by the gods and lost to time. Over the years, a city grew up above the former subterranean home of the ogres, and no aspect of Koptila’s ancient bargain was preserved or remembered. Even so, the stars are aligned for the return of Koptila and his people. These powerful repatriates are unlikely to appreciate the changes in their old home. A sage has found dusty documents prophesying this return, and he asks the PCs to investigate the catacombs to defeat the potential threat to the city. The PCs travel down through city sewers and subterranean passages before finding the catacombs that the ogre colony once called home. Pgs. 48-53
The Giants are on the March! The Rise of the Runelords Adventure Path continues! Driven to battle by a maniacal warlord, the once-peaceful stone giants of the Storval Plateau threaten to destroy the sleepy town of Sandpoint. Will fast action and quick wits be enough to save the defenseless community? Yet, even if the giants' initial raid can be repelled, only by striking at the heart of their titanic war machine—the black-towered fortress of Jorgenfist—can the menace be quelled. But who knows what mysterious bloodlust spurs the usually peaceful giants to war, or what mysteries lie beneath their ancient fortress?

“Den of the Destroyer” is the sequel to “The Lost Mines of Karak,” continuing the unfolding story of the Scales of War adventure path. In this adventure, the PCs are called back to Brindol by a surprising summons. There they learn that a platinum sword they had collected back in "Rescue at Rivenroar" is no mundane item - the blade is sentient! The blade charges the PCs to undertake a dangerous mission to an abandoned githzerai fortress in order to perform a ritual to awaken the blade's true form. Along the way, they must deal with bounty hunters hired by an old enemy (from "Shadow Rifts of Umbraforge"), and confront a vile gang of gnolls terrorizing Elsir Vale. Pgs. 14-54
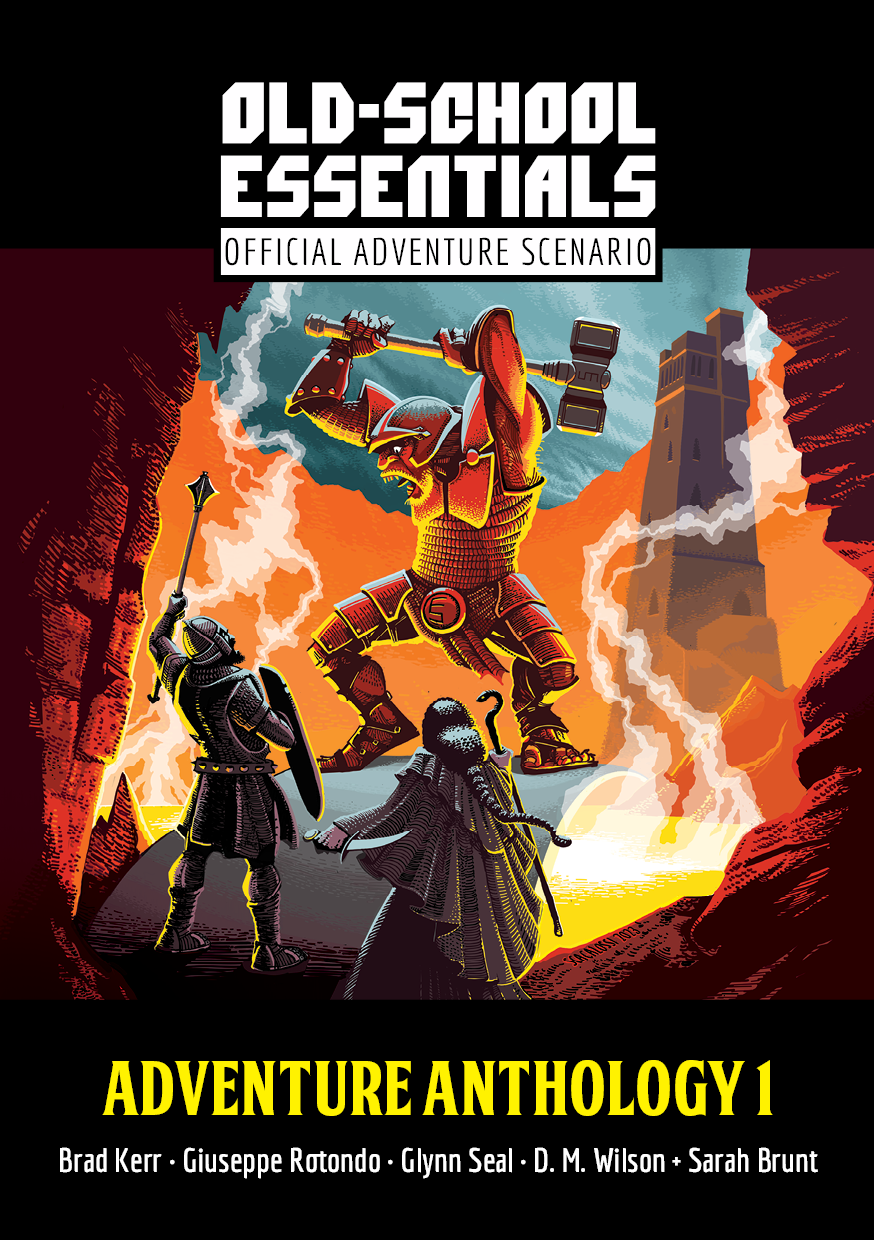
A level 3 temple incursion adventure by Brad Kerr. In a golden temple of healing on a sundrenched island, blissful amnesiac patients are held prisoner by monstrous caretakers. Intruding PCs will need their wits and their swords to unravel the temple’s secrets, snatch its treasures, and escape. For Old-School Essentials (OSE) Included as one of four adventures in "Old-School Essentials Adventure Anthology 1"
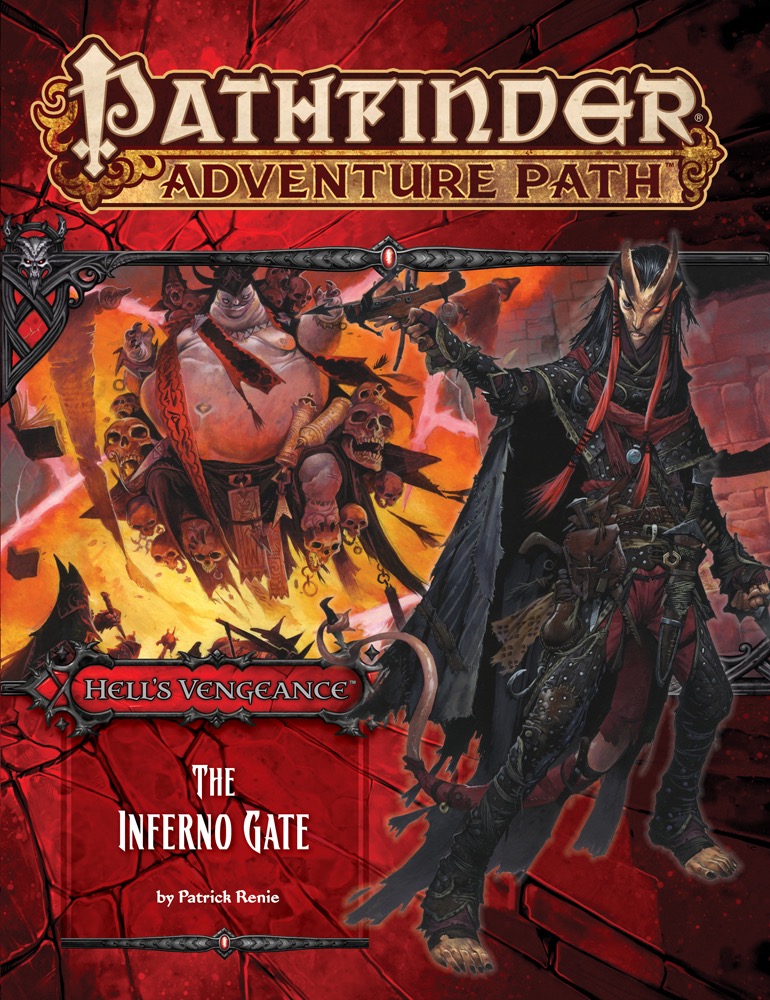
The Thrice-Damned House of Thrune wants to seal the Inferno Gate, an uncontrolled portal to Hell, and the villainous adventurers are called to accomplish the task. To acquire the components and perform the ritual, they must first face down a hellspawn thieves' guild, the Hellknight Order of the Pike, and the knights of the Glorious Reclamation and their celestial allies. But before they can complete the ritual, the characters may be forced to examine their options—is closing the gate the best plan for the future? Will the villains obey their orders to close the gate to Hell—or might they make a deal with a devil for control of the portal? Or will they only become the latest in a long line of sacrifices to the Inferno Gate?

Your party is on a journey through a mountainous region distinguished by sheer cliffs and dangerous precipices. Thus everyone is quite grateful when, just at nightfall, they find a small abandoned chapel. It provides a dry shelter from the wind and radiates such an aura of good that there is no hesitation about sheltering within it. This is an adventure for a balanced party of six second- and third-level characters; ifd esired, the number may be increased by including three first-level characters.

A fiend lurks among the Black Blade goblins. A shapeshifting barghest fashioned by the General of Gehenna to exact revenge on all goblin-kind. It’s aim: to kill as many goblin leaders as possible… A masked goblin approaches the party asking for help. Two tribe leaders are dead. But a rival for chief has control of the crime scene. Will the party discover the barghest among the goblin ranks? Can they stop this imposter before it strikes again? Adventure Overview The adventure’s story is spread over 4 parts and takes approximately 4 hours to play. The adventure begins with a Call to Action scene. Part 1: Goblin Politics. Krill sends his emissaries to implore help from any strong intermediary. The party is asked to investigate the murder of Thrawn in Dringly’s lair. This is Story Objective A. Part 2: The Opposition. Gain entry into Dringly’s lair and investigate the murder of Thrawn. Gather enough evidence to find the killer. This is Story Objective B. Part 3: To The Lair! Now that the players have determined the barghest (Yeep) is to blame, they need to get to Krill’s lair quickly as he is in imminent danger. This is Story Objective C. Part 4: The Barghest.When the players arrive at the lair, they need to get to Krill and expose and defeat the barghest. This is Story Objective D. Adventure Background A barghest named Yeep has begun its onslaught of attacks against the Black Blade goblins. Starting with Chief Gnar, then his second in command Thrawn, the barghest is moving methodically down the line of command. Krill is now chief. But he has some problems: Two leaders of the Black Blades are dead. Who killed them and why? Is he next? Dringly, the next in command, has decided to take his lair for himself, declaring himself Chief of the Black Blades. Who are the Black Blades? The Black Blades are a tribe of goblins in the local area. They are known for dipping their blades in a dark black substance. It is rumored these blades are poisonous. The Black Blades regularly attack passersby on the road to rob them. The Black Blades have two lairs, one run by a chief who leads the whole tribe, and another overseen by a boss lieutenant. The Black Blades have a well-established pecking order which is how Krill stands to become chief. The next in line is Dringly, who has also declared himself chief and wants Krill dead. Krill suspects that there is something suspicious about two leaders being killed within a day of each other, but he has already burned Gnar’s body without any investigation. He needs to investigate the body of Thrawn, but it is in Dringly’s lair. Krill wishes to avoid direct confrontation with Dringly at the present for three reasons: 1) Any violence would only kill his own tribe members and further divide the lairs. 2) He believes there is still hope for negotiation to reunite the Black Blades. 3) He believes that if he were to attempt negotiations himself, Dringly would kill him. This adventure features: Two maps. Ready for your favorite Virtual Tabletop. A full color pdf. A black and white pdf. One custom monster, a reprint of barghest, all others available in the Monster Manual. Four hours of entertainment involving: roll playing a goblin bard, investigating a murder scene, tracking down a barghest before it strikes again. Applicable to any setting.

Far above the village of Barovia sits Castle Ravenloft, the home and fortress of vampire lord Strahd Von Zarovich. Legends claim that Strahd flies with the bats and runs with the wolves to terrorize the countryside. Ancient tales also tell of dungeons and catacombs deep under the castle. Other stories recall the great halls, treasures, and glory of Ravenloft in centuries past. "House of Strahd" is a revision of the classic gothic horror tale I6: Ravenloft, one of the most popular adventures ever produced for the AD&D game. This version is updated for the AD&D 2nd Edition rules, and those from the Ravenloft campaign set. Count Strahd is now more powerful, and his castle is even more terrifying! TSR 9418

No-one knows why, but many of the villagers of Greenmist have been going insane. Not only that, but something has caused the surrounding environment to transform into fetid swamps. Heroes from far and wide have gone into the swamps to destroy the source of the madness, but none have returned. The truth is that the psychic whispers of an aboleth have invaded the minds of Greenmist's people. The creature called Seedooloo has been using forbidden magic, mad science, and the strange ability of his kuo-toan worshipers to grant himself the power to drive the surface world to insanity. The Call of Seedooloo includes monsters found in Mordenkainen's Tome of Foes.

The Triad Series continues with Lion’s Breath Prison. After success against the Order of the Goat troops your next challenge awaits. The spiritual arm of The Triad is known as the Lion’s Breath. With some unfinished business in the form of Marquis Forten, the PCs continue to seek out their quarry. Can they locate the elusive traitor and bring him to justice? This adventure continues to send the party across the fields of Neville!
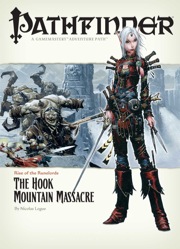
Them Ogres Ain't Right... The Rise of the Runelords Adventure Path continues! The notorious Hook Mountain ogres, known for their violent and savage ways, have slaughtered the soldiers of Fort Rannick. The few surviving rangers need heroes to help them retake this key fortification before the ogres use it as a staging ground for further assaults on the region. Yet why have the ogres chosen now to launch this sudden attack? What sinister force grows in the surrounding wilderness, and what ties to the mysterious Sihedron Rune do the ogres of Hook Mountain hide? Are the rumors of an army of giants massing for war true?
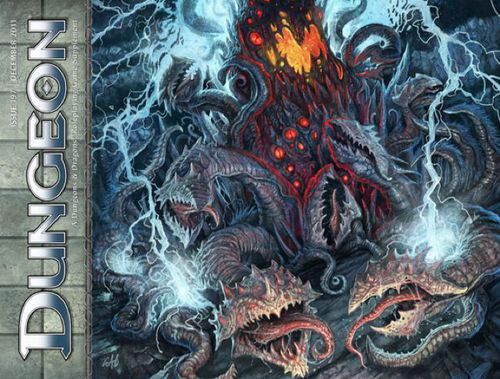
Faced with an unusual alliance of giants raiding the countryside, the party must venture into the steading of hill giant chief Nosnra and uncover maps to the locations of the other giant strongholds. “Steading of the Hill Giant Chief ” can be run as a stand-alone adventure, or you can play it as the first part of a four-part series that continues with “Warrens of the Stone Giant Thane” (Dungeon 198), “Glacial Rift of the Frost Giant Jarl” (Dungeon 199), and “Hall of the Fire Giant King” (Dungeon 200). The adventure is part of the Against the Giants series originally by Gary Gygax, hence the writing credit.

This deluxe adventure takes heroes into the ruins of Gardmore Abbey, a monastery that was once the base of a militant order of paladins devoted to Bahamut. According to legend, the paladins brought a dark artifact back from a far crusade and stored it in their abbey for safekeeping, and evil forces gathered to assault the abbey and take it back. What the legends don’t tell is that this artifact was actually the Deck of Many Things, a force of pure Chaos. This adventure brings characters into the extensive dungeons beneath the ruins - dungeons that are warped and twisted with the raw forces of Chaos surrounding the cards of the deck.

Frequent visitors know that the Adurite culture once ruled a large portion of the known world but has now all but disappeared. In this adventure a relic Golem that guards a shrine has been duped and gone on a rampage. This adventure was originally created for a “filler” adventure on a day when the entire party could not adventure. Spoiler alert the Golem is not the worst thing the party will face! At 29 pages this adventure has a little bit of everything.
A level 1–3 dungeon adventure by Giuseppe Rotondo. The secret workshop of a long-dead jeweler-magician is now open, as his grandson wants the place finally cleared of all dangers. What treasures might remain within, and what might be watching over them? This adventure combines classic dungeon crawl elements with the intrigue of uncovering a magician’s legacy, making it a rich experience for both new and seasoned players. For Old-School Essentials (OSE) Included as one of four adventures in "Old-School Essentials Adventure Anthology 1"

What began as a subtle sickness has now spread into a full-blown contagion of magical origins around Roslof Keep! Although protected from the outbreak by their Mithel Standard, the Company of the Ivory Scimitar is now challenged with not only continuing their quest to defeat the Dungeon but also saving the town that they have grown to love. With unlikely allies forming from the other Mithel Companies, as well as unforeseen help within the labyrinth itself, the Ivory Scimitar must now take on the perilous task of curing the Violet Corruption while trying to discern the nature of its cause from somewhere deep within Mithelvanr's mad dungeon of self-propagating monstrosities! This adventure is formatted to both 1E & 5E gaming rules. Also available in PDF.