
In this scenario, the adventurers pass through magical portals into a series of interlinked chambers. The characters are encouraged by a young scholarly mage to voyage into the Sea of Pastures, to explore a mysterious island connected with a number of recent shipwrecks and disappearances. The island is grassy and windblasted, but eventually the characters discover a stone door leading into a subterranean complex. There, they discover 18 rooms linked by secret passages and magical portals. Most of these rooms have been ransacked by a variety of other survivors, human and monstrous. These survivors are likewise trapped within the labyrinth and are either eking out a miserable existence there or else desperately searching for a means of escape. Also within the building are a number of extraplanar creatures, collectively known as gingwatzim, who can shift between various forms: an energy form (glowing ball of light), an inanimate form (usually a magical weapon), and an animate form (an animal or monster). Eventually the characters may find the exit, and are once again deposited on the dreary islands to await rescue. TSR 9110

The corrupt town guard of the Styes refuse to help when a mysterious monster begins to slaughter the residents of Hopen'er Asylum, an old decrepit mental aslyum. A call is put out for any adventurers willing to defeat this mosnter and save Hopen'er before it falls any further into madness... From the author of Murder on the Primewater Pleasure comes The Horrors Beneath Hopen'er Asylum. If you enjoyed that adventure then you will love this! This horror adventure takes place in and below Hopen'er Asylum. Originally designed to serve as an introduction to the location known as The Styes frorm the Ghosts of Saltmarsh campaign book, this adventure can be easily transferred to any setting (advice is given on how to do this). The characters will explore an abandoned underground wing of the mental asylum, before delving into a forgotten cave system to face an unknown enemy, a Dubh. The adventure is designed for 6th - 7th level characters and takes anywhere between 4 - 6 hours to finish. The adventure contains full colour maps, as well as VTT versions of the maps.
"The Warlock's Crypt" is a fext and noctiny lair suitable for four 9th-level characters. This adventure can be completed in a single session. An ancient warlock king known as the King in Silver, whose patron was Death itself, knew he was growing old and would soon die. The aging king pledged the souls of his two sons, the Black Prince and the Red Prince, to Death in exchange for his own eternal life. As the final worlds of the pledge pass his lips, the old king collapsed to the ground, dead. Elsewhere in the castle, the two young princes died suddenly in their sleep. All three were interred in the royal crypt within a nearby burial mound. ultimately, the king got what he asked for - he and his suns were returned to life as fext in the service of Death itself. When the fext awoke and climbed out of their coffins, they were confused because it seemed they were trapped within the small royal crypt. Then, the King in Silver discovered a secret door leading to a hidden stone stair that descended into a complex of ancient tunnels and chambers. At the far end of the complex, the fext discovered a second set of ancient stone stairs leading up through a shaft to a hidden exit on the surface. The three fext now lurk within the lower chambers, doing their patron's dark bidding. When commanded, they creep forth from the crypt to spread death during the dark of night.

Some dozens of leagues to the north and west of the STEADING OF THE HILL GIANT CHIEF (Module G1 of this series), amidst the tallest mountain peaks, is the stronghold of Grugnur, Lord of Frost Giants. As frost giants have been amongst those who have been in the reaving bands, the party is to deal with them as the hill giants have been dealt with. Death and destruction are to be meted out to the frost giants in the same measure they gave to the peoples below. This module contains background information, referee's notes, two level maps, and exploration matrix keys. It provides a complete module for play of ADVANCED DUNGEONS & DRAGONS, and it can be used alone or as the second of a three-part expedition adventure which also employs DUNGEON MODULE G1 (STEADING OF THE HILL GIANT CHIEF) and DUNGEON MODULE G3 (HALL OF THE FIRE GIANT KING). TSR 9017

Long ago, a small but mighty humanoid kingdom existed in what is now the local wilderness. Bugbear and ogre warriors fought brutal wars of expansion, earning great fame and amassing considerable fortunes from their predations. Those who died in battle were buried in large tomb complexes dug into hillsides and honored as patrons of the living. Among these tombs was the large tor known as Hightower. Though it was neither the largest nor the most famous of the kingdom's tombs, Hightower did represent a typical example of this kind of structure. As happens to all such nations, the cruel humanoid kingdom eventually fell to a more powerful foe that razed all its cities and outlying fortifications. Of the tombs, only Hightower escaped destruction -- largely because it was an unimportant monument in a remote location. A few tribes of humanoids that survived the devastation tried to use it as a fortress, but the humans with whom they clashed defeated them soundly and sealed the entrance with a huge, round stone to ensure that the tor could no longer be used as a base. Since then, Hightower has served as a landmark for travellers in the know, but it has otherwise been largely forgotten. But the electrical storms that have plagued the area in recent days have been quite severe, and a few weeks ago, a stray lightning bolt broke open the stone seal. Tonight, yet another terrible storm is sweeping through the wilderness, driving all creatures to take shelter where they can find it. Hightower looms on the horizon, and its door is no longer blocked. Will the PCs dare to enter its silent halls?

Deep beneath the surface of a lake flourishing with aquatic life is the Temple of Pure Water. Within its walls your players will encounter dangerous aquatic flora, a deadly submerged temple, a sea dragon statue with power lurking within, and even a rapid downhill boat ride with sharks. Water in small doses is an elixir of life, but it large enough quantities your players may be left in over their heads as they make their way through this underwater adventure.

Want to discover the incredible world of Eberron? You won't even need a DM... This adventure is written in gamebook style (think Fighting Fantasy / Lone Wolf) but with 5e mechanics. Narrative entries guide you through the adventure and remove the need for a Dungeon Master. Custom combat sheets run monster tactics during combat, and battle maps for all possible encounters are included in a zip file. This is the pdf version. For the Fantasy Grounds version, click here. The numeric entries are also hyperlinked, so all you need to do is click and the pdf will automatically navigate you to the next entry, removing the need to scroll or enter a page number. The story begins with you, the PC, deep in study in the Morgrave University Library. Then, a mysterious figure slips you a letter and disappears before you can discern their identity. Let the adventure begin...
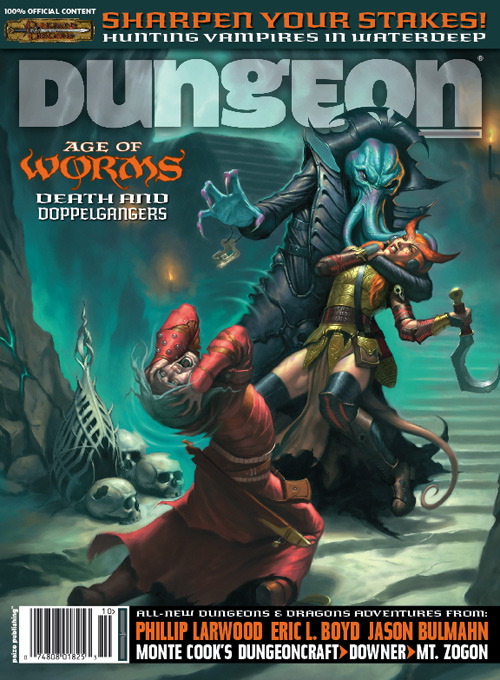
The once-dwarven wizard Hehranna knows that her previous race, for all its pride and skill, is hampered and distracted by lesser concerns—family, friendship, emotion. Once they join the Hive, they won’t begrudge a few moments of pain in exchange for the industrious awakening she has to offer them. Pgs. 16-32

Kalzok the Minotaur pirate discovered an old smuggler's hold on a tiny island in the Nelanther Isles, not far from Nemessor. The island sits amid a dangerous archipelago encircled with scores of hidden shoals that is avoided by all but the most daring or foolish navigators. The area's waters are notorious for claiming the ships of unwary sea captains who tried to steer through the gauntlet of hidden reefs. This offering includes an overview of Kalzok's island along with the details of Kalzok's hidden lair.
No treasures here just lying around to be taken. This tomb's riches fight back! Never mind the guardians. Watch the loot! A new tomb has recently opened for business in your area! The wealth of a wizard's lifetime can be yours! Defeat his traps! Slay his guardians! Zathis the Insightful took a century to collect these marvelous treasures. Now they can be yours in a matter of hours! Pgs. 10-25
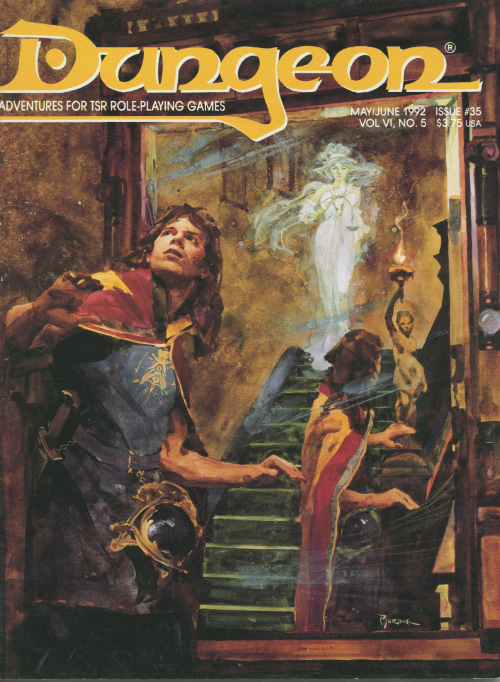
In a world where water is more precious than gold, you've found an oasis - but you cannot drink a drop! The adventurers, crossing the desert, encounter a sandstorm that uncovers part of an ancient ruin of an unknown type. Green grass, an unusual and astonishing sight on Athas, magically sprouts around the ancient structure. An irresistible treasure lies inside, a source of pure water... Pgs. 26-34

SQ3 – Hatadage Cult takes a group of initial adventurers on their first challenge. This short adventure allows a group of new or low level PCs hear news of a kidnapping from a nearby thorp. Role playing will be key to learning more about the disappearance before heading into the hills near some old ruins. This is the site of a group of cultists that have kidnapped the young woman and mean to use her in a sacrifice!
If the PCs are to avert the Age of Worms, they must invade the heartland of Kyuss' power, the Wormcrawl Fissure, and destroy one of the world's most powerful dracoliches before the Wormgod awakens. "Into the Wormcrawl Fissure" is the eleventh installment of the Age of Worms Adventure Path, a complete campaign consisting of 12 adventures, several "Backdrop" articles to help Dungeon masters run the series, and a handful of poster maps of key locations. For additional aid in running this campaign, check out Dragon's monthly "Worm Food" articles, a series that provides additional materials to help players survive this campaign. Issue #343 of Dragon presents statistics for some extraplanar entities the PCs may wish to call upon to aid them in the Wormcrawl Fissure. Pgs. 54-89

Finish up this Dwarven Forge world of Mythras trilogy in the epic conclusion of The Hidden Valoria Campaign. Master your occupation of the neighborhood of the Patina Court. In this climactic end your players will fight paralyzing hate crawlers, kobold trap masters, spiders, and even a dragon and a mummy lord before a final betrayal awaits This adventure is formatted to both 1E & 5E gaming rules. Also available in PDF.
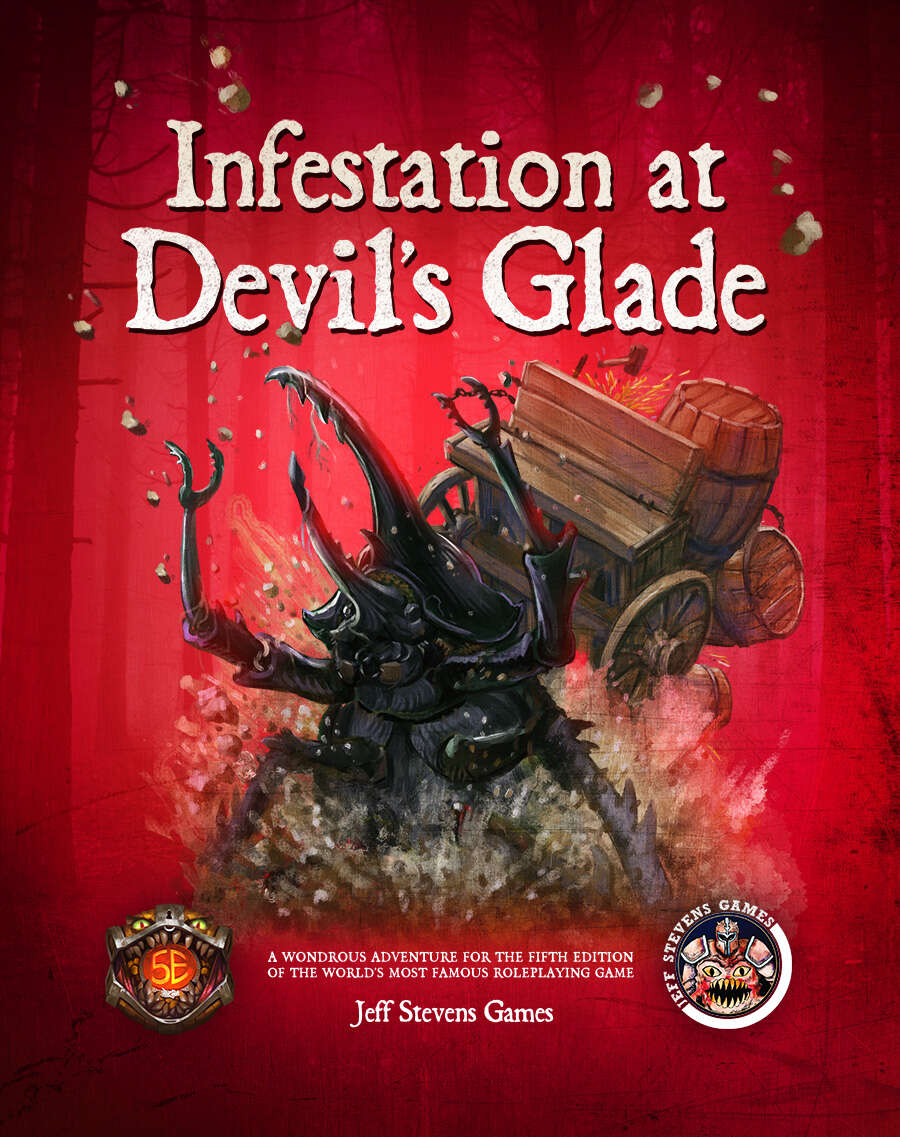
The town of Devil's Glade is under attack! Swarming insects have driven the residents out of their homes and businesses, and giant insects patrol the town square. Who or what has brought these creepy-crawlies to Devil's Glade? What's their motive? Are your heroes brave enough to put an end to the infestation? Infestation at Devil's Glade is a 2- to 4-hour adventure designed for four to five characters of 1st to 4th level, and is optimized for 2nd level characters. Scaling Suggestions are included, allowing you to play this adventure with characters of 5th to 6th level. Infestation at Devil's Glade isn't just a short adventure. We provide you with a location to which your heroes can return, or even use as a home base. The Supplement Includes: Adventure. The main adventure focuses on the heroes cleaning the town of the infesting insects and the villains who brought them. Beginning at The Fork (a tavern where many of the residents have made camp), the characters learn about the infestation of Devil's Glade, and are hired to look into the matter. NPCs. The adventure is filled with fun and engaging NPCs. During the characters' time at The Fork, they have the opportunity to talk with NPCs, help them, and learn more about the infestation. After the heroes return Devil's Glade to normal, the merchants and residents return, giving your characters unique shops to explore and quests to complete. Cursed Mask. The crux of the problem - a cursed mask that slowly transforms the attuned creature into a giant, insect monstrosity, and gives them power over insects. To end the infestation, the adventurers must confront the partially transformed person wearing the mask. Shops & Services. Devil's Glade contains shops and services the characters can explore, including therapeutic mud baths, a diner specializing in eggs, a trinket shop, a candle maker, and a dentist. Side Quests. We provide several side quests for before and after the main adventure, allowing you to increase the main adventure's run-time, and provide you with material for after the main adventure. Maps. The adventure contains maps for the main locations and major side quests. Each map is hand-drawn by Jean Lorber. Art. NO AI! The book is filled with fantastic, original artwork by Matt Morrow Art. Also Included: Map Files. Both grid and non-grid maps are included and available to download. Special VTT Tokens and Assets. Several custom tokens and art assets are included for VTT play.

The water pounds the base of the cliff with the relentless power of time. Jagged rocks appearing and disappearing in the foam of the sea like gnashing teeth. Above it all on the top of the black cliff sits a small house and the dark light tower. The magistrate has sent your party to investigate why the light has gone dark.
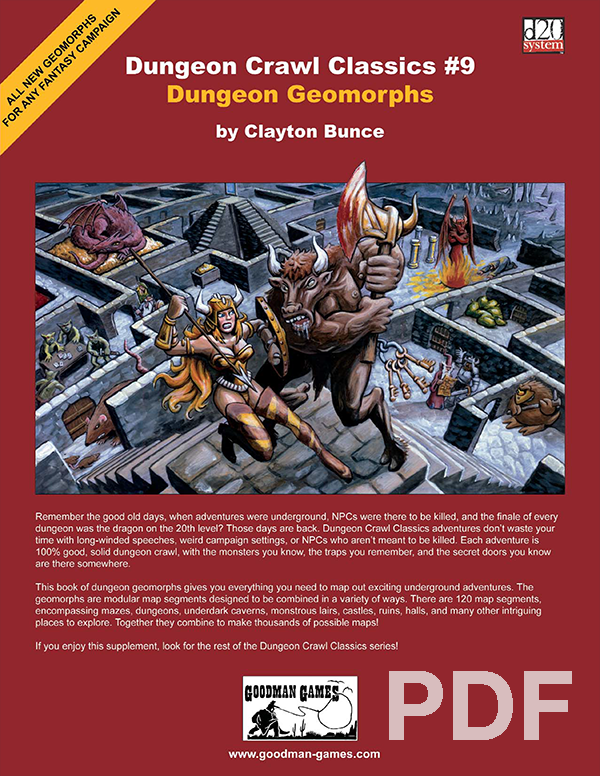
Unlike other Dungeon Crawl Classics, this volume does not present a completed adventure. Instead, it presents a set of DM tools that will make your job easier. This book of dungeon geomorphs gives you everything you need to map out exciting underground adventures. The geomorphs are modular map segments designed to be combined in a variety of ways. There are 124 map segments, encompassing mazes, dungeons, underdeep caverns, monstrous lairs, castles, ruins, halls, and many other intriguing places to explore. Together they combine to make thousands of possible maps!

The power of prophecy is given to few. Wise are they who guard this gift well, for those who thirst after such knowledge are not always men of principle. Bastion of destiny, the Tower of the Heavens stands silhouetted against the star-studded night sky. From within his darkened observatory, perched like an eyrie on the highest turret, a figure in white charts the course of a shooting-star as it disappears behind the snow-capped peaks of the Tegefed mountains. The old man smiles grimly to himself; the event foretold has come to pass! Power, glory, riches - it takes years to acquire them. The uncanny accuracy of their predictions has brought all these and more to the sages of the Tower of the Heavens. But what is hard to win is often easier to lose, and the future of the tower now hangs in the balance. For it is written that the day of reckoning draws nearer when a star falls.... TSR 9120

The Iron King's daughter has been cursed by a demon who lurks inside a mirror locked deep in the palace dungeons. Can the characters win their freedom from those same dungeons by entering the mirror demon's horrifying, maze-like realm and finding a way to end the curse? The Demon in the Mirror is a creepy dungeon crawl adventure for 5th-level characters. It takes about 5-7 hours to complete and includes: -An otherworldly, reality-bending realm inside a magical mirror -Four new monsters: the mirror demon, ceiling creep, reflection demon, and librarian of Leng! -Combat cards for each monster, PC, and special treasure -Gorgeous digital maps (with and without grid) for virtual table tops
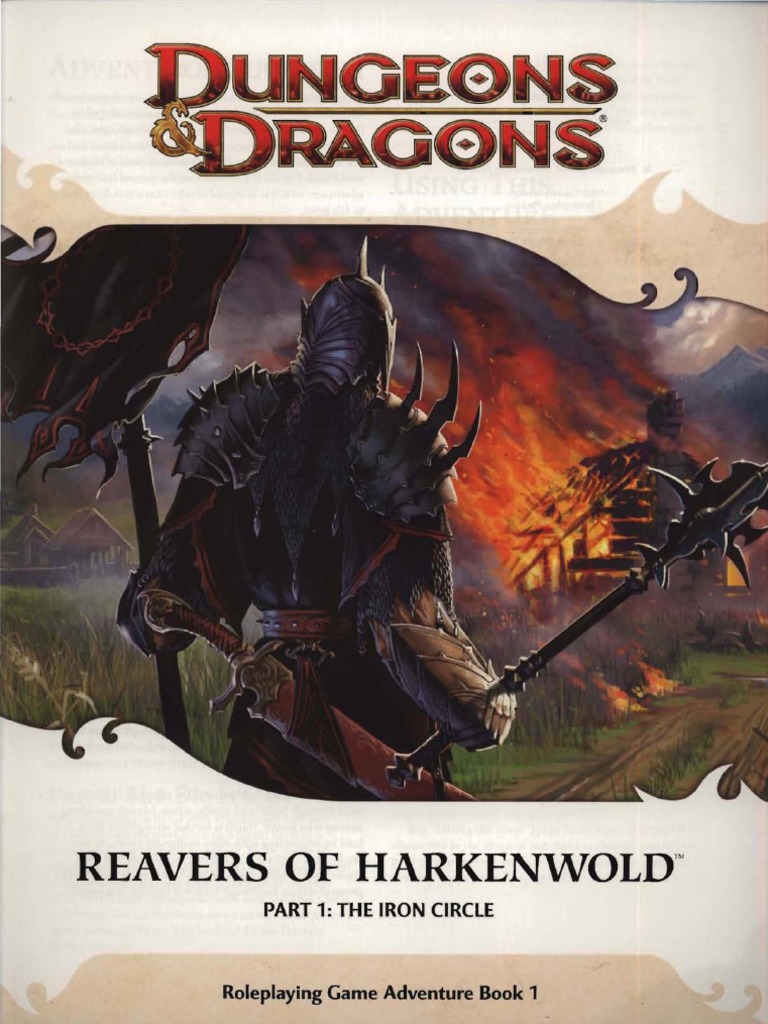
Reavers of Harkenwold pits the heroes against the Iron Circle, a company of cruel mercenaries that has seized control of the small land of Harkenwold. In this adventure, the heroes become daring rebels and lead the folk of Harkenwold against their oppressors.