
Yonder lies the Shrine of Lucien Harpell, greatest mage of this or any other age. In the arts of golemancy, artificery and necromancy, his equal has never been known, nor will be again. Cursed are those who enter this tomb. Cursed are those who look upon this statue. Cursed are those who seek his riches. Know that your demise is certain – your lives will be short, and your deaths slow. Read this, fools, and despair! The Shrine of Lucien Harpell is the stuff of legends - full of hideous traps and strange monsters, but guarding fabulous treasures. It was lost for generations beneath the grim and lonely Starmetal Hills, but has now been found again. Will any dare enter? Little Shrine of Horrors contains over 20 encounters and is full of puzzles, tricks, traps, roleplaying and combat. Do your players have what it takes to outwit Lucien Harpell?

A job has come up for your party straight from the leader of Phoenix! A trade deal is desired with the leader of an island chain known for Ioun Stones. The Zephyr has requested that your party go and use your skills to negotiate the deal. Upon arrival, your talents serve you well but King Homa requires that your talents serve him...

The PCs are looking to gain entry to the Glantri School of Magic, after the initial admission tests they are drawn into a commotion where one of the other students is being attacked by an evil sorceress. He tries to flee but but is killed, and the PCs are framed for the murder. The authorities are called and bribed to just kill the PCs, they flee and are chased and taunted by the evil sorceress. Eventually, during one of her attacks, she opens a weak spot in the ground and the heroes are dropped into the warrens under the school. They must navigate the warrens, which are shrouded in magical darkness, defend against further attacks, and find escape where they can prove their innocence.

Yesterday, young Tobias went to investigate an old tomb by himself. Everyone told him it was a bad idea. Everyone was right. Today, you and your companions awaken to a town in chaos. Why is the temple sealed behind a divine shield? Why are children and worshippers trapped within? How do we get inside? What did Tobias do?! Ragged Hollow is a full-service starting town, full of classic creatures and challenges all updated and brought together for newbies and nostalgia-lovers alike. There are goblins and witches in the woods, a house full of traps, a basement of vermin, kobolds in a cave, bandits on the road, riddling ravens, a 50-room temple dungeon, nursery-rhyme monsters, living nightmares, Lovecraftian horrors, and tons of unique items to find. This is a mystery with lots of relevant side-quests around the town. The heroes can investigate the situation, get into the temple, save the innocents, and stop the monsters. And get some loot! ADVENTURE TYPE: Medium Dungeon / Town / Wilderness Adventure DESIGN NOTES This adventure is intended for characters levels 1 to 4. It includes several wilderness areas (forest, hills, mountain), a bustling town, several local mini-dungeons, and one 50-room temple dungeon. Each area contains various encounters and unique items. There are many opportunities for combat, but it is possible for players to explore most areas and complete many interactions without any combat at all, depending on their choices. INCLUDES: Story hooks, dialogue prompts, random encounters, stat blocks, original creatures and treasures, and maps. KEYWORDS: town, village, forest, goblins, goblin market, witches, hags, hills, bandits, ogres, mountain, kobolds, caves, dwarves, temple, clerics, nightmares, demons, riddles, traps, ghosts, fairy tales, Lovecraft, mutant

North Sordack Valley is set northeast of Commerstance and was originally slated for the Filbar Dual series but the players didn’t go in that direction. This area is filled with individual challenges synonymous with the Filbar Area series. This ‘sandbox’ style adventure has multiple different encounters can be used in a variety of ways. The general setting allows you to customize it for your own campaign! This adventure setting was designed for 1st/2nd Edition AD&D for the Filbar Dual Campaign for various level groups of adventurers. This adventure is easily adaptable to most any game and system. Save yourself some time and utilize it for several one shot adventures or a continuing campaign setting! Don’t forget to follow us on Twitter @FilbarRPG for extra information.
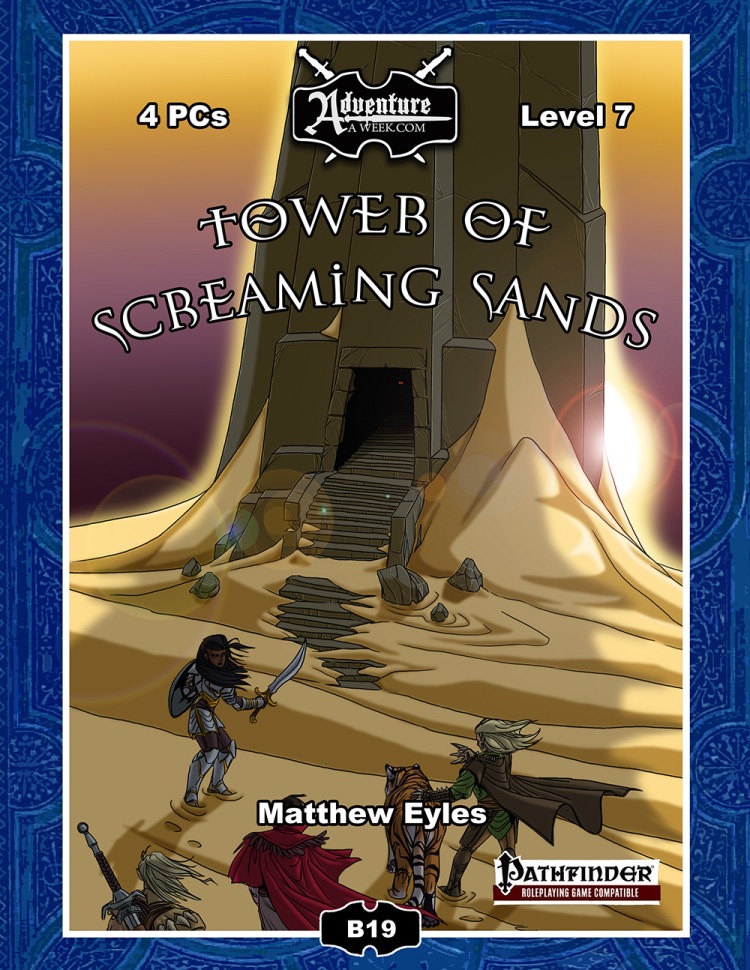
Deep within the blasted desert wastes a mysterious black tower has been sighted. The structure is not marked on any known map and has not been seen in this location by travellers in the region, yet there it stands. The adventurers set out to explore this ancient, isolated tower that appears ripe for the plundering. Within they face a gauntlet of insidious traps and supernatural horrors. The deeper the adventurers delve, the more secrets of the tower’s origins they uncover. The tower’s sinister creator does not rest easy in his arid grave – the adventurers must face him if they are to survive the Tower of Screaming Sands. Also included in “Tower of Screaming Sands”: Five deadly new traps: The Chamber of Ten Thousand Teeth, The God’s Grasp, Chamber of Flooding Sand, Hall of Arcing Blades and Descending Stone Block. A new monster – the scorpion swarm. Rules for whirlwinds, a new magical hazard GM tips for running overland travel.

A Gritty OSR Fantasy Setting by Travis Legge The mortal lands are divided. A dozen kingdoms lie scattered across the world, separated by dangerous wilds filled with bandits and monsters. The bravest mortals act as adventurers, guiding travelers between the kingdoms, killing monsters to thin their numbers, and plundering ruins in search of the lost treasures of the golden age. This is the world of Odysseys & Overlords! The party are traveling west through the Untamed Gauntlet, on their way to somewhere else and using a stream to guide their steps. They step out from under the eaves of the forest to spy looming before them a cliff, a tall wall of stone which stretches away to either side as far as they can see. A waterfall cascades onto sharp rocks into a pool from which pours the stream they were following. The sheer cliff is easily 100 feet high, and too wet and slick to climb safely, though it can be tried. Atop the cliff is a bare stone hill which looks like it was at one time worked by intelligent hands; a look-out post of sorts has been carved into its southernmost peak. The map says it’s called “Wyvernseeker Rock,” but it doesn’t say why. The hill appears deserted. A long age ago, beyond mortal memory, a forgotten people built a watching post and refuge atop and within Wyvernseeker Rock. A hundred years ago, an adventurer named Olaf Wyvernseeker claimed the Rock for his own and set out with companions to clear the lands thereabouts. They were never heard from again. The upper chambers of the Rock are a convenient lair for a Giant Rhadogessa and its spider servants. Still, it’s got to be safer than climbing the cliff. Right? Published by Aegis Studios
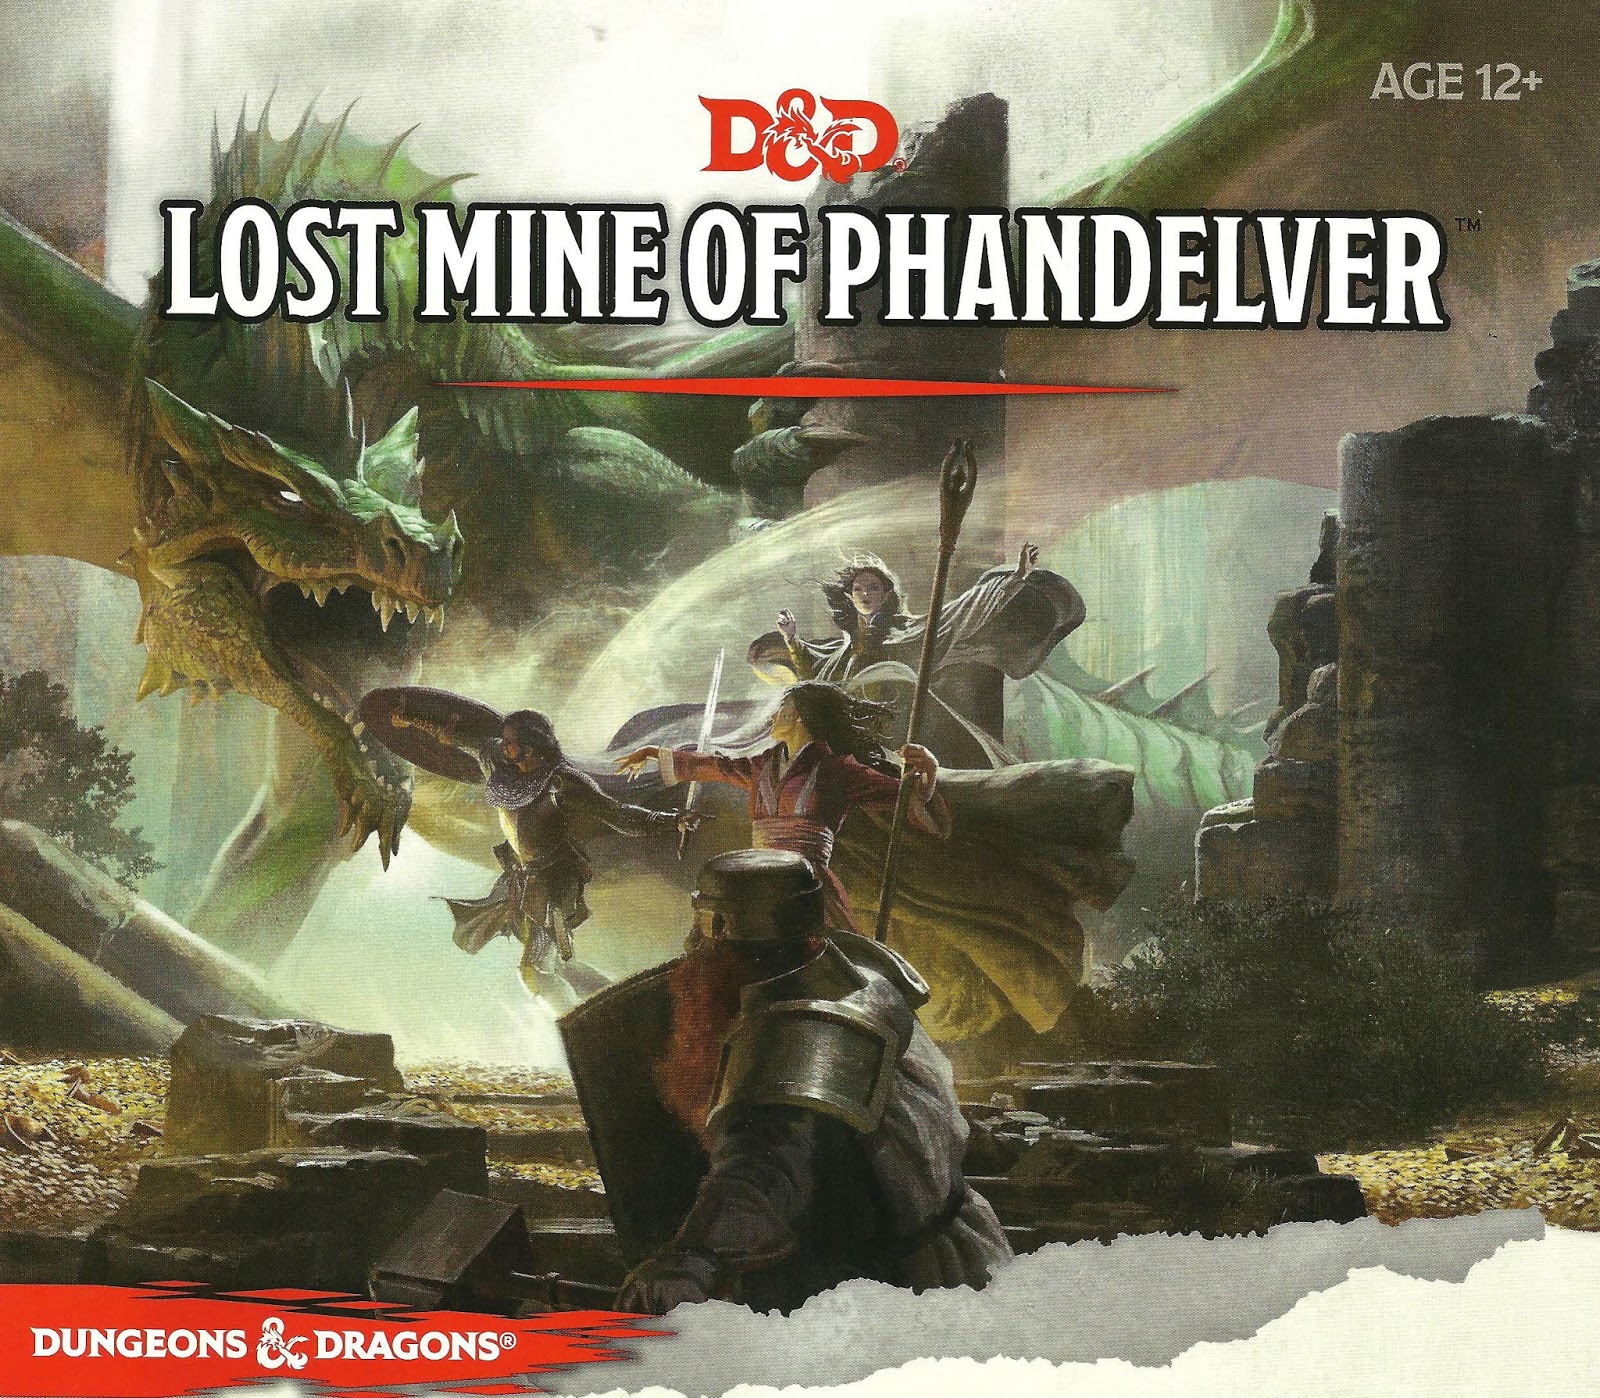
"More than five hundred years ago, clans of dwarves and gnomes made an agreement known as the Phandelver’s Pact, by which they would share a rich mine in a wondrous cavern known as Wave Echo Cave. In addition to its mineral wealth, the mine contained great magical power. Human spellcasters allied themselves with the dwarves and gnomes to channel and bind that energy into a great forge (called the Forge of Spells), where magic items could be crafted. Times were good, and the nearby human town of Phandalin (pronounced fan-duh-lin) prospered as well. But then disaster struck when orcs swept through the North and laid waste to all in their path. A powerful force of orcs reinforced by evil mercenary wizards attacked wave echo cave to seize its riches and magic treasures. Human wizards fought alongside their dwarf and gnome allies to defend the Forge of Spells, and the ensuing spell battle destroyed much of the cavern. Few survived the cave-ins and tremors, and the location of Wave Echo Cave was lost. For centuries, rumours of buried riches have attracted treasure seekers and opportunists to the area around Phandalin, but no one has ever succeeded in locating the lost mine. In recent years, people have resettled the area. Phandalin is now a rough-and-tumble frontier town. More important, the Rockseeker brothers - a trio of dwarves - have discovered the entrance to Wave Echo Cave, and they intend to reopen the mines. Unfortunately for the Rockseekers, they are not the only ones interested in Wave Echo Cave. A mysterious villain known as the Black Spider controls a network of bandit gangs and goblin tribes in the area, and his agents have followed the Rockseekers to their prize. Now the Black Spider wants Wave Echo Cave for himself, and he is taking steps to make sure no one else knows where it is." Extra Info from AL.com users: by @marcellarius. "There are a variety of locations in this adventure: the town of Phandalin, a gang hideout, a ruined keep in the forest, a destroyed village, and Wave Echo Cave (a dungeon crawl). The adventure is written in a sandbox style and relies on the players to choose their path. Phandalin offers several side-quests which could serve as hooks for continuing adventures. The premade characters have ties in their backgrounds to NPCs and locations. If you're not using these you'll need to consider other ways to introduce key NPCs."
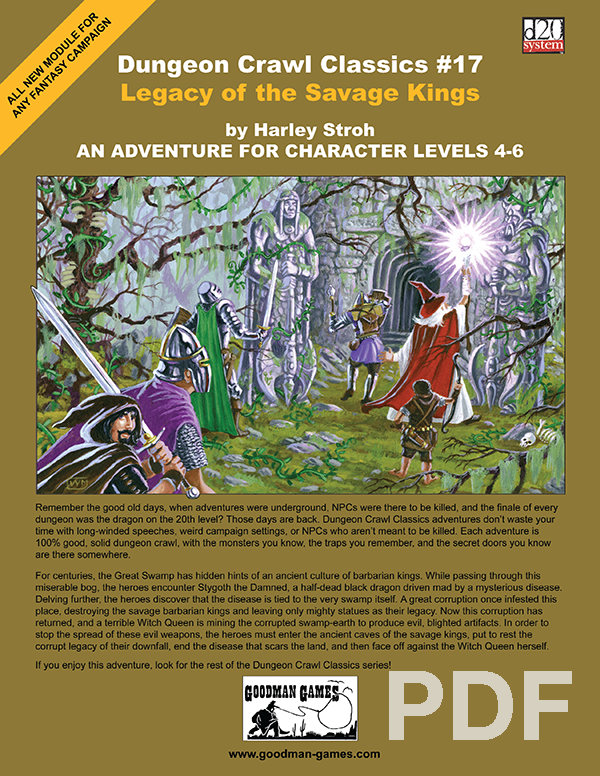
For centuries, the Great Swamp has hidden hints of an ancient culture of barbarian kings. While passing through this miserable bog, the PCs encounter Stygoth the Damned, a half-dead black dragon driven mad by a mysterious disease. Delving further, the heroes discover that the disease is tied to the very swamp itself. A great corruption once infested this place, destroying the savage barbarian kings and leaving only mighty statues as their legacy. Now this corruption has returned, and a terrible Witch Queen is mining the corrupted swamp-earth to produce evil, blighted artifacts. In order to stop the spread of these evil weapons, the heroes must enter the ancient caves of the savage kings, put to rest the corrupt legacy of their downfall, end the disease that scars the land, and then face off against the Witch Queen herself.

A handful of would-be adventurers gathers to explore an ancient tomb, eager to trade their discoveries for a ticket to a better life. What they find within presages the advent of the Age of Worms, an era of darkness, decay, and writhing doom. "The Whispering Cairn" is the first installment of the Age of Worms Adventure Path, a complete campaign consisting of 12 adventures, several "Backdrop" articles to help Dungeon masters run the series, and a handful of poster maps of key locations. For additional aid in running this campaign, check out Dragon's monthly "Worm Food" articles, a series that provides additional materials to help players survive this campaign. Pgs. 14-47

(EQ1) The Cursed Ring is a generic fantasy short adventure for low-level players, themed around puzzle hunting, traps, and monster combat. It is designed to be solved in approximately 5-6 hours, depending on the size of the party and skill of the players. This adventure takes place in a cursed fortress, where they must find a powerful mythical ring capable of granting great power, in exchange for enormous sacrifices. Players must recover the ring and get out of this dangerous place alive.
Catastrophe strikes the frontier village of Swallowfeld! With a grinding groan, the town’s mill slews into the Kilian River and breaks through the ceiling of an ancient subterranean dungeon. This accident frees a long-imprisoned evil to prey upon the shocked townsfolk. When several Swallowfeld residents—some innocent and some not so innocent—are spirited away into the rapidly flooding dungeon, it falls to a brave group of heroes to venture underground and rescue the missing before dark, rising waters seal their fate.

Somewhere under a lost and lonely hill of grim and foreboding aspect lies a labyrinthine crypt. It is filled with terrible traps and not a few strange and ferocious monsters to slay the unwary. It is filled with rich treasures both precious and magical, but in addition to the aforementioned guardians, there is said to be a demilich who still wards his final haunt (Be warned that tales told have it that this being possesses powers which make him nearly undefeatable). Accounts relate that it is quite unlikely that any adventurers will ever find the chamber where the demilich Acererak lingers, for the passages and rooms of the Tomb are fraught with terrible traps, poison gases, and magical protections. Furthermore, the demi-lich has so well hidden his lair, that even those who avoid the pitfalls will not be likely to locale their true goal. In the far reaches of the world, under a lost and lonely hill, lies the sinister TOMB OF HORRORS. This Labyrinthine crypt is filled with terrible traps, strange and ferocious monsters, rich and magical treasures, and somewhere within rests the evil Demi-Lich. TSR 9022

Noel Needs Elves is our Christmas tongue-in-cheek adventure! While it could be a 'real' adventure it was designed to just have a good time with some holiday strangeness! After getting done with your first adventure you head to a fortress in a canyon to resupply and heal up. There you meet Lady Noel who is involved in a fight of her own. She trades you healing for the promise to deliver a message to the Elves on the other side of the canyon. Happy holidays everyone!

Just as the trail led from the STEADING OF THE HILL GIANT CHIEF to the frozen wastes where was found the GLACIAL RIFT OF THE FROST GIANT JARL, so the adventure in the latter place has let (or transported) the intrepid party to what they hope will be their last challenge. They are about to venture into the hot and smoking barrens which are in effect Muspelheim, the home of fire giants. This module contains background information, referee's notes, three level maps, and exploration matrix keys. It provides a complete module for play of ADVANCED DUNGEONS & DRAGONS, and it can be used alone or as the last of a three-part expedition adventure which also employs DUNGEON MODULE G1 (STEADING OF THE HILL GIANT CHIEF and DUNGEON MODULE G2 (GLACIAL RIFT OF THE FROST GIANT JARL). TSR 9018

A fiend lurks among the Black Blade goblins. A shapeshifting barghest fashioned by the General of Gehenna to exact revenge on all goblin-kind. It’s aim: to kill as many goblin leaders as possible… A masked goblin approaches the party asking for help. Two tribe leaders are dead. But a rival for chief has control of the crime scene. Will the party discover the barghest among the goblin ranks? Can they stop this imposter before it strikes again? Adventure Overview The adventure’s story is spread over 4 parts and takes approximately 4 hours to play. The adventure begins with a Call to Action scene. Part 1: Goblin Politics. Krill sends his emissaries to implore help from any strong intermediary. The party is asked to investigate the murder of Thrawn in Dringly’s lair. This is Story Objective A. Part 2: The Opposition. Gain entry into Dringly’s lair and investigate the murder of Thrawn. Gather enough evidence to find the killer. This is Story Objective B. Part 3: To The Lair! Now that the players have determined the barghest (Yeep) is to blame, they need to get to Krill’s lair quickly as he is in imminent danger. This is Story Objective C. Part 4: The Barghest.When the players arrive at the lair, they need to get to Krill and expose and defeat the barghest. This is Story Objective D. Adventure Background A barghest named Yeep has begun its onslaught of attacks against the Black Blade goblins. Starting with Chief Gnar, then his second in command Thrawn, the barghest is moving methodically down the line of command. Krill is now chief. But he has some problems: Two leaders of the Black Blades are dead. Who killed them and why? Is he next? Dringly, the next in command, has decided to take his lair for himself, declaring himself Chief of the Black Blades. Who are the Black Blades? The Black Blades are a tribe of goblins in the local area. They are known for dipping their blades in a dark black substance. It is rumored these blades are poisonous. The Black Blades regularly attack passersby on the road to rob them. The Black Blades have two lairs, one run by a chief who leads the whole tribe, and another overseen by a boss lieutenant. The Black Blades have a well-established pecking order which is how Krill stands to become chief. The next in line is Dringly, who has also declared himself chief and wants Krill dead. Krill suspects that there is something suspicious about two leaders being killed within a day of each other, but he has already burned Gnar’s body without any investigation. He needs to investigate the body of Thrawn, but it is in Dringly’s lair. Krill wishes to avoid direct confrontation with Dringly at the present for three reasons: 1) Any violence would only kill his own tribe members and further divide the lairs. 2) He believes there is still hope for negotiation to reunite the Black Blades. 3) He believes that if he were to attempt negotiations himself, Dringly would kill him. This adventure features: Two maps. Ready for your favorite Virtual Tabletop. A full color pdf. A black and white pdf. One custom monster, a reprint of barghest, all others available in the Monster Manual. Four hours of entertainment involving: roll playing a goblin bard, investigating a murder scene, tracking down a barghest before it strikes again. Applicable to any setting.
In the center of Lake Encarthan looms the dreaded Isle of Terror, accursed land of mystery and treachery. Hidden within the island's negative energy storms, the secret treasure city of the wizard-king Tar-Baphon has lain sealed for centuries. Now masked cultists have opened the golden city of Xin-Grafar to claim the wealth of the legendary city for the Living God Razmir. Can the PCs track the cultists through the poisoned swamps and blasted wastelands of the Isle of Terror to the City of Golden Death itself? And what forgotten dangers will oppose them as they struggle to prevent a dark faith from spreading across the world? Part 3 of the Price of Immortality trilogy.

A 20-page adventure for OSE Save the wizard! A sunken cathedral on a quiet mountain lake hides a long forgotten temple to Mathanoga, God of Knowledge and wizardry. Abandoned by Man for centuries , but protected by the legend of man-eating fishmen lurking in it. Or until a few weeks ago the young wizad Elric embarked on its expedition. With help from the accademy of Greykeep he found the temple and began to explore it, hoping to uncover its ancient magical secrets. Now the wizard is missing and the accademy has put a bounty on its head: its weight in silver to whoever will find him and bring him home alive and well. Find magical secrets! Deep inside the temple are stashed many magical items, all sacred to the fishmen dwelling there, all worth dying for. Save Elric and the treasures will be yours! The Sunken Temple is an expert level Old School Essentials adventure for a party of 1-4 players. Perfect for a one shot or a random encounter in an hex crawl.

Mount Black. A mountain filled with a myriad of creatures’ lairs, a crippled dragon that wants to control it once again, and a friendly kobold who can guide you to glory - for a price. Pgs. 8-17

The ancient ruined city of Tamoacha is familiar to a select few scholars and fortune seekers, who know of it but not always exactly where it is. Even more secluded, lying somewhere within or beneath the ruins, is a hidden shrine said to be dedicated to Zotzilaha, the vampire god of the underworld. Adventurers who catch wind of the place are likely to find its lure irresistible. Remake of the AD&D module by the same name.