
The corrupt town guard of the Styes refuse to help when a mysterious monster begins to slaughter the residents of Hopen'er Asylum, an old decrepit mental aslyum. A call is put out for any adventurers willing to defeat this mosnter and save Hopen'er before it falls any further into madness... From the author of Murder on the Primewater Pleasure comes The Horrors Beneath Hopen'er Asylum. If you enjoyed that adventure then you will love this! This horror adventure takes place in and below Hopen'er Asylum. Originally designed to serve as an introduction to the location known as The Styes frorm the Ghosts of Saltmarsh campaign book, this adventure can be easily transferred to any setting (advice is given on how to do this). The characters will explore an abandoned underground wing of the mental asylum, before delving into a forgotten cave system to face an unknown enemy, a Dubh. The adventure is designed for 6th - 7th level characters and takes anywhere between 4 - 6 hours to finish. The adventure contains full colour maps, as well as VTT versions of the maps.
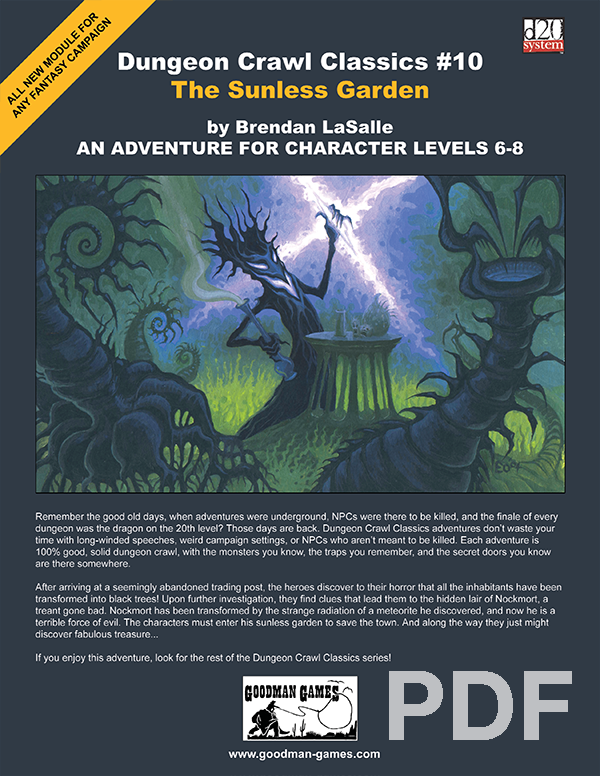
After arriving at a seemingly abandoned trading post, the heroes discover to their horror that all the inhabitants have been transformed into black trees! Upon further investigation, they find clues that lead them to the hidden lair of Nockmort, a treant gone bad. Nockmort has been transformed by the strange radiation of a meteorite he discovered, and now he is a terrible force of evil. The characters must enter his sunless garden to save the town. And along the way they just might discover fabulous treasure...
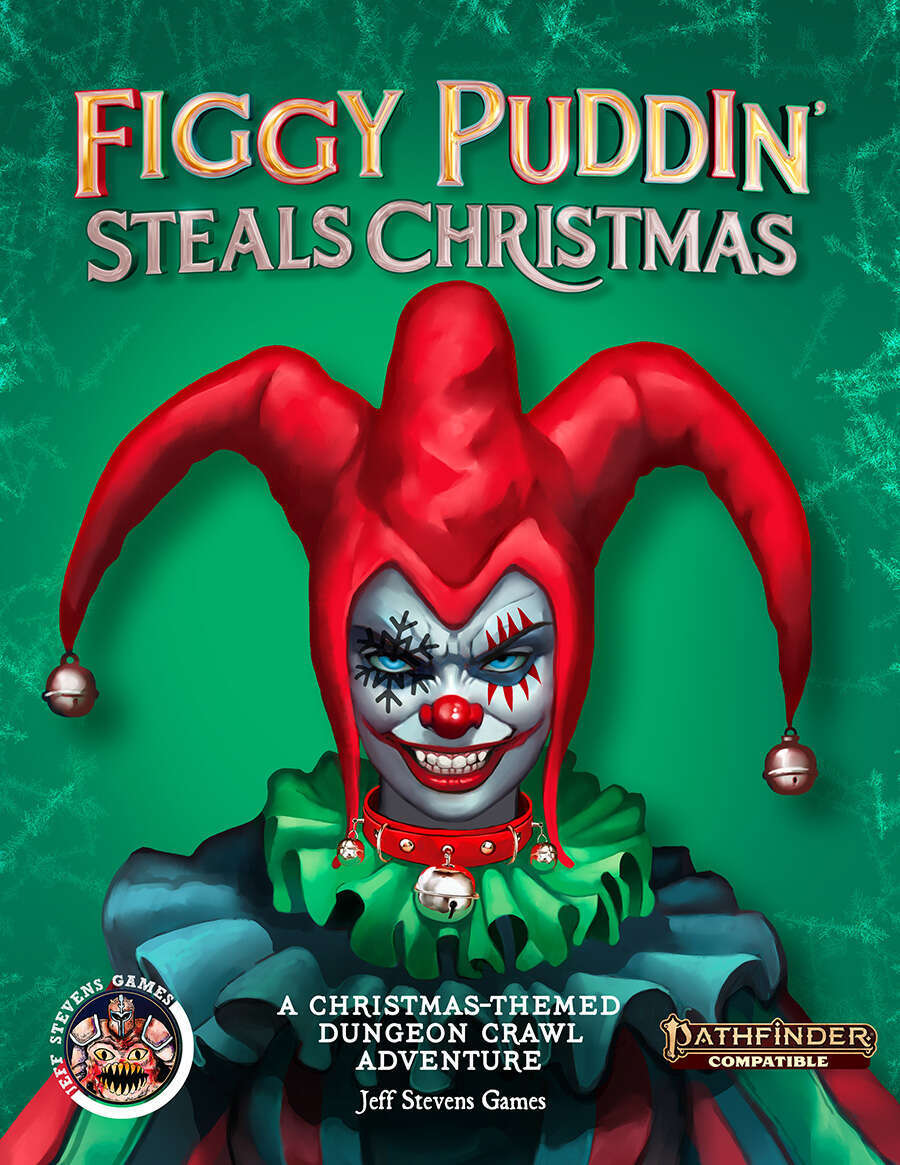
Figgy Puddin' Steals Christmas is a short adventure for three to six characters, and optimized for 2nd level characters. We also include Scaling Suggestions, allowing you to run this adventure for lower- or higher-level characters. We anticipate a run-time of 2- to 4-hours. There's a bit of roleplay in this adventure, which may extend the playtime. Adventure Background A traveling jester known as Figgy Puddin’ and her Coal Smudge Gang have stolen Christmas presents and now hold them for ransom. While safe and secure in her lair, she awaits either a payment of an outrageous ransom, or a crew of heroes to claim the presents after they navigate her not-so-festive lair. What's the Adventure? After you introduce the hook, the adventure occurs in Figgy Puddin's lair - a refurbished kobold bunker consisting of eight rooms. As the characters explore the linear dungeon, they encounter new creatures, complete challenges, and are tested about their Christmas knowledge. However, the final confrontation with the naughty Figgy Puddin' could make for a very Unhappy and Unmerry Christmas for our heroes, the children of Thistleton, and their parents. Who Is Figgy Puddin’? Figgy Puddin’ was once a happy jester who loved Christmas. For years she traveled the realm, bringing fun and festive cheer to villages and children while preparing the way for Santa. However, times have become tough, and entertainment doesn’t always pay as well as one would like. As Figgy prepares for retirement, she’s learned she doesn’t have enough gold to last. During this time, she’s also decided that Santa doesn’t know who she is, let alone appreciate the work she puts in every year. Using her savings, extortion, blackmail, and other nefarious means, she’s convinced several mechanical geniuses and arcane specialists to help her refurbish her underground bunker with wondrous effects, creatures, and tests. To fund her retirement, she’s taken extreme measures to make some quick gold — holding Christmas presents for ransom.

"The Aboleth's Grotto" is a nihileth lair suitable for four 10th-level characters. The adventure can be completed in one session. The small town of Springwell harbors a secret that almost nobody knows about, and those who do conveniently ignore: it sights right over an unoccupied settlement of the deep caverns of the underworld.

After undead start appearing near the local town of Angstadt, the Burgomaster and Father become worried. What could be causing these foul creatures to rise? After conducting research, the clergy discover that the throne room of a celestial avatar is located only a few days away from the town. Perhaps this holy site could hold a relic capable of turning the undead?

Deep beneath the surface of a lake flourishing with aquatic life is the Temple of Pure Water. Within its walls your players will encounter dangerous aquatic flora, a deadly submerged temple, a sea dragon statue with power lurking within, and even a rapid downhill boat ride with sharks. Water in small doses is an elixir of life, but it large enough quantities your players may be left in over their heads as they make their way through this underwater adventure.
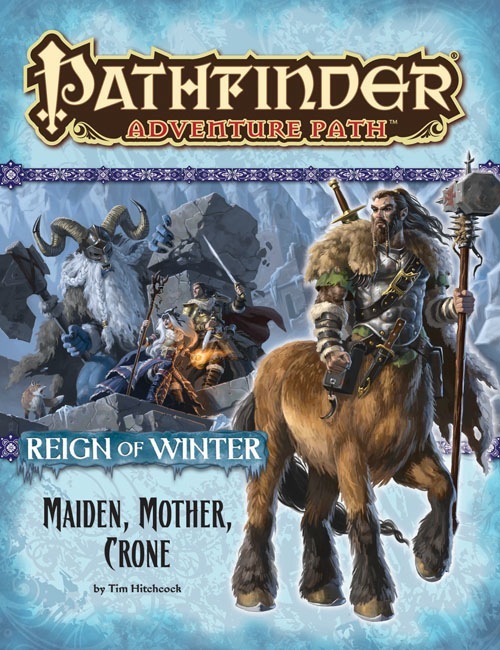
On the trail of Baba Yaga, the heroes find themselves transported to the barbaric land of lobaria on the far-off continent of Casmaron. They must explore three ancient, mystically linked dungeons in search of more clues to the fate of the Queen of Witches, while contending with savage centaurs and demon-worshiping frost giants who seek to claim Baba Yaga's secrets for themselves.

Old-School Essentials Adventure A hole in an old oak tree leads characters down to a maze of twisting, root-riddled passageways, the chambers of an ancient wizard-complex, and the banks of an underground river where once a reptile cult built their temples. A classic expedition into the Mythic Underworld for characters of 1st to 2nd level. 60 keyed areas, rumour table, loot summary, dungeon background info, suggestions for expanding the dungeon. Keyed in a quick-reference, bullet point format. Unlabelled map included for VTT use. The Hole in the Oak can be linked with The Incandescent Grottoes to form a large, 3 level dungeon with over 115 keyed encounter areas!

“The Lost Mines of Karak” is the sequel to “The Shadow Rift of Umbraforge” and the fourth part of the Scales of War adventure path. After the player characters' success in "Siege of Bordrin's Watch" and "The Shadow Rift of Umbraforge", they have garnered something of a reputation in the city of Overlook. They are introduced to a wealthy patron that believes there is a connection between a shadar-kai arms dealer (from the previous two adventures) and a long lost dwarven mine. The patron wishes the PCs to find and secure the mine in order to use its wealth and resources to defend the city. The party then must travel through a wasteland and desert to find this mine. Once they have, they must fight through the hordes of monstrous creatures that inhabit it and defeat the Queen of the Drylands - a powerful naga. Pgs. 56-93
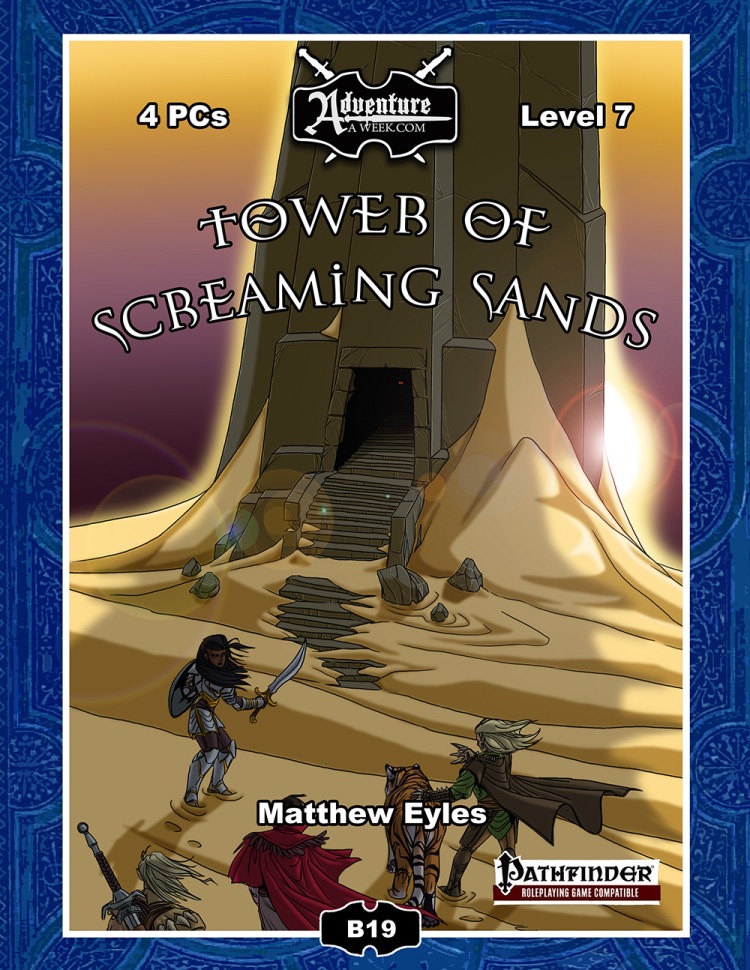
Deep within the blasted desert wastes a mysterious black tower has been sighted. The structure is not marked on any known map and has not been seen in this location by travellers in the region, yet there it stands. The adventurers set out to explore this ancient, isolated tower that appears ripe for the plundering. Within they face a gauntlet of insidious traps and supernatural horrors. The deeper the adventurers delve, the more secrets of the tower’s origins they uncover. The tower’s sinister creator does not rest easy in his arid grave – the adventurers must face him if they are to survive the Tower of Screaming Sands. Also included in “Tower of Screaming Sands”: Five deadly new traps: The Chamber of Ten Thousand Teeth, The God’s Grasp, Chamber of Flooding Sand, Hall of Arcing Blades and Descending Stone Block. A new monster – the scorpion swarm. Rules for whirlwinds, a new magical hazard GM tips for running overland travel.
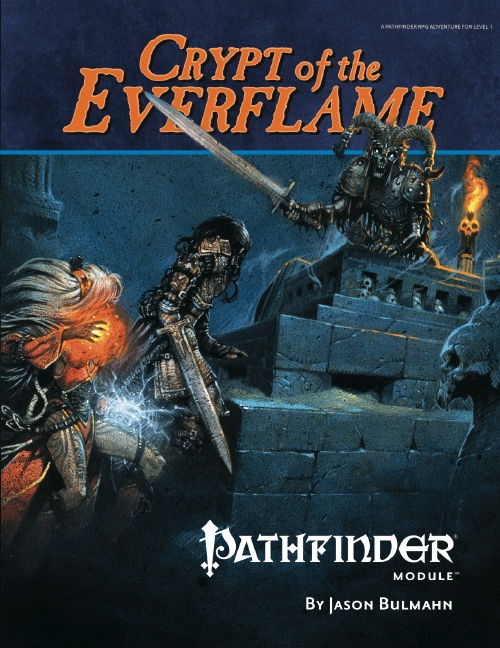
The young heroes of the town of Kassen are ready for their coming-of-age ceremony, an old tradition in which they retrieve a piece of the eternal flame burning in the tomb of the town's founder. Yet when they arrive there, they find only the corpses of their fellow townsfolk, dead bandits, and mysterious animated skeletons. The novice heroes must brave the traps and perils of the Crypt of the Everflame, discover the source of the corruption that has awakened an ancient evil, and defeat a menace that seeks vengeance against Kassen and its people. Part One of Price of Immortality.
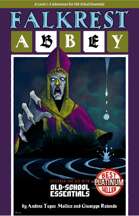
The forlorn Falkrest Abbey in the icy Lune Mountains is where the Queens and Kings of Yore used to be crowned and buried, along with their treasures. According to legends, the Fountain of St. Brynedd still pours its miraculous water somewhere inside. But what caused the fall of the blessed Abbey? Falkrest Abbey is a level 1–3 dungeon adventure for Old-School Essentials. Written by Andrea Tupac Mollica and Giuseppe Rotondo, with original art by Zaira Diana. Content: A 19 room dungeon with exploration, combat, mystery, puzzles and NPCs Encounters and events along the way on the icy Lune Mountains Several hooks and alternate outcomes with possible repercussions on your campaign 3 new monsters 2 new magic items, plus one almighty magic vial of miraculous water Original art by Zaira Diana Map drawn with dungeonscrawl Utility: Treasure & monsters overview sorted by room Interactive hyperlinked map and index Interactive hyperlinked map snippets accompanying room descriptions Printable hand-outs (optional) Extra files: VTT friendly maps without room numbers, monsters, secrets doors etc

A supernaturally powerful storm, mudslides, and agitated dinosaurs are the least of the worries in the tropical village of Mora. The village's spiritual leader, the Zombie Master, has gone missing, and now undead rise from sodden graves and the village matriarch lies dead, murdered by her own son. What dire menace awaits in the flooded catacombs below? Set on the infamous Isle of Dread.

SQ2 – Cesspool of Redrook takes a group of initial adventurers on their first challenge. Your new group wants to be big-time adventurers but don’t really have the money to wander out from the safety of the city of Redrook. As you question your options a wanted poster gives you just the opportunity you have been seeking. Can your party capture the notorious “Briny Pete”?

When a Thayan research expedition returns from the Glacier of the White Wyrm with only two survivors that are reduced to whispering about an ancient pyramid under the ice, perhaps it is time to discover just what scares the life out of a nation of necromancers. The events of DDEP2 Mulmaster Undone resulted in terrible geographic upheaval all around the southeastern region of the Moonsea. Massive landslides, earthquakes, tidal waves, and gnashing tornados devastated the land and the city of Mulmaster was nearly scrubbed from the face of Faerun. Fortunately, these events also revealed previously hidden artifacts—trinkets, mostly—from the ancient Netherese all around the city. The Thayans have long held an interest in the port city and wasted no time in assisting in the rebuilding efforts. They simply asked that a blind eye be turned to their archaeological interests, and in return they would continue to spend their own resources (at no expense to the Mulmasterites or even the High Blade) to rebuild the city, bigger and better than before. It wasn’t long before their interests paid off with the discovery of a research laboratory beneath the Glacier of the White Worm, far to the east of Mulmaster and nestled in the mountains. The Thayans sent a sizable expeditionary force but only two acolytes returned. The visiting Zulkir has found this particularly troublesome, and with the assistance of Rastol Shan, the head of the Cloaks, has arranged for a mercenary force to perform a more pointed investigation of the area. In return the Thayan noble has promised significant compensation. Upon arrival at the dig site, the characters are quick to discover that the laboratory hides ancient and palpable evil. The purpose of the facility can be discerned with careful investigation, and the effect of the still-active fragment of the Dark Obelisk has empowered (some may say attracted) servants of the Worm that Walks. Danger and death await, certainly, though the characters always have the option of running away and living to fight another day…

The wizard Kavorquian is dead. But certain items belonging to his adopted son were in the wizard's keeping at the time of his demise. Now someone must venture into the silent vaults of Kavorquian's stronghold and recover the missing property. Queen's Harvest picks up its story where B11, King's Festival, left off. It can be played as a sequel to that adventure or as a complete adventure in itself. It is tailored for beginning Dungeon Masters and players and contains helpful hints on adventuring and the land of Karameikos. The story develops simply, but ultimately leads the player characters into the nether reaches of Penhaligon's politics to confront Ilyana Penhaligon, mad pretender to the throne! TSR 9261

Igor's Challenge is a 3-4 hour, non-lethal, funhouse style dungeon. It is a self-contained adventure that should fit into any campaign or serve as a one-shot adventure for any group. The adventure can fit a party of any level and size with only minor adjustments. Igor is an eccentric gnome inventor and retired adventurer renowned around the world. He has sent out invitations to adventuring groups to come compete for his latest, greatest invention. The competition will take place a few days hence in the village of Penthill and consist of a race through his specially created challenge-dungeon. Igor's Challenge includes a unique magic item, a small village with locations and NPCs, an encounter and story with a legendary NPC (stat bloc provided), and a 33 room dungeon of traps, tricks, and puzzles.

When an ill-favored orb drops from the sky and devastates the countryside, only the PCs stand between an ambitious wizard, a cult of dragons, and a dark ambition that could bring an army of fiendish wyrms into your campaign world! "The screams became overpowered by the sound of the terrible falling star--a black orb of malign energy hurled from the firmament in the dead of night. In that instant, the village of Rhale was utterly destroyed, reduced to a hollow crater of flaming decay. Now, frightened talk of a dark presence descended from above has taken root, though none can put name to the faceless fear that might reside within this terrible orb." While traveling the countryside, the player characters witness an explosive event - the falling of a meteor into a distant hillside. Soon thereafter, they encounter several mercenaries menacing some refugees. From them, the PCs can learn, that a group of dragon worshippers called the Black Covenant are in the area and intend to use the fallen star for their own nefarious purposes. Upon arriving at the crater, the PCs find that the falling star is in fact a massive sphere of iron with an opening in its side. They enter the sphere to find a small complex of rooms protected by numerous traps and guardians. They also battle several members of the Black Covenant, until they make their way to the heart of the complex, where they discover the source of the Covenant's interest in the Black Egg, they try to use it to create a half-fiend red dragon. The PCs must succeed if they wish to prevent the creation of an army of fiendish dragons. Lot's of monstrous NPCs with class levels and templates for enemies (half-black dragon orc warriors level 7, for example) are used in this adventure. Pgs. 57-78
The winter solstice has come to the Oakfield Province of the Free Coast, and with it an inordinate amount of snowfall. Townsfolk in the Daerns speak of a winter witch that has imprisoned the Yarl of the Frost Giants in Strangler's Deep, and until he is free the winter will continue to ravage the land, killing livestock and freezing townsfolk without the means to buy ever dwindling resources of wood. Can a party from Roslof Keep or beyond come together in time to find the truth to these rumors and set the ecological balance to right? This adventure is formatted to both 1E & 5E gaming rules.

Fresh off the adventure trail your party takes refuge at the small caravan stop at the Village of Tomore. There your party hears a bard tell the tale of “Tarlac Keep” which was laid siege to by two dragons and a horde of humanoids. While the mighty keep fell the subsequent military action was enough to quell further issues. By the end of the tale your group feels that a real estate deal may be in the making for you….