
Drawn by greed or curiosity the adventurers enter the strange ruins of castle of madmen. Terrible monsters stalk the hallways, but the greatest challenge is not merely to survive but escape with their sanity intact. The Palace of Sweet Dreams sends the adventurers on a different and challenging dungeon exploration, where wits and smarts will be key to survival. Those who the masks may seem harmless ... The adventure contains new monsters and magical items to keep your players on their toes and let them discover how magical items can present their own adventures. Originally from the Danish convention Fastaval as part of the living campaign, Hinterlandet. Now presented here for the first time in English. It is an adventure with emphasis on exploration and meeting the unknown.

Decades ago a group of adventurers saved the town of Logan’s Bluff from a humanoid incursion. While the battle ended in a victory, the cost was high when the party lost a valued member of their group. In his honor his comrades and grateful citizens built a tomb over his final resting spot. In the decades since the battle peace has reigned but has recently waned with the advent of more humanoid sightings. Some have wondered if Forstal’s tomb is drawing the humanoids back for revenge.

You wake up in a dark room with a group of friends. You don't know how you got here and your thoughts seem distant, echoing in your mind. The note you find reminds you your mission: retrieve the flower of oshadis and escape this temple alive. Culitsts and traps stand between you and freedom.

This setting was used in the FN series and like the others in the FA series, it was used as an area for multiple adventure opportunities as well as a semi-safe haven. The main community in the area is the Village of Tomore. This community is offered as a free download! With a multitude of side adventures this area helps mid-level adventurers increase their experience point base. Close to this area is the previously published Sunken Temple of Bulu and the Ruins of Tarlac Keep.
/pic572949.jpg)
Stormcrow Company—an unsavory band of adventurers—haven’t been seen or heard from in years. Rumors of their accumulated wealth have spread far and wide, and if they have truly been slain, that treasure is just waiting for adventurers to come and collect it. But is anything ever as easy as it seems? Pgs. 10-28
The Northmen and their allies play hardball. The Northmen are on a rampage, and only the duergar know why. Discover the secret of the iron orb. In the lands of the Northmen, near the city of Tallborg a mysterious relic was uncovered in a mine: a perfect orb of black iron. The orb was taken to the temple. When Ulvmard, high priest of Odin lifted the orb it revealed its true nature. The orb levitated from his hands, floating before him. The orb had changed Ulvmard, bestowing him great powers. The orb spoke to him with flattery and advice. As he became reliant on the orb, its power over him extended, bending him to its will and taking control. It used him to further its agenda: destruction of the dwarven race and restoration of the duergar! Claiming to be acting on Odin's behalf, Ulvmard lead the Northmen to rise up against the dwarves, and ordered raids to pillage the southern kingdoms for the materials he would need to construct a colossal iron warrior to defeat the dwarves. This adventure has viking and norse mythology influences. Pgs. 50-71

A minion of chaos has come to the Prime Material Plane from the void of the Far Realms to terrorize and conquer in the name of its masters. The PCs must act quickly to assemble a legendary artefact powerful enough to weaken the minion so it can be defeated. Pgs. 20-47
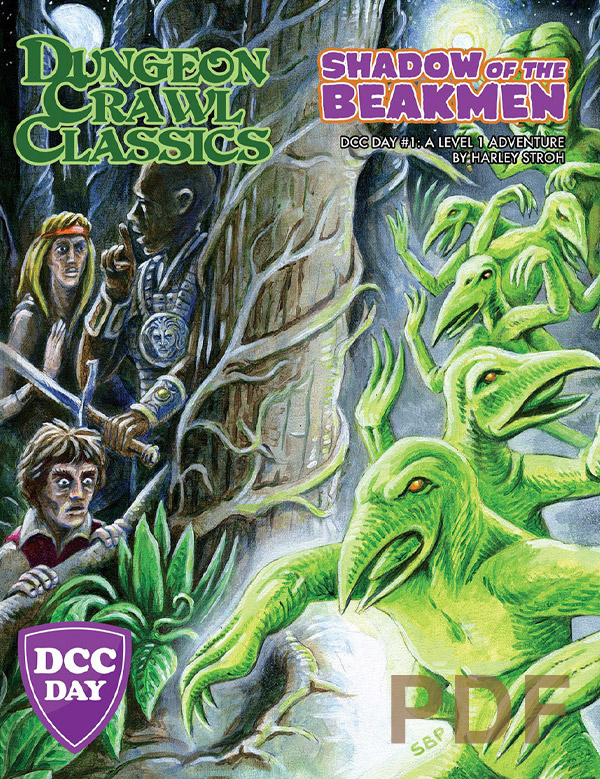
Towering obelisks stab the sky. Monstrous knights with blazing lances prowl the night. Huts burn, and entire villages are taken as slaves to be fed darksome pits. The cries of terror and panic give the horrors a name: the Beakmen have come. But you are no mere peasant or serf, cowering the in the dark. You and your companions are reavers, with bloodied blades and spells wrenched from the dreams of demons. You stride through chaos while others flee, turning your steps towards the great stone obelisk, the source of the beakmen and their alien magics. Whether for the cause of justice or merely to acquire these strange blazing weapons for you own, tonight there shall be an accounting: a blazing brand thrust into The Shadow of the Beakmen.

Dromar is a figure of power all over the realm. He is known as a legendary fighter from centuries ago. He was buried in a tomb along with an artifact of great power. Those who built his tomb were afraid of grave robbers, and so his tomb was created in the frigid, ice-coated lands at the base of a a mountain. The secret of this tomb's location has been passed among a select few people as the years have gone on. Most of the general public do not even believe it exists, but now the ancient relic buried alongside Dromar is needed once again.

Children and a cleric have been kidnapped from a small coastal town by undead creatures who crawled out of the sea. Defend the Captain's Folly Tavern, investigate the mystery, swim through underwater caverns, and fight the monstrous denizens of the deep in order to save the kidnapped civilians! This adventure includes: 4 New Monsters, 4 New Magic Items, A Seafaring Skill Challenge, & Complications for an Underwater Chase Encounter!

The sewers beneath Mulmaster have always been dangerous, with countless stories of brigands, murderers, and worse that lurk beneath the streets of the City of Danger. But those stories pale in comparison to a new threat under Mulmaster, one brought to light by a strange and disturbing corpse recently found. It is up to you to learn the terrifying truth of what lurks below.
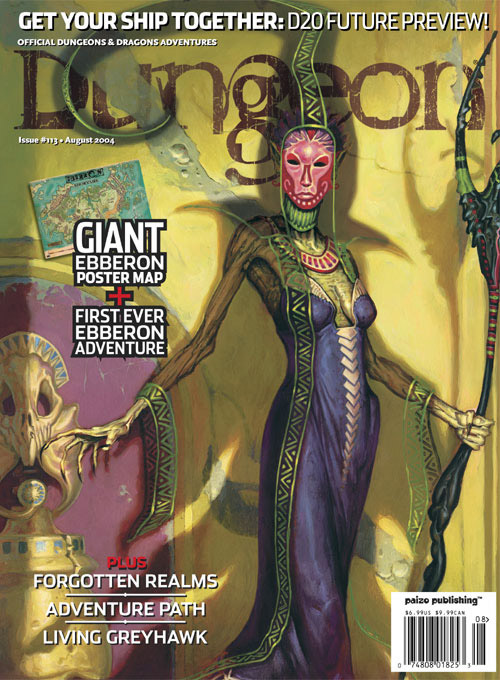
Take your first exciting foray into D&D's newest campaign setting with a deadly exploit in Sharn, City of Towers. Descend into the ruined undercity to face the legacy of the daelkyr, aberrations from the evil plane of Xoriat, and come face to face with the Queen with Burning Eyes! Pgs. 16-32

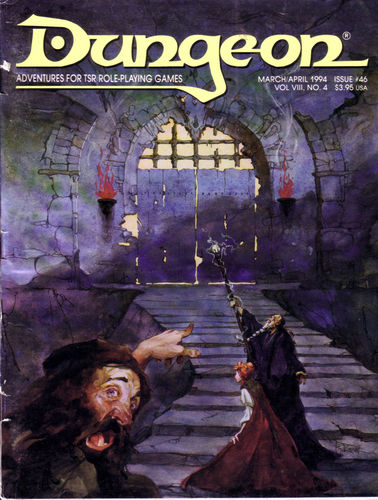
In this scenario, the adventurers pass through magical portals into a series of interlinked chambers. The characters are encouraged by a young scholarly mage to voyage into the Sea of Pastures, to explore a mysterious island connected with a number of recent shipwrecks and disappearances. The island is grassy and windblasted, but eventually the characters discover a stone door leading into a subterranean complex. There, they discover 18 rooms linked by secret passages and magical portals. Most of these rooms have been ransacked by a variety of other survivors, human and monstrous. These survivors are likewise trapped within the labyrinth and are either eking out a miserable existence there or else desperately searching for a means of escape. Also within the building are a number of extraplanar creatures, collectively known as gingwatzim, who can shift between various forms: an energy form (glowing ball of light), an inanimate form (usually a magical weapon), and an animate form (an animal or monster). Eventually the characters may find the exit, and are once again deposited on the dreary islands to await rescue. TSR 9110
In this adventure, designed to last for a 3-4 hour session, the player characters encounter (or are directed to) a mysterious object in the mountains: A strange, silvery disc around one hundred feet across. If they make it past the deadly laser turrets and the very hungry sole survivor who lurks inside the only viable entry, they can explore the derelict craft. They will find several magic items, including a solar-powered laser pistol, as well as evidence of the ship's dead masters: The brain-eating illithid. But with technology comes other ways to stay alive over long periods of time, and the greatest danger is accessed by pushing the only lit button in the entire ship...

The battle against the slavers continues! You end your fellow adventurers have defeated the slavers of Highport, but you have learned of the existence of another slaver stronghold, and you have decided to continue the attack. But beware! Only the most fearless of adventurers could challenge the slavers on their own ground, and live to tell of It! Second part of Scourge of the Slavelords (A1-4) TSR 9040

Kind words and a scrap of paper are enough to lead you off on an adventure into the hills. You and your party have opted to follow the clues leading to a fabled Talisman of Otek lost years ago in an old dungeon. Your benefactor has warned you that some cultists are actively seeking the item and hope that the “heroes in the making” will obtain the item before the nasty fanatics get ahold of it and use it for nefarious purposes!

A desperate ghost, a plea for help, and a forgotten crypt filled with peril and plunder. This is a tale of past conflicts, where blood magic has left a foul and dire aftermath, and time is of the essence. Maps and illustrations help guide you through rugged wilderness to re-discover a tomb lost to all but its denizens - creatures enslaved by an unholy item or awakened by its looming threat. Published by Roan Studio

Having put down a rising of giants, it was discovered that the motivating force behind their depredations was that of long-forgotten evil - the Dark Elves. Determined to seek out these creatures, a body of doughty adventurers mounted an expedition to learn the strength of the Drow and bring retribution to them (DUNGEON MODULE D1, DESCENT INTO THE DEPTHS OF THE EARTH). This module contains background information, a large-scale referee's map with a matching partial map for players, referee's notes, special exploration and encounter pieces, a large map detailing a temple complex area, encounter and map matrix keys, and an additional section pertaining to a pair of unique new creatures for use with this module and the game as a whole. A complete setting for play of ADVANCED DUNGEONS & DRAGONS is contained herein. This module can be played alone, as the second part of a series of three modules (with DESCENT INTO THE DEPTHS OF THE EARTH, D1, and VAULT OF THE DROW, D3), or as the fourth part of a continuing scenario (DUNGEON MODULES G1, G2, G3, D1, D2, D3, and Q1, QUEEN OF THE DEMONWEB PITS). TSR 9020, From 1978

5e Solo Gamebooks presents Citadel of the Raven, the third in our series of solo adventures. Citadel of the Raven is the sequel to Tyrant of Zhentil Keep, but is also playable as a standalone solo adventure. The first solo adventure in this series is titled The Death Knight’s Squire. At 589 entries, you can expect a lot of variety from this solo quest. There are several main paths your character could take, and numerous encounters and options on those paths (including short sub-threads designed for specific classes), making the number of possible adventures practically endless. Add to that the characteristics of your class, and the numerous variegated combat encounters, and it’s safe to say that no two run-throughs of Citadel of the Raven will be the same.

An Adventure for Odysseys & Overlords Standing on a lonely, bare mound in the bottom of a dell full of swirling fog, a castle from the time of the Schism crumbles, forgotten. Inside, treasures—and terror—await. A writ of salvage has been posted in Chandra's Haven: 500 gold coins to the brave adventurers who find Misthollow Castle and secure it for Salamon Castos, a wealthy merchant. Castos claims to be the scion of the noble family which ruled Misthollow and built the castle generations ago. Castos grudgingly agrees to allow the characters to keep whatever they find in securing the castle, though he insists on right of first refusal on anything of value. The Odysseys & Overlords Player’s Guide is available at https://www.drivethrurpg.com/product/275042/Odysseys--Overlords-Players-Guide The Odysseys & Overlords Game Master's Guide is available at https://www.drivethrurpg.com/product/275040/Odysseys--Overlords-Game-Masters-Guide