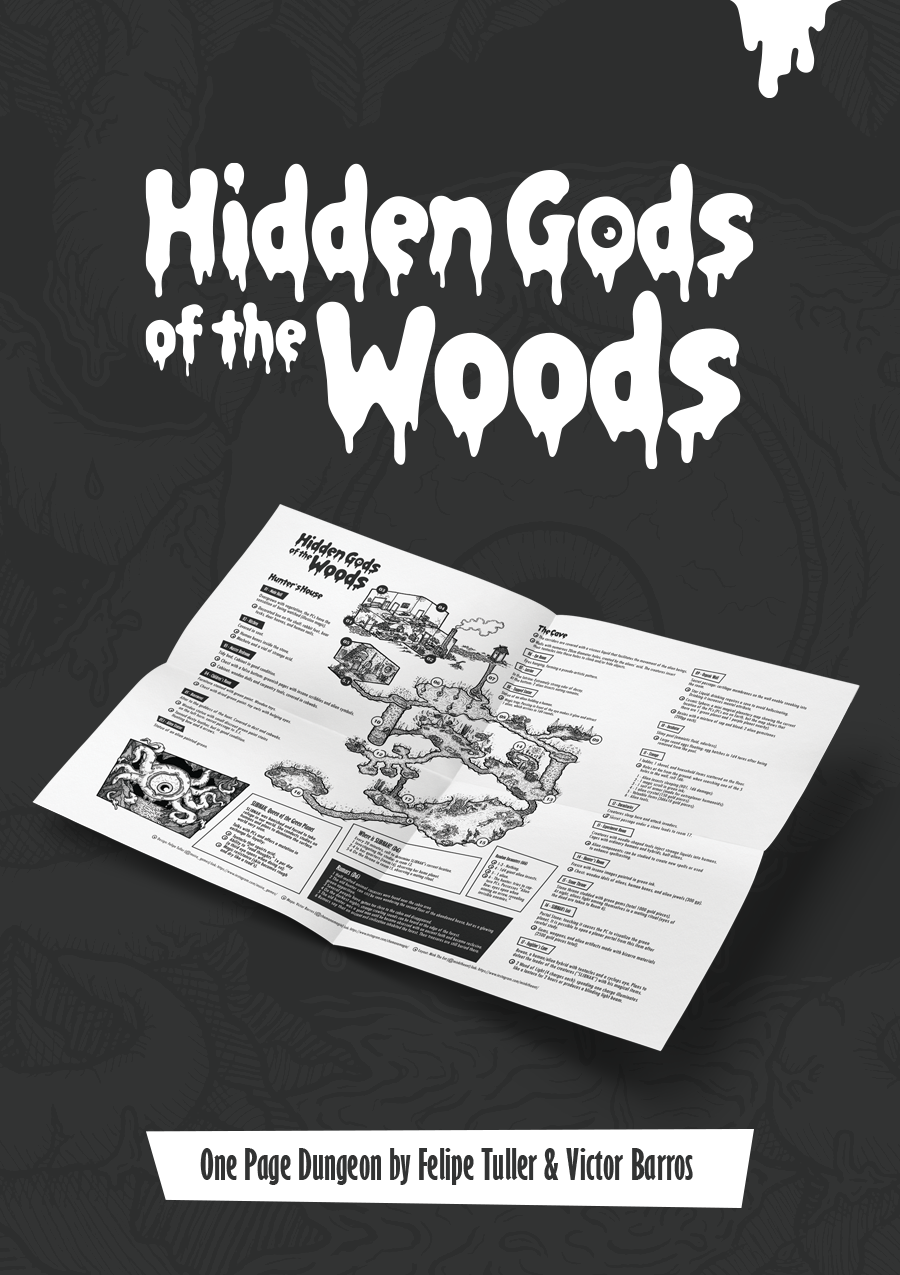
Under the gods' vigilant gaze, shadows stir in the depths. A hermit hunter found an alien jewel in the woods. Since then, he began to have dreams about strange "gods" and became obsessed with them. Little did he know, these “old gods” of his are an ancient evil buried deep in the underground that now reign in the forest! 'Hidden Gods of the Woods' is a system-agnostic one-page dungeon about the exploration of a secret cave dominated by bizarre aliens. Hidden beneath an abandoned cottage, players will unveil the story of a human hunter insanely in love with creatures from another world. Play to discover what the hell is going on there!
Strange things are a-slither in Wolfhill House. The first adventure of The Mere of Dead Men Series! Into the Mere From the magazine: Edging along the eastern edge of the Mere is the High Road, a vital and well-traveled route linking Waterdeep to the northern town of Leilon and, north of that, the city of Luskan. Over the past several months, the trade toad between Waterdeep and Leilon has been plagued by monsters from the Mere of Dead Men. Caravans report brutal attacks by lizard men on catoblepas mounts, yuan-ti, gargantuan bullywugs and will o' wisps. Sir Justin Melenikus, a Waterdhavian knight and paladin of Helm, has grown weary of these attacks and offered his services to the city, offering to hire adventurers to deal with the problem. Pgs. 10-27
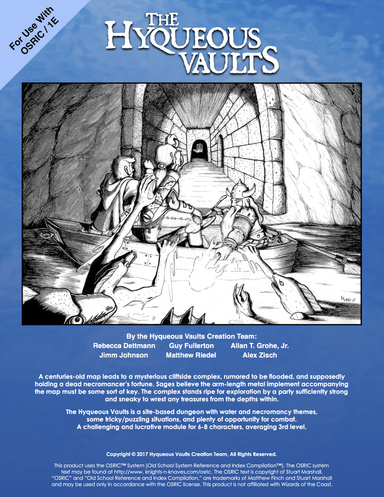
The Hyqueous Vaults is a site-based dungeon with water and necromancy themes, some tricky/puzzling situations, and plenty of opportunity for combat. A challenging and lucrative module for 6-8 characters, averaging 3rd level. A centuries-old map leads to a mysterious cliffside complex, rumored to be flooded, and supposedly holding a dead necromancer’s fortune. Sages believe the arm-length metal implement accompanying the map must be some sort of key. The complex stands ripe for exploration by a party sufficiently strong and sneaky to wrest any treasures from the depths within. Written in celebration of OSRIC’s 10th Birthday.

The Hag's Hexes is a 66 page guide designed by Dungeon Masters Guild luminaries like JVC Parry and Janek Sielicki alongside rising stars and old stalwarts like Matt Butler, Matthew Gravelyn, and Tim Bannock. It was created with one thing in mind: to make hags more than the sum of their (often meager) Challenge ratings, giving them the mechanics, roleplay potential, and weird magic that can inspire campaigns, lay low kings and warlords, and potentially ensnare unwary Player Characters into campaign-changing curses or long-term bargains that force them into terrible moral quandaries! Split into five chapters, the authors have provided everything a DM needs to terrify their players for years to come. The Bestiary features over a dozen monsters; some are new hags, some are their minions or even their mobile lairs, and one of them -- the Shaitan AKA Desert Hag -- was featured in Monsters of the Guild! Bargains & Curses is a chapter filled with ideas that can kick-start campaigns, threaten valued NPCs, or put Player Characters' very existence and morality at stake. Chapter 3 includes two dozen items of wonderment, weirdness, and dread, ranging from fairy tale-inspired items of whimsy to terribly cursed items of horror. Chapter 4 is titled "Filthy, Vile & Downright Dirty" and provides dozens of roleplaying tips to make hags come alive, new mechanics inspired by and expanding on Volo's Guide to Monsters (coven spell lists, aunties, grandmothers, alternative coven members), and ends with useful combat tactics for each of the hags from the Monster Manual and Volo's Guide, as well as tactics for covens. Finally, Chapter 5 presents five encounter groups (with sub-encounters) to give you quick story seeds and monster lists that you can put together in minutes to create a single encounter or to inspire a full campaign, and ends with three full-length adventures -- each with 3-5 encounters -- that showcase many of the new monsters, rules, magic items, and so on that appeared in earlier chapters. Each of these adventures comes with an encounter map meant to act as inspiration for hag lairs, and they include useful mechanical ideas for terrain effects and descriptive keywords listed directly on the map for added inspiration and easy customization! Designed by Tim Bannock. Written by Matt Butler, JVC Parry, Janek Sielicki, and Tim Bannock. Edited by Matthew Gravelyn and Tim Bannock. Cover Art by Elena Naylor. Cartography by Tim Bannock using Inkwell Ideas' Dungeonographer (Dungeonographer is copyright Inkwell Ideas). Layout & Graphic Elements by Elena Naylor with Tim Bannock. Interior Art by Arcana Games, Bruno Balixa, David Lewis Johnson, Dean Spencer, Earl Geier, Filip Gutowski, Jacob E. Blackmon, Joyce Maureira, Petr Kratochvil, Jayaraj Paul, Brian Brinlee, and Wizards of the Coast.

They sure don't make lawful allies like they used to. A question of morality versus ethics - made lethal. Pgs. 17-34

Riddled with veins of precious ore and gem, the Earthspur Mountains to the west have long been a valuable resource for anyone able to mine them. One such mine has gone silent and the only thing more concerning than its long overdue shipment is the fate of the members of the Soldiery sent to discover what has happened to the mine’s workers. Though the mine lay in a region of the Mountains once claimed by a clan of reclusive dwarves, the Ludwakazar clan wouldn’t be so bold as to violate their long-standing peace with Mulmaster. Or would they?

The Pathfinder Society seeks the ancient ruby ring of the salamander and it falls to a team of Pathfinders to find it. Last seen in the Tri-Towers Yard, a once elite academy for the youth of Absalom, the ruby ring is now lost in the Drownyard, all that remains of Tri-Towers after it was destroyed a decade ago in the great quake. The Pathfinders must risk the strange black ichors and salty brine to find their prize—will they risk their very souls as well?
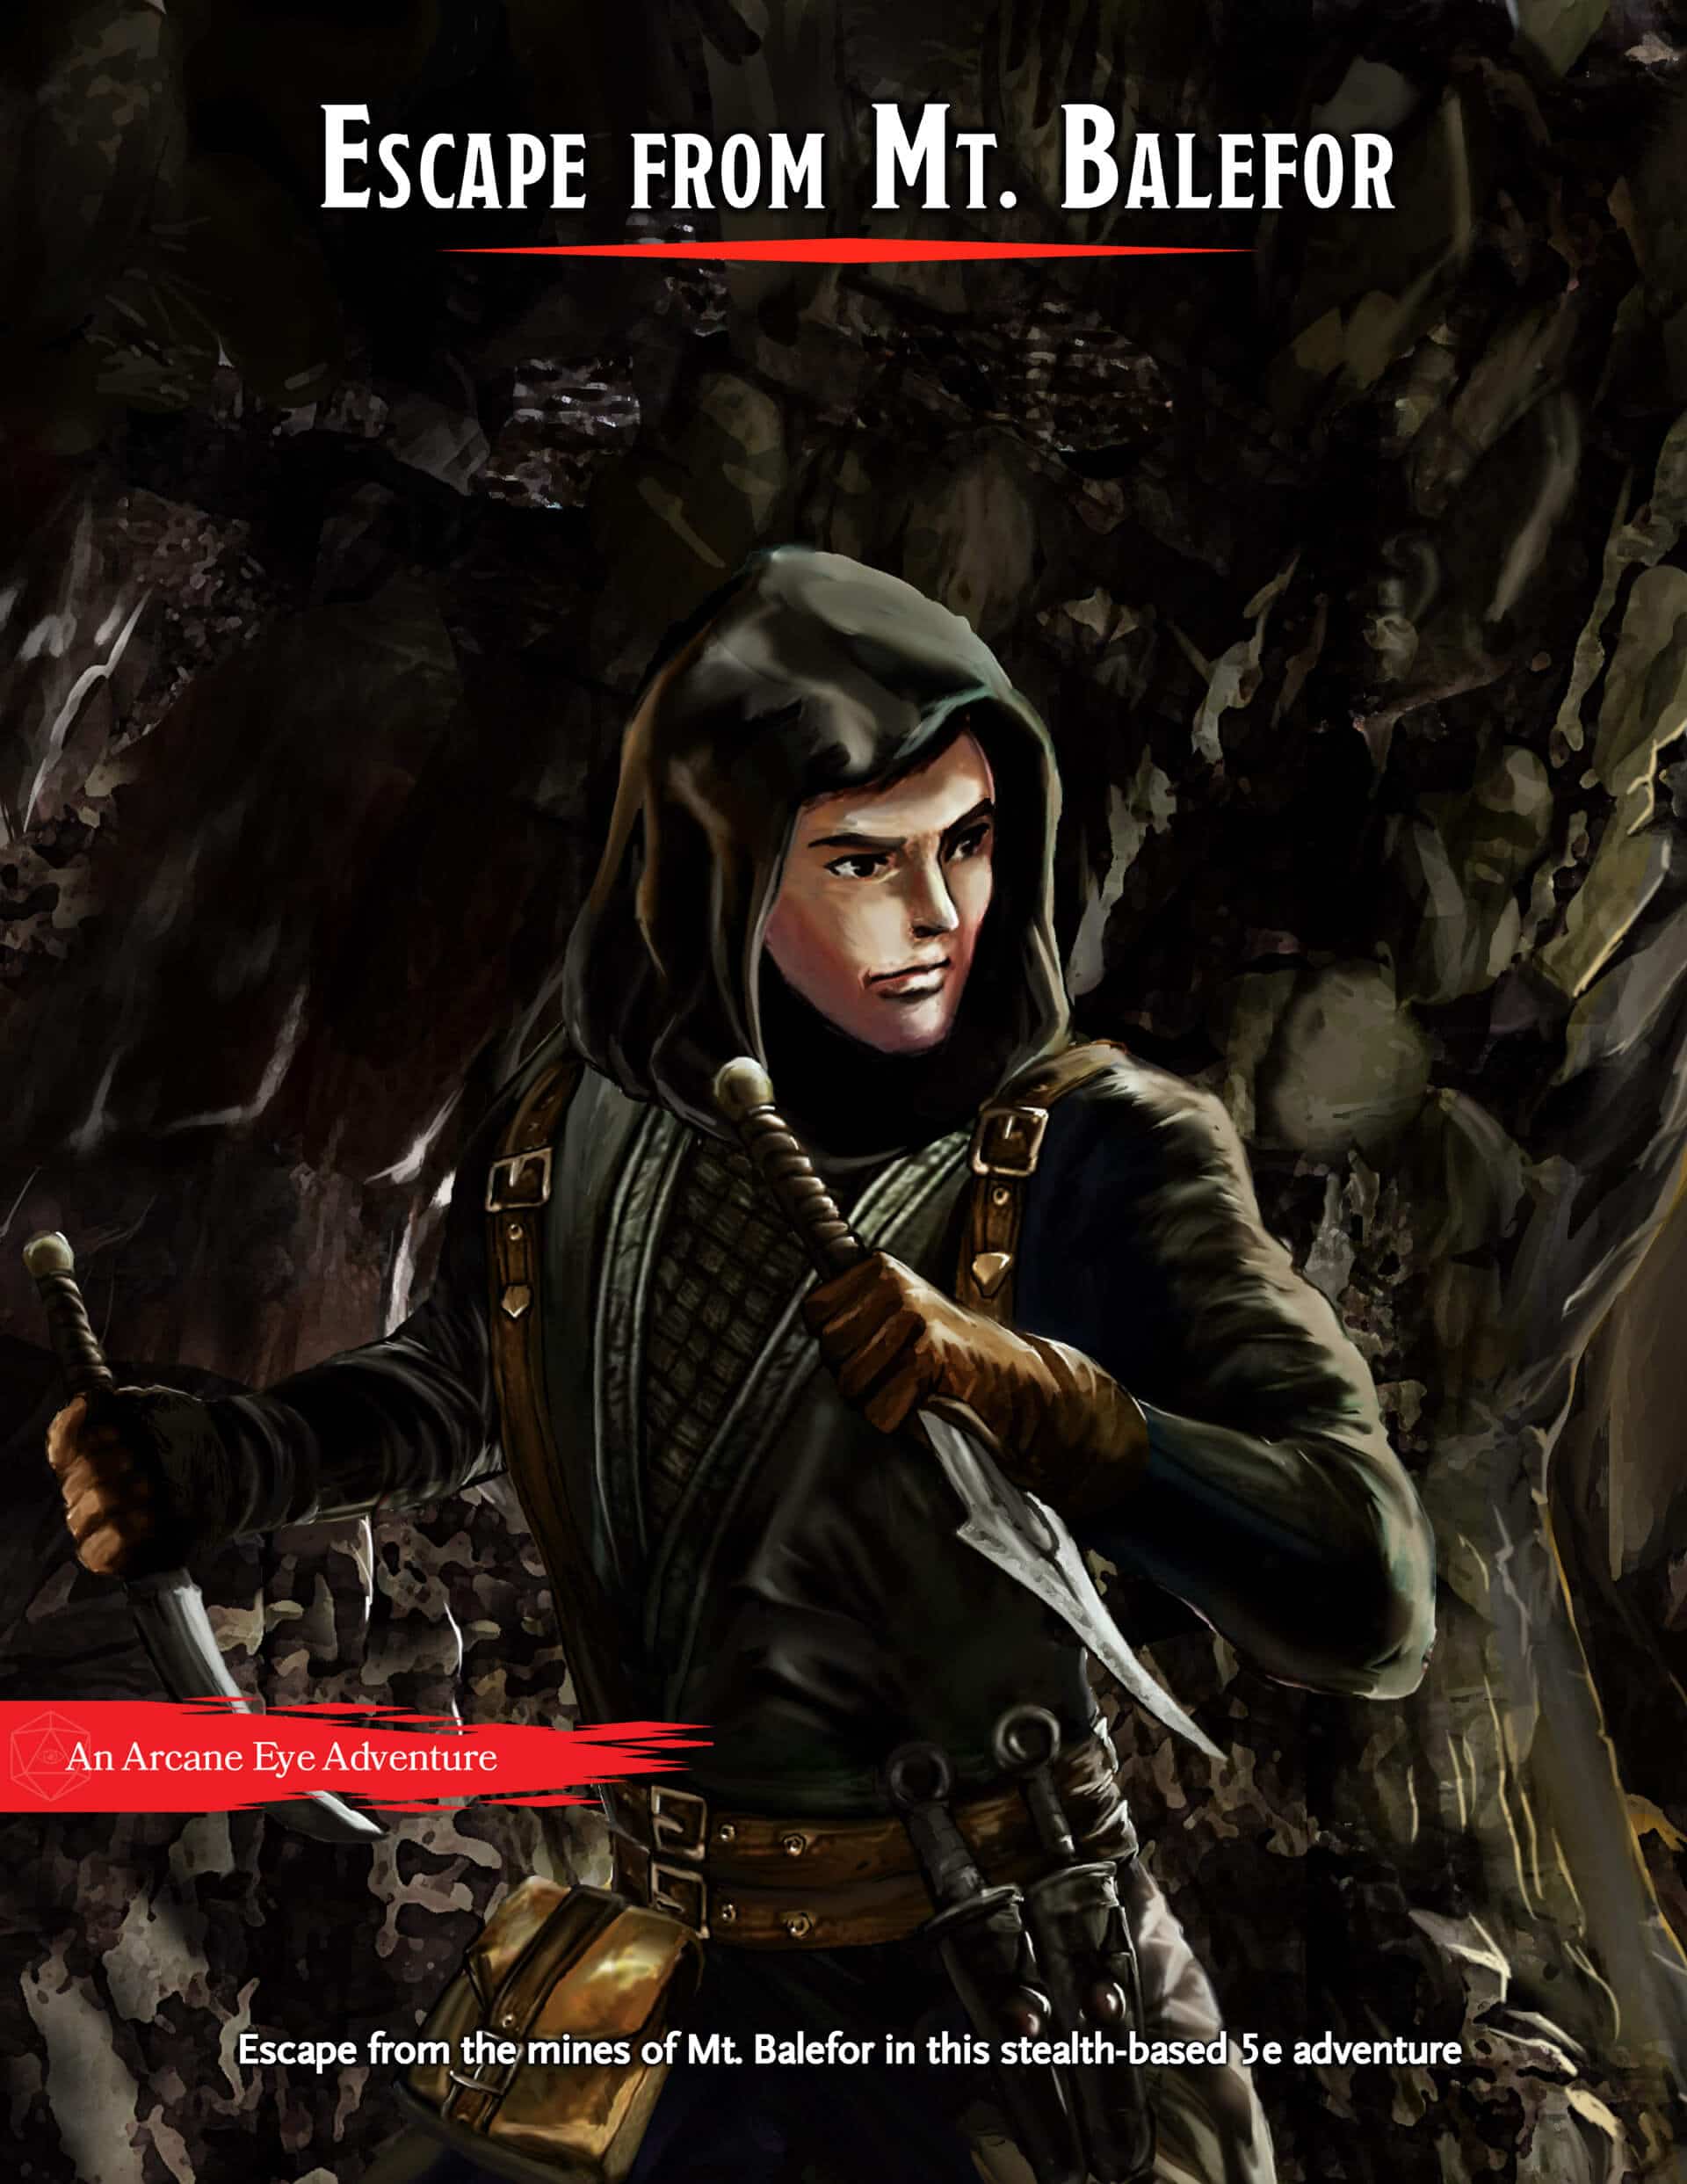
What’s Included Escape from Mt. Balefor is a self-contained 8-10 hour adventure for three to five 5th level characters. This premium module contains a full three-part story, battle maps, and NPC stat blocks. Your Mission Your party of Wood Elves will start in the mines and have to sneak and backstab their way to freedom. There are a number of chances to choose your path, whether you plan to avoid fighting or want to kill every last High Elf in the mines. There will also be a number of ways to affect the world around you if you choose to continue the story after the party escapes from the mines.

Jungle, tomb rading style adventure that sets the group to a new locale, with it's own eco systems and cultures. Exploration adventure, with glint of gold as a catalyst. The adventurers accidently find a map, which leads them to this unknown land. "Can you unravel the map's mysteries and find your way to the promised treasure? Or will your dreams end only in death and an unmarked grave far from home! Only the bravest characters of levels 3-5 will live to discover that all that glitters is not gold, but much, much more!" TSR 9126

A fiend lurks among the Black Blade goblins. A shapeshifting barghest fashioned by the General of Gehenna to exact revenge on all goblin-kind. It’s aim: to kill as many goblin leaders as possible… A masked goblin approaches the party asking for help. Two tribe leaders are dead. But a rival for chief has control of the crime scene. Will the party discover the barghest among the goblin ranks? Can they stop this imposter before it strikes again? Adventure Overview The adventure’s story is spread over 4 parts and takes approximately 4 hours to play. The adventure begins with a Call to Action scene. Part 1: Goblin Politics. Krill sends his emissaries to implore help from any strong intermediary. The party is asked to investigate the murder of Thrawn in Dringly’s lair. This is Story Objective A. Part 2: The Opposition. Gain entry into Dringly’s lair and investigate the murder of Thrawn. Gather enough evidence to find the killer. This is Story Objective B. Part 3: To The Lair! Now that the players have determined the barghest (Yeep) is to blame, they need to get to Krill’s lair quickly as he is in imminent danger. This is Story Objective C. Part 4: The Barghest.When the players arrive at the lair, they need to get to Krill and expose and defeat the barghest. This is Story Objective D. Adventure Background A barghest named Yeep has begun its onslaught of attacks against the Black Blade goblins. Starting with Chief Gnar, then his second in command Thrawn, the barghest is moving methodically down the line of command. Krill is now chief. But he has some problems: Two leaders of the Black Blades are dead. Who killed them and why? Is he next? Dringly, the next in command, has decided to take his lair for himself, declaring himself Chief of the Black Blades. Who are the Black Blades? The Black Blades are a tribe of goblins in the local area. They are known for dipping their blades in a dark black substance. It is rumored these blades are poisonous. The Black Blades regularly attack passersby on the road to rob them. The Black Blades have two lairs, one run by a chief who leads the whole tribe, and another overseen by a boss lieutenant. The Black Blades have a well-established pecking order which is how Krill stands to become chief. The next in line is Dringly, who has also declared himself chief and wants Krill dead. Krill suspects that there is something suspicious about two leaders being killed within a day of each other, but he has already burned Gnar’s body without any investigation. He needs to investigate the body of Thrawn, but it is in Dringly’s lair. Krill wishes to avoid direct confrontation with Dringly at the present for three reasons: 1) Any violence would only kill his own tribe members and further divide the lairs. 2) He believes there is still hope for negotiation to reunite the Black Blades. 3) He believes that if he were to attempt negotiations himself, Dringly would kill him. This adventure features: Two maps. Ready for your favorite Virtual Tabletop. A full color pdf. A black and white pdf. One custom monster, a reprint of barghest, all others available in the Monster Manual. Four hours of entertainment involving: roll playing a goblin bard, investigating a murder scene, tracking down a barghest before it strikes again. Applicable to any setting.

A Maze of Tragedy and Mystery. While investigating a mysteriously abandoned mansion, the adventurers stumble into a tangled web of kidnapping, theft and murder. From a mansion with a deadly secret to the blood-stained waves of the high seas and an ancient, cursed citadel, the adventurers face a succession of deadlier and deadlier foes, with the rescue of innocents and the recovery of fabulous treasure as their ultimate rewards. A Family Affair includes a fully-developed town setting, numerous unique NPCs and a wide range of challenging opponents.

"The Warlock's Crypt" is a fext and noctiny lair suitable for four 9th-level characters. This adventure can be completed in a single session. An ancient warlock king known as the King in Silver, whose patron was Death itself, knew he was growing old and would soon die. The aging king pledged the souls of his two sons, the Black Prince and the Red Prince, to Death in exchange for his own eternal life. As the final worlds of the pledge pass his lips, the old king collapsed to the ground, dead. Elsewhere in the castle, the two young princes died suddenly in their sleep. All three were interred in the royal crypt within a nearby burial mound. ultimately, the king got what he asked for - he and his suns were returned to life as fext in the service of Death itself. When the fext awoke and climbed out of their coffins, they were confused because it seemed they were trapped within the small royal crypt. Then, the King in Silver discovered a secret door leading to a hidden stone stair that descended into a complex of ancient tunnels and chambers. At the far end of the complex, the fext discovered a second set of ancient stone stairs leading up through a shaft to a hidden exit on the surface. The three fext now lurk within the lower chambers, doing their patron's dark bidding. When commanded, they creep forth from the crypt to spread death during the dark of night.

A wizard's hideous transformation spells trouble for the kingdom of Nyrond. A D&D adventure for 5th-level PCs but adaptable for levels 2-8.

Retrieve the bones of a dracolich to save the life of a paladin. The epic conclusion of the Mere of Dead Men series. Set in the Mere of Dead Men region of the Forgotten Realms.

The dwarves of these mountains are a good and trustworthy folk, friends to both men and elves dwelling in the region. But their ancient homeland hides many secrets that they might otherwise wish forgotten. Recent rumors have surfaced that a long lost dwarven hall has been discovered. There are whispers that the place was once the center of an evil dwarven cult, though the dwarven authorities will say nothing of it. A recently acquired treasure map points to an ancient dwarven tunnel complex. Could this be the place? Are these the dangerous halls that were once the home for a dwarven cult worshipping an entity they called the Earth Dragon? Advanced Adventures #43 The Warrens of Zagash is an OSRIC(tm) module designed for adventurers of 6th to 8th level.

This uniquely styled adventure involves players starting out with little information about the characters they will play. No characters are prepared in advance. This is a nonstandard method of play. Player characters only know their names, ability scores, race, and background. This adventure was created to give the feeling we got as kids just starting out with D&D. It will be great for new players and seasoned vets alike. Who is in charge? Who is torturing the players? Let the chaos begin…

North Sordack Valley is set northeast of Commerstance and was originally slated for the Filbar Dual series but the players didn’t go in that direction. This area is filled with individual challenges synonymous with the Filbar Area series. This ‘sandbox’ style adventure has multiple different encounters can be used in a variety of ways. The general setting allows you to customize it for your own campaign! This adventure setting was designed for 1st/2nd Edition AD&D for the Filbar Dual Campaign for various level groups of adventurers. This adventure is easily adaptable to most any game and system. Save yourself some time and utilize it for several one shot adventures or a continuing campaign setting! Don’t forget to follow us on Twitter @FilbarRPG for extra information.

The heroes arrive at the eponymous Keep on the Borderlands, a fortress on the edge of civilization built to stave off the chaos and evil of the wilderness. Using it as a home base, a party can make forays into the surrounding wilderness, encountering monster and marauder alike. The centerpiece of the adventure is certainly the CAVES OF CHAOS, a network of tunnels and caverns found in the walls of a nearby but isolated ravine. It is here that hordes of evil humanoids have made their home. Through combat and negotiation, the players can try to explore and map out these caves, perhaps with the aim of accumulating valuable treasure or even cleansing the land of evil creatures. However, even the Caves are not all they seem. Beyond the goblins and kobolds lurk dark horrors: cults dedicated to fiendish chaos and a Minotaur's enchanted labyrinth await the unprepared adventurer. But for the hero who is brave, clever, and fortunate in equal and sufficient measure, great treasures and glory await in the Caves of Chaos that lie beyond the Keep on the Borderlands! TSR 9034

FN11 – The Amulet of Dorian Beldor begins as a race to catch a fugitive from justice and quickly escalates into a much larger problem. With over 40 pages and 8 different maps this adventure has your party stumbling onto a former city covered by a rock slide now inhabited by a large group of humanoids. Buried deep within the complex is the ancient relic that controls elementals and will be quite useful as the Filbar North series winds down.

*THIS IS A D&D NEXT/5E PLAYTEST ADVENTURE* Imani, a Turmishan wizard and former adventurer, seeks the aid of heroes to infiltrate Dretchroyaster’s lair and recover the Diamond Staff of Chomylla—the key to powerful magic and wisdom locked away for thousands of years. In addition to his own sagely interest in the lore of lost Uvaeren, Imani recognizes the dangers of such powerful magic falling into evil hands. The dracolich has secured the staff in his lair’s cen- tral chamber, using ancient wards of protection that can be bypassed only by four artifact-idols once belong- ing to a cult of Bhaal. Each group of adventurers enters the dungeon through a different section of the dun- geon—a forgotten temple of Bhaal, a vast underground lake, a troglodyte village, or Dretchroyaster’s vaults. Dretchroyaster’s lair is no simple set of caverns and ancient ruins. It sits atop a source of great power and energy, which the dracolich and his Cult of the Dragon allies hope to use to unlock the secrets of the staff. Only by undertaking a unified assault against Dretchroyas- ter’s lair can the adventurers hope to recover the Diamond Staff and survive the dracolich’s fury. The adventurers must make their way through the lair and recover the Bhaalite idols that will help unlock the Diamond Staff, all the while dealing with the lair’s creatures and avoiding the dracolich as he pur- sues intruders. Entering the Chamber of the Diamond Staff, the heroes must overcome its magical wards and claim the staff before being slain by the dracolich and his servants.