A strange journey through a living cavern. A request for help to rescue a mining crew leads a group of adventurers into a cave that has seemingly come to life, gripped by a melancholy wave of sadness and memory. In dark caverns where mushrooms walk, vines dance, walls watch, and stones speak, will your band of adventurers become heroes? Or will they be lost within the Mines of Memory? Mines of Memory is a short, 2-3 hour adventure for characters of levels 1-3. It is a delve into a cavern system that has become a Psychic Resonance environment, awakening the caves themselves. PCs will enter to rescue the miners, find the source of the mine’s awakening, and bring peace to a noble creature trapped in its own nightmare.

Chapter 2: The Sinister Secret of Saltmarsh In this version of the adventure, the characters find navigational charts and logs aboard the Sea Ghost that implicate its crew as slavers. Ned Shakeshaft is a Scarlet Brotherhood agent. He makes an attempt to foil the characters, but his true intent is to surrender and implicate Gellan Primewater as a key villain. The distraction afforded by the lizardfolk and the looming sahuagin threat gives the Scarlet Brotherhood the opportunity to bring more agents into town. posing as mercenaries brought in by Anders to protect the town. If Gellan can be removed from the council, Solmor might ask one of the characters to take his place.
An Adventure for 0-Level Characters Remember the good old days, when adventures were underground, NPCs were there to be killed, and the finale of every dungeon was the dragon on the 20th level? Those days are back. Dungeon Crawl Classics don’t waste your time with long-winded speeches, weird campaign settings, or NPCs who aren’t meant to be killed. Each adventure is 100% good, solid dungeon crawl, with the monsters you know, the traps you fear, and the secret doors you know are there somewhere. For the past few years, an ogre that lairs in a cave near the wilderness town of Dundraville has demanded tributes of ale and supplies. The villagers were happy to comply, lest the brute attack them or destroy their property. But recently, the ogre changed his demands. Now he wants gold, building supplies — and captives! When the ogre walked into town only to have his request denied, he flew into a rage. The brute dragged two townsfolk off to his cave, to be eaten for sure! The villagers have no heroes to protect them — so someone must rise to the challenge! Six determined townsfolk have taken justice into their own hands. Can these village commoners defeat the ogre in his own lair before their fellows are eaten?
Beware All Who Enter These Benighted Halls of Stone. Within Lies No Solace Nor Any Comforts of Home. Toiling For Our Crimes We Must Dig Where We Dwell, With No Freedom or Mercy In Our Vast Stony Hell. Stonehell Dungeon is a classic-style megadungeon, filled with enough monsters, traps, weirdness, and treasure to keep you gaming for a long, long time. Explore over 700 rooms, encounter more than 40 new monsters, and discover 18 mysterious magical items -- and that's just in the first book! Stonehell Dungeon: Down Night-Haunted Halls details the first six levels of a megadungeon intended for use with the Labyrinth Lord™ role-playing game, but is easily adaptable to most early versions of the original fantasy role-playing game and its retro-clones. Featuring art by J.A. D'Andrea, Lee Barber, Marcelo Paschoalin, and Ralph Pasucci, Stonehell Dungeon gives the game master all the necessary information to run his players through the dungeon, while offering enormous opportunities to customize and expand on the site. The monsters of Stonehell Dungeon are waiting to meet you. Won't you come in? Published by Three-Headed Monster Games.

Important: The adventure is 1e but it has monster conversion notes for D&D 4th edition The town of Highport, once a human community overlooking Wooly Bay from its perch on the northern coast of the Pomarj, fell prey to hordes of humanoids swarming out of the jungle-covered hills surrounding the settlement. Though the orcs, goblins, kobolds, ogres, and gnolls razed much of the place in their ferocious rampages, the smoldering ruins they left behind soon became a new kind of community, a place of trade between the humanoid “locals” and the unsavory human traders who have no compunction about doing business with them. Slaves are a commodity in ready supply in Highport’s market, since many pirates raid up and down the coast of the bay, putting fishing villages to the torch and filling their holds with captured refugees. Slavery has become a thriving business in the town, and rumors abound of a cartel of Slave Lords who run things from behind the scenes, filling their coffers in secret from the buying and selling of human chattel. The trade has become so prolific that the good folk to the north have grown tired of these depredations and decided to fight back. Forces of righteousness and honor have recently descended upon Highport, some openly and others in secret, in various attempts to destroy the machinations of the Slave Lords and abolish the abominable enterprise that has taken far too many loved ones from home and hearth. One such doughty servant of goodness is Mikaro Valasteen, a cleric of Trithereon. Mikaro slipped unnoticed past the crumbling walls of Highport with a single mission: to rescue and transport as many slaves to their freedom as possible. Mikaro and a handful of faithful assistants located a number of escaped slaves—as well as rescued a few more not sufficiently restrained and guarded—and shepherded them through the gates and beyond the reach of their humanoid tormentors, returning them to their lands and homes. This covert freedom brigade enjoyed remarkable success early on, since the servants of the Slave Lords were often lax in their vigilance and sloppy in their efforts to prevent loss of the “merchandise.” After one too many shipments never made its destination, the humanoids stepped up their security and the normal channels of escape from Highport closed to Mikaro and his team. He cannot risk exposure by smuggling the freed slaves through the gates as merchandise any longer, since shipments of goods are now regularly stopped and checked. No longer able to free the slaves in that manner, Mikaro began hiding his charges in an abandoned villa in a particularly rundown part of the town. Although they are safe for the moment, their numbers have grown unmanageable, and the priest fears it is only a matter of time before someone slips up and brings slavers to their doorstep. Ever more desperate to find a new means of escape from Highport, Mikaro has started work on a plan that is both daring and dangerous. He intends to use a series of old sewers coupled with natural caverns running beneath the town as an escape route to the sea beyond the walls. But he needs someone to clear out the creatures and pitfalls he knows lie within. Pgs. 2-27
Bringing Diablo II to the tabletop. The legendary Diablo and Diablo II computer games come to life with the release of the tabletop Diablo II: To Hell & Back roleplaying adventure. All a player needs is the Dungeons & Dragons(r) Player's Handbook (0786915501-8/00) to accompany the Diablo II game. Every level and all 4 acts of the computer game are represented in the tabletop mega-adventure, which will also include 64 pages of monsters, information for levels 1-30, and over 60 maps!

With their first adventure under their belts, the newfound associate Gelbo Green, needs to get his alchemist shop back in order AND find some needed supplies for his potion business. As he can’t do both he has asked the party that saved his shop if they would be interested in an ingredient search. He has offered a comfortable sum and has described the items he is need of. Will your party help the Gnome out?
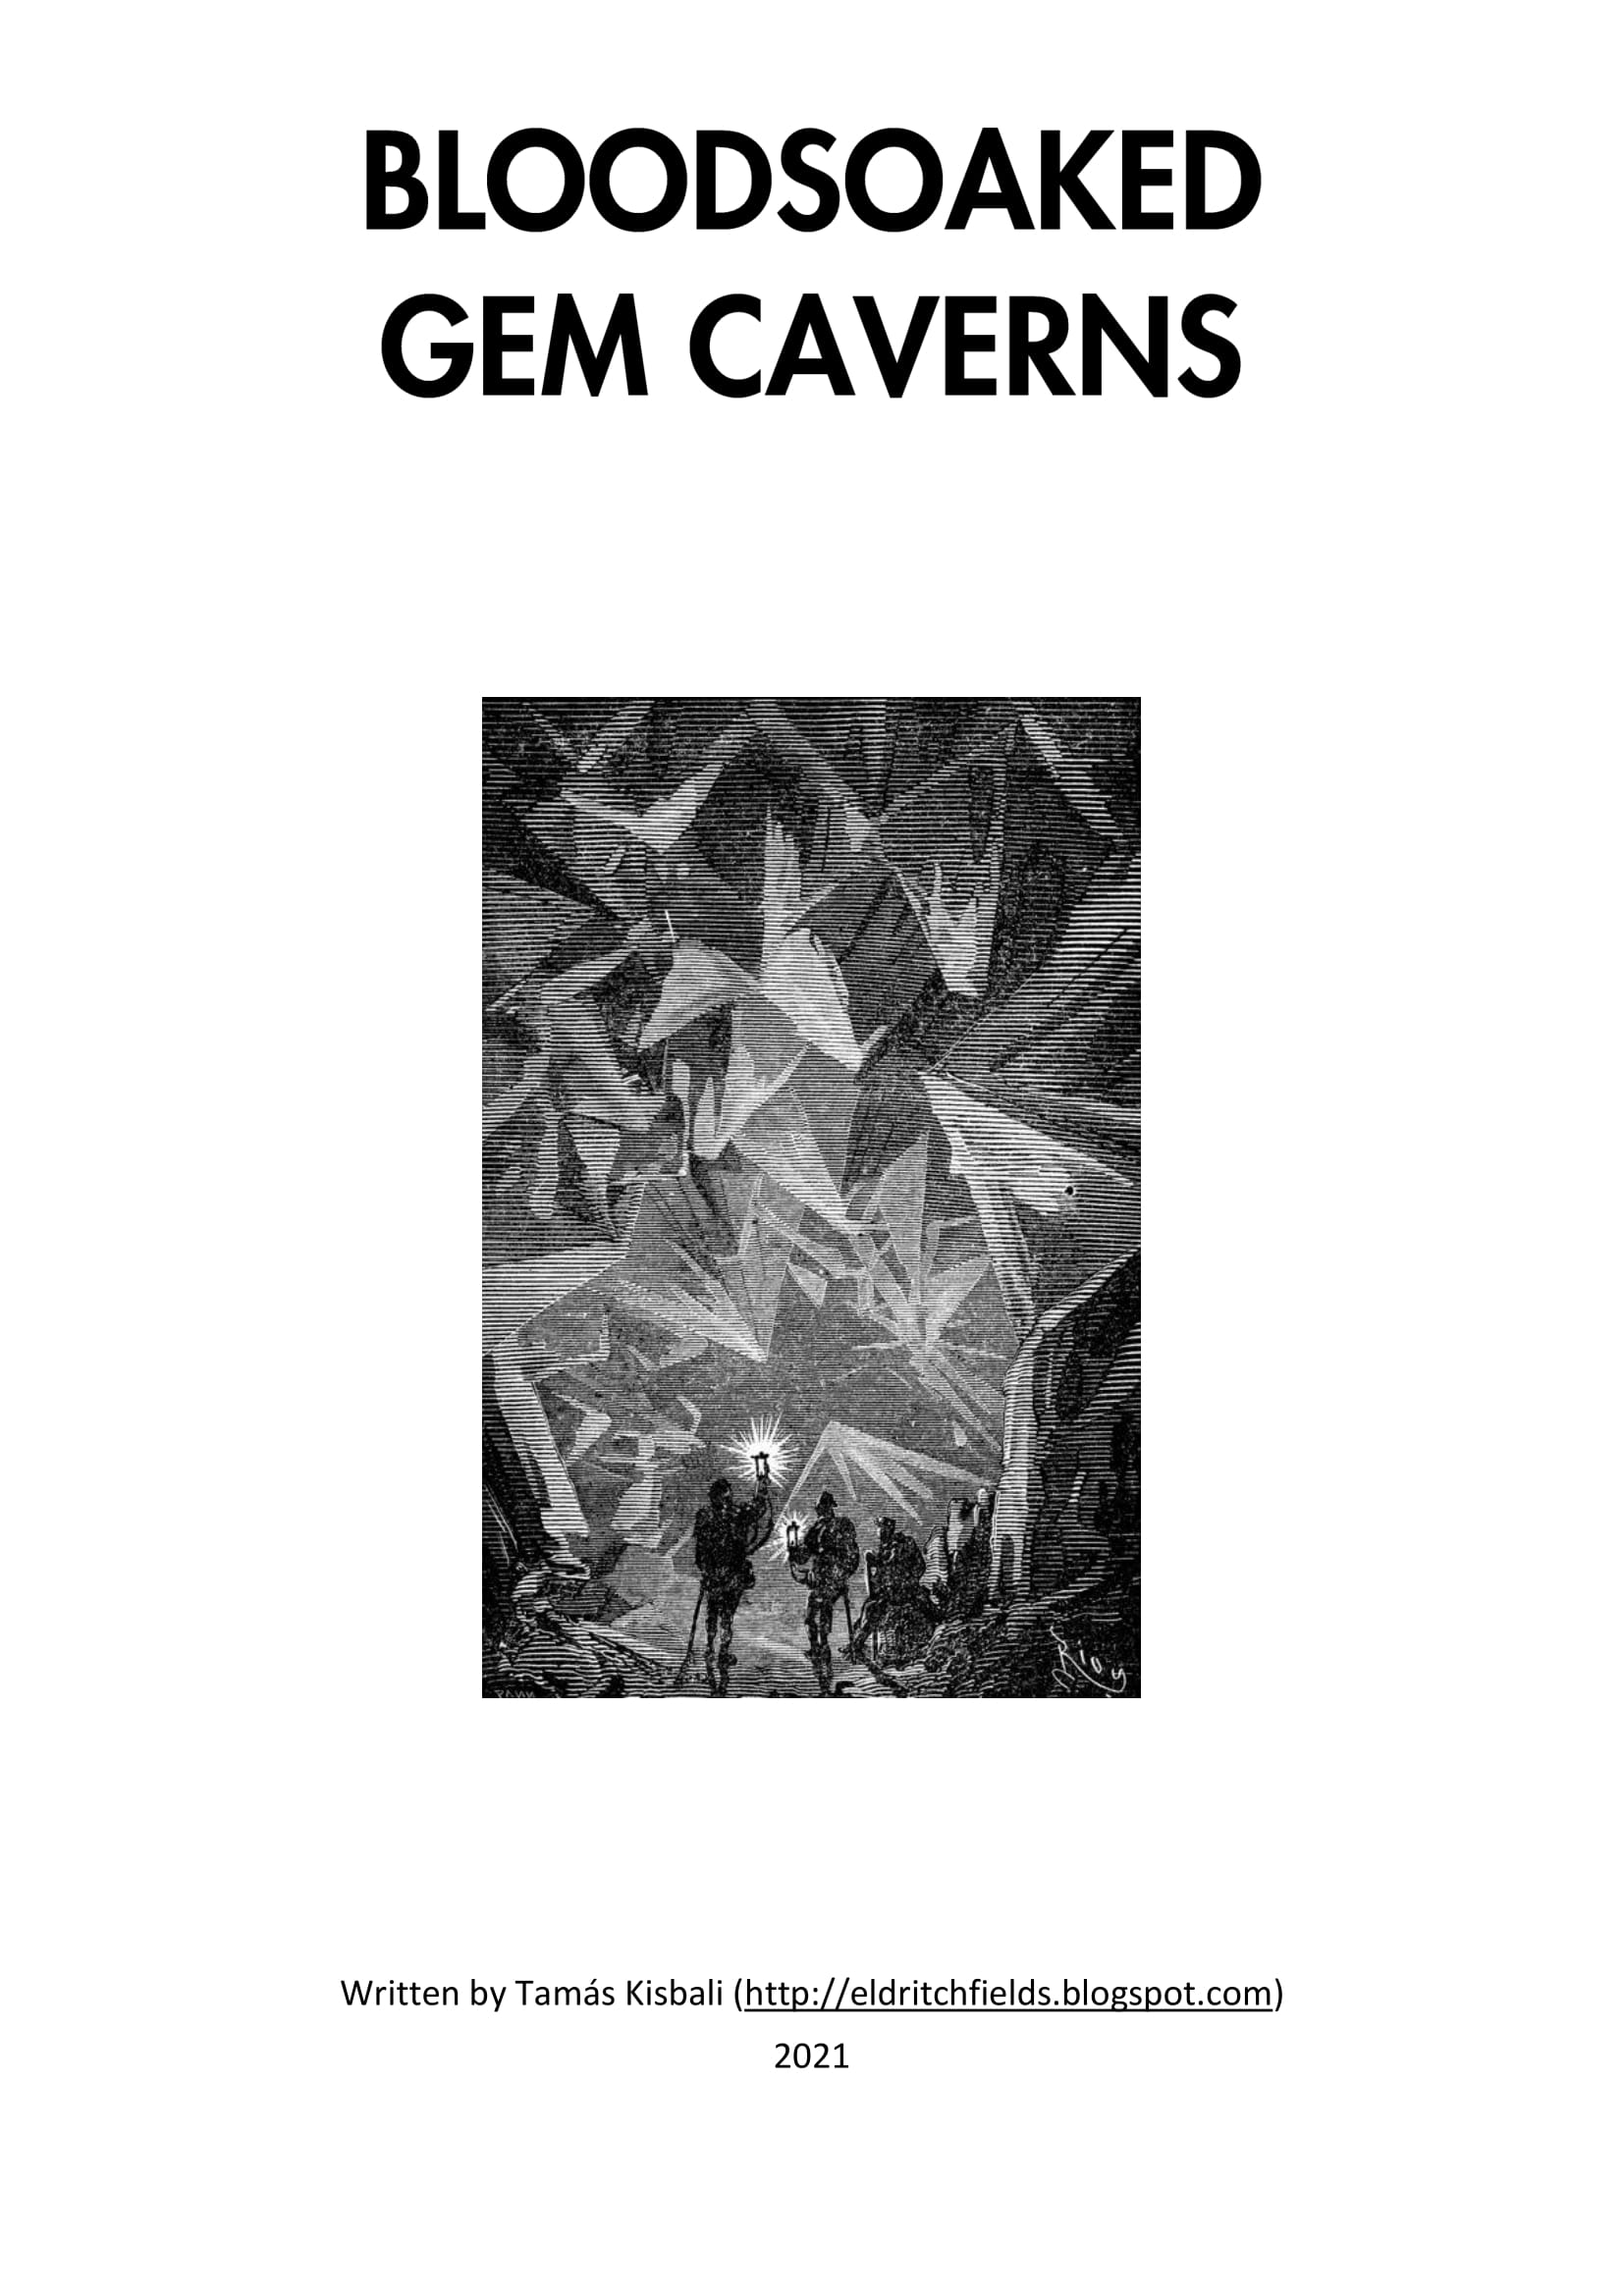
An old-school dungeon adventure! Explore (and possibly claim and re-open) an abandoned gem mine. 8 pages, 16 rooms, weird monsters, eerie situations, arcane technology and iridescent jewels! For use with old-school or OSR RPG systems.

Madness in Freeport, the final part of the Freeport Trilogy, details the final confrontation between the PCs, the Brotherhood of the Yellow Sign, and Sea Lord Milton Drac. In Part One, the Drac invites the PCs to the Grand Lighthouse Ball. Careful investigation can reveal the secret purpose of the lighthouse. In Parts Two and Three, the PCs must recover a powerful artifact to thwart the Brotherhood's plans. They must pass through an infamous pirate's hidden caves, then search a sunken temple of the serpent god Yig. In Part Four, the heroes must enter the Grand Lighthouse, AKA Milton's Folly, in a race against time to stop the Brotherhood's world-shaking master plan from coming to fruition. (Bibliographic note: This adventure was originally written for v.3.0, and later updated to the v.3.5 rules. The revised versions of Death, Terror, and Madness in Freeport were reprinted in an omnibus edition, along with two shorter filler adventures, as The Freeport Edition: Five Year Anniversary Edition.)

Decades ago a small but influential cult controlled a small area around the Dwarven holdings of Agar. For unknown reasons this cult died out and the shrine was lost to the sands of time. Recently the local thane has received reports that there has been renewed activity in the area and a gathering of humanoids in the area. While the thane’s men have fought bravely they were no match for this group and the call has gone out for brave adventurers to assist with the problem. While your party is young you do have an adventure or two under your belts and this may be the challenge to make you famous….if you can handle it.
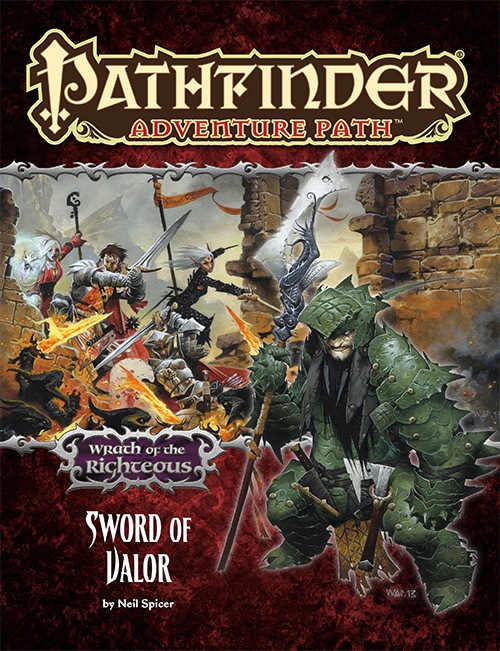
The Wrath of the Righteous Adventure Path continues with “Sword of Valor,” by RPG Superstar Neil Spicer. The PCs, now invested with righteous mythic power, are poised to become the greatest heroes of this seemingly endless war against the demons of the Worldwound… provided they can succeed at their first mission. The citadel city of Drezen was once a symbol of the First Crusade’s triumph against the Worldwound, yet when a larger horde of demons attacked, they shattered Drezen’s defenses and captured both the citadel and the crusaders’ symbol of power. Can the PCs help lead an army north to reclaim Drezen and recover this potent relic, or are they marching their comrades and followers to a gruesome demise?

This introductory level scenario brings a new group of players into an area formerly controlled by the Tunnmaa Dynasty. This group of rulers was rich in gold and gems before collapsing. It is well known that their kings, known as Ga Mantse, were buried in underground barrows that are well hidden and protected by traps. A few days ago a group much like your own found one of these hidden tombs and attempted to investigate. Sadly for them they were not up to the task. Can your party succeed where they failed?

The first Filbar 5th Edition adventure is titled Jeopardy Caverns. This adventure can be used in the new D&D edition or the earlier editions as each stat block is presented. This introductory adventure pits a group of new adventurers ready to go out into the frontier to make a name for themselves. For the 5th Edition version this adventure can act as a gateway from new to 3rd or even 4th level for advancement and is set in an area of humanoid caves.

Beneath the crumbling walls of a keep lies an unexplored warren of caverns stretching into unknown darkness. Within the depths, an ancient evil stirs and grows hungry. Forgotten horrors, once relegated to legend, are on the move – with only your band of heroes between them and their goal. What begins as simple exploration rapidly becomes a struggle against denizens of the underworld, and the very environs of underworld itself. Through crumbling caverns and against long-trapped foes, the party is confronted with a threat that places the future of the surface world in jeopardy. Your heroes must act quickly to secure the world, or face the consequences of their failure to halt the advance of the denizens of The Forgotten Hive.

Caverns of the Dorgel Mountains is/was the finale in Filbar series. It features Lexicon Meridius the Ancient Red Dragon and scourge of the Dwarf Lords (F4 & F5). This large adventure represents how I look at the difficulty of taking on the deadliest dragon of the Prime Material plane. Will your party return to the Halls of the Dwarf Lords to help aid them one more time?
Far to the west, beyond civilized lands, lie the Tolomak Islands— volcanic peaks covered in pestilential jungle and bestriding sunken ruins. The legends say the Tolomaks are home to treacherous witches, ferocious cannibals, moon demons, and worse! Wise are those who steer well away from these accursed jungle isles, but not everyone is wise… For the legends also speak of power unimaginable and treasures beyond the limits of mortal avarice. Now, under the light of the triple moons, a band of intrepid adventurers sails ever nearer the islands. With luck, they will escape with a fortune; without it, they may not keep their souls.

The Heartland Scouts – brave defenders of the Coast Way – have been captured! What their captors haven’t counted on is the adventurers’ feisty animal companions. Left behind, they are nevertheless bound to spell trouble! In this entirely unique adventure, players take on the roles of trusty animal companions and familiars on a quest to rescue their adventurer masters. Surely leaving behind a druid’s harmless badger friend is no threat to one of the great evil powers of the world – or is it? Rescue: A Familiar Tale features a story and challenges designed especially for the animal companions. Players choose and customize their animal companion from over 20 options, with illustrated character sheets included for each one. This adventure does not require existing player characters and can be enjoyed by players of any experience level with the game. While it makes for a perfect “something different” one shot, Rescue can also serve as a session zero for any new campaign and includes guidelines for a fun and surprising way to create inspired new characters at the adventure’s end!

The Ghost Tribe of Orcs were driven from their home under Wyvern Tor by some terrible evil. They marched to Phandalin and attacked, only to be defeated. Now the heroes will go beneath Wyvern Tor to discover the terror that chased out the orcs and perhaps find the source of the orc’ssardonyx. Journey to Beneath Wyvern Tor is the third of four parts in the After Lost Mine series. It will play out the journey to the orc’s former cave settlement and then into the darkness beneath. Part IV will have the party deal with the terror from the Underdark that drove out the orcs.

After hiring a group of brave adventurers to help him "acquire" a beholder specimen, the mage Velinax disappears! Rumors blame an insidious thieves' guild called the Unblinking Eye for this turn of events. Why would the Unblinking Eye wish to "take care" of the mage? Why does the guild want to speak to anyone involved with Velinax? Finally, what dark goal does the guild truly intend to accomplish? Finding out the answers to these questions will lead doughty adventurers straight through the shadows of a crafty thieves' guild and onto the threshold of an even deeper and more dangerous darkness. "Eye of Doom" is the second of three adventures featuring the nightmarish beholder. It can be played as an individual mission or as part of the series that began with "Eye of Pain" and concludes in "Eye to Eye." TSR 9530

"The Pirates' Cove" is the lair of a blasphemous cult, suitable for four or five 5th level characters. This adventure can be finished in a single session.