
After spending a little time going through dusty old tomes and documents your group has discovered a tapestry offering you clues to a long dead and buried king. Since kings are usually buried with their riches and no information shows that his tomb has been located perhaps a little grave robbing may be in order! This adventure has several wilderness spots for exploration as well as an old burial cairn with several levels. The only problem is that the king isn’t really “dead” in the normal sense.

Your group has been requested by Archbishop Telamor Constran from the Church of Koassak to go on a rescue mission for one of his missing brothers who was taken by pirates. You have been enlisted because of your growing fame to barter a release out of the Pirate Lord Hannibal the Black. After three days of storms you awake to a really bad sound....Abandon Ship!

Your time in Queen’s Point has been productive and your level training is complete. As you relax in the Frothy Goblet Tavern & Inn you enjoy catching up with your compatriots over a steaming mug of mead! While you enjoy your time together you can’t help but overhear an interesting conversation at the next table over. A mountain man from his appearance is regaling a group of drunks about a foray into the wilderness and discovery of some old ruins. Those listening chime in with their thoughts on the potential for lost treasure…perhaps this guy may lead you to your next adventure?

The Raven Queen’s servants often seek out mighty allies. One of these is the black dragon Quetzallus, who resides in a deep cavern on the Shadowfell guarding a stream of souls flowing into the Raven Queen’s realm. But a death knight named Raxikarthus, betrayed by the Raven Queen in life, now seeks to enslave this dragon for his own purposes. He madly believes that he can stand against the Raven Queen, and seeks allies of all stripes—even her own servants—to do so. The death knight has found a pathway into the Shadowfell thought closed by mortals. Beneath a decayed keep, the undead dragonborn has reopened this portal and led his forces into the Shadowfell itself. The PCs are called in to beard the death knight in his lair. They find it abandoned, but discover a strange passage in the lower reaches. Pgs. 162-167

You wake up in a pitch-dark cavern... The stench of bodies fills your nostrils. The crack of bone and the sound of teeth rending flesh are the only sound you hear. Something is feeding nearby...something you can't see. We Eat in the Dark is a deadly adventure for 3rd or 4th level characters. Navigate the caves of the Darkshard Abattoir, where light sources are muted and creatures hid invisibly in the dark. Fight for your life against troglodytes empowered by a mysterious artifact and other cavern hazards. Includes an appendix for limited starting gear for a more lethal challenge. A perfect murder-happy one-shot for your players to question your friendship.

Charasta, an old white dragon, has not reached her age by being unprepared or foolish she is, in fact, much more intelligent than most white dragons. Her lair is well defended and tailor-made to help her defend herself. Not only that, but when she leaves the caves to hunt she’s taken to using change self to disguise her exact color. This wily white makes a perfect foe for your party adventuring in the North of Faerûn or in almost any other campaign setting as well.
The kuo-toa are a piscine race with a psychic affliction that makes them behave erratically and invent gods when feeling threatened. That same affliction gives them the power to bring those gods to life. Blibdoolpoolp is the most widely worshipped, and thus most powerful, of their gods. Blibdoolpoolp views the kuo-toa as her children despite having been born after them. Like all good mothers, she nurtures and protects. One of her chief concerns is understanding the kuo-toa’s psychic affliction, which causes them to undermine themselves whenever they strive for greatness. She discovers that a corrupted elder brain deep in the Underdark has a connection to the race; though the connection gives them psychic powers, it also turns them into powerless thralls, explaining their self destructive behaviors. Constrained by the same leash on her children, Blibdoolpoolp seeks adventurers to destroy the elder brain. Its death would free the kuo-toa, but potentially at great cost: if the kuo-toa lose their powers, will Blibdoolpoolp die?

The power of prophecy is given to few. Wise are they who guard this gift well, for those who thirst after such knowledge are not always men of principle. Bastion of destiny, the Tower of the Heavens stands silhouetted against the star-studded night sky. From within his darkened observatory, perched like an eyrie on the highest turret, a figure in white charts the course of a shooting-star as it disappears behind the snow-capped peaks of the Tegefed mountains. The old man smiles grimly to himself; the event foretold has come to pass! Power, glory, riches - it takes years to acquire them. The uncanny accuracy of their predictions has brought all these and more to the sages of the Tower of the Heavens. But what is hard to win is often easier to lose, and the future of the tower now hangs in the balance. For it is written that the day of reckoning draws nearer when a star falls.... TSR 9120

Twilight at Eventide is a 32-page collection of three short adventures designed for characters of level 1-3. In the village of Eventide, the walls separating the settlement from the Feywild are weak. And strange creatures stalk the surrounding forests. Dark forms worship their demigod in hidden caves. A darkling elder has returned to take what was promised to him. And people enter the woods never to return. The village is in need of heroes. Will you answer the call? In this product, you will find: a description and map of the village of Eventide a vivid cast of characters in the village a variety of detailed location maps, including an old mine, an abandoned farmhouse, a decrepit tower, and a ruin adventures that feature xvarts, darklings, dryads, and hags a combination of roleplay, exploration, and combat encounters

Adventuring in the Principality of Lockerbie continues with Issue in the Canyon. Your party has enjoyed the advantages of being considered a hero but as the days’ progress, it is back to normal in Gormell. After having a bit of ale at the local tavern you notice a wagon caravan has arrived in town and the people are abuzz over their arrival. Noticing that some of employees are a little beat up, you find yourself in the sheriff’s office being told of a brazen, humanoid attack on the merchants. Looks like you just found a job opportunity!

Chasing pirates can be a dicey business especially with an ocean storm bearing down upon you. As you give chase to Captain Longstockings and her crippled ship, she wanders into a cove...TRAPPED! This criminal cleanup is almost complete...
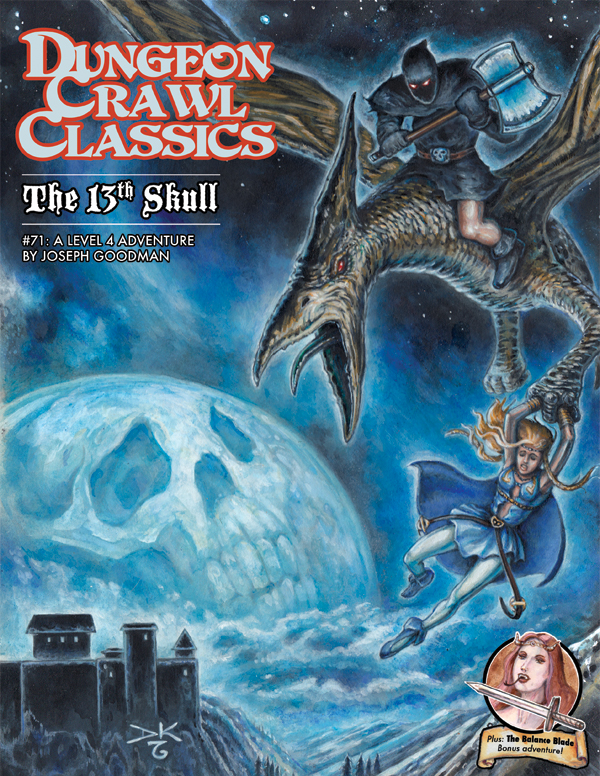
Thirteen generations ago, the ambitious first Duke of Magnussen made a fell pact with an unknown power, who asked for but one thing in return: the thirteenth daughter born to a Magnussen duke. Now, generations hence, the daughter of Duke Magnussen XIII is stolen away by a hooded executioner riding a leathery beast. As it wings back across the city walls to drop behind the Duke’s mountain-top keep, all who watch know it alights in the Magnussen family crypts, where the devilish secrets of thirteen generations have been buried and forgotten – until now… This adventure module also includes The Balance Blade, a short level 2 adventure in which a wizard’s patron makes a simple request: travel to another plane to retrieve a legendary blade of neutrality. But once the journey is in motion, the wizard finds that not all is as it seems!
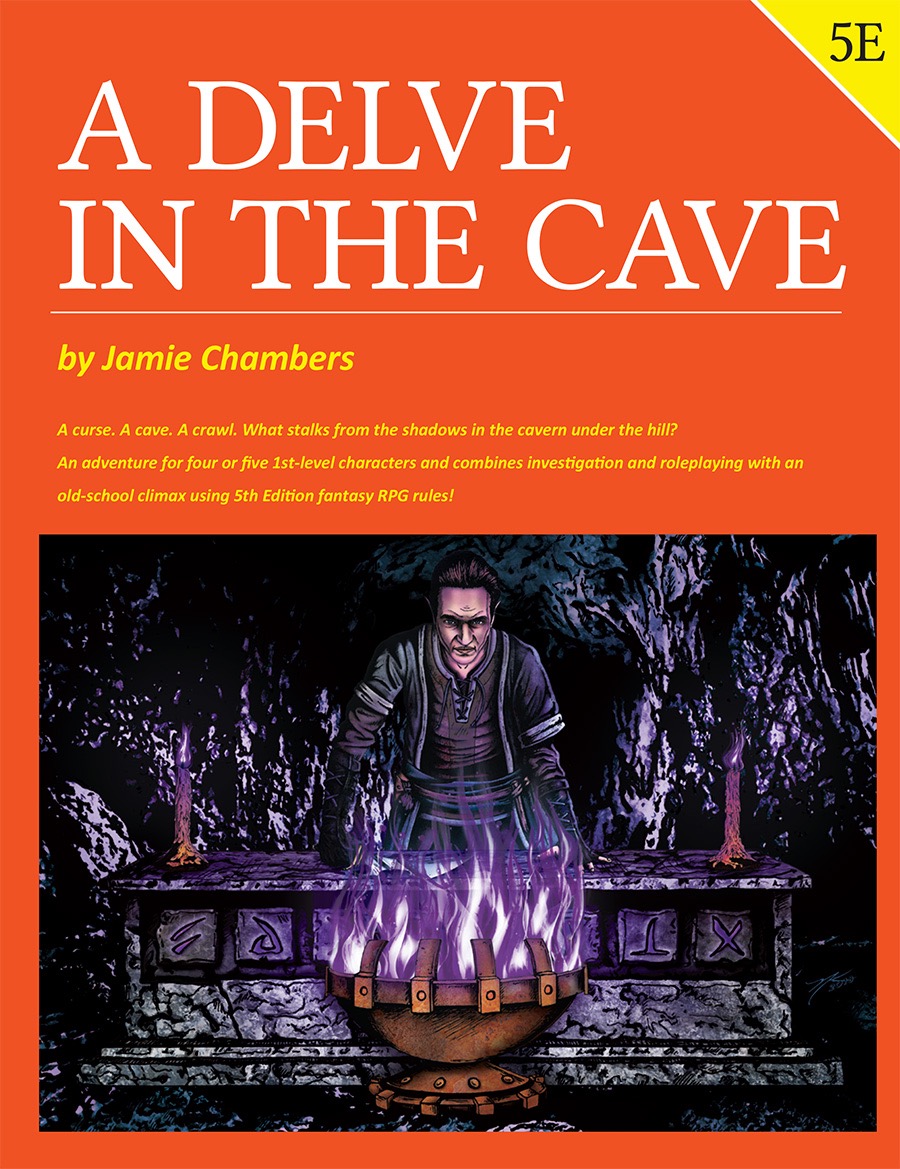
Something lurks in the shadows inside the caverns under the hill called Brin Brenin. Ancient enemies of mankind have returned for revenge, starting with the tomb of a long-forgotten hero. Somewhere inside are answers to forgotten questions, deadly monsters, and hidden treasures.

Caverns of the Dorgel Mountains is/was the finale in Filbar series. It features Lexicon Meridius the Ancient Red Dragon and scourge of the Dwarf Lords (F4 & F5). This large adventure represents how I look at the difficulty of taking on the deadliest dragon of the Prime Material plane. Will your party return to the Halls of the Dwarf Lords to help aid them one more time?
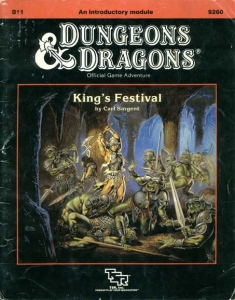
Someone has "borrowed" a cleric, and without him, the fabled King's Festival cannot go on. Unfortunately, it looks like the orcs have him, and your characters must rescue him. A great learning adventure, King's Festival provides players and DMs with a valuable introduction to fantasy role-playing in the land of Karameikos. Full of helpful hints for the players and the DM, this module also provides a full dose of excitement! Orcs, carrion crawlers, and villains challenge the characters' fighting skills, and a host of traps and puzzles confound their wits! TSR 9260

While sitting around your favorite tavern, a loud explosion shatters the serene mood of Moscow. You sprint to the source and discover the distillery has exploded. The glum populace grumble loudly. With winter setting in and nothing to do the citizens rely on the libations from this business to cheer them up. You are approached to scour the canyon area before the winter sets in to find a few extra kegs for the people.

You have travelled to the legendarily festive town of Hamlet Court for the world famous Midwinter festival. You’re not in town long before you discover that the previous night, the annual Villager vs. Kobold snowball fight turned violent, putting a dampener on the festive mood. Madam Mayor looks solemn as she asks you to investigate exactly what has turned the long peaceful Snowbolds violent. She suggests you head to their Snow Cavern and fix the issue before it ruins Midwinter

This adventure focuses on a Zhentarim attempt to spread terror in Mistledale, although it is suitable for almost any lightly settled area northwest of the Sea of Fallen Stars. "The Raiders of Galath's Roost" is suitable for four 1st-level characters, but PCs should be at least 2nd level before tackling the adventure's second half, the Zhentarim Citadel. Even in the first half of the adventure, many of the encounters are quite formidable for 1st-level characters, and the PCs might find it necessary to withdraw and recover one or more times before completely exploring the ruins.

The Cave on Foggy Hook is the first of three connected adventures in the village of Hookholm and is aimed at busy or first time Dungeon Masters. This adventure is designed for 3-5 1st level characters and can be played in a single 3-5 hour session excluding character creation. In this adventure the party will find themselves in Hookholm, a small coastal village rebuilding after a devastating storm almost wiped it off the map. The village is located on the inner curve of the Foggy Hook, a spit of marshy land jutting into the Grey Sea. Beset by the sort of calamities that new adventurers will be able to sink their teeth into and will offer opportunities for roleplaying, puzzle solving, exploration and combat. Includes 5 maps in a number of variations, a brand new monster in the vicious Kuo-toa Feral, and a new chase complications table for chases through swamps or marshes.

Princess Arelina rushed from the tent as total disorder breaks out across the camp. She descends on your party as you struggle to secure you weapons…. Wonderfully descriptive, isn’t’ it. Well, now you can see for yourself with the 3-D DRAGON™ tiles. Use the DRAGON™ Tiles to bring your DUNGEONS & DRAGONS™ an ADVANCE DUNGEONS & DRAGONS™ adventures to life. This package includes 3-D figures, featuring tents, trees, carts, a waterfall, and characters. A sheet of 2-sided tiles including trails, streams, creatures, and other wilderness features. A wilderness mapping grid is included to help you lay out wilderness encounters quickly. The 3-D DRAGON™ Tiles also comes with a special D&D® adventure, “The Revenge of Rusack.” TSR 9145