
"Tyr is free! Tyr is free!" Such is the heady cry that echoes from the darkest warrens to the gleaming chambers of the Council in that ancient city. Now is your chance to savor life released from the oppressive gloom of the sorcerer-kings-but for how long? New forces threaten the newly-born independence of Tyr, as outside forces march upon the city. King Tithian is determined to resist, but there are others on the Council of Advisors less eager to risk their wealth and lives for the cause of independence. It falls upon you to help mobilize and lead the citizen-army of Tyr on the road to Urik. In Road to Urik, the city-State of Tyr has thrown off the yoke of the sorcerer-king Kalak and declared all slaves free, but the neighboring city-state of Urik is amassing its own armies to conquer Tyr. In the first part of the adventure, the PCs must negotiate with various factions of the city in order to win their support for the war effort. In the second part the PCs leading a scouting force ahead of the main army, and the choices and successes in the first part will affect the troops they lead here. Finally, they will need to fight and lure away the Urik army's own scouting force, letting the army of Tyr ambush them. The second and third part make heavy use of the Battlesystem rules, which were pushed pretty heavily in the early Dark Sun books. Like many Dark Sun adventures, the module makes heavy use of handouts that come in a flip-book along with the main adventure. This adventure is a sequel to Freedom. It stands on its own, but the plot of the adventure is based on the events of Freedom and the novel the Verdant Passage, so you can't really run them in reverse order. Much like Freedom took place concurrently with The Verdant Passage, Road to Urik takes place just before the events of The Crimson Legion, the second novel in the Prism Pentad. TSR 2406

Picking up where the adventures left off in Sordack Valley, the PCs gain information on areas with potential treasure. Several ruins are just within reach and at least one may be the burial site known as the Ossuary of the Bear! A magical crozier was said to be buried there and has never been found. Are your players ready to make themselves legends?

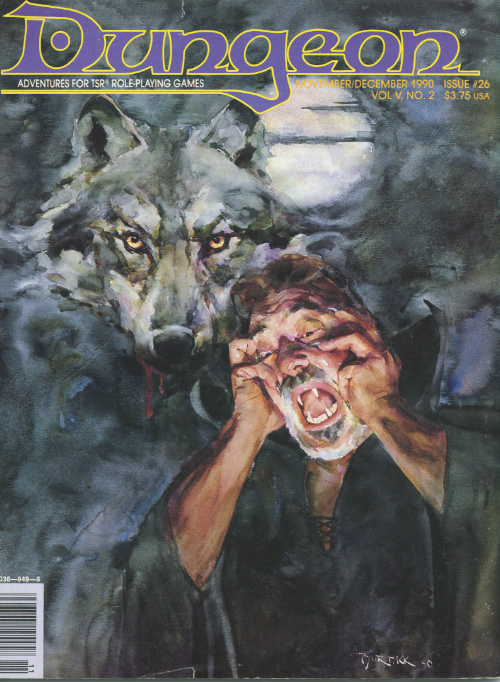
Why would a town refuse to be rescued? A highland town faces a greater danger than can be imagined - and no one wants your help against it. In a remote village in the desolate north, a spate of murders and kidnappings has the town on edge. A woman named Gwendolyn goes missing and it is suspected that Albee is the perpetrator. However there is a conspiracy in the village that the heroes must unravel, to which they discover is actually the sinister plot of a devil worshiping cult. Pgs. 33-43

Everything would be fine if the person you're trying to help wasn't already dead. The requirements of honor reach even beyond the grave. A spirit asks the party to help grant it passage to the afterlife. Pgs. 9-11

You are cordially invited to a masquerade celebrating the engagement of Lady Laina Vandevic to Lord Iajo Moubotka. Lord Gustav Vandevic welcomes you to his manor for an evening's entertainment. The servants are delighted to make your acquaintance - but watch out for the other guests! Intrigues within intrigues are afoot in Vandevicsny Manor. When a celebration becomes a night of terror, only the most cunning heroes will survive! TSR 2509

Watch your step. Out-of-this-world adventure. An odd box falls by a watch tower and its up to the party to discover what it is and why its here. Pgs. 22-29

A job offer from the high bishop? Looks like your fame is becoming far reaching. You meet with revered figure and discover that he has a task right up your alley. A group of missionaries on an island retreat have not been heard from in a year. He asks that you and your associates go check on them.

In which the Many seek the One, and the Heroes must retrieve a Sword lost amid myriad Threats to the Flesh. Chapter II of the "Well of Worlds" adventure anthology. Pgs. 24-33 TSR 2604
Expect a surprise when you open a magic jar. The evil wizard had a fail-safe plan for survival. It worked perfectly - almost... Pgs. 58-71

Having put down a rising of giants, it was discovered that the motivating force behind their depredations was that of long-forgotten evil - the Dark Elves. Determined to seek out these creatures, a body of doughty adventurers mounted an expedition to learn the strength of the Drow and bring retribution to them (DUNGEON MODULE D1, DESCENT INTO THE DEPTHS OF THE EARTH). This module contains background information, a large-scale referee's map with a matching partial map for players, referee's notes, special exploration and encounter pieces, a large map detailing a temple complex area, encounter and map matrix keys, and an additional section pertaining to a pair of unique new creatures for use with this module and the game as a whole. A complete setting for play of ADVANCED DUNGEONS & DRAGONS is contained herein. This module can be played alone, as the second part of a series of three modules (with DESCENT INTO THE DEPTHS OF THE EARTH, D1, and VAULT OF THE DROW, D3), or as the fourth part of a continuing scenario (DUNGEON MODULES G1, G2, G3, D1, D2, D3, and Q1, QUEEN OF THE DEMONWEB PITS). TSR 9020, From 1978

The PCs answer a call for heroes by the Church of Traladara, asking for help in finding an ancient relic- the Shield of Halav. This is located in a lost temple, and the PCs must locate this temple, and brave its dangers to recover the shield before two competing teams from other churches find it first. Part one involves setting up the adventure, doing research, following clues, and discovering the site of the lost temple. Part two; once the site is known (ruins under a modern town) the heroes must travel there and find the entrance. Part three is braving the lost temple, filled with traps, puzzles, and other dangers, to find the missing shield, and then culminating in a climatic showdown with the completing teams.
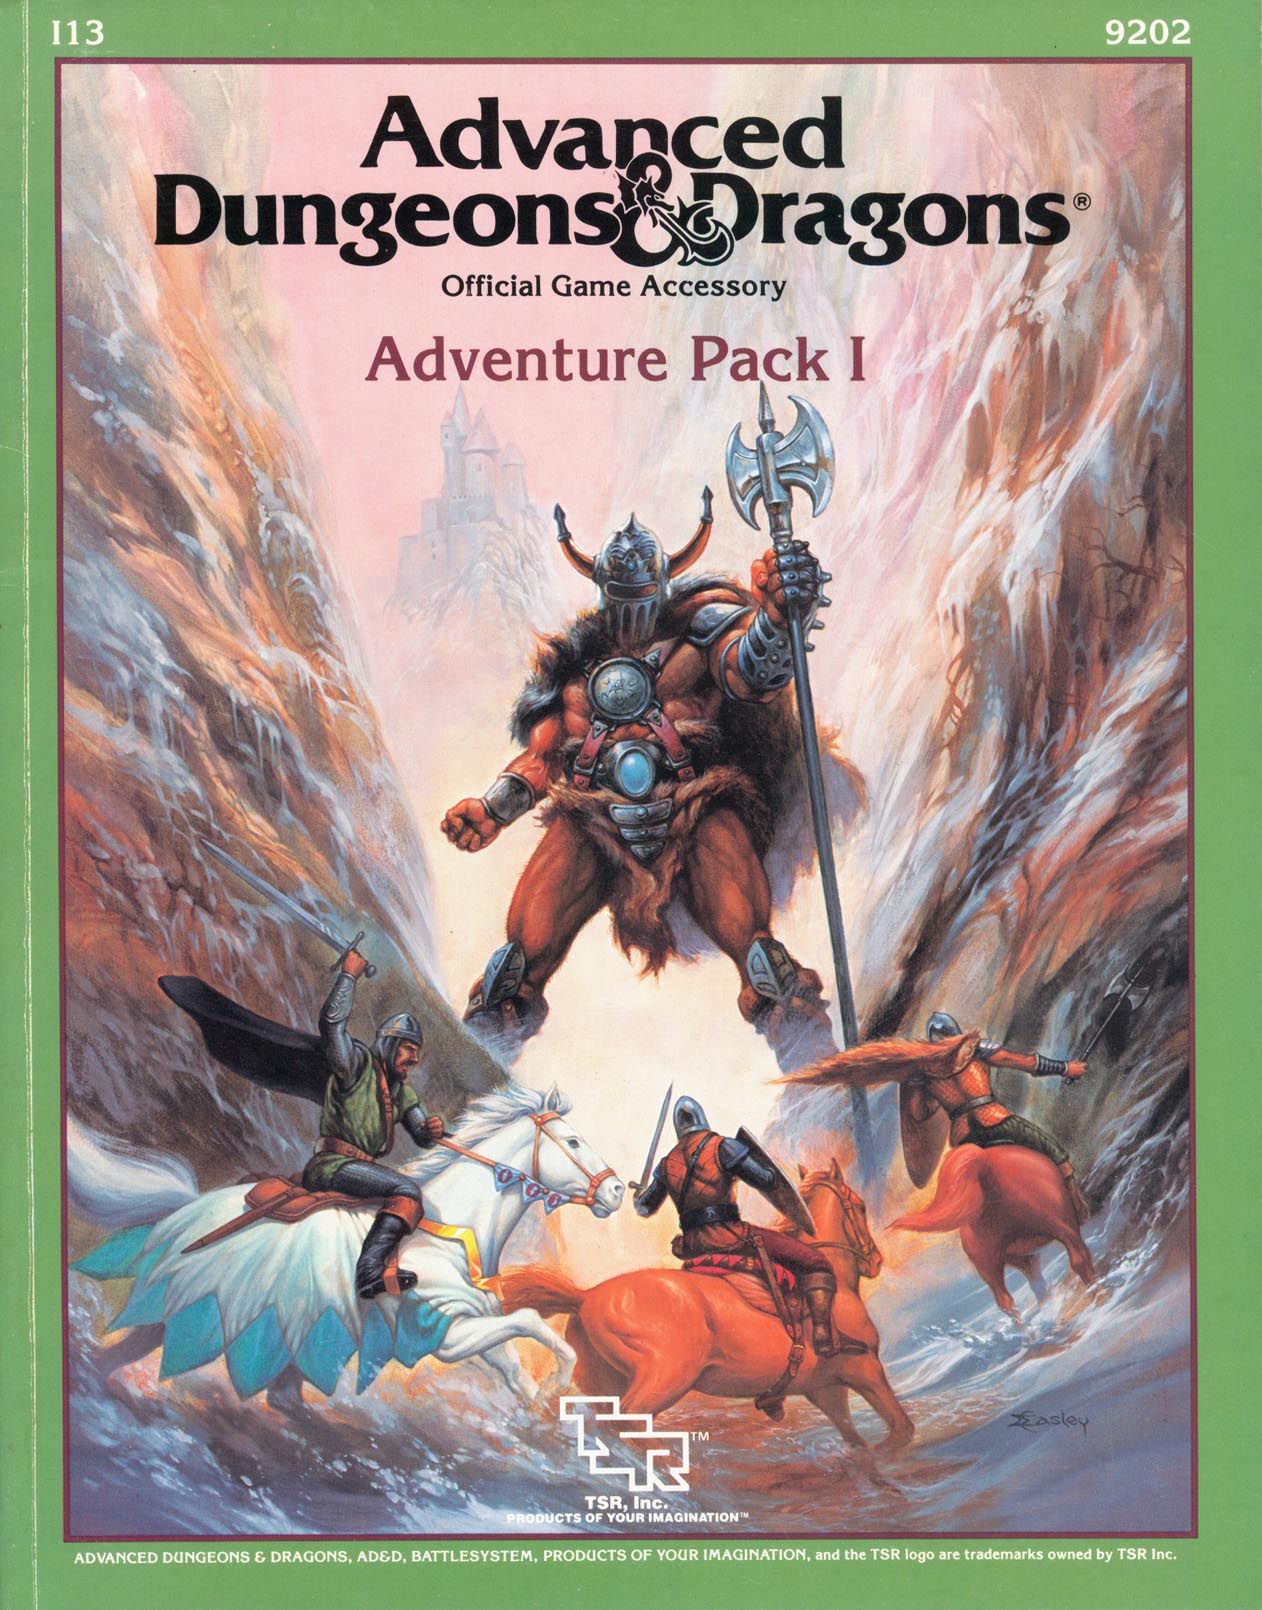
Characters strike a blow against evil when they take on orcs and assassins in these scenarios. Included in I13 Adventure Pack I - https://www.adventurelookup.com/adventures/i13-adventure-pack-i TSR 9202

Far above the village of Barovia sits Castle Ravenloft, the home and fortress of vampire lord Strahd Von Zarovich. Legends claim that Strahd flies with the bats and runs with the wolves to terrorize the countryside. Ancient tales also tell of dungeons and catacombs deep under the castle. Other stories recall the great halls, treasures, and glory of Ravenloft in centuries past. "House of Strahd" is a revision of the classic gothic horror tale I6: Ravenloft, one of the most popular adventures ever produced for the AD&D game. This version is updated for the AD&D 2nd Edition rules, and those from the Ravenloft campaign set. Count Strahd is now more powerful, and his castle is even more terrifying! TSR 9418

For years the Count of Durwall Keep ruled over the land fairly and with justice. That ended during the Bloodrayne Conflict when the castle was felled by troops loyal to General Bloodrayne. In the many years that followed the triangular keep has fallen into a sordid state of disrepair. The keep used to hold mighty coffers of treasure for the Count and for the Emperor as well. A stronghold was built under the keep to secure said treasure and perhaps some treasure may still remain in the depths of its dungeons. Recently it’s been said that the Snaggletooth tribe of kobolds has seized the fortress and is using it as their home. It is also rumored that there may still be undiscovered treasure located in the dungeon of the keep. Faint echoes of the missing Orb of Ruler ship are still heard.
:strip_icc()/pic529222.jpg)
The Black Tower is an adventure designed for use with either the Rolemaster books Arms Law, Claw Law, Spell Law and Character Law; or the Advanced D&D Players Handbook, DMG and Monster Manual 1. Rolemaster parties should consist of 5 to 8 characters, level 1-3. AD&D parties should consist of 5 to 8 characters, level 1-4. The main part of this adventure is written in a form which makes it partially independent of the games system chosen. The details of NPC's, creatures and specific magic items are presented at the end of this episode. This is the first part of the Black Tower adventure, though the tower itself does not appear in this issue. This scenario introduces the characters to the area, and to some of its inhabitants. Characters playing this episode should have both the equipment, and a reason, to enter the tower in the next issue. Magical weapons given in the adventure will have two plusses, one for the twenty-sided dice based ADED system, and one for the percentile dice based ROLEMASTER system. eg. +1/+5 meansa +1 AD&D weaponora +5 ROLEMASTER weapon. This will also apply to magical armour and shields. The ROLEMASTER weapons will be superior, not magical, except where specifically stated.

Deep blue mists of the night swirl over the sands of Raurin, the incomparable Desert of Dust. As the cool night air drains the heat from the sand, you and your friends huddle around your campfire, glancing nervously at the giant pyramid in the distance. Gradually, the winds change direction, bearing a thin streak of white mist toward you from the pyramid. It swirls and takes shape as a faceless man dressed in ancient robes and an ornate head-piece; moonlight shining through his ghostly body and robes, he lifts his arms toward the pyramid and speaks. It was magic that conveyed you all to Bralizar, and an ancient map that guided you through the pass in The Dustwall. But it was, after all, the tales that finally brought you to this place - tales of endless wealth, of spirit-guarded pyramids, of crystalline obelisks, of gemstones with mysterious properties. Now, as the haunted voice of the spectre before you begins his tale, you wonder if the treasure and the quest are worth the price...perhaps your very lives. Are you really the heroes of the prophecies, those who will overcome the foretold tests, and those for whom the treasure awaits? It is time to search your hearts before you venture further into the Desert of Desolation. An epic adventure includes the revised Desert of Desolation series plus totally new adventures within Raurin, a desert wilderness set in the Fabulous Forgotten Realms TSR 9199

The final fate of Roslof Keep and the Company of the Ivory Scimitar hangs in the balance. With five levels conquered, the party must finally face the ultimate challenge of the sixth and final floor. Can the stalward adventures overcome the last defense of the Infernal Machine? Will Roslof Keep be freed from the violet corruption? What unforeseen plot twists still await those willing to brave the challenges presented in The Realms of Madness and Despair? This adventure is formatted to both 1E & 5E gaming rules. Also available in PDF.

Some dozens of leagues to the north and west of the STEADING OF THE HILL GIANT CHIEF (Module G1 of this series), amidst the tallest mountain peaks, is the stronghold of Grugnur, Lord of Frost Giants. As frost giants have been amongst those who have been in the reaving bands, the party is to deal with them as the hill giants have been dealt with. Death and destruction are to be meted out to the frost giants in the same measure they gave to the peoples below. This module contains background information, referee's notes, two level maps, and exploration matrix keys. It provides a complete module for play of ADVANCED DUNGEONS & DRAGONS, and it can be used alone or as the second of a three-part expedition adventure which also employs DUNGEON MODULE G1 (STEADING OF THE HILL GIANT CHIEF) and DUNGEON MODULE G3 (HALL OF THE FIRE GIANT KING). TSR 9017

Tillius Morganstein aka the Mad Mage has selected your group to investigate an ancient temple hidden below the peaceful waters of Lake Springwood. The wizard is too old to investigate the area himself and has enlisted your help. While he has studied the ancient texts dedicated to "Bulu" he cannot define what dangers may lurk or what treasures may await those brave enough to delve into the submerged halls but surely the rewards will be great!

This setting was used in the F series and like Corsair Bay, it was used as an area for multiple adventure opportunities as well as a semi-safe haven. The main community is home to the Pirate King Hannibal the Black. This community is offered as a free download! One of the adventures off the island is the Quest for the Golden Rose involving the sunken ship. With a multitude of side adventures this area helps mid-level adventurers increase their experience point base.