
A tribe of evil norkers led by a human illusionist threaten the town of Nolivari. The heroes must brave the wilderness, find Grakhirt's lair, and defeat him to ensure the safety of the local villagers. A straightforward dungeon crawl against lots of norkers! When do you get to see those guys in an adventure? Lots of monsters from the AD&D Monster Manual II as well. This adventure features a little bait-and-switch; the titular bad guy Grakhirt is assumed to be a norker, or gnoll, or some other monstrous humanoid, but is in fact a human illusionist/assassin! Note: The adventure doesn't feature caves AND a dungeon, but since the caves are treated like a dungeon with doors and numbered rooms, this is listed as a dungeon adventure as well. Pgs. 28-37
From the magazine: "'That's right," said the druid. "You must steal the giant's cauldron - without harming him in the slightest.'" The adventurers are sent on a mission to reclaim the legendary Cauldron of Plenty for a celtic inspired kingdom. This magic item is kept by an intelligent Verbeeg called the Bolg Mor. A secondary goal is to discover the command words for the cauldron in the cave system. There is a curse on the cauldron, stating that violence breeds violence; he who slays the owner of the cauldron and steals the device will also fall prey to acts of violence. Players are encouraged to attempt to roleplay and negotiate with the villain to gain the cauldron.

The final confrontation with the giant, King Snurre, and the entry of mighty adventurers into the caverns under his stronghold (DUNGEON MODULE G3, HALL OF THE FIRE GIANT KING) discovered the Dark Elves, the Drow, had instigated the giant alliance and its warfare upon mankind and its allied races. This module contains background information, a large-scale referee's map with a matching partial map for players, referee's notes, special exploration and encounter pieces, a large map detailing a cavern area, encounter and map matrix keys, and an additional section pertaining to a unique new creature for use with this module and the game as a whole. A complete setting for play of ADVANCED DUNGEONS & DRAGONS is contained herein. This module can be played alone, as the first part of a series of three modules (with SHRINE OF THE KUO-TOA, D2, and VAULT OF THE DROW, D3), or as the fourth part of a continuing series of modules which form a special progressive campaign scenario (DUNGEON MODULES G1, G2, G3, D1, D2, D3, and Q1, (QUEEN OF THE DEMONWEB PITS). TSR 9019

Barbarian legends tell of five magical blades of measureless power. The more civilized cultures of warmer climes believe these tales to be nothing more than delirious dreams of frost-bitten brains. "Those frozen louts- they're trying to scare respect out of us!" At least that's what they want to believe. Three of the legendary blades of Corusk have been unearthed, and their powers have proven to be all that the tales claimed. You have been given these to use in the quest for the remaining two blades. However, word has spread to the peoples of the neighboring areas, and two groups are working against you to prevent your securing these swords. Beware the Hold of the Stonefist and the Rovers of the Barren! Only so much time remains for you to locate the last two Blades of Corusk ... and your enemies are on the horizon. Find the blades, and reclaim your birthright of honor and respect; fail, and be outcast from your tribes for life. The choice is yours. TSR 9337

"The adventure begins shortly after the PCs arrive in the village of Whitebirch, located just one mile outside Bunglewood, a thick forest. Unless the adventurers prefer to camp by the side of the road, the only rooms in town are available at The Swanmay's Song, a local inn. Shortly after nightfall, a wounded traveler staggers into the inn." -- from the module. Includes overland map, ambush site map, and cave system map.
A monster amonkst us... The monastery of Montelegro was once a major center of academia, but it fell out of favor when its library burned to the ground some 20 years ago. (The fire is rumored to have been started by the candle of a monk who fell asleep while reading.) Without books to attract scholars and patrons, the order of monks that run the monastery has dwindled. Now the monastery is a mere shell, its once-thriving halls empty. Only 21 monks remain. The order that runs Montelegro supports a number of scribes dedicated to copying and illuminating books of all kinds. The most talented of these illuminators was Brother Abel of Corbone, a young monk fresh out of the university. A few days prior to the adventure, Brother Abel witnessed a miraculous sight. While walking about on the outskirts of the monastery, he beheld a vision of his god. The vision instructed him to build a well upon the spot where he stood. If Abel did this, the god promised prosperity would return to Montelegro. Unfortunately Brother Abel was unable to fulfill his god's vision and appears to have taken his own life.... Or was there Murder in the Monastery? Pgs. 8-17 & 55

A light in the Belfry is the first RAVENLOFT adventure to feature an Interactive Audio CD. As player explore Morgorth's dreadfilled manor, they will actually hear the lamentations of tortured spirits, the clash of swords and thunderous roar of magic. With almost 100 tracks of dialogue, sound effects and mood music, TSR's Interactive Audio CD Adventures add a new dimension to the horror of Ravenloft. TSR 9494

Lost Tombs, Volume 2 The lich Lyzandred: a madman, an undead archmage, a survivor of the twin cataclysms that destroyed tow great empires. His name invokes fear in the hears of the smallest children, the bravest warriors, and the wisest sages. Like a malicious cat, the lich toys with all who stumble into his maze, tormenting them with strange puzzles and obscure riddles, monsters and demons, weird traps and dangerous magics. All who enter the crypt of Lyzandred find themselves scarred with his rune, proof of their visit -- and their folly. But there is a method to the madness of Lyzandred, a purpose to his twisted games. If you're lucky, you might even live to learn about it. The Lost Tombs series begins with Star Cairns (Volume 1) and concludes with The Doomgrinder (Volume 3). Each adventure is playable separately, or they can be linked to form an epic-length story. TSR 9580

In this scenario, the adventurers pass through magical portals into a series of interlinked chambers. The characters are encouraged by a young scholarly mage to voyage into the Sea of Pastures, to explore a mysterious island connected with a number of recent shipwrecks and disappearances. The island is grassy and windblasted, but eventually the characters discover a stone door leading into a subterranean complex. There, they discover 18 rooms linked by secret passages and magical portals. Most of these rooms have been ransacked by a variety of other survivors, human and monstrous. These survivors are likewise trapped within the labyrinth and are either eking out a miserable existence there or else desperately searching for a means of escape. Also within the building are a number of extraplanar creatures, collectively known as gingwatzim, who can shift between various forms: an energy form (glowing ball of light), an inanimate form (usually a magical weapon), and an animate form (an animal or monster). Eventually the characters may find the exit, and are once again deposited on the dreary islands to await rescue. TSR 9110

Moonless Night is an adventure module composed of short adventures which are compatible with both the first and second editions of the Advanced Dungeons and Dragons game. The adventures are designed with novice players and dungeon masters (DMs) in mind; more experienced gamers may find the action too scripted, the dangers too forgiving, and the plot too linear for their tastes. In such a case, the DM is encouraged to expand, revise, and delete as necessary.

A simple trip from Urik to Raam: What could be easier? But unexpected encounters and freakish sandstorms conspire to make this journey more dangerous than imagined. Lost and dying of thirst, your characters unwittingly involve themselves in a strange mission-the motivation behind which lies hidden. On the adventurers' trail are enraged dragons, desert fiends, and a curse that threatens to drive them mad-or make them one of the walking dead. Their only hope is to enter the ancient ruins of Yaramuke, site of a great battle between sorcerer-kings of ages past. Yaramuke?City of Black Waters. The very name curdles blood. Designed for four to six characters of 3rd to 6th level, Black Flames is set in and around the remains of Yaramuke and the cities of Urik and Raam. Let your Dark Sun game characters experience new adventure among the ancient ruins of Yaramuke! TSR 2417
Never try to catch a falling star. A bad seed has been planted in the dark soil of Ravenloft, and now it's time to harvest the crops. A comet has fallen from the sky outside of the town of Delmunster, and the people of this sleepy little village are changing in ways their families cannot explain. The players are on the clock to find the comet and stop its influence on the town. For every day the players take to solve the mystery, another townsperson falls under the sway of the comet. A story heavy influenced by a certain horror movie about pod people. Pgs. 48-68

Welcome to Invidia, where Vistani curses come to their terrible fruition. As a young girl, Gabrielle Aderre was warned by her mother never to have children: "A man, a babe, a home - these things can never be for you, for tragedy will be the only result." Now the witch Gabrielle has disobyed her mother and borne a child, an abomination that could spell doom for Vistani everywhere. Gabrielle has learned too late the truth of her mother's prophesy. The Evil Eye is a series of six scenarios involving the Vistani and their most hated nemesis, the legendary Dukkar. The adventurers uncover the hidden secrets of Karina, the largest town in Invidia and home to the most terrifying festival in Ravenloft. The heroes will arrive to see a town in the throes of Carnival - a time when ghosts and madmen, werewolves and gypsies all mingle under the waxing moon. TSR 9497

Red for love, white for purity, black for death. He was thoughtful, obedient, and trustworthy - the epitome of a traitor. All he needed were some heroes. A powerful undead knight, Agrovale, wants to be released from a necromancer named Talakara. He sets in motion an elaborate plan to get the players involved in overthrowing Talakara in her bid to become a goddess. He frames the necromancer for a kidnapping and murder and leaves a trail of clues to lead the players to her stronghold. The party travels through an extensive stronghold filled with many different monsters, finishing with a fight with the demigod Talakara and subsequently the freedom-seeking Agrovale. Pgs. 38-63
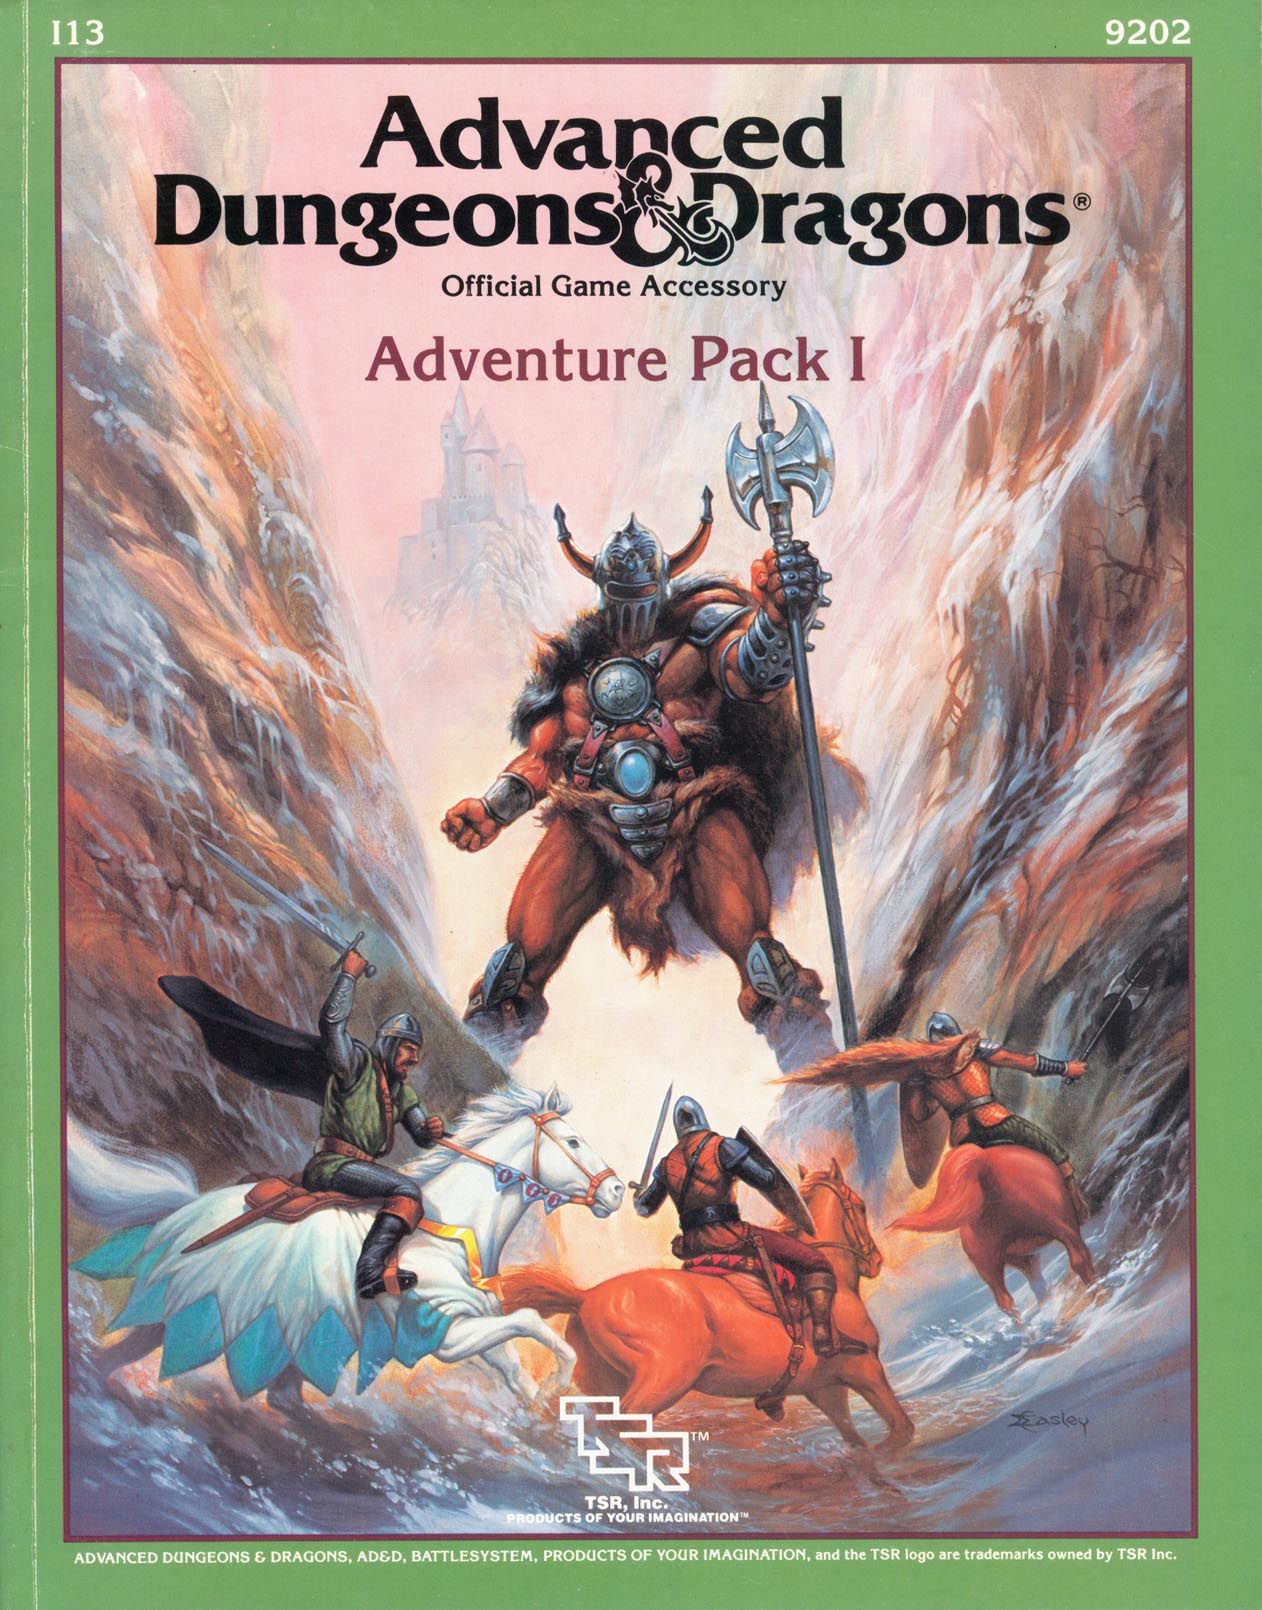
Characters strike a blow against evil when they take on orcs and assassins in these scenarios. Included in I13 Adventure Pack I - https://www.adventurelookup.com/adventures/i13-adventure-pack-i TSR 9202

The End of the World Is at Hand! A hideous death cult has seized control of an ancient artifact-monument known as Tovag Baragu. The power behind the cult is the Old One himself, Iuz the Evil, demonic master of an empire. He's on an all-or-nothing quest for supremacy over the world—and the heavens beyond. To stop him, heroes must face horrors never dreamed of, journeying to a shadowed city where Death rules and the living cower. Here, Iuz will achieve his mad dream by destroying the imprisoned master of that alien citadel: Vecna, the mightiest lich, an immortal demigod. Two items exist with the power to stop Iuz—the Eye and the Hand of Vecna—but using them carries fantastic risks. Not even the gods know what will be unleashed when these items are fully activated. Die Vecna Die! takes the heroes from the Greyhawk campaign to the demiplane of Ravenloft and then to the Planescape city of Sigil. However, none of the material from those settings is required for play. TSR 11662

This setting was used in the FN series and like the others in the FA series, it was used as an area for multiple adventure opportunities as well as a semi-safe haven. The main community in the area is the Village of Tomore. This community is offered as a free download! With a multitude of side adventures this area helps mid-level adventurers increase their experience point base. Close to this area is the previously published Sunken Temple of Bulu and the Ruins of Tarlac Keep.

While visiting the small village of Carthington Cross, the PCs hear a tale about a wizard who unleashed an owlbear on Carthington Cross and its unsuspecting community. After a night of stories and gossip in the local inn, the heroes are approached in the morning by this same notorious wizard who needs their help. Includes an overland map and a map of Quelkin's manor.

Unknown to even the mightiest of the great sorcerer-kings, a fire is stirring deep beneath the barren soil of Athas. Sheltered by the titanic bulk of the Black Spine Mountains, a terrible force has ripped open the very fabric of time and space. Now a shimmering portal stands open and a long-forgotten enemy assembles its sinister forces to invade the kingdoms under the dark sun. The only thing that stands in the way of this terrible fate is a band of heroes. Assembled from the four corners of this tortured world and bound together by the tangled cords of fate, they must face an enemy the likes of which they have never seen before. The odds are against them, but they dare not fail. The fate of the world is in their hands. The previous flip-book modules (Black Flames, Merchant House of Amketch, and Marauders of Nibenay) precede this adventure, but they are not necessary to enjoy Black Spine. Contains 3 - 96 page adventure books and 2 fold-out maps TSR 2428

Having put down a rising of giants, it was discovered that the motivating force behind their depredations was that of long-forgotten evil - the Dark Elves. Determined to seek out these creatures, a body of doughty adventurers mounted an expedition to learn the strength of the Drow and bring retribution to them (DUNGEON MODULE D1, DESCENT INTO THE DEPTHS OF THE EARTH). This module contains background information, a large-scale referee's map with a matching partial map for players, referee's notes, special exploration and encounter pieces, a large map detailing a temple complex area, encounter and map matrix keys, and an additional section pertaining to a pair of unique new creatures for use with this module and the game as a whole. A complete setting for play of ADVANCED DUNGEONS & DRAGONS is contained herein. This module can be played alone, as the second part of a series of three modules (with DESCENT INTO THE DEPTHS OF THE EARTH, D1, and VAULT OF THE DROW, D3), or as the fourth part of a continuing scenario (DUNGEON MODULES G1, G2, G3, D1, D2, D3, and Q1, QUEEN OF THE DEMONWEB PITS). TSR 9020, From 1978