
Sometimes sneaking into the dungeon, avoiding traps and slaying monsters is the easy part. The hard part is getting back out alive. This is a dungeon crawl adventure with a twist, the adventure starts at the end of the dungeon with the party trying to find their way back to safety.
Greger’s Grotto is a community of pirates and other criminals, hidden away on a desolate coastline. The players are slaves sold to the Grotto’s owning family and used for manual labour and bloodsport in the arena. In this adventure, the players will need to: * survive harsh prison conditions, including the rivalry between prisoner factions: human, orc, goblin and hobgoblin * fight in arena battles against prisoners and beasts, often with strange twists to entertain the crowd * explore small mini-dungeons attached to the prisoners’ caverns * ultimately escape; whether by force, alliance with fellow prisoners, stealth, cunning or any combination of these Features of this adventure: * Pay-what-you-want (even nothing). * Illustrated with art by Setvasai. * Designed to fit into most campaign worlds. * Simulationist or story-driven: includes information for both. Use random rolls to determine what happens when, or take inspiration from various story hooks. (Or do both.) * 11 unique NPCs, including members of the Grotto’s owning family and leader of the prisoner factions. * Full maps of the Grotto, its arena and prisoner caverns, totalling over 40 rooms.
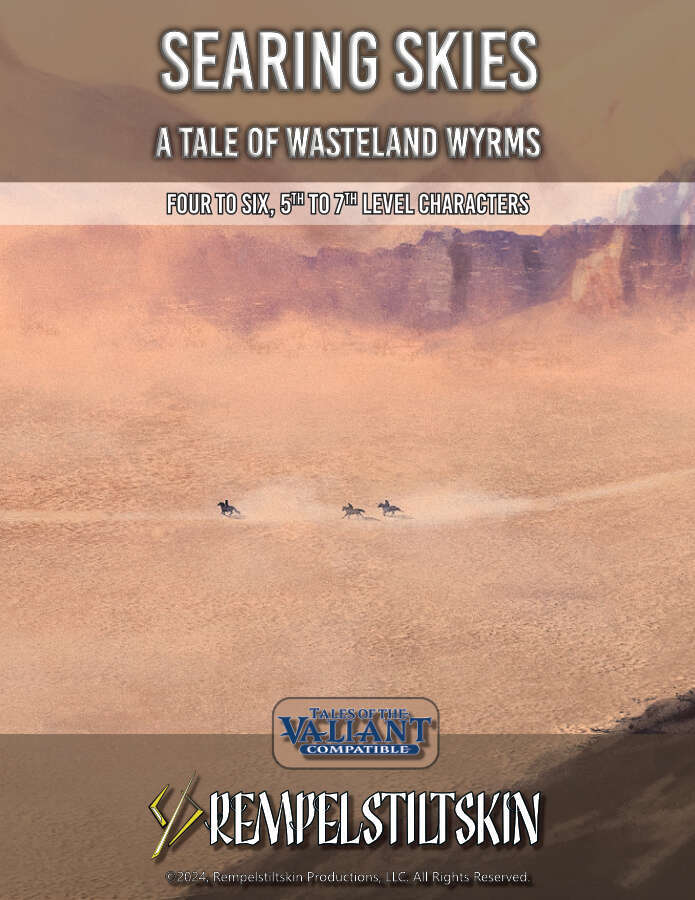
Draconic adventures in the scorching sands! In the desert, the Wyverns gather and move in prides. Their power is fearsome alone, but together almost unstoppable. Their eggs are valuable and sought after by thrill seekers, culinary connoisseurs, and purveyors of exotic pets and mounts. Two large groups—big game hunters looking for trophies and native desert nomads whose culture practices conservation of the Wyverns—are set to clash at a Wyvern Nest. A Sorceress wishes to stop all exploitation of the bestial dragons. These three groups require adventurers to succeed. But who will the adventurers side with? And what of the ruthless mercenary group The Furious Few? This Tales of the Valiant Compatible Adventure Module Toolkit Provides: • one regional map and four location maps to adventure in • Desert Wyvern Ecology and statblocks for various stages of development • Details of the three major factions vying for control of the eggs • A ruthless party of rivals for your players' characters • Over 60 NPC bios to help populate the desert and craft your tale. • Desert Environment rules and hazards

Adventuring in the Principality of Lockerbie continues with Issue in the Canyon. Your party has enjoyed the advantages of being considered a hero but as the days’ progress, it is back to normal in Gormell. After having a bit of ale at the local tavern you notice a wagon caravan has arrived in town and the people are abuzz over their arrival. Noticing that some of employees are a little beat up, you find yourself in the sheriff’s office being told of a brazen, humanoid attack on the merchants. Looks like you just found a job opportunity!

A fiend lurks among the Black Blade goblins. A shapeshifting barghest fashioned by the General of Gehenna to exact revenge on all goblin-kind. It’s aim: to kill as many goblin leaders as possible… A masked goblin approaches the party asking for help. Two tribe leaders are dead. But a rival for chief has control of the crime scene. Will the party discover the barghest among the goblin ranks? Can they stop this imposter before it strikes again? Adventure Overview The adventure’s story is spread over 4 parts and takes approximately 4 hours to play. The adventure begins with a Call to Action scene. Part 1: Goblin Politics. Krill sends his emissaries to implore help from any strong intermediary. The party is asked to investigate the murder of Thrawn in Dringly’s lair. This is Story Objective A. Part 2: The Opposition. Gain entry into Dringly’s lair and investigate the murder of Thrawn. Gather enough evidence to find the killer. This is Story Objective B. Part 3: To The Lair! Now that the players have determined the barghest (Yeep) is to blame, they need to get to Krill’s lair quickly as he is in imminent danger. This is Story Objective C. Part 4: The Barghest.When the players arrive at the lair, they need to get to Krill and expose and defeat the barghest. This is Story Objective D. Adventure Background A barghest named Yeep has begun its onslaught of attacks against the Black Blade goblins. Starting with Chief Gnar, then his second in command Thrawn, the barghest is moving methodically down the line of command. Krill is now chief. But he has some problems: Two leaders of the Black Blades are dead. Who killed them and why? Is he next? Dringly, the next in command, has decided to take his lair for himself, declaring himself Chief of the Black Blades. Who are the Black Blades? The Black Blades are a tribe of goblins in the local area. They are known for dipping their blades in a dark black substance. It is rumored these blades are poisonous. The Black Blades regularly attack passersby on the road to rob them. The Black Blades have two lairs, one run by a chief who leads the whole tribe, and another overseen by a boss lieutenant. The Black Blades have a well-established pecking order which is how Krill stands to become chief. The next in line is Dringly, who has also declared himself chief and wants Krill dead. Krill suspects that there is something suspicious about two leaders being killed within a day of each other, but he has already burned Gnar’s body without any investigation. He needs to investigate the body of Thrawn, but it is in Dringly’s lair. Krill wishes to avoid direct confrontation with Dringly at the present for three reasons: 1) Any violence would only kill his own tribe members and further divide the lairs. 2) He believes there is still hope for negotiation to reunite the Black Blades. 3) He believes that if he were to attempt negotiations himself, Dringly would kill him. This adventure features: Two maps. Ready for your favorite Virtual Tabletop. A full color pdf. A black and white pdf. One custom monster, a reprint of barghest, all others available in the Monster Manual. Four hours of entertainment involving: roll playing a goblin bard, investigating a murder scene, tracking down a barghest before it strikes again. Applicable to any setting.
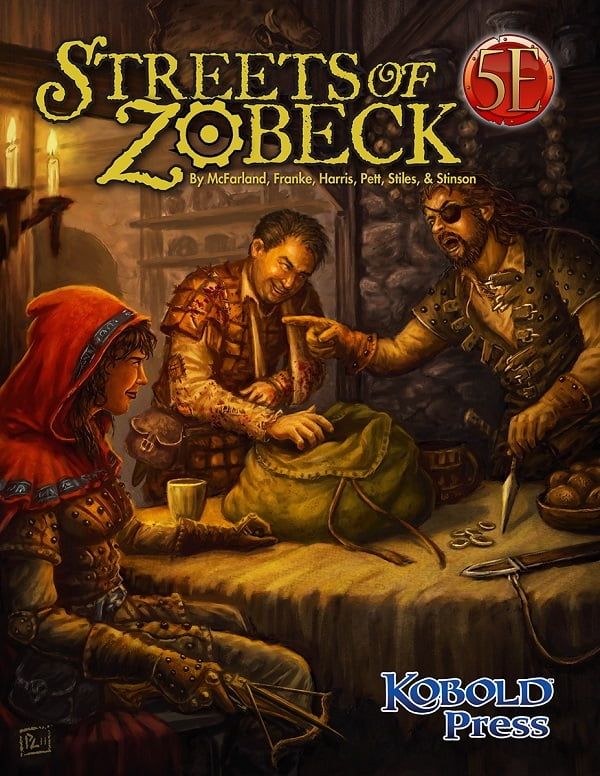
What happens when adventurers become the owners of a brothel? When a roguish associate asks them to attend an oligarch’s party in his place? What lurks in the Cartways besides kobolds? And what will you say when another thief tells you the only way to find a treasure is to become hunted by the Praetors? Dark dealings, my boys, and a knife in the guts might be the price. Whose guts? Might be yours if you cross the wrong one of the Nine. How much evil should be done for the greater good? How many sinful men should die to save a pure soul?

Stagwick’s long-standing peace with giant-kind is threatened as a patrol of Blood Riders spark a feud with a local tribe of giants. With word of strange activity coming from the Ice Spires, Good King Hartwick can’t be too careful. Can you quench the giants’ thirst for revenge?

Synopsis: Goblin Bathwater, a magical drug, has taken hold in a sleepy coastal town at the edge of the Empire. As the characters investigate the origin of the drug, they uncover an international criminal conspiracy, wild and ancient magic, and a threat to reality itself. Contents: This beautifully made, 54-page adventure offers: A fully fleshed out, setting-agnostic starter area, brimming with colourful NPCs and hooks for adventure. Balanced encounters to bring characters to level 2; then some more devious encounters on their way to level 3. Three mini-dungeons built on the design philosophy of the "5 room dungeon method" Multiple big, cinematic set-piece boss encounters what will make your players feel epic. A facetted intrigue, which does not immediately suggest a simple, ready-made solution but invites the players to come up with their own, personal approach. Why pick this adventure? Hey, my name is Marius. This is my first time publishing on the DMs Guild but I wouldn't call myself a newcomer. I started playing Pathfinder 1e back in 2014. When I took over as our group's DM in 2019, we swapped over to 5e. We have run many, many modules and adventures since. Currently I play three games a week. In short: You could say I'm hooked. I created The Goblin Bathwater Incident as the ideal adventure for in-between your big modules, but it isn't a simple little adventure. With a playtime of about 30 hours, it still manages to hit that sweet-spot, where it establishes context, makes you grow fond of NPCs, and makes those big bossfight wins so much sweeter, all without taking more than a few sessions. The Goblin Bathwater Incident is different from many of the 1st tier adventures in that it pits the characters against traps and monsters, but also asks difficult, open-ended ethical questions, where a simple strategy of "apply sword to head of bad guy" will not cut it.

A horror themed investigation of an abandoned village in the Moonshae Isles. Little more than an outpost, Dynnegall is the life-blood of resources that flow from Caer Moray, supporting Ffolk townships across the archipelago. But the supply boat is overdue by almost a tenday and hope is difficult to find. With the recent attacks repelled an opportunity exists to send aid, but who dares to venture outside the walls? Players will investigate an empty village haunted by skulks, who are invisible unless viewed through a mirror. The boss is a sorcerer trying to free the souls of the transformed villagers, but he fails and transforms into an Allip. In the end, the adventurers may attempt to finish his work. Along the way they encounter his mother, an elven warrior who may join them, and fight a few lycanthropes.

People come from all over the Forgotten Realms to view the Light of Two Forks; a miraculous window into another plane. Among this crush of revelers are princes and paupers, sinners and saints, warriors and pacifists all looking to the sky in wonder. From the light comes a storm. After a massive explosion above showers the world with fire and death, a brave few must rise up as Heroes in order to save the people of Two Forks and, perhaps, all of the Forgotten Realms from the ravages of the Undead, a Mechanical menace and something far worse. This 5th Edition Dungeons & Dragons adventure is designed for 1st level characters, and is set in the Forgotten Realms.

The yuan-ti anathema, Hessatali, calls out to his yuan-ti faithful from his prison in the Abyss. His network of vipers has uncovered the ruins of ancient Ss’tatha’lass and the Fane of Hessatali, a fountain of pure venom that will return the demi-god to life. Above the buried ruins of Ss’tatha’lass, yuan-ti agents have moved to control the politics of Scornubel. The characters fall into a complex yuan-ti plot that spans the breadth of the realm, pits the heroes against the forces of the Abyss, and explores the culture of the yuan-ti.

Tales of the cursed pyramid and the sleeping tomb of the Mummy Bride have long been a traveler’s tale, passed along by wayward explorers and greedy plunderers alike. Deep within the verdant jungles of the south, amidst a Green Hell of impenetrable jungle, savage cannibals and ancient myth, lies the shattered remnants of a once-powerful civilization and the terrible gods who ruled over them. Rumors swirl of untold riches and unplundered magic for those brave (or foolish!) enough to claim it. Will your players survive… and what will be left of them? The Jungle Tomb of the Mummy Bride is an old school, grindhouse-style combination of classic role playing adventure and devilishly-designed dungeons for levels 5-7, cram-packed with b-movie goodness to challenge even the most seasoned of adventurers. It’s a module that could only have been made in the primitive jungles of man… where life is cheap! Published by Planet X Games
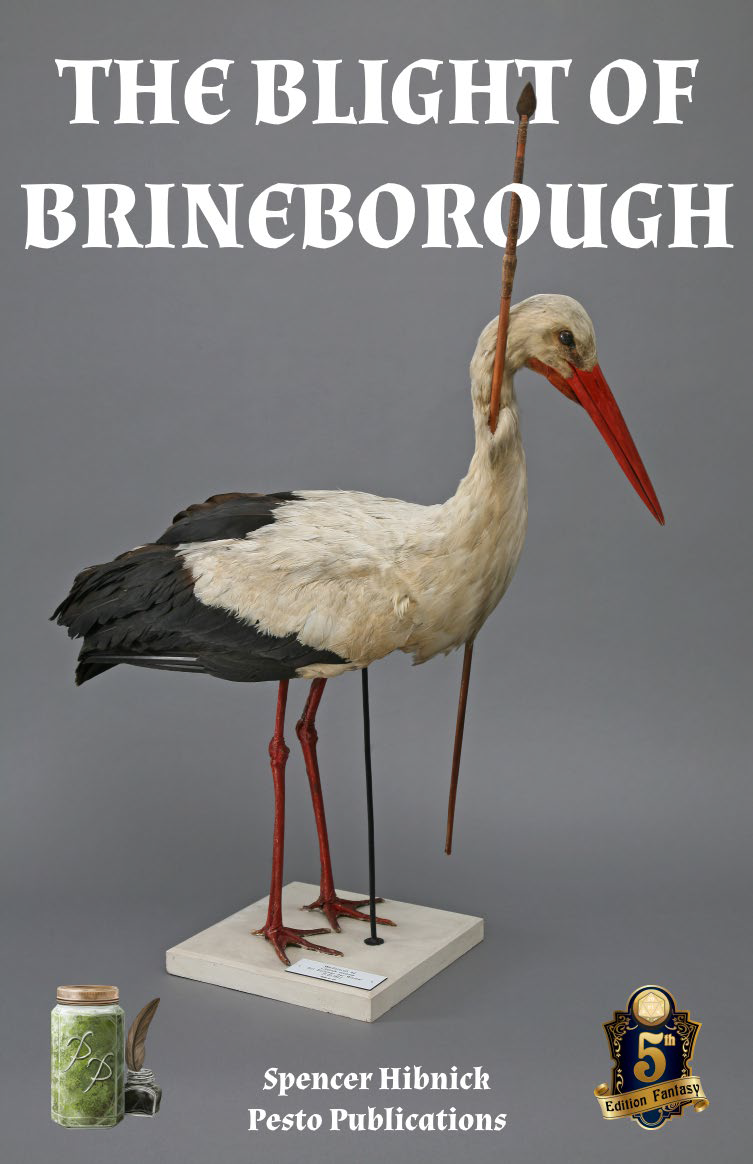
A ghostly bird stalks a fishing village, killing its inhabitants. Solve its mystery and end the threat before it kills again! The Blight of Brineborough is a quest optimized for 2nd-level characters. It features a terrifying monster, two new magic items, and a sea shanty.
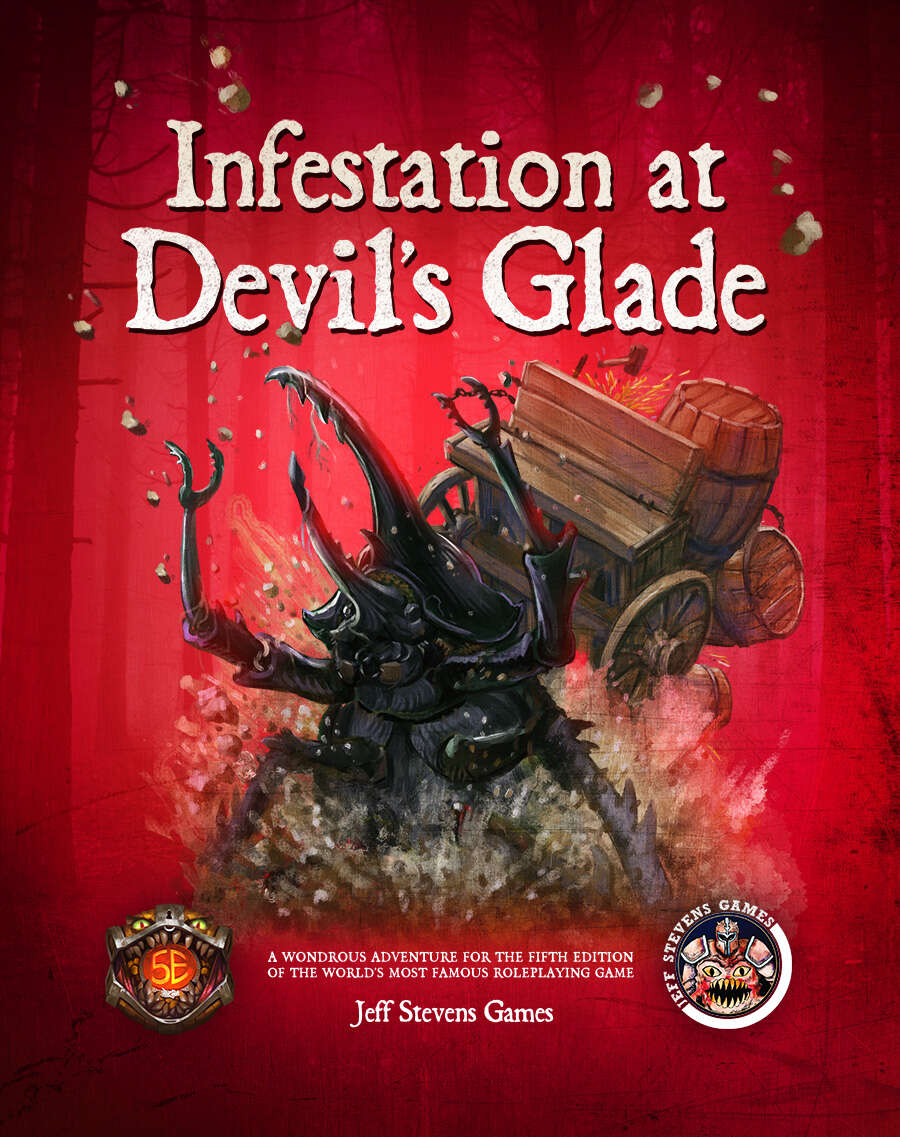
The town of Devil's Glade is under attack! Swarming insects have driven the residents out of their homes and businesses, and giant insects patrol the town square. Who or what has brought these creepy-crawlies to Devil's Glade? What's their motive? Are your heroes brave enough to put an end to the infestation? Infestation at Devil's Glade is a 2- to 4-hour adventure designed for four to five characters of 1st to 4th level, and is optimized for 2nd level characters. Scaling Suggestions are included, allowing you to play this adventure with characters of 5th to 6th level. Infestation at Devil's Glade isn't just a short adventure. We provide you with a location to which your heroes can return, or even use as a home base. The Supplement Includes: Adventure. The main adventure focuses on the heroes cleaning the town of the infesting insects and the villains who brought them. Beginning at The Fork (a tavern where many of the residents have made camp), the characters learn about the infestation of Devil's Glade, and are hired to look into the matter. NPCs. The adventure is filled with fun and engaging NPCs. During the characters' time at The Fork, they have the opportunity to talk with NPCs, help them, and learn more about the infestation. After the heroes return Devil's Glade to normal, the merchants and residents return, giving your characters unique shops to explore and quests to complete. Cursed Mask. The crux of the problem - a cursed mask that slowly transforms the attuned creature into a giant, insect monstrosity, and gives them power over insects. To end the infestation, the adventurers must confront the partially transformed person wearing the mask. Shops & Services. Devil's Glade contains shops and services the characters can explore, including therapeutic mud baths, a diner specializing in eggs, a trinket shop, a candle maker, and a dentist. Side Quests. We provide several side quests for before and after the main adventure, allowing you to increase the main adventure's run-time, and provide you with material for after the main adventure. Maps. The adventure contains maps for the main locations and major side quests. Each map is hand-drawn by Jean Lorber. Art. NO AI! The book is filled with fantastic, original artwork by Matt Morrow Art. Also Included: Map Files. Both grid and non-grid maps are included and available to download. Special VTT Tokens and Assets. Several custom tokens and art assets are included for VTT play.

After turning himself into a manticore, the self-style wizard-artiste, Mortzengersturm, moved to the crystalline peak of Mount Geegaw to practice his transformation magic without interference. You've been hired to snatch his most prized artifact, the Whim-Wham Stone--or at least some of its eldritch light. A menagerie of magic hybrids, a self-absorbed vampire, more than a few hippogriffs, and of course, the mad manticore himself await! It's like a Rankin-Bass stop motion special--except it could end in a total party kill.

The nephew of a once famous adventurer decides to make a name for himself and bites off more than he can chew. Short on options, and worried for his nephew’s life, he needs your help. Travel to the ruins of Dhonin's Lookout atop Standiac Hill to find and rescue the young adventurer. Uncover a plot that could lead to the destruction of the village of Millvein, and even more dire future consequences. Includes: A 3-4 hour adventure for 1st level characters Map of the village of Millvein 2 DM maps Stat blocks for all monsters the players might encounter. The adventure continues in Into the Underdark - Part 2 The Spider's Den

The loss of Skyreach Castle in Hoard of the Dragon Queen was a major setback to the Cult of the Dragon, but still only a setback. The cult is determined to retake the castle and claim Tiamat’s lost treasure buried in its frozen walls and cloudstuff vaults, but they aren’t the only ones. Blagothkus the cloud giant is still the master of Skyreach, and he has gone to the hall of his cousin Brunvild, ice lord of Uldoveld, for the resources to repair and reoccupy the castle. At the same time, the party is dispatched by the Council of Waterdeep to reclaim some of the stolen treasures lost when the castle fell.
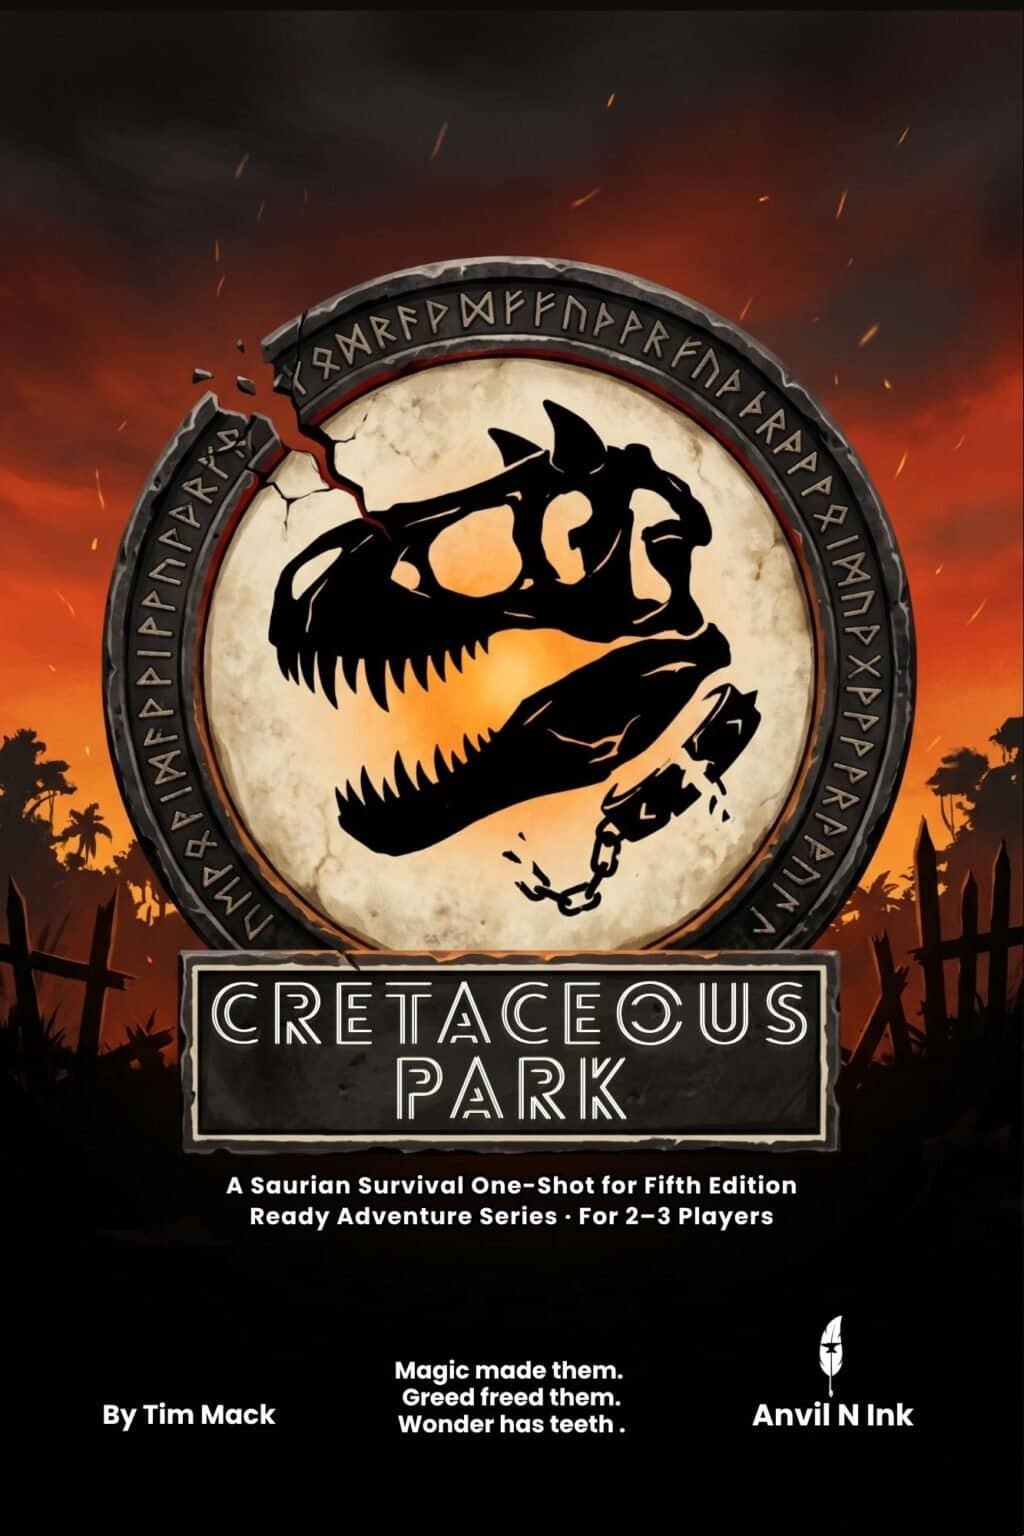
Silas Cusk built a menagerie of magically reconstructed saurians on a tropical island and sold tickets to it. The party arrives as VIP guests on preview day — the same morning Cusk's former partner steals the diamond that powers every containment ward on the island. The wards go dark, the cages open, and the island has two hours before its magical foundations give out and it slides into the sea. A complete, ready-to-run one-shot for a small table: 2–3 players, levels 2–3, one 2–3 hour session, zero prep. Eighteen named scenes across four acts, with a branching second act (a subterranean stealth route or an exposed aerial one) that reconverges so nothing is gated behind the choice. A visible 0–10 tension meter — the Containment Instability Index — climbs as the island fails and sets the severity of the finale. The apex predator is not a villain: it is a construct whose control collar overloaded when the diamond was stolen, and it is in agony, not hunger. The three-phase boss has a discoverable weak point and ends in a single-round choice between three fully written endings — destroy the island's heart, restore containment, or free the beast — none of them clean. Includes 8 SRD 5.1 creature stat blocks, 4 NPCs, 4 ready-made characters (any two form a viable party), 6 battle maps, 6 opening hooks, 6 contingencies, and 5 campaign seeds. Every encounter is tuned and stress-tested for the worst-case small table.
Characters are asked by a local cleric to deliver gifts to a family whose homestead is in the harsh frontier. During the trek they encounter several “spirit forces” that they can overcome through combat, or they can decipher clues to use tropes that suggest some fun, holiday-themed alternatives to combat. Once they reach the homestead, they must plan to secretly deliver the gifts. All of this must be completed in one day’s time before the Winter Solstice ends. This adventure is an homage to the Christmas holiday time, but it is not a traditional “Santa Claus” story. The cast of monsters and NPCs are inspired by European folklore that have contributed to today’s Christmas celebrations. The legends have been mashed into a single, tier 1 D&D adventure, designed for four level 4 characters. Suggestions are given for scaling. Total play should not exceed 4 hours.

Vengeance of the Winter Queen A small town has been attacked by an unknown entity in the midst of celebrating their Midwinter Festival and many of the citizens have been frozen solid. Discover who or what is responsible for the condition of the villagers by entering the frozen catacombs beneath the temple grounds! A 3-5 hour Dungeons & Dragons 5th Edition adventure for 5th - 10th level characters.