Called by the Elder Elemental Eye to serve, four corrupt prophets have risen from the depths of anonymity to claim mighty weapons with direct links to the power of the elemental princes. Each of these prophets has assembled a cadre of cultists and creatures to serve them in the construction of four elemental temples of lethal design. It is up to adventurers from heroic factions such as the Emerald Enclave and the Order of the Gauntlet to discover where the true power of each prophet lay, and dismantle it before it comes boiling up to obliterate the Realms.

Your time at the Riverside Cafe is cut short as you witness the wanted criminal Jessy Jane tearing through the area. As the guards fumble the pursuit you recall a hefty reward for this nefarious woman. What the hell, the Etharia Tea was too hot anyway. Rising from your seat, you head off after the woman!

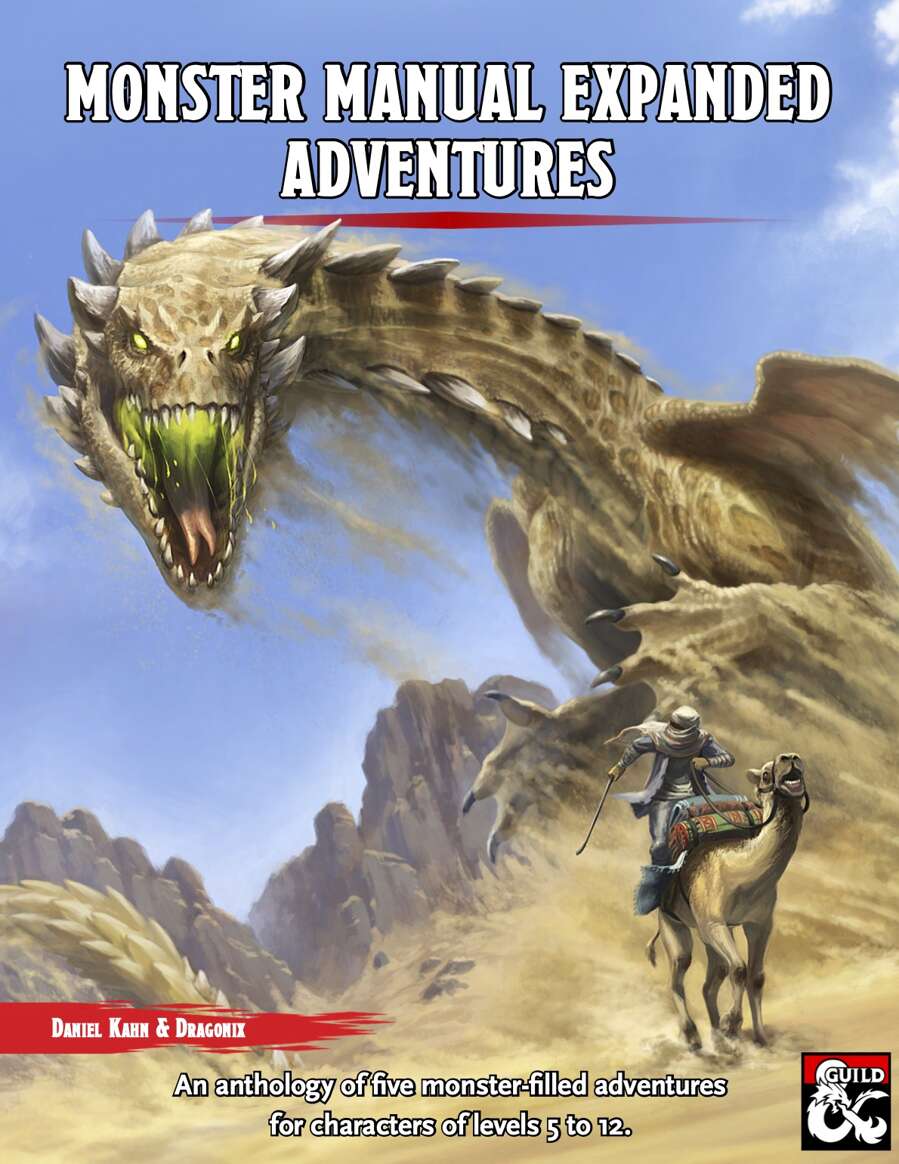
This adventure is designed for the D&D Adventures League Season 5 - Storm King’s Thunder campaign, and is meant to enhance your party’s connection to important events and NPCs. While it is intended for a party of around 6th level, the nature of the quest is such that it fits easily with a higher level as well. It will put your players in contact with Felgolos, the bronze dragon that is encountered in Chapter 9 of D&D Adventures League Season 5 - Storm King’s Thunder, as well as the ancient dragon Iymrith, who plays a prominent role in the main plot. Of course, you can also change names and locations to make this adventure fit into any other campaign world – as long as it has dragons and deserts. Enjoy!

A mysterious tower beckons. Recently a strange tower hidden in the forest was rediscovered, but only one scout returned to tell the tale, but a strange tale of cults, bandits and ghosts it was. Dare our heroes explore this forgotten place? Originally from the Danish convention Fastaval as part of the living campaign, Hinterlandet. Now presented here for the first time in English. It is an adventure with emphasis on exploration and meeting the unknown.

When the water source of the city-state of Guerino is poisoned and its citizens enchanted, a group of adventurers must follow the treacherous path deep into Mistfall Mountain and restore balance to the kingdom. Pgs. 91-97
Two Red Wizards of Thay have undertaken a secret mission into the High Moors east of the Sword Coast. They are searching for something or someone. Whatever their goal out there in the cold and windswept hills, if the Red Wizards want to keep it secret then it is probably best uncovered swiftly for the good of everyone else. Even the mercenaries who escorted them into the wilderness earlier agree: someone should stop them. Pursuing the Red Wizards leads the adventurers to a barrow mound in the wild grasses of the High Moors. At the barrow, they discover the remnants of a wizards' sanctum still being plundered. The fate of its lore and treasures is up to the characters. Without caution, things may get out of hand. This Dungeons & Dragons adventure is written to suit four to six characters of 8th level. With this text and the core D&D manuals, you have everything you need to play. You may also benefit from the Sword Coast Adventurer's Guide to learn more about the High Moors of Faerûn. Made for the Magic: the Gathering set "Adventures in the Forgotten Realms".

Despite the adventurers’ best efforts, more creatures joined under Bad Fruul’s banner. No longer content to simply attack caravans or isolated homesteads, the hill giant warlord descends upon Parnast at the head of a great force of humanoids. SEER warns the adventurers (directly now) in time to rally the town and prepare defenses, but a heroic effort is required to break the siege.

A beloved priest has gone missing, and sinister trouble stirs beneath the Church of St. Terragnis. Can the heroes rescue the victims of an age-old evil before it claims more innocent lives?

This item was originally created for MaceCon 2018 but has been rebranded as part of the Artifact series. The party meets with the religious leaders of Liverpool and are tasked with recovering a three part artifact known as the "apparta". Their journey takes the PCs through time and space with some rather high level obstructions to deal with!
The nearby jungle is growing at a disturbing pace -- overnight, whole villages have been swallowed up by creeping vines. Rumors say the source is a corrupt and powerful temple deep in the jungle. In reality, the blight lords of Talona created a monstrous corpse flower and imbued it with the power of a cursed gem from an ancient temple of their goddess. After the blight lords released it into the forest, the corpse flower bent the surrounding jungle to its semi-sentient whims, recreating the temple out of plant life -- with an insatiable hunger for expansion.
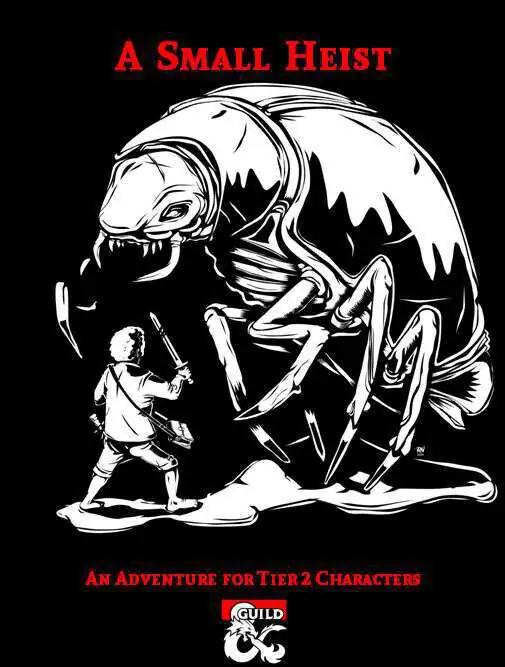
Honey, I shrunk the adventurers! In this adventure, the player characters take on the simple task of stealing a book from a wizard's home while he is away. It's a simple in-and-out heist where nobody gets hurt. The catch? His house is warded, and the only way through the wards is to be the size of a bug. The party's spells shrink to fit their size, so there's no easy way across the back yard to the house. Once in the house, the miniature characters must find their way to the library while avoiding the attention of the house staff, pests, the dust-collecting elementals, and the most dangerous foe of all: The wizard's cat familiar. This adventure is intended for a party of four 7th to 10th level characters.

The Cave on Foggy Hook is the first of three connected adventures in the village of Hookholm and is aimed at busy or first time Dungeon Masters. This adventure is designed for 3-5 1st level characters and can be played in a single 3-5 hour session excluding character creation. In this adventure the party will find themselves in Hookholm, a small coastal village rebuilding after a devastating storm almost wiped it off the map. The village is located on the inner curve of the Foggy Hook, a spit of marshy land jutting into the Grey Sea. Beset by the sort of calamities that new adventurers will be able to sink their teeth into and will offer opportunities for roleplaying, puzzle solving, exploration and combat. Includes 5 maps in a number of variations, a brand new monster in the vicious Kuo-toa Feral, and a new chase complications table for chases through swamps or marshes.
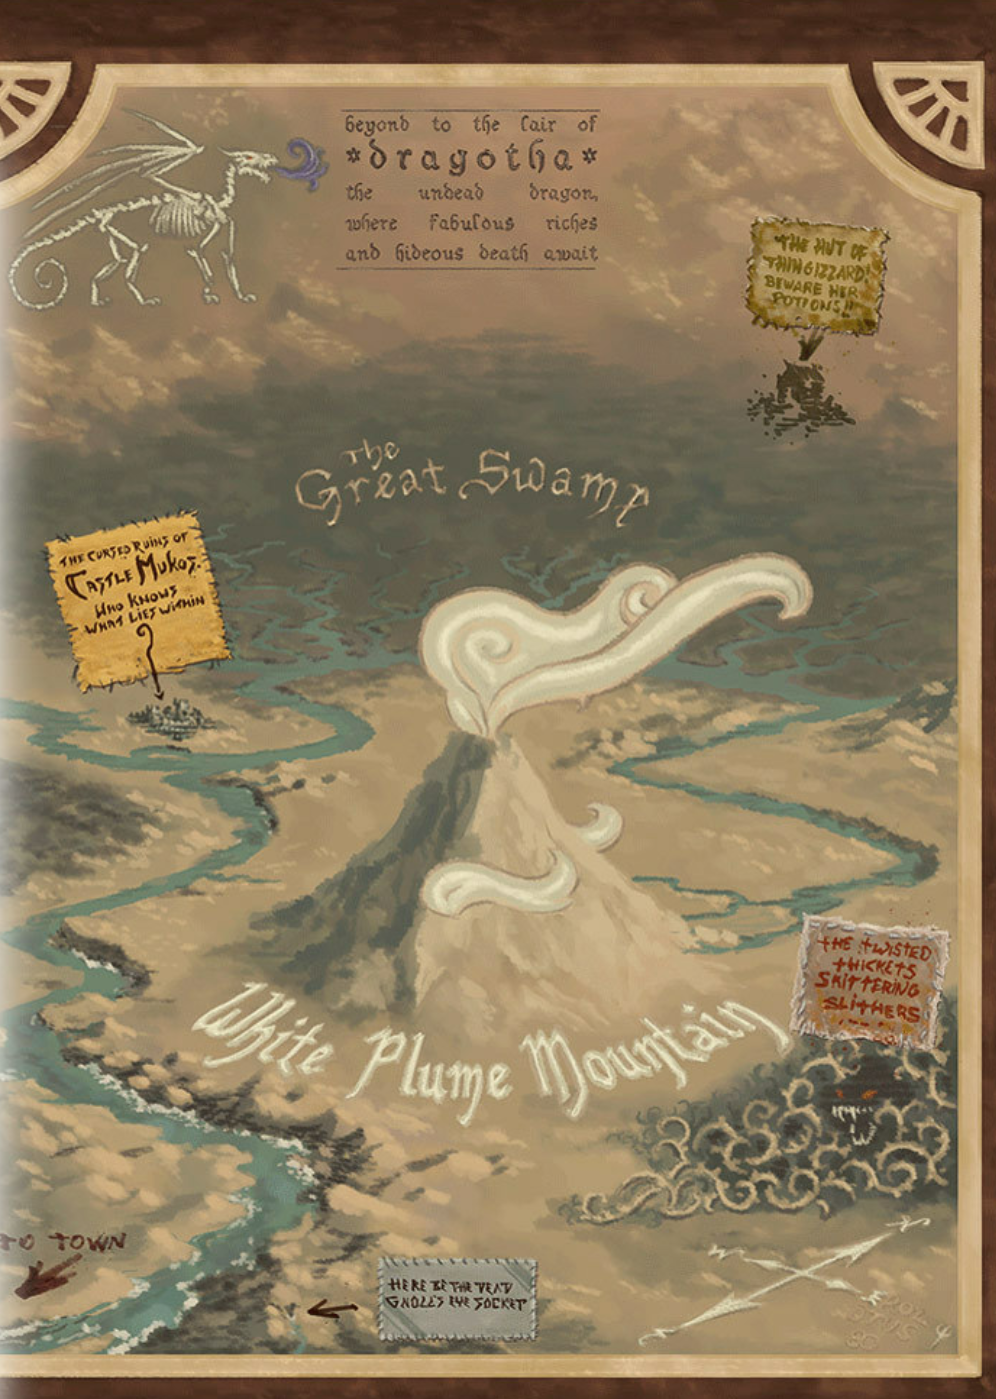
Three artifact weapons have gone missing and you adventurers have been sent after them. Going only by the riddle left on the thief's note, part ransom part guide, You stand before White Plume Mountain, stronghold of the supposedly long dead Wizard Keraptis.
The Ghost Tribe of Orcs have been driven from their home under Wyvern Tor by some terrible evil and have traveled to the top of the hill overlooking Phandalin where they camped last night. Their chief, driven mad by unknown horrors, prepares to attack the city and claim it as his new home. The heroes, who raced to the town ahead of the orc tribe, spend the night helping to prepare defenses and rest when they can. Can the heroes help defend the town or will the orcs wipe out the inhabitants of Phandalin? Once the town is safe, how will the PCs handle a moral dilemma? Orcs Invade Phandalin is the second of four parts in the After Lost Mine series. It will play out the invasion of Phandalin using the new mass combat rules from Unearthed Arcana. Part III will be the trip to the orc’s former cave settlement and then into the darkness beneath. Part IV will have the party deal with the terror from the Underdark that drove the orcs out.

Everyone who’s anyone has heard of Starburn Academy. The elite boarding school is famous for teaching students to excel in magic, history, fighting, and anything else a precocious child in the city of Seledor needs to know. But now, one instructor at the school is using his position to carry out a nefarious plot which is at best unethical and at worst deeply dangerous. The only people standing in his way are a mage with an unreliable reputation and the handful of talented children she picked off the street to infiltrate the school and get the evidence needed to take him down. That is, you.

Off in the wilderness are the ruins of a temple that once belonged to the God of Balance, Tyr. It has long been abandoned by the traditional followers, but it is certainly not empty. A few clever individuals have found a way to harness the magics that still reside deep within this holy place and are attempting to use it to give life to an Iron Golem. The party must stop them at all costs or have a powerful monstrosity released into the hands of some terrible individuals.

A member of the Thieves Guild Ebonclad has betrayed the guild and left a trail of bodies in his wake. The incident leaves the guild in a vulnerable position, and now a cleaning crew is necessary to find the rogue agent and cover the guild’s tracks. The party has to track down and eliminate Rikus Nickol, a guild defector. Rikus violated the honor among thieves when he murdered his teammates and made off with an enigmatic coral tablet that they were sent to steal from a building on the Ohlrise campus. The party is encouraged to retrieve this tablet as well, though eliminating Rikus is the most important goal. The party plays the role of investigators. The mission primarily deals with investigating a botched job on the Ohlrise (College/Wizard) campus, though it culminates in searching for a thief who defected from the guild. The characters are confronted by the rogue agent, forcing them to react to the situation as it unfolds.
"Doom Croaker's Branches" is a lindwurm lair suitable for four or five 4th level characters. This adventure can be completed in one session.

Characters are inducted into the Clifftop Adventurers’ Guild with a literal leap of faith, playing the notorious freefall game Sharn Chicken—who will be the last to activate their feather fall talisman? As new members of the guild, they are then tasked with collecting an artifact, tied to the fires of Fernia, from an artificer in the deep forge districts of Sharn. Within the Cogs, the characters find the item has not even been finished—the warforged employees of the forge are on strike! In order to resolve the strike, characters might join the protest, seek allies among the warforged locals, or earn the crew some street cred by taking part in an underground wrestling match. Once the warforged have returned to work, the party must help an artificer stabilize the magical forge while being attacked by emerging fire elementals. Finally, once the prize artifact has been constructed, the characters fight their way past an ettin enforcer for the monstrous Daask crime syndicate.

When a Thayan research expedition returns from the Glacier of the White Wyrm with only two survivors that are reduced to whispering about an ancient pyramid under the ice, perhaps it is time to discover just what scares the life out of a nation of necromancers. The events of DDEP2 Mulmaster Undone resulted in terrible geographic upheaval all around the southeastern region of the Moonsea. Massive landslides, earthquakes, tidal waves, and gnashing tornados devastated the land and the city of Mulmaster was nearly scrubbed from the face of Faerun. Fortunately, these events also revealed previously hidden artifacts—trinkets, mostly—from the ancient Netherese all around the city. The Thayans have long held an interest in the port city and wasted no time in assisting in the rebuilding efforts. They simply asked that a blind eye be turned to their archaeological interests, and in return they would continue to spend their own resources (at no expense to the Mulmasterites or even the High Blade) to rebuild the city, bigger and better than before. It wasn’t long before their interests paid off with the discovery of a research laboratory beneath the Glacier of the White Worm, far to the east of Mulmaster and nestled in the mountains. The Thayans sent a sizable expeditionary force but only two acolytes returned. The visiting Zulkir has found this particularly troublesome, and with the assistance of Rastol Shan, the head of the Cloaks, has arranged for a mercenary force to perform a more pointed investigation of the area. In return the Thayan noble has promised significant compensation. Upon arrival at the dig site, the characters are quick to discover that the laboratory hides ancient and palpable evil. The purpose of the facility can be discerned with careful investigation, and the effect of the still-active fragment of the Dark Obelisk has empowered (some may say attracted) servants of the Worm that Walks. Danger and death await, certainly, though the characters always have the option of running away and living to fight another day…