In what became known as the Age of Madness, an astral lich calling himself the Crimson Hand descended from the sea of stars, setting his fell gaze upon Gaea. Her red moon he made both his temple and his phylactery, and from there he sought to enslave those who would be ruled and devour those who would not. The Ancients of the four corners of Gaea united their knowledge against this threat, constructing a colossal golem, and inscribing the four POWER WORDS upon four scrolls. These scrolls they fed to the colossus, who ascended to the crimson moon in an instant. The sages of the realm watched as the flashes of battle signaled in the night sky, ending as the crimson moon itself split in half. The lich and the colossus were destroyed, and the Age of Madness was ended. Millennia have passed, and now a new threat rises from the netherworld. The four POWER WORDS have been forgotten, lost among the shattered remnants of the moon. The sages have once again united what remains of their power, this time to teleport a paltry handful of crusaders to retrieve the lost scrolls before the world is doomed.

A cadre of githyanki has come to the world in search of rich plunder and soft targets. It has set up a base in the lower levels of an abandoned fortress ruin. A caravan of travelers spotted a githyanki while it hunted for food. Rumors of an invading army from the Astral Sea quickly spread through nearby towns, and the PCs have arrived to investigate. Pgs. 84-89
The Bloody Maul of Kord is a magic weapon protected by the priests of Kord, who occasionally allow a noteworthy hero to use it when going on a dangerous quest worthy of the storm deity’s blessing. Six months ago, Atrimos of Ardor took the Bloody Maul for a quest to the Caverns of Demise, hoping to end attacks to the realm being launched from the caverns. He never returned. Now, the clerics of Kord hire the PCs to go into the caverns to retrieve the Bloody Maul of Kord—and to find Atrimos, if possible. Pgs. 108-113

Uncover a Hidden Legacy A lost passageway on the upper level of the most infamous dungeon in Faerûn has recently been uncovered. When a patron hires a band of adventurers to brave the dangers of Undermountain, a search is on to uncover secrets of an apprentice of the dungeon’s lost creator – Halaster.
Jelendra, a tulani of summer, has gathered a small following of dark fey creatures to help her get revenge against the Highridge Arcane eladrin elders. When they had the nerve to question her interest (they called it “obsession”) in the destructive power of the Wild Hunt, Jelendra flew into a rage and stormed out of the Highridge Arcane. Now, she controls a fane to an ancient spirit of the Wild Hunt. Not knowing what became of her, the elders ask the adventurers to find Jelendra. “Let her know that she is missed, and we want her to return home,” one elder says. Pgs. 114-119
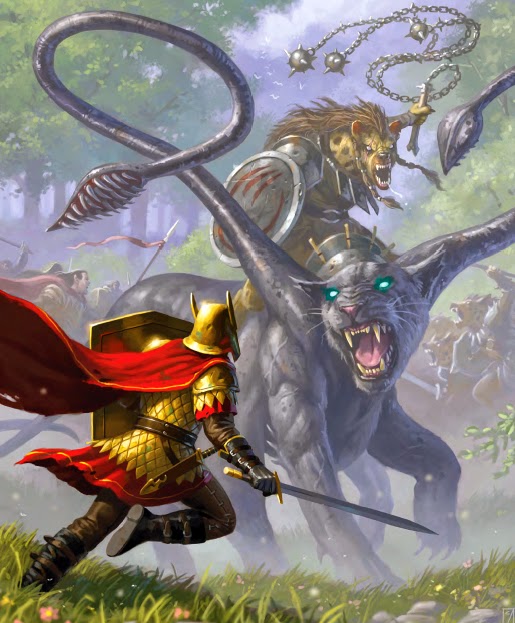
A proud paladin’s quest for glory against marauding orcs ends in tragic failure with his disappearance and presumed death. Worse still, an artifact of his faith entrusted to him has gone missing. Can the adventurers reclaim the artifact and force an end to the hostilities, or will the brightest beacon of good in the Western Heartlands be extinguished? Pgs. 28-43

On the outskirts of town lies an ancient temple to an unknown deity. Periodically, undead creatures issue from the catacombs beneath it. The party receives a commission from the city elders to venture into the catacombs and exterminate the undead. Pgs. 64-71
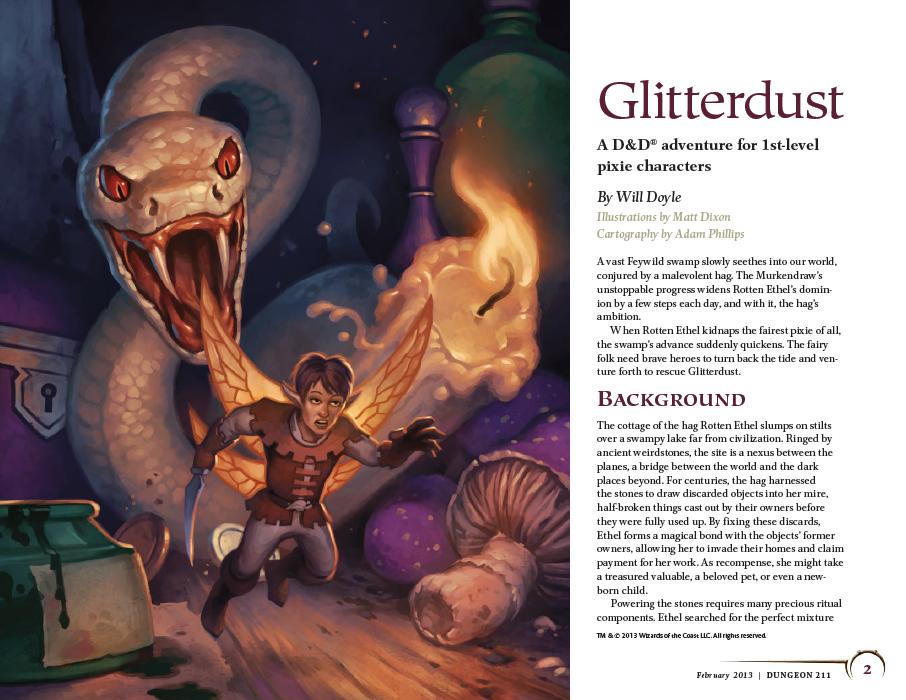
A vast Feywild swamp slowly seethes into the mortal world, conjured by a malevolent hag. The Murkendraw's unstoppable progress widens Rotten Ethel's dominion by a few steps each day, and with it, the hag's ambition. When Rotten Ethel kidnaps the fairest pixie of all, the swamp's advance suddenly quickens. The fairy folk need brave heroes to turn back the tide and venture forth to rescue Glitterdust.
The rough ground on the outskirts of the village of Col Fen once served as a graveyard for an evil temple destroyed long ago. A recent disturbance released some of the ancient evil buried here, and now the dead in this graveyard are beginning to walk. Several villagers have already vanished and more will die if the undead are not put to rest. Pgs. 56-63

“The Shadow Rift of Umbraforge” is a sequel to “Siege of Bordrin’s Watch” and the third part of the Scales of War Adventure Path. In “Siege of Bordrin’s Watch,” the PCs discovered that dark creepers had sold arms and tactical intelligence to the orc war chief Tusk, aiding him in his attack against the folk of the Stonehome Mountains. In this adventure, the PCs investigate the link between the orcs and the dark ones, stumbling into an armsrunning operation that takes them to the Shadowfell in order to finally confront the charismatic figure behind it. Pgs. 4-53
The Raven Queen’s servants often seek out mighty allies. One of these is the black dragon Quetzallus, who resides in a deep cavern on the Shadowfell guarding a stream of souls flowing into the Raven Queen’s realm. But a death knight named Raxikarthus, betrayed by the Raven Queen in life, now seeks to enslave this dragon for his own purposes. He madly believes that he can stand against the Raven Queen, and seeks allies of all stripes—even her own servants—to do so. The death knight has found a pathway into the Shadowfell thought closed by mortals. Beneath a decayed keep, the undead dragonborn has reopened this portal and led his forces into the Shadowfell itself. The PCs are called in to beard the death knight in his lair. They find it abandoned, but discover a strange passage in the lower reaches. Pgs. 162-167

In this adventure, the Lord Commander of the Sharn Watch hires the heroes to investigate the murder of an actress. The investigation quickly spirals into a bloody dispute involving a dead wizard’s spell-book, political rivalries, and secrets that might foment war among the Five Nations. Pgs. 1-37
The adventurers have delved into the Abyss to strike at the Demon Lord of Undeath, Orcus. On the layer of Thanatos, the Blood Lord has many outposts from which he spreads his corruption. One of his primary lieutenants is Doresain, the Ghoul King. If the PCs kill Doresain in his lair, they will strike a real blow against the foul demon lord. Pgs. 174-179

Long rumored to be haunted by eerie specters, Kincep Mansion has stood for years, mostly untouched by nearby townsfolk. Now something is preying on the local villagers—something that comes from the house. Pgs. 46-69

Orcus, the Demon Prince of Undeath, craves the power of the Raven Queen and mastery of death's domain. The key to his ascension and the secret to his destruction lies buried in the heart of the Abyss. As heroes chase Orcus into the abyssal depths, evil opposed them at every turn, and each victory brings them closer to their final fate. Concluded the epic series of adventures and the entire story line begun in Keep on the Shadowfell.
The PCs have traveled to the Nine Hells to confront an outpost of devils responsible for slave raids on their homeland. In this realm of burning ash and fire-streaked skies, the infernal legions prepare constantly for war. Pgs. 138-143

Something stirs in the dark heart of the Warwood, and in response something stirs in the stars. A simple encounter with bandits on the road leads the PCs to a frightening place where even dreams are deadly. Cultists seek to free the soul of a terrible entity from beyond the stars. The PCs must retrieve the soul vessel of a long-dead evil paladin to stop cultists’ plan from coming to fruition. Pgs. 60-92

When Monsters threaten the village of Crystalbrook, it's up to adventurers to track down where they're coming from. The investigation leads them on a journey across planes. In the Feywild, the heroes must explore an enchanted island garden and unravel the plot of a foul hag, before she and her fiendish companion can perform a ritual to seize control of the island. "Beyond the Crystal Cave" is a Dungeons & Dragons adventure designed for the winter 2011 season of the D&D Encounters official play program. This season incorporates character options from Player's Option: Heroes of the Feywild, and it comes with three full-color maps, thirteen ready-to-play encounters, and information on the D&D Encounters program. Originally found in Dungeon Magazine #211 now available as a stand-alone adventure. Pgs. 63-122

This deluxe adventure takes heroes into the ruins of Gardmore Abbey, a monastery that was once the base of a militant order of paladins devoted to Bahamut. According to legend, the paladins brought a dark artifact back from a far crusade and stored it in their abbey for safekeeping, and evil forces gathered to assault the abbey and take it back. What the legends don’t tell is that this artifact was actually the Deck of Many Things, a force of pure Chaos. This adventure brings characters into the extensive dungeons beneath the ruins - dungeons that are warped and twisted with the raw forces of Chaos surrounding the cards of the deck.

While camping in the wilderness, the characters find a tracker surrounded by wolves. Once the heroes dispatch the beasts, the tracker reveals that she is seeking aid in the fight against the darkness enfolding her community, Silver Lake. Should the characters help, they find the village terrorized by lycanthropes that hail from a tiny island rising from the mist-shrouded lake.The island is a fey crossing, and heroes who set foot on it find themselves in the Feywild, where a war is brewing; the lycanthrope clans are at each other’s throats, and many are turning their feral eyes outward to the rich lands beyond their secluded valley. To avert an unimaginably savage war, the heroes must rescue a werewolf lord from his captors and expose the conspiracy that threatens to drench the Feywild in blood...