
In this adventure, the player characters discover the illegal actives of an ambition Red Wizard operating out of an enclave in a small town. This adventure is short and a great way to introduce players to Red Wizards. For a group willing to use diplomacy fighting they can cut down there combat. The adventure is found on pages 284-287
When Pathfinder Colm Safan entered the Nethys-linked heart of the fabled dungeon known as the Ravenous Sphinx, the Pathfinder Society expected to solve one of Osirion's greatest riddles. Months passed with no word from Safan, and you and your fellow Pathfinders find yourselves dispatched into the desolate wastes of Osirion's notorious Parched Dunes to find the sphinx, find Safan, and uncover the mystery he sought. With a band of cloaked riders on your trail and a trap-filled dungeon ahead, will you solve the third riddle before time runs out?

A supernaturally powerful storm, mudslides, and agitated dinosaurs are the least of the worries in the tropical village of Mora. The village's spiritual leader, the Zombie Master, has gone missing, and now undead rise from sodden graves and the village matriarch lies dead, murdered by her own son. What dire menace awaits in the flooded catacombs below? Set on the infamous Isle of Dread.
The PCs find themselves besieged by marauding elves in a wilderness trading outpost. Can they organize a defense of Outpost Three against the elves and their sinister allies—and figure out why the elves attack night after night? Pgs. 32-50

This adventure can be used as stand-alone or continuing the arc started by Death in Freeport. Terror in Freeport leads the PCs deeper into the intrigue they began to glimpse in Death in Freeport. The investigation takes them from the corridors of power to the bowels of the underworld, with terrifying insights into who really controls the city. They discover that the Brotherhood of the Yellow Sign has its claws in the town's power elite, but thanks to some clever camouflage by Sea Lord Drac. they may not find out just whom the serpents control until it's too late. As the adventure begins, the PCs are contacted once more by a very nervous Brother Egil. He tells them that while staying with Lucius one evening, he awoke to find a burglar in the roomstealing a scroll. Egil is certain that the Brotherhood have penetrated further into Freeport than anyone imagines. He wants the PCs to investigate Milos's other ties to the city and find out what's being done about the temple of the Unspeakable One. The PCs search the cultist's lodgings and discover it has been carefully gone over, and several possibly incriminating books are missing. But the burglars overlooked one thing: a Tome with a diagram of the Lighthouse of Drac sketched onto the back page, marked with the letter V. Upon leaving Milos's lodgings, the PCs come upon a gang of orcs beating up a hapless messenger. They lend a hand, only to discover they've been tricked - the messenger makes off with Milos's book! A chase through the back streets leads them to the boarded-up building the y discovered in Death What they find isn't encouraging. There is a guard posted out front, courtesy of "V"- -Verlaine. head of the Captains' Council. Meanwhile, down below, the cultists continue to have the run of the caverns-— in fact, they have been shipping their unholy relics to Verlaine's own home!

Dragotha's phylactery lies hidden somewhere in the ruined city of Kongen-Thulnir, a ruin now inhabited by tribes of giants and besieged by an army of dragons desperate to claim the phylactery for their undead master. "Kings of the Rift" is the tenth installment of the Age of Worms Adventure Path, a complete campaign consisting of 12 adventures, several "Backdrop" articles to help Dungeon masters run the series, and a handful of poster maps of key locations. For additional aid in running this campaign, check out Dragon's monthly "Worm Food" articles, a series that provides additional materials to help players survive this campaign. Issue #342 of Dragon presents several magical items that the PCs can construct using Item Creation feats that fit into the mythos of the Age of Worms Campaign. Pgs. 52-86
Shadows in the forest deepen as an Oracle among the Yuirwood's half-elf inhabitants fire tells the reemergence of the Duskwalker, an ancient and corrupt star elf wizard. Missing travelers and lost goods all point to a circle of standing stones within the forest. Perhaps, like it's counterparts elsewhere in the Yuirwood, this stone henge allows for travel to travel to another place - but where? And what growing darkness awaits those bold enough to find out?
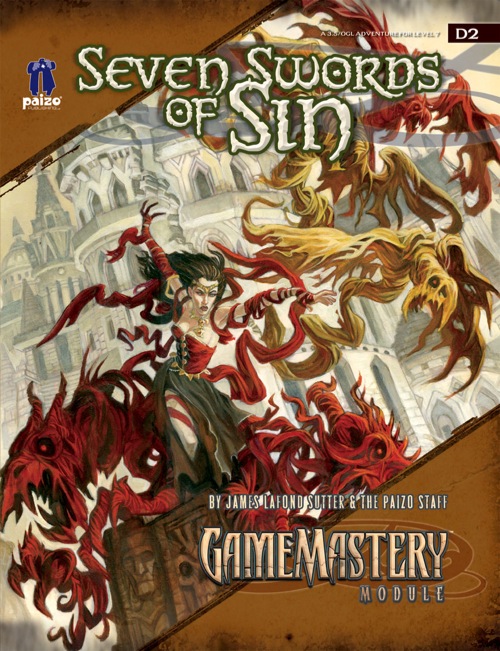
Long hidden away in remote vaults and guarded by powerful wards, the ancient Seven Swords of Sin have been stolen and brought together again for a terrible cause. Seven Swords of Sin is a lethal adventure that pits players against a vile enchantress, Tirana, in a trap-laden and monster-guarded dungeon. Only the brave (and perhaps foolish) can survive Tirana's lair and rescue the fabled Seven Swords of Sin from her heinous plot to unlock their deadly powers.

The PCs follow the trail of some particularly competent kobold thieves to the lair of a dragon cult deep in the swamp. There they discover efforts underway to grant sentience to the skeleton of a powerful red dragon once named Flame. Eventually the PCs determine that trouble has returned to the Western Mountains in the form of a band of fire giants ruled by a clone of the original red dragon named Flame.

A handful of would-be adventurers gathers to explore an ancient tomb, eager to trade their discoveries for a ticket to a better life. What they find within presages the advent of the Age of Worms, an era of darkness, decay, and writhing doom. "The Whispering Cairn" is the first installment of the Age of Worms Adventure Path, a complete campaign consisting of 12 adventures, several "Backdrop" articles to help Dungeon masters run the series, and a handful of poster maps of key locations. For additional aid in running this campaign, check out Dragon's monthly "Worm Food" articles, a series that provides additional materials to help players survive this campaign. Pgs. 14-47

An investigation into a wizard's disappearance leads to tangles with an unusual mermaid soothsayer and her obedient servitors, a tattoo-covered magical ghoul, and the deadliest necromancer the city of Marsember has ever known. Pgs. 34-53

Deep under the ruins of Maure Castle lie the Chambers of Antiquities, vaults designed by ancient wizards to store magic items even they didn't quite understand. A continuation of last year's hit "Maure Castle." This adventure is set under the infamous ruins of Maure Castle, a monolithic edifice of night-black granite built by a powerful family of wizards. The Maures sealed themselves into the dungeons below their castle long ago, and today these dungeons have become one of the most infamous adventuring sites in the land. Although estimates have placed the number of monster-infested and trap-haunted dungeon levels below Maure Castle at 17, there may in fact be even more. This adventure presents one of those dungeon levels in detail. Pgs. 76-101

The Free City: a shining gem in the crown of cultured civilization. Beneath the surface of this bustling metropolis is a rot, festering in the darkness, manipulating the lives of those unaware of its presence. Now a small adventuring band from out of town may be in over their heads. Their actions in Diamond Lake have attracted the wrath of one of the city’s hidden masters. A gang of infiltrators and an enigmatic mastermind plot their destruction, and only tracing the rot to the root can stop the onslaught. "The Hall of Harsh Reflections" is the fourth installment of the Age of Worms Adventure Path, a complete campaign consisting of 12 adventures, several "Backdrop" articles to help Dungeon masters run the series, and a handful of poster maps of key locations. For additional aid in running this campaign, check out Dragon's monthly "Worm Food" articles, a series that provides additional materials to help players survive this campaign. Check out issue #336 of Dragon for five attractions to tempt your PCs to spend some of their hard-earned loot. This issue of Dragon also features an Ecology of the Spawn of Kyuss, one of the central creatures featured in this campaign. Pgs. 34-60

When an attempt to arrange an early inheritance backfires, a man of lesser ambition than Vanthus Vanderboren would no doubt withdraw into his sister's manse to hide under her skirts and pray that the truth of his patricide remain hidden. Fortunately for Vanthus, lack of ambition has never been a problem. Now the Vanderobrens' prodigal son slinks east along the coast of Blood Bay, lured by rumors of an incredible prize kept in a smuggler's hideout called Kraken's Cove. Yet what he is destined to find there is far more than a lucrative bit of banditry. What awaits him is the savage tide. "The Bullywug Gambit" is the second chapter of the Savage Tides Adventure Path, a complete campaign consisting of 12 adventures appearing in Dungeon magazine. For additional aid in running this campaign, check out Dragon magazine's "Savage Tidings" articles, a series that helps players and DMs prepare for and expand upon the campaign. Issue #349 of Dragon magazine looks into the region surrounding Sasserine, and provides useful information if your PCs wish to explore this area more thoroughly than they do in the course of this adventure. The hidden caves of Kraken's Cove have long served the pirates of the Crimson Fleet as a place to stage their smuggling operations. When their latest cargo backfires, the PCs find themselves faced with something far worse than murderous pirates. Pgs. 12-48
Every seven years, the elven village of Mellorell hosts the Festival of Life, an opportunity to trade, shop, and celebrate with the folk of nearby lands. But a dark secret that could cost the life of fairgoers draws the heroes into a plot that leads all the way to Hades. The core of the adventure is a short thirteen room lair with grimlock guards, a basilisk pet and Malifustal the Night Hag, who guards a portal to Hades. Pgs. 12-33

Smoke still rises from the shattered buildings and ruined streets of the troubled town of Cauldron, yet if not for the actions of a band of heroes, it would not exist at all. A sinister cabal of cultists bent on plunging Cauldron into the prison plane of Carceri had awakened the volcano below the town, and amidst the attacks of dragons and fiends from the outer planes, these heroes were able to evacuate the city and then strike at the cultists in their lair near the volcano's heart. Now, this cult, the Cagewrights, lies shattered, their members put on the defensive for the first time. All that remains is to finish the job, but the surviving Cagewrights still have some surprises left in their mysterious stronghold under the snake-haunted ruins of Shatterhorn. "Strike on Shatterhorn" is a Dungeons & Dragons adventure designed for four 18tth-level characters. This adventure is part of the Shackled City Adventure Path that began with "Life Bazaar" (Dungeon #97) and continued with "Flood Season" (Dungeon #98), "Zenith Trajectory" (Dungeon #102), "The Demonskar Legacy" (Dungeon #104), "Test of the Smoking Eye" (Dungeon #107), "Secrets of the Soul Pillars" (Dungeon #109), "Lords of Oblivion" (Dungeon #111), "Foundation of Flame" (Dungeon #113), and "Thirteen Cages" (Dungeon #114). The Adventure Path concludes in Dungeon #116 with "Asylum." Pgs. 56-82
A short adventure for the Midnight campaign setting from Fantasy Flight Games. On a mission to retrieve information important to the resistance, the adventures get caught up in struggles between factions of the Shadow.

Clues discovered in Diamond Lake lead to the Dark Cathedral, a forlorn chamber hidden below a local mine. There the PCs battle the machinations of the Ebon Triad, a cult dedicated to the three vile gods. What does the Ebon Triad know about the Age of Worms, and why are they so desperate to get it started? "The Three Faces of Evil" is the second installment of the Age of Worms Adventure Path, a complete campaign consisting of 12 adventures, several "Backdrop" articles to help Dungeon masters run the series, and a handful of poster maps of key locations. For additional aid in running this campaign, check out Dragon's monthly "Worm Food" articles, a series that provides additional materials to help players survive this campaign. Issue #334 of Dragon provides comprehensive lists of all the things you can find for sale in Diamond Lake's (often) dubious shops. Pgs. 16-47
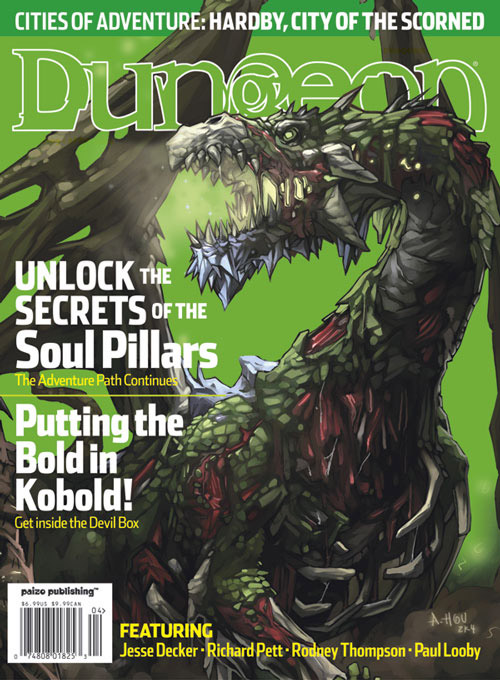
"The Devil Box" is a D&D adventure suitable for four 2nd-level PCs, although it can be modified for parties of 1st or 4th-5th levels as noted int the "Scaling the Adventure" sidebar. Characters completing the adventure are likely to advance to 3rd level. Much of the action takes place in a small town during a festival; this town can easily be dropped into an existing campaign. Since "The Devil Box" expects the PCs to deal with kobolds as temporary allies, it throws in some ethical dilemmas for good-aligned characters. Paladins and good-aligned clerics my have difficulties with such an alliance, but kobolds are definitely the lesser of the two evils involved in this adventure. If the party spurns the assistance of potential kobold allies, you may wish to modify the adventure to make it a bit easier on the player characters, as encounters have been written with the assumption that the heroes have a little help. Uploader's note: A hilariously creepy adventure involving a circus (freakshow), with in style illustrations! (Grid maps included, but not separate maps.)
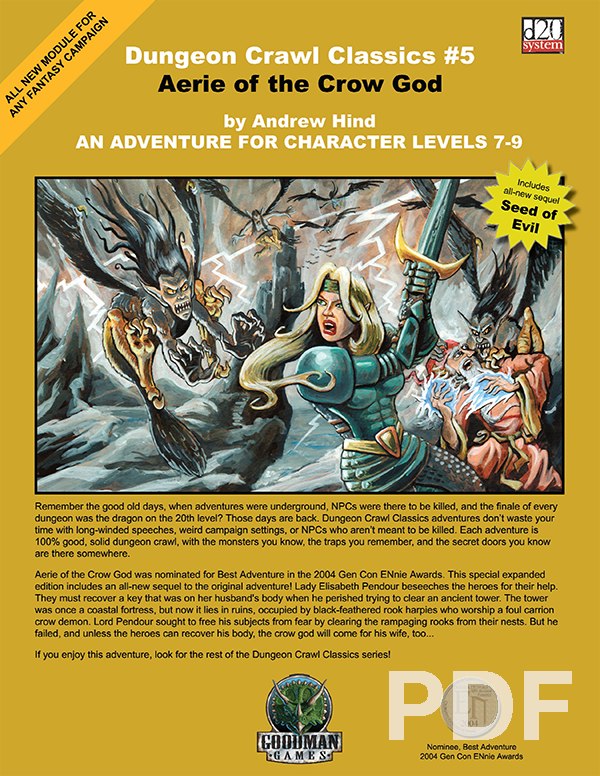
Lady Elisabeth Pendour beseeches the heroes for their help. They must recover a key that was on her husband’s body when he perished trying to clear an ancient tower. The tower was once a coastal fortress, but now it lies in ruins, occupied by black-feathered rook harpies who worship a foul carrion crow demon. Lord Pendour sought to free his subjects from fear by clearing the rampaging rooks from their nests. But he failed, and unless the heroes can recover his body, the crow god will come for his wife, too…