
*THIS IS A D&D NEXT/5E PLAYTEST ADVENTURE* Imani, a Turmishan wizard and former adventurer, seeks the aid of heroes to infiltrate Dretchroyaster’s lair and recover the Diamond Staff of Chomylla—the key to powerful magic and wisdom locked away for thousands of years. In addition to his own sagely interest in the lore of lost Uvaeren, Imani recognizes the dangers of such powerful magic falling into evil hands. The dracolich has secured the staff in his lair’s cen- tral chamber, using ancient wards of protection that can be bypassed only by four artifact-idols once belong- ing to a cult of Bhaal. Each group of adventurers enters the dungeon through a different section of the dun- geon—a forgotten temple of Bhaal, a vast underground lake, a troglodyte village, or Dretchroyaster’s vaults. Dretchroyaster’s lair is no simple set of caverns and ancient ruins. It sits atop a source of great power and energy, which the dracolich and his Cult of the Dragon allies hope to use to unlock the secrets of the staff. Only by undertaking a unified assault against Dretchroyas- ter’s lair can the adventurers hope to recover the Diamond Staff and survive the dracolich’s fury. The adventurers must make their way through the lair and recover the Bhaalite idols that will help unlock the Diamond Staff, all the while dealing with the lair’s creatures and avoiding the dracolich as he pur- sues intruders. Entering the Chamber of the Diamond Staff, the heroes must overcome its magical wards and claim the staff before being slain by the dracolich and his servants.

The denizens of the Old City have made some unusual sightings in the festering refuse pits on the outskirts of the city, and while such reports are seldom taken terribly seriously, the mysterious disappearance of a beloved figure in the poor part of Port Nyanzaru has folks on edge. Can you get to the bottom of this? Part One of The Rot from Within Trilogy.

Protect the Future! At the height of Netheril's power, the fortress of Spellgard held many great secrets of the Empire of Magic. Now, only ruins remain... and one last guardian, the near-mythical Lady Saharel, whose prophetic visions draw the desperate and the doomed from across Faerun. But a dark presence in one of Spellgard's intact towers wants to control the power of prophecy for itself and remake the future in its own image.
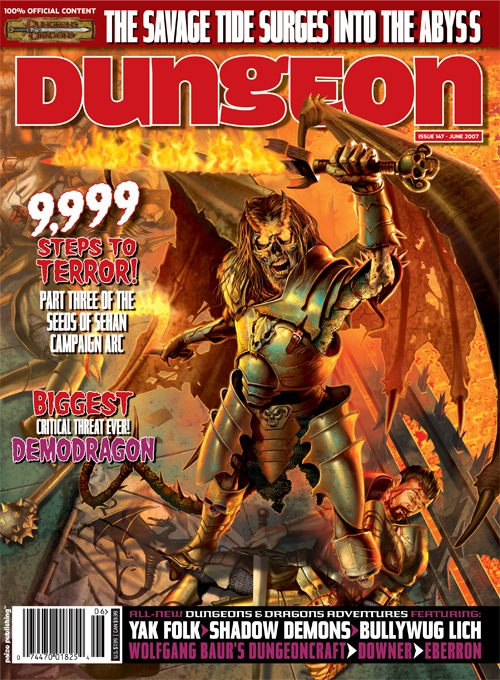
Few planes possess the raw malevolence of the Infinite Layers of the Abyss. It is a place of random violence, appalling cruelty, and pure, unadulterated wickedness. Here, unreasoning malice rules, and countless demons torture and murder for the joy of it. The Abyss is innovative in its wretchedness, with each fleeting moment birthing new and awful psychotic acts of utter evil. Those who brave its depths find no relief from its corrosive nature, nor respite from the cancerous seeds of evil blooming within all who tarry here; they find only anguish, pain and if they're lucky, sudden, abrupt death. "Into the Maw" is the ninth chapter of the Savage Tide Adventure Path, a complete campaign consisting of 12 adventures appearing in Dungeon magazine. For additional aid in running this campaign, check out Dragon magazine's monthly "Savage Tidings" articles, a series that helps players and DMs prepare for and expand upon the campaign. Issue #356 of Dragon magazine features an expanded list of strange and exotic magical items that could be purchased from the mercane merchants encountered during "Into the Maw." In order to rescue a friend, the PCs must sail into the Abyss and infiltrate a prison built by the Prince of Demons. Pgs. 48-85

In the aftermath of AD&D Second Edition's "Return to the Tomb of Horrors," the demilich Acererak was thought destroyed. In truth, his spirit lingered and now after eons he schemes once more to achieve divinity. The characters must travel to three extraplanar dungeons, in addition to the remains of the original Tomb, in order to stop this from coming to pass.

Sorrowwraiths is a dark, urban adventure with Victorian-era aesthetics, gothic-horror monsters, and Witcher-esque ethical dilemmas. It is set in a colonial metropolis plagued by monsters and curses, dealing with the advancing industrial age and its many accompanying issues – poverty, pollution, exploitation, etc. The city has lost its previous group of heroic defenders, and the player characters must pick up the torch and solve a variety of problems including: - Rescuing allies from the clutches of monsters and despair alike; saving communities from threats within and without; setting up a home base - Stopping a brilliant-and-vile scientist from infecting the city with a new vampiric affliction - Venturing into the city’s haunted magic school and rescuing its students from a pair of hags - Defending the city from bloodthirsty revolutionaries (but also maybe toppling the tyrannical regime) - Figuring out who or what has cursed their city, and finding a way to not only save it but right its wrongs too The book contains: one haunted magic school, one revolution, 176 enemy statblocks, 106 battle maps, 5 NPC companions, no AI content, several sad monologues, buckets of despair, and one faint ray of hope.

An omnious encounter with a fortuneteller sends a party of adventurers on a 200-mile journey across the Lands of Intrigue. While traveling throught the towns and terrain (detailed here for the first time) that lie in their path, they hear rumors and obtain clues about their mission. Their ultimate destination is Castle Spulzeer, a once proud stronghold that has become a den of terror. When the heroes enter the haunted keep, they meet a terrifying trio of residents: a madman armed with stolen magical power, a liche whose secret laboratory houses untold horrors and treasure, and a furious ghost bent on revenge. These three ensnare the party in their fight over an ancient weapon. Each will stop at nothing to keep it from the other two. The heroes must choose with whom they will ally - and the wrong choice could lead to their doom. Castle Spulzeer is an adventure complete in itself. However, as a crossover story, it offers every Dungeon Master a choice between two endings. The first leaves the party in the Realms. The second transports the characters to the Demiplane of Dread, where the plot continues in the Ravenloft adventure The Forgotten Terror. For 4 to 6 Characters of Levels 8-12 This conversion guide allows DMs to run the original module with 5th Edition rules. To use this conversion guide you will need a copy of Castle Spulzeer, originally available in hard-copy and now for sale in digital format on the DMs Guild. Visit Classicmodulestoday.com for instructions on creating your own classic module conversions and selling them on the DMs Guild. Castle Spulzeer was originally scheduled for publication by TSR in June 1997. Then, near-bankruptcy caused a total failure of TSR's schedule, resulting in no books being published from February through the very end of July. Some books would be delayed for over a year, and others would disappear altogether, but Castle Spulzeer was relatively lucky: it was just delayed four months, until October 1997. The reason may well have been its theming, and its crossover with the Ravenloft line, which made Castle Spulzeer a great Halloween release. Castle Spulzeer has an even more far-reaching connection: its ending can lead players to the demiplane of Ravenloft and The Forgotten Terror adventure. This was probably intended as a bit of advertising for Domains of Dread (1997), the third edition of Ravenloft which was released in August 1997. In other words: in their last days, TSR was working very hard to cross-market their products, but they didn't live long enough to see the success of the Spulzeer-Intrigue-Dread connection.

The Lamenting Lighthouse is a four-hour adventure for 5th-10th level characters, designed for Dungeons & Dragons 5th Edition, with a nautical theme, heavy undead and horror elements, and mysteries to solve! One lonely lighthouse shines the way through the rocks and shoals that deny entry to the northern Moonshae Isles. But when the party’s transport approaches, a horrific gale at their backs - no light is in sight... The party must venture ahead of their vessel in a race against the storm to the restore the beacon before their ship is lost. What has befallen the keepers, and what dark secret does the lighthouse hold? Will the heroes prevail, or will they join the lighthouse's lament? This adventure can easily be inserted into a run-through of Ghosts of Saltmarsh. This one-shot can also serve as a nautical interlude in any on-going campaign where the characters have to take to the sea. Included with this adventure are: + 6 original custom creatures, the dread wraith, the dread wight, the swarm of seagulls, the captain, the rating, and the sailor + 12 player hand-outs with notes that shed light on the mystery of the lamenting lighthouse, with a randomization mechanic that ensures a degree of replayability + 9 original fleshed out NPCs, including personality traits and roleplaying tips + 2 original magical artifacts + 7 hand-drawn maps of important locations + a story reward and 2 story hooks for continuing the adventure (depending on how the adventure resolves)

Corruption grows in what used to be the Dayawlongon archipelago's most sacred island. When a wanted fugitive flees to the blighted holy land, the player characters are asked to chase after and apprehend the renegade. As the adventure unfolds, it soon becomes apparent that the roots of corruption run deep. This can be run as a standalone adventure or as a sequel to the Between Tangled Roots adventure from Journeys Through the Radiant Citadel. What's included? 1 infectious adventure divided into single-page sections for easy running 2 fully-colored maps with unlabeled versions for players (made with assets from 2-minute Tabletop) 3 new creature statblocks with clickable links for quick access 4+ ending variations based on what the player characters do throughout the adventure Content Warnings: Abduction, betrayal, corruption, death, disease, mental manipulation, violence
At Death’s Door is a dungeon crawl that takes place almost entirely in the upper chambers of the Lair of the Keeper. This lair belongs to an ancient dracolich that perhaps styles themselves after the legends of the Keeper, or perhaps even inspired them. Stormhome. The player characters are called to the home city of House Lyrandar to meet with Guild Handler Lhara regarding their quest for an artifact tethered to Dolurrh, the Realm of the Dead. The Descent. Traveling by airship over the horrors of the Demon Wastes, the party descends into a vast canyon to find the Lair of the Keeper. After agreeing on a pickup point, the party skydives into the hellish landscape and hides to avoid the notice of a would-be god, then explores the surrounding area. The Lair of the Keeper. The bulk of the adventure takes place in the upper chambers of a dracolich’s lair in a manifest zone tied to Dolurrh, the Realm of the Dead. Surviving the horrors of this place is the main challenge of the adventure. The Ghaash’kala. There is one last challenge standing between the players and their escape to the airship. The orc tribes called the Ghaash’kala consider it their holy duty to protect the rest of the world from the horrors of the Demon Wastes. They will attempt to stop anything from escaping the Wastes, unfortunately including our heroes.

The sages of Candlekeep have come calling. They’ve come to Port Nyanzaru on the trail of a colleague. He came to the jungle to pursue his studies in solitude some twenty years ago, but within the last year, his regular communications have fallen silent. They are in search of brave (and discrete) adventurers to escort them around the peninsula for a health and welfare check. Are you brave and discrete enough for the job? A Four-Hour Adventure for 11th-16th Level Characters

Danger Lurks in the Lendore Isles. Bands of evil creatures prowl the hills overlooking the town of Restenford. Now you have come to this sleepy little village looking for adventure and excitement. You seek to fathom the unexplored reaches of Bone Hill and unlock the mysteries of Restenford. TSR 9045
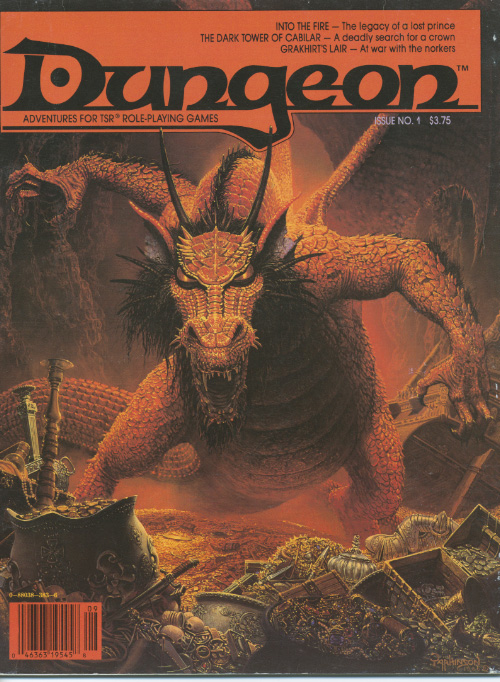
The prince's godmother commissions you to retrieve the prince's jade crown, held in the tower of the vampire! The vampire's tower has three levels, and the three-level dungeon below 45 rooms. The party must be wary! Lethal traps abound. Marching order is important. A straight-forward dungeon crawl with many Gygaxian rooms and encounters. No roleplaying to speak of. Pgs. 4-18
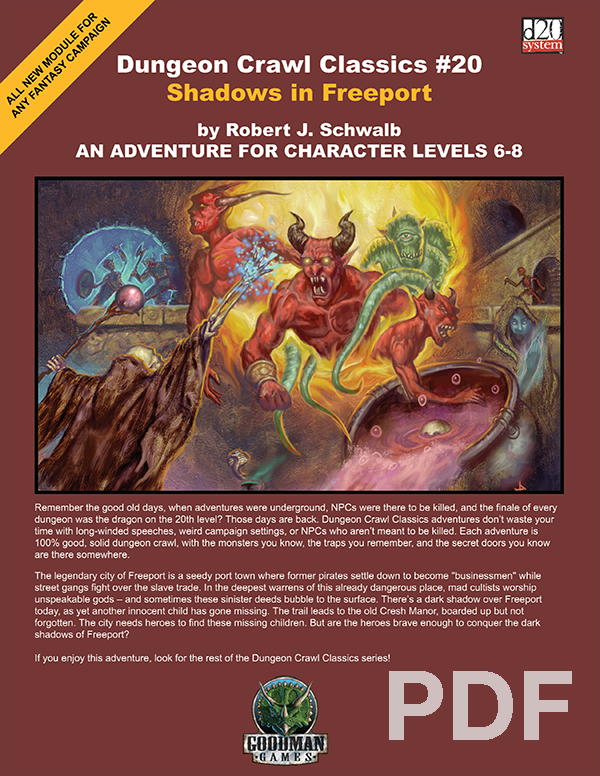
The legendary city of Freeport is a seedy port town where former pirates settle down to become "businessmen" while street gangs fight over the slave trade. In the deepest warrens of this already dangerous place, mad cultists worship unspeakable gods - and sometimes these sinister deeds bubble to the surface. There's a dark shadow over Freeport today, as yet another innocent child has gone missing. The trail leads to the old Cresh Manor, boarded up but not forgotten. The city needs heroes to find these missing children. But are the heroes brave enough to conquer the dark shadows of Freeport?

The Shades of Bodach Ridge Whitepeak has a dark history of black magic originating with the evil witch Skruul the Reaper. The dark rituals she conducted seemed sure to plague the region, until a plucky group of adventurers thwarted her plans sending her into a state of perpetual fractured undeath. Now souls scatter from her old haunt on Bodach Ridge. What could have set these souls free?
The Pyramid of Amra is a challenging adventure designed for characters of at least 12th level. Due to the nature and numbers of undead enemies (vampires), having a cleric on hand with the ability to cast raise dead and greater restoration is advisable. The PCs should be rounded out with a wizard or sorcerer and a pair of front-line fighters. In this adventure, the PCs travel to the Pyramid of Amra and the ancient Monastery of Night, where they face one of the most dangerous of opponents they are likely to meet, C’nosretep the Champion of Set.

When huge stones fall out of the night sky, A deadly curse settles over Gravencross. Help the village exorcise the Demon Stones. “The sun had set an hour ago, and the rain lashed down and the wind howled on the dark moor. A storm this late in the season was unusual, but this one seemed different. The clouds were more menacing, tinged with anger, the rain colder and more biting than usual. Skerrill had to find the lost calf and get him back to the farm before his father came back from the city on business. He’d been looking for two hours now, and he was right in the middle of the moor when the storm hit. He knew he should have turned back as soon as darkness fell, but then he was never the brightest boy in the valley. If only he had remembered to lock the farm gate. The calf was now likely dead anyway having stumbled among the boulders and rocks, panicking in the dark, and then fallen in a floodwater stream and drowned. Either way, he was in more trouble than he could imagine. Suddenly, a bright flash of white light and a roaring peal of thunder were preceded by an explosion as a huge object fell from the sky and impacted the ground of the moor no more than a stone’s throw from him. Dirt, mud, water, and debris erupted from the impact site, flying high into the air and then covering the moor for hundreds of feet all around. Skerrill was knocked to the ground instantly and covered in the fallout from the blast. His ears rang and his head spun, but he staggered to his feet in a daze. He stumbled to where the blast had happened only moments before, and in a depression in the ground lay a huge stone glowing orange as if hot. Skerrill passed out. Two more thunderous explosions crashed in the distance.”

A malicious and virulent force possesses the Vermyr Woods. The local wild-life has fled; known paths have mysteriously vanished or shifted; and locals have been found hanging dead from trees yet their eyes watch... they always watch. The hopes of the people are dwindling quickly. Believing that evil harpies have afflicted the woods, brave Captain Harkin set forth to serve them righteous justice! Even the mighty druid Algalor is nowhere to be found. Time passes and their worries compound. Why have the harpies attacked? What is the fate of Algalor and Captain Harkin? What is this mysterious evil that plagues the Vermyr woods? Who is Cartman's dad? The heroes will stumble into this mystery as they travel to Homid. They will discover the truth of the harpies as well as the fate of the heroes who safeguarded this region by delving deep into a forest labyrinth that feels alive! Will it consume them or will they be strong enough to defeat the evil at its core! Published by: Paper Dragon Tales

Lots of stronghold assaults and shipboard travel/encounters in this one. This adventure's deep political basis might be seen as an introduction for the domain-focused adventures of Companion-level play. This adventure is for use with the Dungeons & Dragons Basic, Expert, and Companion Rules, and includes the intrigue of engaging with nobility's lands and agendas. Intro: All is not well in the kingdom of Vestland. Not only is the king dead and the holy Sonora Crown missing, but the heir to the kingdom was lost at birth and no on knows where to find him. As if this wasn't bad enough, the forces of the Ethengar Khanate, never on the best of terms with Vestland, are now massing on the borders, hoping to take advantage of Vestland's plight. To complete the rosy picture, traitors from within also threaten to speed the downfall of the High Kingdom. Sounds like a job for you. You must find the long-lost heir to the kingdom and recover the Sonora Crown, the mystical device without which a king cannot be crowned. Standing in your way are traitors and spies from within and invaders from without the kingdom of Vestland. Time is running out! Can you save Vestland from disaster? TSR 9218
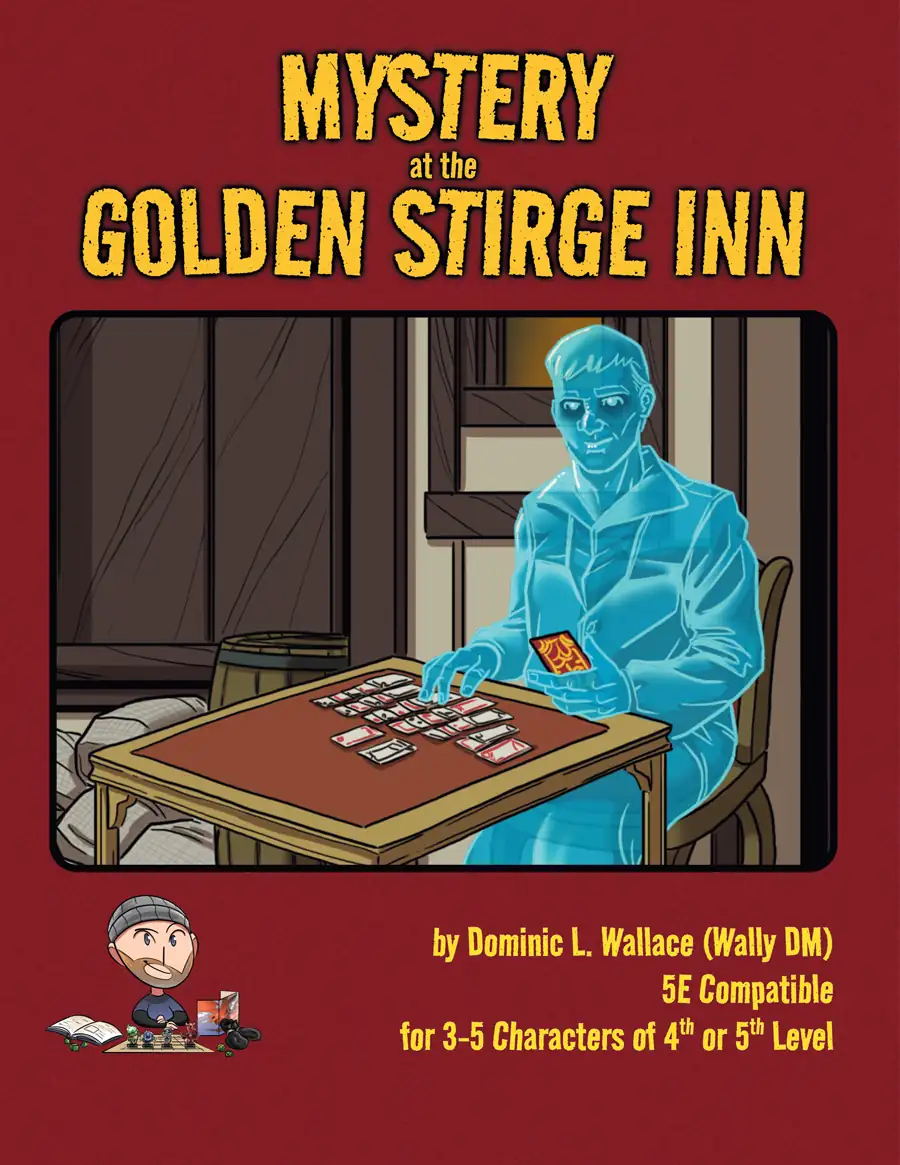
Mystery at the Golden Stirge Inn is one-shot adventure module filled with traps, puzzles, monsters, and a compelling mystery to solve. It is designed for 3-5 characters of 4th or 5th level for 5th Edition. Estimated playtime is 4-8 hours. The module includes optional rules and ideas to extend, shorten, or customize the encounters to fit your table's needs. Included with this adventure are the VTT Maps, Tokens, and Handouts The Mystery at the Golden Stirge Inn is a time-warping adventure where characters must uncover clues, solve a murder mystery, and stop a demonic warlock from escaping into the world. The adventure begins with the characters hired to broker a trade between two nobles for luxurious items. Upon arriving in Ambervain, they enter the Golden Stirge Inn to finalize the deal but are unexpectedly thrust into the past at a pivotal moment in time. Five of Ambervain’s six prominent nobles are discovered dead, killed by the sixth in their bid to ascend as an evil warlock under the demon lord of time and dimensions. The characters must retrieve a personal item from each victim and use them to bind the warlock’s evil essence to a mundane object before time runs out. Along the way, they are aided by Ozwald Cortez, a ghostly acolyte and former owner of the Golden Stirge. Through divine intervention, Ozwald has brought the characters to this moment to confront and trap the warlock. If they succeed, they become heroes of Ambervain. But if they fail, the fate of Ambervain descends into darkness, twisting its history and potentially poisoning the world with unrelenting evil. If you want more of puzzles just like these, be sure to subscribe to my YouTube channel, Wally DM. Tune in for a new puzzle video every month!