
“The Lost Mines of Karak” is the sequel to “The Shadow Rift of Umbraforge” and the fourth part of the Scales of War adventure path. After the player characters' success in "Siege of Bordrin's Watch" and "The Shadow Rift of Umbraforge", they have garnered something of a reputation in the city of Overlook. They are introduced to a wealthy patron that believes there is a connection between a shadar-kai arms dealer (from the previous two adventures) and a long lost dwarven mine. The patron wishes the PCs to find and secure the mine in order to use its wealth and resources to defend the city. The party then must travel through a wasteland and desert to find this mine. Once they have, they must fight through the hordes of monstrous creatures that inhabit it and defeat the Queen of the Drylands - a powerful naga. Pgs. 56-93

*THIS IS A D&D NEXT/5E PLAYTEST ADVENTURE* Imani, a Turmishan wizard and former adventurer, seeks the aid of heroes to infiltrate Dretchroyaster’s lair and recover the Diamond Staff of Chomylla—the key to powerful magic and wisdom locked away for thousands of years. In addition to his own sagely interest in the lore of lost Uvaeren, Imani recognizes the dangers of such powerful magic falling into evil hands. The dracolich has secured the staff in his lair’s cen- tral chamber, using ancient wards of protection that can be bypassed only by four artifact-idols once belong- ing to a cult of Bhaal. Each group of adventurers enters the dungeon through a different section of the dun- geon—a forgotten temple of Bhaal, a vast underground lake, a troglodyte village, or Dretchroyaster’s vaults. Dretchroyaster’s lair is no simple set of caverns and ancient ruins. It sits atop a source of great power and energy, which the dracolich and his Cult of the Dragon allies hope to use to unlock the secrets of the staff. Only by undertaking a unified assault against Dretchroyas- ter’s lair can the adventurers hope to recover the Diamond Staff and survive the dracolich’s fury. The adventurers must make their way through the lair and recover the Bhaalite idols that will help unlock the Diamond Staff, all the while dealing with the lair’s creatures and avoiding the dracolich as he pur- sues intruders. Entering the Chamber of the Diamond Staff, the heroes must overcome its magical wards and claim the staff before being slain by the dracolich and his servants.

When Fort Iron was taken from the duergar who inhabited it, much of their subterranean quarters were never fully explored. An ancient oubliette has been discovered and its contents have disturbed the miners. Can the mine and the miners be saved from the dangers of the Oubliette of Fort Iron?

The valley of Haven was a peaceful land. Its crops were abundant, its citizens prosperous. Elves, Dwarves, Halflings, and Humans lived together in harmony. Hidden away in the heart of the Thunder Mountains, Haven was a safe place to live. The rivers were sweet and pure; the weather was pleasant and warm. Something terrible has come to pass in Haven - terrified refugees speak of a fabulous ruby uncovered in the mountains and a catastrophe that befell the palace. Whatever the cause, Haven now lies in chaos. Raiding bands of orcs, goblins, and hobgoblins terrorize the countryside. The disaster happened so suddenly that the citizens are confused and helpless. Without their leaders, who are trapped in the palace, they have no courage to fight back. The situation has become desperate. TSR 9044

The Pit of The Oracle is a game module designed for use with the rules of Advanced Dungeons & Dragons. It can be used by itself as a self-contained campaign (or as a springboard to a larger campaign), or it can be easily incorporated into an existing campaign. Comment: Level range is my best guess. Adventure includes a lot of unique short-hand

A Ravaged Land... Villains that really are larger than life... A time for heroes... A decade ago, the land of Geoff was overrun by a horde of giants, ogres, and evil humanoids, its people either slain, enslaved, or driven into exile. Now at last the tide has turned. The time to free the people of Geoff from their servitude to the giantish tyrants has come! But don't forget to watch your step when you confront the true masters behind the giant Clans! Contains the full text of three classic adventures by Gary Gygax: G1, Steading of the Hill Giant Chief; G2, The Glacial Rift of the Frost Giant Jarl; and G3, Hall of the Fire GIant King. Details Eighteen new encounter sites in the war-torn land of Geoff, linked together to form a grand campaign. Provides dozens of hours of gameplay as the heroes struggle to free an entire country from the grasp of giant overlords. TSR 11413
In the city of Waterdeep rests a tavern called the Yawning Portal, named after the gaping pit in its common room. At the bottom of this crumbling shaft is a labyrinthine dungeon shunned by all but the most daring adventurers. Known as Undermountain, this dungeon is the domain of the mad wizard Halaster Blackcloak. Long has the Mad Mage dwelt in these forlorn depths, seeding his lair with monsters, traps, and mysteries—to what end is a constant source of speculation and concern. This adventure picks up where Waterdeep: Dragon Heist leaves off, taking characters of 5th level or higher all the way to 20th level should they explore the entirety of Halaster’s home. Twenty-three levels of Undermountain are detailed herein, along with the subterranean refuge of Skullport. Treasures and secrets abound, but tread with care!

The town of Byr is in need of heroes. Residents of the town of Byr have been kidnapped. Some think it was marauding Hobgoblins, but a grizzled and crippled veteran who helped to drive the Chagmat (monstrous spider-people) back many years ago believes that the Chagmat are back. Their forgotten temple is believed to be up on Little Boy Mountain. He argues that the mountain is where answers, and the missing townsfolk, can be found. Pgs. 33-48
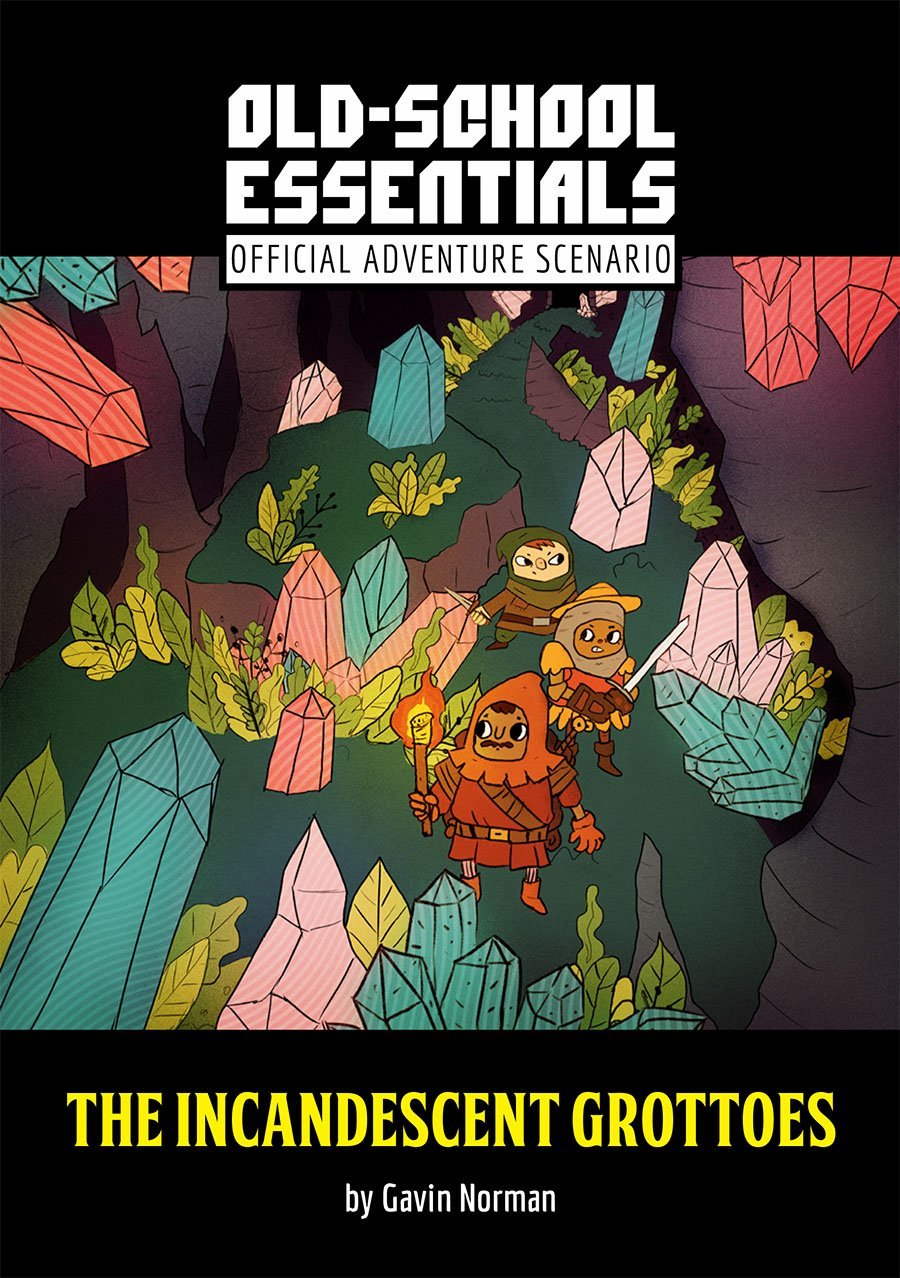
A bubbling stream cascades into a hole in the earth, leading to a series of underground watercourses and scintillating grottoes. Adventurers who delve within may discover odd mosses and fungi, a ruined temple complex, and the lair of a crystal-eating dream dragon.

It's all over (and literally so) after midnight. A mission with an unforgiving deadline. The characters must remove the magically-infused remains of a dead wizard and his medallion from a crypt. Pgs. 10-23

Having put down a rising of giants, it was discovered that the motivating force behind their depredations was that of long-forgotten evil - the Dark Elves. Determined to seek out these creatures, a body of doughty adventurers mounted an expedition to learn the strength of the Drow and bring retribution to them (DUNGEON MODULE D1, DESCENT INTO THE DEPTHS OF THE EARTH). This module contains background information, a large-scale referee's map with a matching partial map for players, referee's notes, special exploration and encounter pieces, a large map detailing a temple complex area, encounter and map matrix keys, and an additional section pertaining to a pair of unique new creatures for use with this module and the game as a whole. A complete setting for play of ADVANCED DUNGEONS & DRAGONS is contained herein. This module can be played alone, as the second part of a series of three modules (with DESCENT INTO THE DEPTHS OF THE EARTH, D1, and VAULT OF THE DROW, D3), or as the fourth part of a continuing scenario (DUNGEON MODULES G1, G2, G3, D1, D2, D3, and Q1, QUEEN OF THE DEMONWEB PITS). TSR 9020, From 1978

"Terror by night! The village of Orlane is dying. Once a small and thriving community, Orlane has become a maze of locked doors and frightened faces. Strangers are shunned, trade has withered. Rumors flourish, growing wilder with each retelling. Terrified peasants flee their homes, abandoning their farms with no explanation. Others simply disappear. . . No one seems to know the cause of the decay -- why are there no clues? Who skulks through the twisted shadows of the night? Who or what is behind the doom that has overtaken the village? It will take a brave and skillful band of adventurers to solve the dark riddle of Orlane!" TSR 9063

Buried in fire, but hardly dead. Only the Keep survived the destruction of Koralgesh, but few adventurers will survive the terrors that now stalk the lost Keep's halls. Players hear rumours of the Keep at Koralgesh and then traverse it to acquire the treasure within. Pgs. 45-64
Most adventurers like to think that when their number is finally up, their colleagues will bring them home, either to be raised or at least returned to their families for a proper burial. But how far will the PCs go in order to do right by a fallen adventurer? And will they draw the line at hauling his coffin out of the Underdark? Pgs. 20-40
The town of Sandpoint, Varisia, Inner Sea Region has put out a bounty on the nearby tribe of Licktoad Goblins in retribution for the goblins raiding traders and travelers near the quiet town. The party takes up the bounty and ventures into the swamp; eventually finding the goblin village in ruins and it's inhabitants scared in it's burned huts. The party finds out; either through investigation of the ruins or the goblins themselves; that a group of skeletons with eastern arms and armor had ransacked the village and took a stash of fireworks that the goblins stole from an old shipwreck. The party then makes it to this cave and finds it empty except for a half dozen skeletons. Further in past the skeletons is their leader, a skeletal samurai who fights the party in an attempt to defend his treasure. The treasure turns out to be a letter that reveals that secrets of the Kaijitsu family; the same family their good friend Ameiko who runs the Rusty Dragon inn belongs to; that lies in wait in the abandoned town of Brinewall to the northern boarder of Varisia. Ameiko along with several other important NPCs with a caravan north. It's recommended that GMs create encounters for the caravan trip north as it's essentially 3 weeks of travel with nothing in it. It's also recommended that GMs completely ignore caravan rules; they're not flushed out and they're not fun to run. The party and the caravan reaches the abandoned town of Brinewall where their friend Ameiko becomes possessed and is thrown into a coma; where the other NPCs agree to take care of her while the party explores the town and castle. The castle is a three floor behemoth of a dungeon populated by Dire Corbies, Troglodytes, and various other monsters all under the leadership of Kikonu, an Yamabushi Tengu Oni. The goal of exploring Brinewall Castle is to find the two keys to the vault; one of which is on the Yamabushi Tengu while the other is on a Half-Fiend Decapus that lives in the basement of Brinewall. Once the PCs enter the vault they find the Amatatsu Seal; one of the seals that cement authority to one of the ruling houses in Minkai of Tian Xia; as well as several visions that show that Ameiko Kaijitsu is the rightful heir to be ruler of Minkai and that they'll need to travel north to do so. Such ends the first book of six.

The Necropolis of Nuromen is a modular quest designed to let the referee introduce a group of 1st level characters to the thrills of Underworld exploration as they attempt to unravel they secrets of the evil necromancer’s lair and deal with some bandits, too. The Necropolis of Nuromen is set in a fantasy realm, beginning near the small town of Camlann Castle and leading adventurers to explore the sinister Necropolis of Nuromen. The narrative unfolds around Nuromen the Necromancer, who fell to ruin by dabbling in forbidden magic, leading to the downfall of his tower and the town known as Law's End. The adventure includes exploration of a haunted forest, encounters with various creatures, and a quest for lost treasures and magical artifacts hidden within the depths of the necropolis. To play this adventure you also require the BLUEHOLME™ Prentice Rules or the BLUEHOLME™ Journeymanne Rules. This is an updated Version of "Maze of Nuromen" from 2013.

Hunt for the Thessalhydra is a short adventure published by Wizards of the Coast as a tie in to the "Stranger Things" franchise and part of the Stranger Things Dungeons & Dragons Starter Set. The adventure features characters, locations, and monsters inspired by that series. The adventure is suitable for characters of level 3-5.

Centuries ago, a beholder named Yeryl fled from the place of his birth and wandered the countryside in search for a place to call home. After many sleepless nights spent carving out a safe nook for himself in the wilderness, he at last slipped into slumber. In his dreams, he found an ideal place for his lair: long-abandoned ruins hidden amidst a dull and barren valley. Yeryl spent years transforming the place to suit his paranoid designs. Visitors were rare enough, and the few that made it to Yeryl’s lair were quickly destroyed or forced into the beholder’s service, building the lair ever deeper and more magnificent. As time went on, Yeryl finally completed his task. Safe at last, but with nothing to occupy his mind, Yeryl was struck by melancholy; was this lonely and empty life truly what he had chosen for himself? On that day, Yeryl made a decision: next time an adventurer came to his lair, he would welcome them in. With this resolution in mind, Yeryl began to dismantle his traps and replace them with ones he considered to be more fun. Unfortunately, for all his good intents, Yeryl has not yet realised that killing people is a bad way of getting them to like him. Yeryl's Super Happy Fun Murder Dungeon is a highly obnoxious and mildly ridiculous collection of traps, combat and puzzles designed to test your players' wits and patience. It is optimised for a group of four to five 3rd level players, but the text also contains a guide for level adjustments for different sized groups.

In the Yatil Mountains south of Perrenland there is rumored to be a magical hoard of unsurpassed value, a treasure of such fame that scores of adventurers have perished in search of it. Find the perilous Lost Caverns of Tsojanth and you may gain the hidden wealth of the long-dead arch-mage-- if you live. Module S4, this contains a brief wilderness journey to the caverns, but the bulk is underground. The caverns are noted as a previous lair of the Arch-mage Iggwilv- though she is long gone, her Demonomicon remains. This module marks the first appearance of several monsters and items that would later appear in the Monster Manual 2 and Unearthed Arcana. A labyrinth features in the caves. TSR 9061

Important: The adventure is 1e but it has monster conversion notes for D&D 4th edition The town of Highport, once a human community overlooking Wooly Bay from its perch on the northern coast of the Pomarj, fell prey to hordes of humanoids swarming out of the jungle-covered hills surrounding the settlement. Though the orcs, goblins, kobolds, ogres, and gnolls razed much of the place in their ferocious rampages, the smoldering ruins they left behind soon became a new kind of community, a place of trade between the humanoid “locals” and the unsavory human traders who have no compunction about doing business with them. Slaves are a commodity in ready supply in Highport’s market, since many pirates raid up and down the coast of the bay, putting fishing villages to the torch and filling their holds with captured refugees. Slavery has become a thriving business in the town, and rumors abound of a cartel of Slave Lords who run things from behind the scenes, filling their coffers in secret from the buying and selling of human chattel. The trade has become so prolific that the good folk to the north have grown tired of these depredations and decided to fight back. Forces of righteousness and honor have recently descended upon Highport, some openly and others in secret, in various attempts to destroy the machinations of the Slave Lords and abolish the abominable enterprise that has taken far too many loved ones from home and hearth. One such doughty servant of goodness is Mikaro Valasteen, a cleric of Trithereon. Mikaro slipped unnoticed past the crumbling walls of Highport with a single mission: to rescue and transport as many slaves to their freedom as possible. Mikaro and a handful of faithful assistants located a number of escaped slaves—as well as rescued a few more not sufficiently restrained and guarded—and shepherded them through the gates and beyond the reach of their humanoid tormentors, returning them to their lands and homes. This covert freedom brigade enjoyed remarkable success early on, since the servants of the Slave Lords were often lax in their vigilance and sloppy in their efforts to prevent loss of the “merchandise.” After one too many shipments never made its destination, the humanoids stepped up their security and the normal channels of escape from Highport closed to Mikaro and his team. He cannot risk exposure by smuggling the freed slaves through the gates as merchandise any longer, since shipments of goods are now regularly stopped and checked. No longer able to free the slaves in that manner, Mikaro began hiding his charges in an abandoned villa in a particularly rundown part of the town. Although they are safe for the moment, their numbers have grown unmanageable, and the priest fears it is only a matter of time before someone slips up and brings slavers to their doorstep. Ever more desperate to find a new means of escape from Highport, Mikaro has started work on a plan that is both daring and dangerous. He intends to use a series of old sewers coupled with natural caverns running beneath the town as an escape route to the sea beyond the walls. But he needs someone to clear out the creatures and pitfalls he knows lie within. Pgs. 2-27