
The Heroes are relaxing in an inn when they hear a scream, rushing outside they find that a local merchant has been kidnapped! The merchant's wife saw the assailants drag him into an alley, where the heroes give chase. Following the villains through a maze of natural fissures, tunnels, and ancient ruins they encounter a number of monsters, traps, and puzzles. Eventually they make their way to the kidnappers hideout, where they confront the kidnappers in a final climatic battle to rescue the merchant and uncover a criminal gang.

From the magazine: "The monster you're sent out after is so dangerous that even mind flayers fear it. And the illithids want your help!" Earthquakes hit the area around Needlespire mountain, affecting both dwarven and deep gnome villages, and the local mining industry. Deep gnome expeditions discover an illithid outpost! This adventure includes roleplaying encounters with both deep gnomes and illithid in their quest for the true cause of the earthquakes. The creature causing the earthquakes is a draknor which has sent its huge tentacles into the earth seeking magma to fuel its growth. Pgs. 38-60

A Villain with a Vison A stolen jewel leads to the heart of the swamp, where one man’s thirst for vengeance threatens to destroy an entire town. Pgs. 68-92
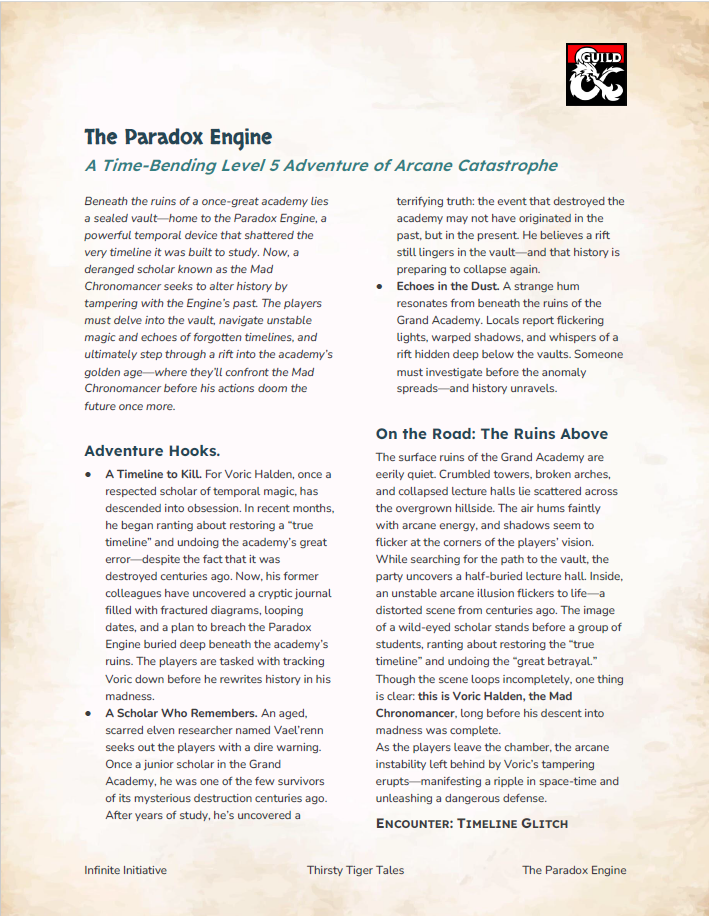
A Level 5 Adventure of Time-Bending Catastrophe Part of the Thirsty Tiger Tales series Beneath the crumbling ruins of a legendary arcane academy lies the Paradox Engine—a dangerous temporal device that shattered the very timeline it was built to study. Now, a deranged scholar known as the Mad Chronomancer seeks to rewrite history itself. In this time-twisting dungeon crawl, players must brave unstable magic, flickering echoes of the past, and a rift into the academy’s golden age—where they’ll confront the Mad Chronomancer before his actions doom the future forever. Two-timeline dungeon: Navigate the same vault in both past and present Puzzle rooms with lasting consequences Unstable combat environments and unique timeline hazards A solo boss fight that bends time against the players Includes the Temporal Warp Cloak, a rare magic item that glitches your image through time This one-shot is perfect for groups looking for a high-concept, low-prep adventure with puzzle-solving, combat variety, and an arcane twist.

Indomitable it stood for centuries, a symbol of order in a world of chaos. Bastion of the pass through the Kamph Mountains, the very stones of the Keep of Adlerweg were the stuff of legends. What evil power had strength enough to take it? How were its defenses swept aside? Fell creatures now attend the battlements that overlook the only pass between Berghof and the sea. This is not a pretty problem to be solved by the militia of the local villages. These and more may be needed to withstand the mayhem stirred up by the fall of the keep. Indeed, if the Keep is not retaken, and retaken soon, the Hold of the Sea Princes itself may not be secure. Now is the time for heroic action. Aided by the Sentinel, former protector of the legendary Guardians of Adlerweg, have you the courage and the determination to rid the keep of its sinister occupants? UK3: "The Gauntlet" (1984), by Graeme Morris, is the third UK-series adventure and the second half of the two-part Adlerweg series. It was run as the final round of the GamesFair 1983 AD&D Open (and won by a RuneQuest fan!). It was then published in 1984. TSR 9111

Arson, rioting, sabotage, murder - and no suspects. Watchmen are murdered, ships explode and sink in their berths, and savage monsters are summoned in the streets - but no one can catch the killers. The party must navigate the growing tensions between rival factions in the city. After following clues to a tavern, The Flying Hamhock, the party will need to defeat a powerful Hivemind which is behind the attacks. Pgs. 47-64

Having put down a rising of giants, it was discovered that the motivating force behind their depredations was that of long-forgotten evil - the Dark Elves. Determined to seek out these creatures, a body of doughty adventurers mounted an expedition to learn the strength of the Drow and bring retribution to them (DUNGEON MODULE D1, DESCENT INTO THE DEPTHS OF THE EARTH). This module contains background information, a large-scale referee's map with a matching partial map for players, referee's notes, special exploration and encounter pieces, a large map detailing a temple complex area, encounter and map matrix keys, and an additional section pertaining to a pair of unique new creatures for use with this module and the game as a whole. A complete setting for play of ADVANCED DUNGEONS & DRAGONS is contained herein. This module can be played alone, as the second part of a series of three modules (with DESCENT INTO THE DEPTHS OF THE EARTH, D1, and VAULT OF THE DROW, D3), or as the fourth part of a continuing scenario (DUNGEON MODULES G1, G2, G3, D1, D2, D3, and Q1, QUEEN OF THE DEMONWEB PITS). TSR 9020, From 1978
Every seven years, the elven village of Mellorell hosts the Festival of Life, an opportunity to trade, shop, and celebrate with the folk of nearby lands. But a dark secret that could cost the life of fairgoers draws the heroes into a plot that leads all the way to Hades. The core of the adventure is a short thirteen room lair with grimlock guards, a basilisk pet and Malifustal the Night Hag, who guards a portal to Hades. Pgs. 12-33
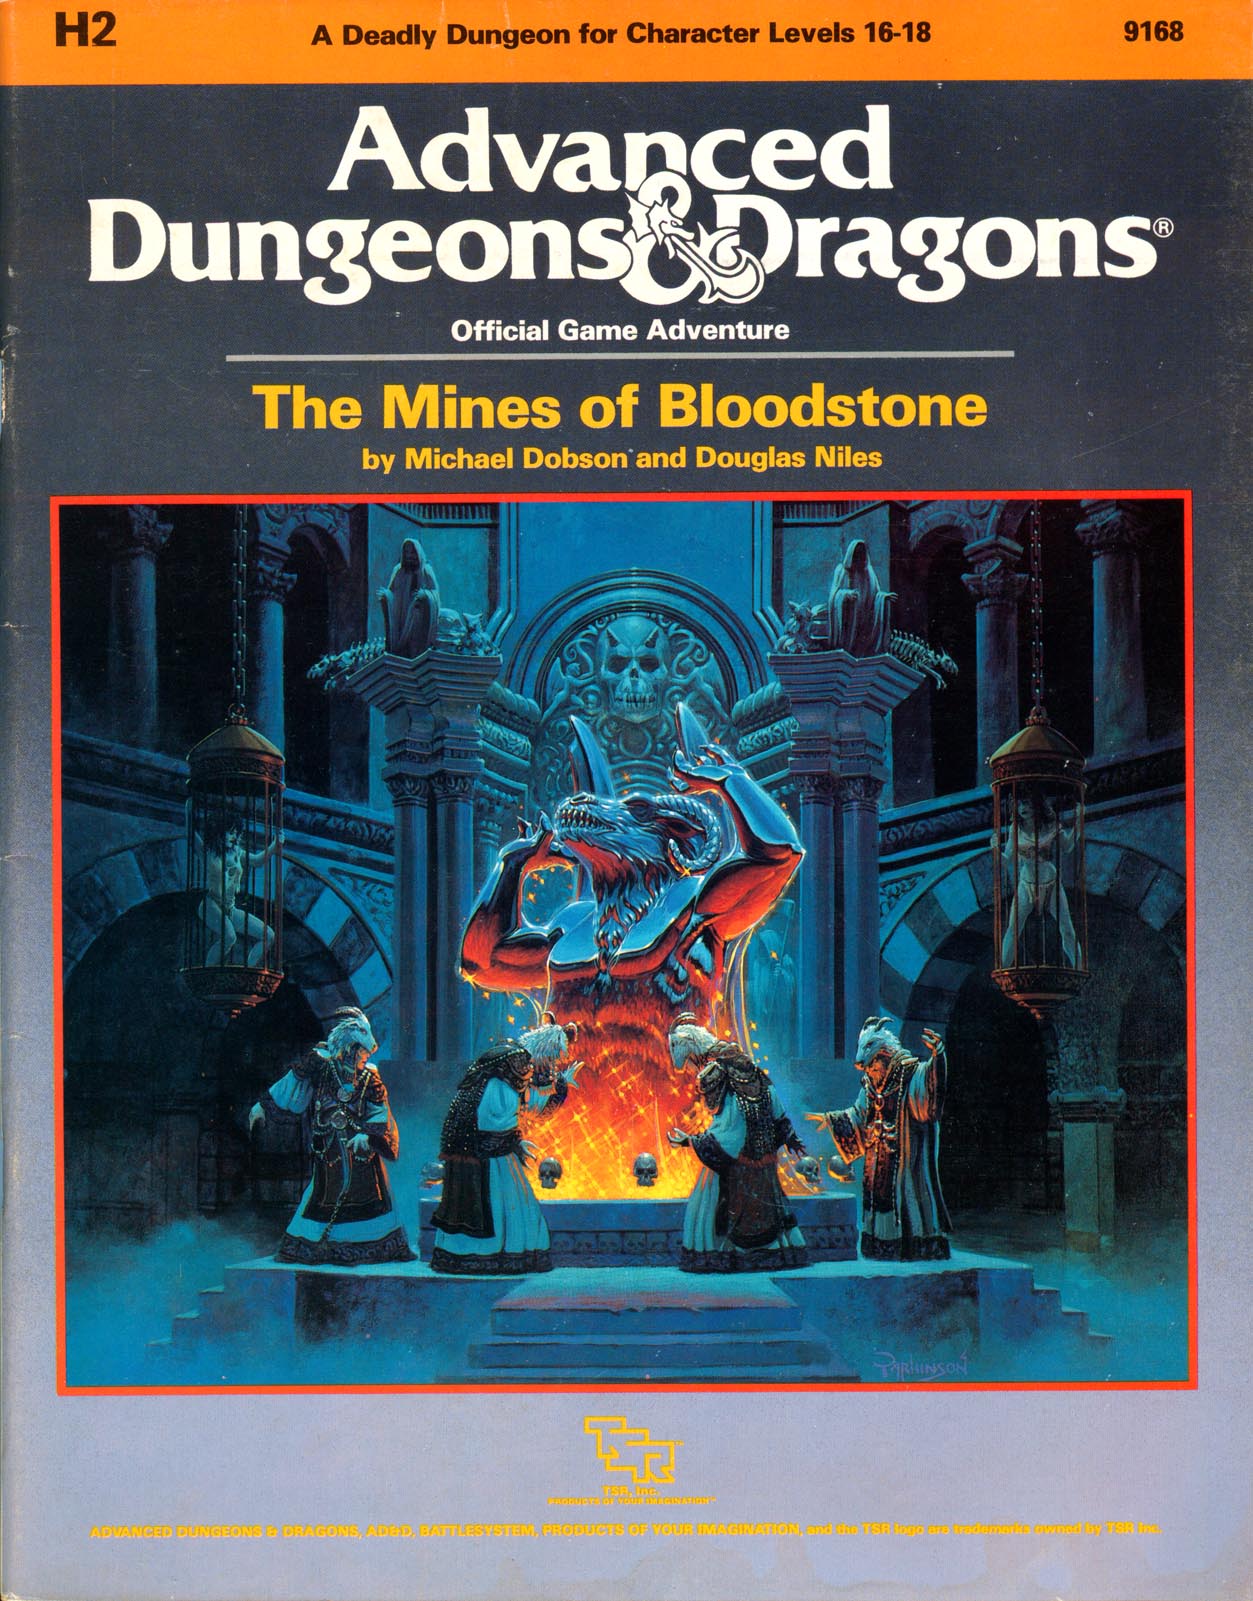
The most deadly dungeon ever devised! High-level characters brave the unexplored corridors of Deepearth to confront perhaps the most feared adversary in the AD&D game. The second chapter of the Bloodstone Pass saga follows the conclusion of the desperate war against the bandit army. A cold and bitter winter drives the villagers to the edge of starvation, and numerous horrors strike the town of Bloodstone Pass. Join the adventure as the heroes explore the depths of the ancient bloostone mines, now inhabited by fearsome demons. There they hope to uncover the fantastic treasures rumored to exist in the unknown darkness. But deep within the mines, all is not what it seems.... This module uses the new rules from the Dungeoneer's Survival Guide and Wilderness Survival Guide. The adventure also includes optional BATTLESYSTEM scenarios fought entirely underground. These supplementary products are not required to play the adventure, however. TSR 9168

The Doom Desert in the Decanter of Delirium is an exotic OSR romp through a mysterious world of riddles, puzzles, inscrutable denizens. 5e compatible, this love letter to psychedelia is as vivid and beautiful as exciting and surreal. Get wrapped up in conversation with the dead drunks at the last saloon on earth, solve the sphinx riddle and discover the secrets of the Ziggurat, or break bread and wine with whispering harpies or the sun itself. This compelling narrative is written by Austin Holm and captures the exploration, social, and challenge pillars of a great game with the deft prose of a poet. With art by Maya Bee that captures the essence of the adventures many stunning scenes and characters. Your players will thank you for this one.

The lizard men are just pining for the fjords. A plague of locusts is bad enough, but when the locusts are each a yard long, the farmers need professional help! A swarm of giant locusts has been eating all the grapes and leaves from the vineyards of Vineyard Vale! In addition, lizard folk have attacked and destroyed several steads in the vale. The farmers are desperate, but what they don't know is that these events are linked! A mage known as Rhungold the Trickster has been orchestrating the attacks and locusts to try to scare the farmers off the land so he can claim it as his own. The players slowly piece the story together by investigating a fairly linear story through a cave, a marsh, and finally to a compound owned by the wizard Rhungold. Pgs. 6-16

Restore an Abandoned Temple Enter the catacombs near the desecrated Temple of Muir, Goddess of Paladins, and search for the lost tomb of Abysthor. Will your party be able to cleanse the evil that now inhabits these once-sacred halls, and recover the Stone of Tircople? Can your characters survive the traps of an undead sorcerer? Will your players discover the chamber of Living Rock and the secret power it holds? Adventure awaits! Gold and Glory! A fantasy adventure published for the D20 system, The Tomb of Abysthor is the first module in Necromancer Games Dungeon series and can be played as a stand-alone story or in conjunction with The Crucible of Freya and the forthcoming city supplement Bards Gate. What secrets lie hidden in the tomb of Abysthor?

A storm of unparalleled fury has been ravaging the peaks of the Earthspur Mountains for a tenday, and the Monastery of the Yellow Rose sits in its eye for now. Some monks have fled the monastery to the safety of Mulmaster and beseech you to convince their more obstinate brothers to retreat to the city before the eye of the storm shifts, and the monastery is in terrible danger. Can you brave the elements and convince the monks to escape? An eight-hour adventure for 5th-10th level characters.

The Forge of Fangs has been located in Vanrakdoom. While many innocents have been saved from an undying fate, the forge remains. Artor Morlin would like to see it torn to the ground and the threat ended forever. Part Three of the Undying Threat trilogy. Optimized For: APL 13
Darwell Umbruskor has long been known around town as an eccentric but ultimately harmless old sage. From what you've heard, he keeps odd hours, rarely speaks a word to anyone, and lets no one enter his tower save for a few servants. Though quiet and mysterious, Darwell has done nothing to around undue suspicion. Sir Jeffers, a crusading warrior who just made your acquaintance, claims otherwise. According to evidence he recently came across, Darwell Umbruskor is both a necromancer and a dedicated priest of an evil power. Published by Fantasy Flight Games

Trapped in the dungeons of the Slave Lords! The hardy adventurers must find a way out, with only their wits and courage to help them. But can they do it before everything is destroyed by the dreaded Earth Dragon? This module contains a challenging scenario for experienced players, the tournament scoring system, and nine fully-equipped playtested characters. Also included are large-scale referee maps, playing aids, notes, and background information. A4 is a complete adventure in itself, but can also be used in conjunction with A1 (SLAVE PITS OF THE UNDERCITY), A2 (SECRET OF THE SLAVERS' STOCKADE), and A3 (ASSAULT ON THE AERIE OF THE SLAVE LORDS). TSR 9042

Candlekeep is under siege, and it needs adventurers to help protect it! Heed the call to defend the legendary monastery and stand against the tide of evil. Confrontation at Candlekeep was used as a D&D Next playtest for D&D 5E. It was released to organized play Dungeon Masters in August 2013, and ran at Gen Con, PAX, and other major conventions. The adventure includes rules for running multiple tables, but can also be run for just one table. The attack on Candlekeep by forces of Asmodeus is tied to the events in Ed Greenwood's novel about the Sundering, "The Herald."

Important: The adventure is 1e but it has monster conversion notes for D&D 4th edition The town of Highport, once a human community overlooking Wooly Bay from its perch on the northern coast of the Pomarj, fell prey to hordes of humanoids swarming out of the jungle-covered hills surrounding the settlement. Though the orcs, goblins, kobolds, ogres, and gnolls razed much of the place in their ferocious rampages, the smoldering ruins they left behind soon became a new kind of community, a place of trade between the humanoid “locals” and the unsavory human traders who have no compunction about doing business with them. Slaves are a commodity in ready supply in Highport’s market, since many pirates raid up and down the coast of the bay, putting fishing villages to the torch and filling their holds with captured refugees. Slavery has become a thriving business in the town, and rumors abound of a cartel of Slave Lords who run things from behind the scenes, filling their coffers in secret from the buying and selling of human chattel. The trade has become so prolific that the good folk to the north have grown tired of these depredations and decided to fight back. Forces of righteousness and honor have recently descended upon Highport, some openly and others in secret, in various attempts to destroy the machinations of the Slave Lords and abolish the abominable enterprise that has taken far too many loved ones from home and hearth. One such doughty servant of goodness is Mikaro Valasteen, a cleric of Trithereon. Mikaro slipped unnoticed past the crumbling walls of Highport with a single mission: to rescue and transport as many slaves to their freedom as possible. Mikaro and a handful of faithful assistants located a number of escaped slaves—as well as rescued a few more not sufficiently restrained and guarded—and shepherded them through the gates and beyond the reach of their humanoid tormentors, returning them to their lands and homes. This covert freedom brigade enjoyed remarkable success early on, since the servants of the Slave Lords were often lax in their vigilance and sloppy in their efforts to prevent loss of the “merchandise.” After one too many shipments never made its destination, the humanoids stepped up their security and the normal channels of escape from Highport closed to Mikaro and his team. He cannot risk exposure by smuggling the freed slaves through the gates as merchandise any longer, since shipments of goods are now regularly stopped and checked. No longer able to free the slaves in that manner, Mikaro began hiding his charges in an abandoned villa in a particularly rundown part of the town. Although they are safe for the moment, their numbers have grown unmanageable, and the priest fears it is only a matter of time before someone slips up and brings slavers to their doorstep. Ever more desperate to find a new means of escape from Highport, Mikaro has started work on a plan that is both daring and dangerous. He intends to use a series of old sewers coupled with natural caverns running beneath the town as an escape route to the sea beyond the walls. But he needs someone to clear out the creatures and pitfalls he knows lie within. Pgs. 2-27
The kuo-toa are a piscine race with a psychic affliction that makes them behave erratically and invent gods when feeling threatened. That same affliction gives them the power to bring those gods to life. Blibdoolpoolp is the most widely worshipped, and thus most powerful, of their gods. Blibdoolpoolp views the kuo-toa as her children despite having been born after them. Like all good mothers, she nurtures and protects. One of her chief concerns is understanding the kuo-toa’s psychic affliction, which causes them to undermine themselves whenever they strive for greatness. She discovers that a corrupted elder brain deep in the Underdark has a connection to the race; though the connection gives them psychic powers, it also turns them into powerless thralls, explaining their self destructive behaviors. Constrained by the same leash on her children, Blibdoolpoolp seeks adventurers to destroy the elder brain. Its death would free the kuo-toa, but potentially at great cost: if the kuo-toa lose their powers, will Blibdoolpoolp die?

Buried in fire, but hardly dead. Only the Keep survived the destruction of Koralgesh, but few adventurers will survive the terrors that now stalk the lost Keep's halls. Players hear rumours of the Keep at Koralgesh and then traverse it to acquire the treasure within. Pgs. 45-64