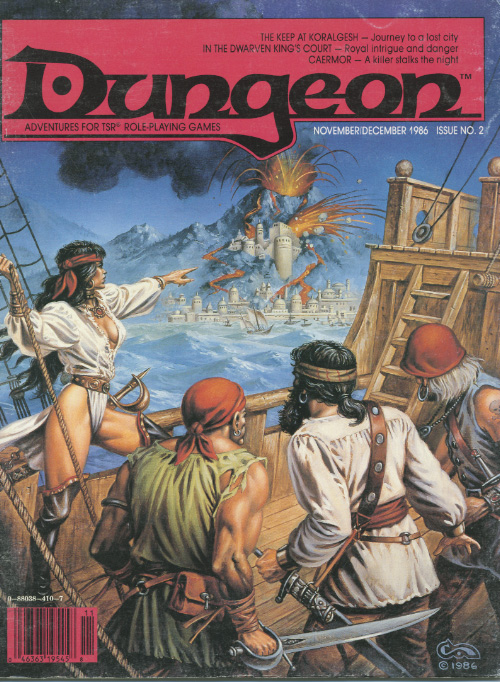
Buried in fire, but hardly dead. Only the Keep survived the destruction of Koralgesh, but few adventurers will survive the terrors that now stalk the lost Keep's halls. Players hear rumours of the Keep at Koralgesh and then traverse it to acquire the treasure within. Pgs. 45-64
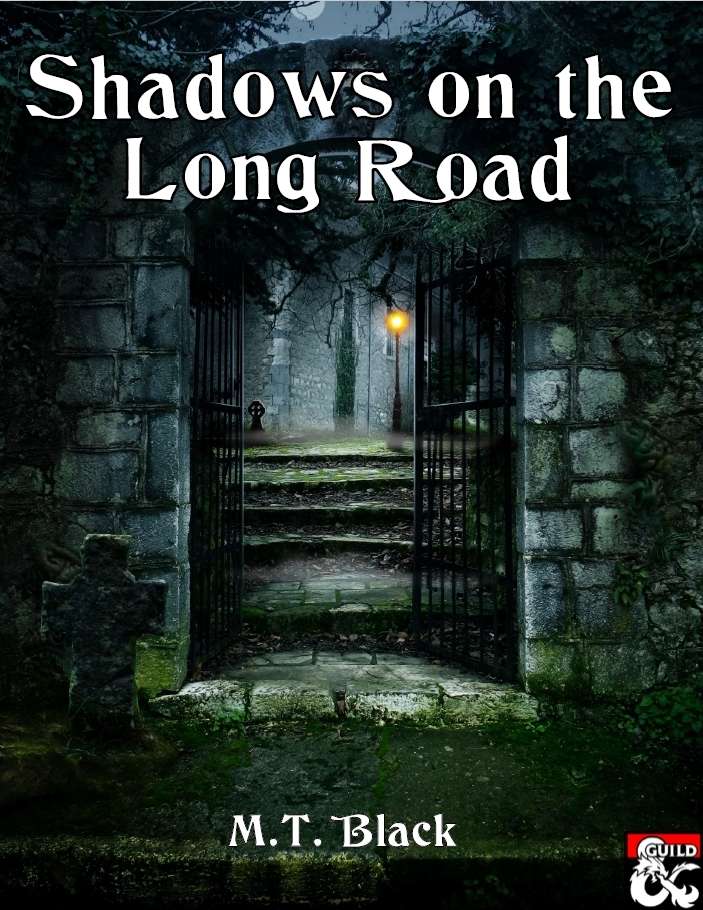
Travellers are going missing on the Long Road, on the 100 mile stretch between Triboar and Longsaddle. Our heroes investigate and discover a haunted mansion with a dark history and a gruesome secret. Their quest brings them to the very gates of hell itself, where an infernal abomination presents them with their greatest challenge yet... Inspired by a Clark Ashton Smith story.
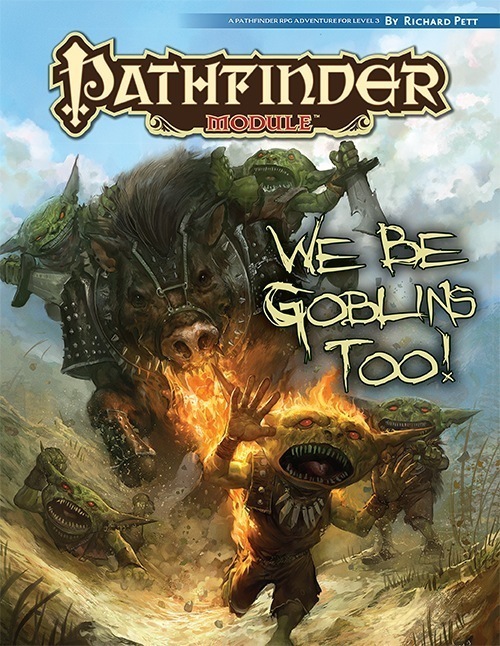
The Licktoads, once the great and fierce goblin tribe in Brinestump Marsh, were defeated by human adventurers! All that remains of the tribe are its four goblin "heroes". Homeless and bored, they left their swampy homeland to join the neighboring goblin tribe, the Birdcrunchers. The good news is that the Birdcrunchers are willing to let the goblin heroes join their tribe. The better news is that the Birdcrunchers have heard of these four, and want one of them to become their new chieftain. The bad news is that before the goblins can join, they'll need to endure a series of dangerous and humiliating tests. Very dangerous. Very humiliating. The worse news is that lately Birdcruncher chieftains have had really short lifespans—they're being killed by the pet fire-breathing boar of a local ogre who wants the Birdcruncher land as his own. Part 2 of the We Be Goblins series.
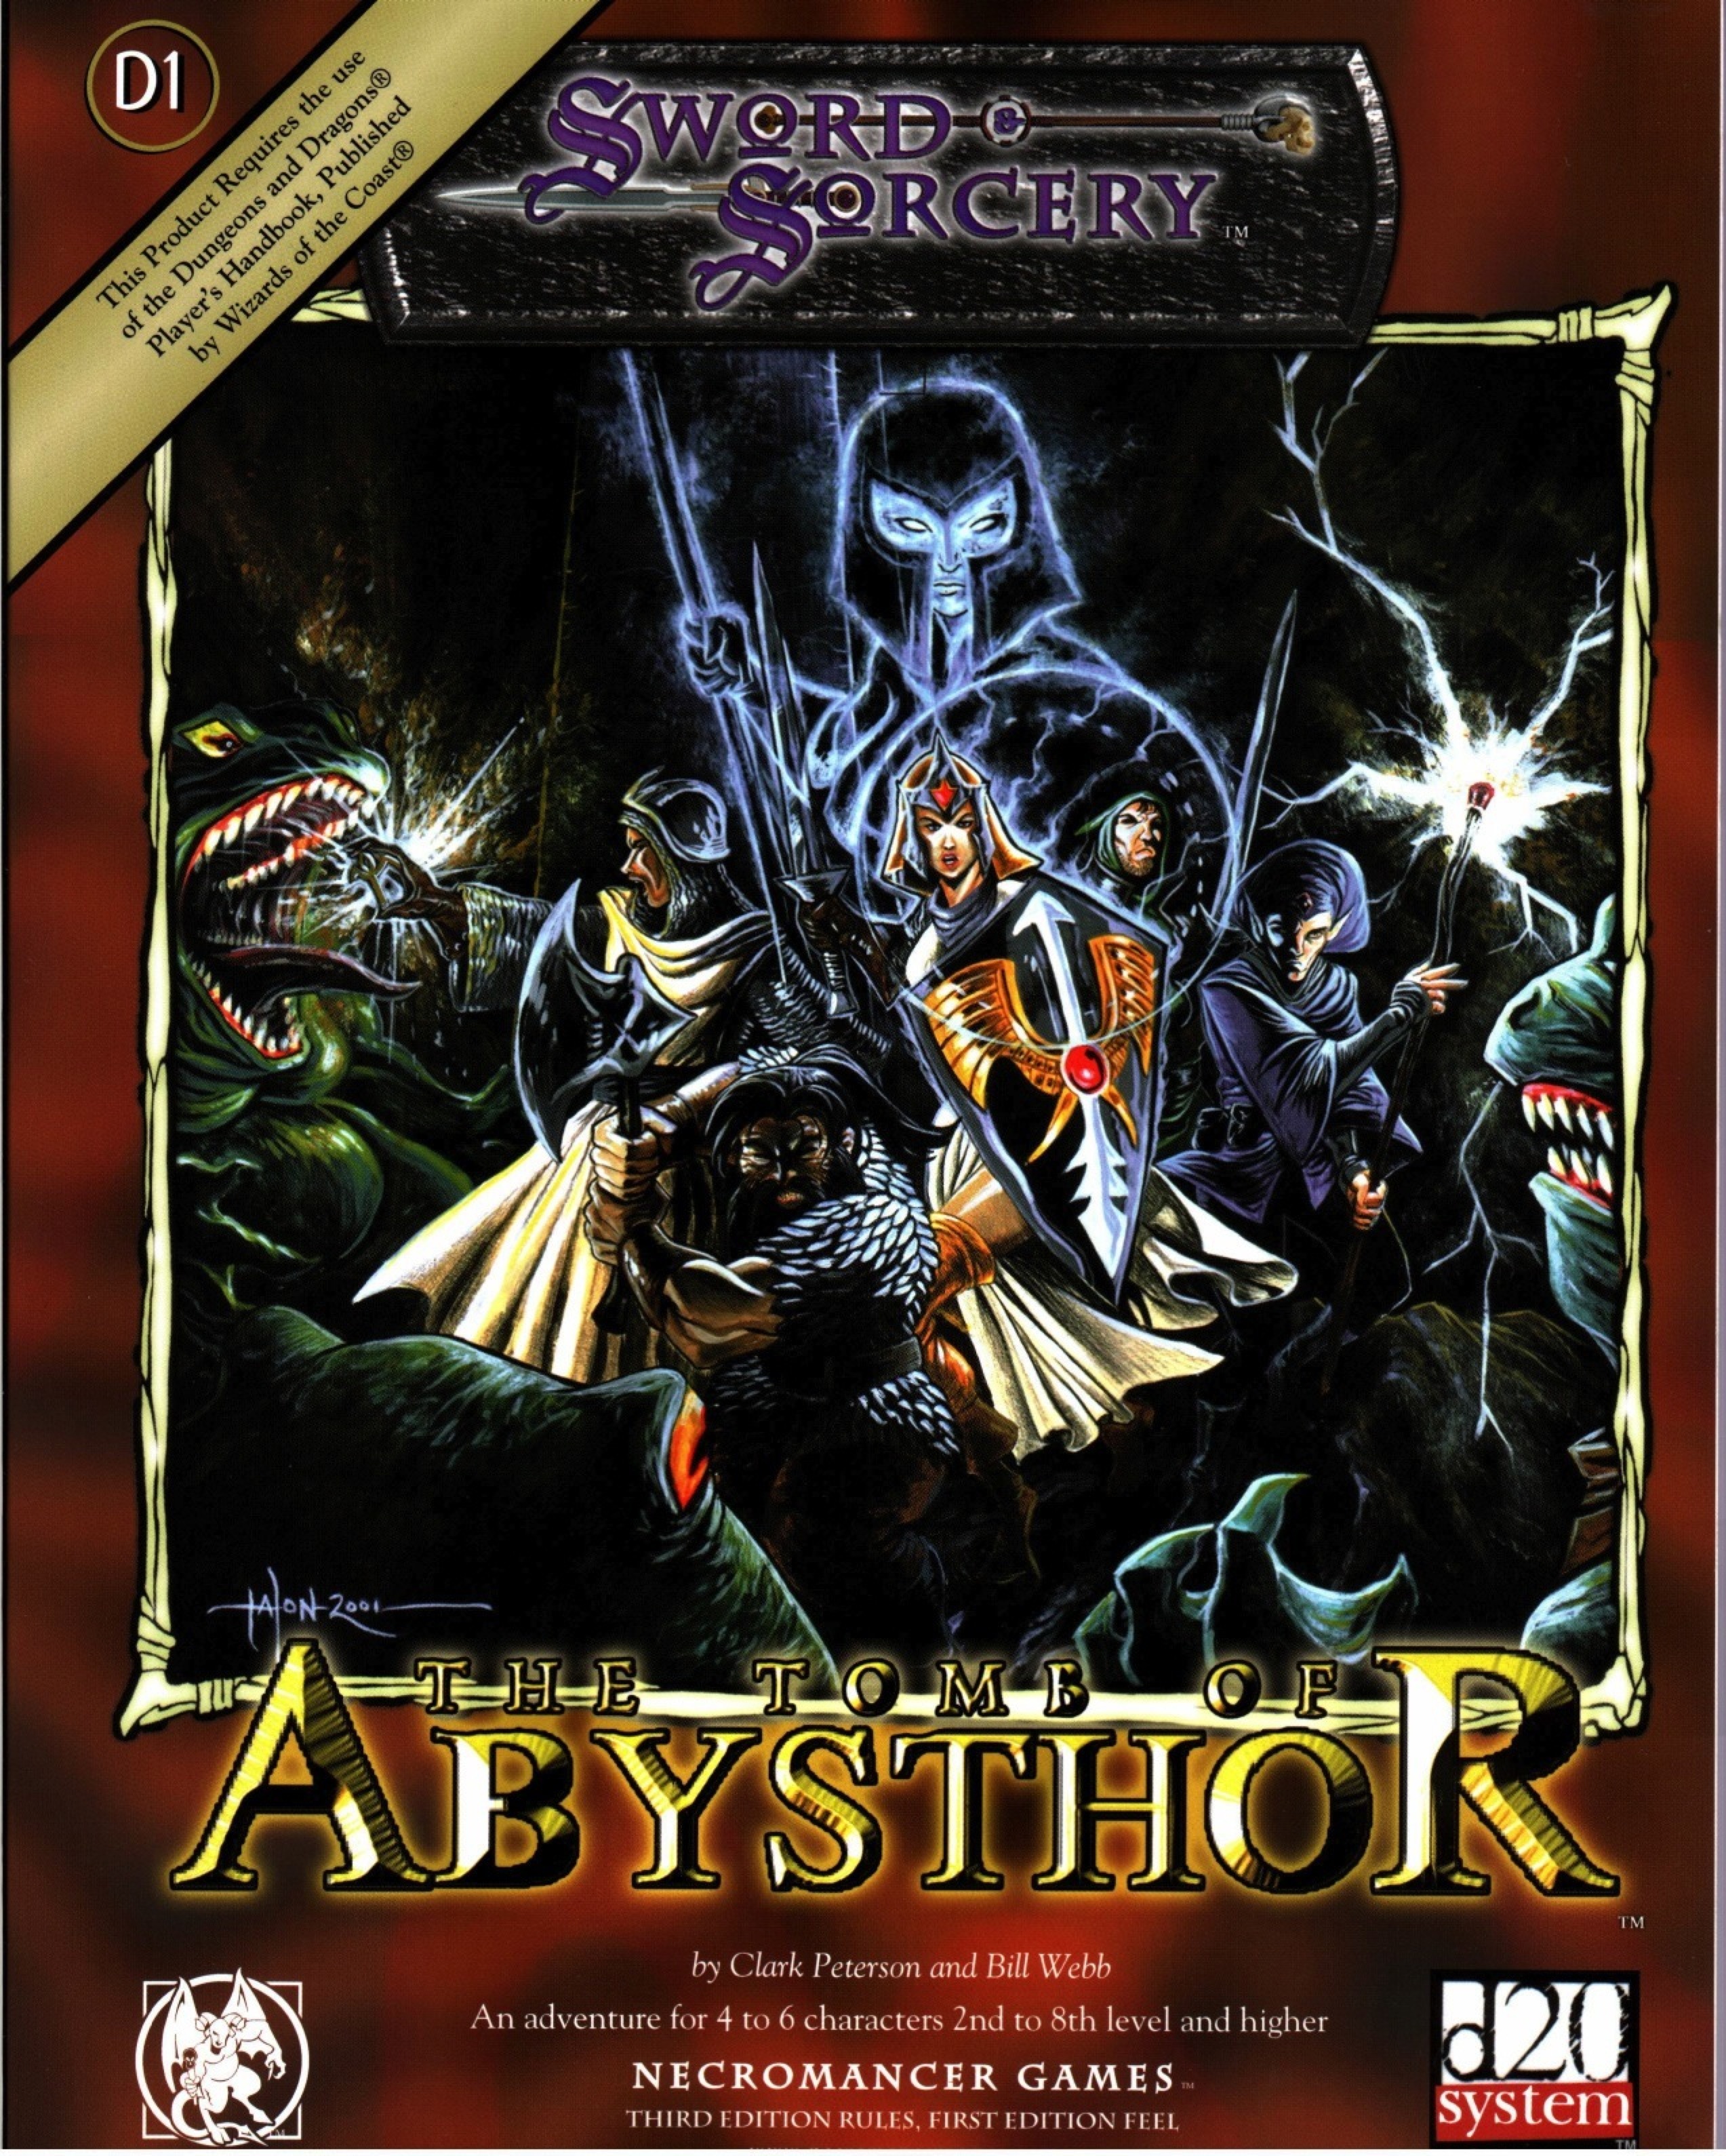
Restore an Abandoned Temple Enter the catacombs near the desecrated Temple of Muir, Goddess of Paladins, and search for the lost tomb of Abysthor. Will your party be able to cleanse the evil that now inhabits these once-sacred halls, and recover the Stone of Tircople? Can your characters survive the traps of an undead sorcerer? Will your players discover the chamber of Living Rock and the secret power it holds? Adventure awaits! Gold and Glory! A fantasy adventure published for the D20 system, The Tomb of Abysthor is the first module in Necromancer Games Dungeon series and can be played as a stand-alone story or in conjunction with The Crucible of Freya and the forthcoming city supplement Bards Gate. What secrets lie hidden in the tomb of Abysthor?
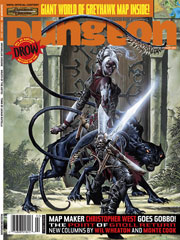
For hundreds of years, Aknar Ratalla's tomb remained undisturbed, the Black Blade safely hidden within its vaults. Can a band of adventurers use the tomb's guardians and traps to keep it that way? Long ago, Aknar Ratella brought pain and desolation down upon the land. His reign of ruin was finally ended by an unlikely alliance of the forces of law: a band of devils and devas slew the warlord but were unable to destroy his dangerous weapons and relics. They chose instead to hide these potent artifacts of evil in a remote tomb, selecting a devil and a deva to stand guard over the tomb for the rest of time. For many centuries, the tomb stood unspoiled... but now, a new player has entered the scene. After infiltrating the tomb themselves, a band of adventurers must become its guardians and use its denizens and traps to prevent a monstrous gnoll chieftain from claiming the deadly artifacts hidden within for his own nefarious glory. Pgs. 58-80
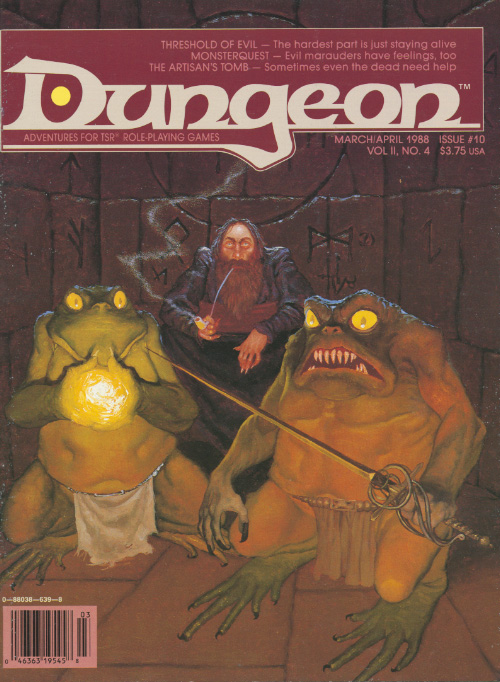
On a storm-blasted mountain lives an immortal Arch-Mage with a foul temper. The townspeople want you to talk to him - and kill him, if necessary. Is immortality worth the price? An Arch-Mage's magics threaten a small village. To protect it the party must brave a dangerous climb, and survive the Mage's warded lair. Pgs. 43-64

The Sea Witch is a short adventure for four 10th-level characters. The difficulty of the adventure can be adjusted by changing the level of main antagonist (Black Molly, the sea hag pirate) or by altering the number of her ogre servants. To tailor the encounter to groups of different levels, refer to table 4-1 in Chapter 4 of the DUNGEON MASTER’S GUIDE. The adventure is set off a lightly populated coastline known as Misty Bay, but adapts easily to any coastal region in existing campaigns. The sea hag known as Black Molly is a notorious pirate who has plagued the coastal cities for the better part of a decade. A successful Knowledge (local) check (DC 15) will reveal that Molly and her ogre crew have a filthy reputation as merciless killers who delight not only in plundering vessels for their riches, but also in destroying the ships themselves and sending all hands to the bottom of the sea. Now the villain and her followers have seized control of the Old Lighthouse of Misty Bay located off a lightly populated coastline. For generations the lighthouse beacon has protected the fishermen of this region, warning them of the dangerous rocks that lurk just below the level of the high tides. Recently, the hag has put out the beacon, darkening the lighthouse; misery and destruction are sure to follow as ships start to blunder into the rocks. Blackmail is apparently Black Molly’s aim in this venture: She conveyed a message to the nearest shore community, the fishing village of Poisson, demanding the princely sum of 50,000 gp. Until she receives this ransom, she intends to hold the lighthouse and its beacon hostage. The fate of the human keepers who tend the lighthouse is unknown to the seaside communities at this time, but they fear the worst. The Sea Witch is ostensibly a rescue mission: The PCs are pitted against the evil of Black Molly and the brawn of her savage ogre crew. It is the heroes’ task to retake the lighthouse and, if possible, free its captives from the clutches of their jailer. What neither the PCs nor the shore communities yet realize is that while she 1would be pleased to have the gold, Black Molly is in fact after bigger treasure. Molly has no intention of giving up the lighthouse — at least, not until she finds what her master sent her here for. Lying on the sea floor practically at the base of the rock on which the lighthouse sits is the wreck of the war galley Flying Cloud, which according to popular legend was captained by a cleric who wore around his neck an amulet of the planes. Black Molly wants this prize, but so far she hasn’t been able to find it. She’s scoured the wreck without finding any sign of the magic item. Now she’s trying to determine where to search next, for the item might well be somewhere near the wreck. If she can’t find it, she’ll start torturing her captives to find out if they have any useful knowledge about the amulet.
A short adventure for the Midnight campaign setting from Fantasy Flight Games. An important resistance member has been captured by the Shadow, and the adventurers are called upon to ensure--through any means necessary--that the information he knows is not passed on to the enemy.

The Cult of the Dragon, along with its dragon allies and the Red Wizards of Thay, seek to bring Tiamat from her prison in the Nine Hells to Faerûn. To this end, they are sweeping from town to town, laying waste to all those who oppose them and gathering a hoard of riches for their dread queen. Continued in The Rise of Tiamat.

Greatwall is in peril - not from military forces of Iuz, but from lack of goods and supplies. Caravans from Willip have ceased thanks to increased dangers on the Willip Critwall Grabford Trail. As the key fort positioned to contain the Iuzian flood, Greatwall is a strategic necessity. Its failure would mean a major incursion along the border. Your characters are hired to escort a caravan from Greatwall to Willip; if its merchants are afraid to come to the fort, the fort will go to them. This should be simple, cut and dried guard job. Right? Of course not. There are many surprises in store for your little caravan, and your characters will need to keep their wits about them day and night in order to make it to the other end. Secret plans are afoot, conspiracies are brewing, and nothing is as it seems while on the Border Watch. This module uses information presented in the From the Ashes boxed set and the Iuz the Evil accessories. However, ownership of these two products is not necessary to play this module. TSR 9406

Some dozens of leagues to the north and west of the STEADING OF THE HILL GIANT CHIEF (Module G1 of this series), amidst the tallest mountain peaks, is the stronghold of Grugnur, Lord of Frost Giants. As frost giants have been amongst those who have been in the reaving bands, the party is to deal with them as the hill giants have been dealt with. Death and destruction are to be meted out to the frost giants in the same measure they gave to the peoples below. This module contains background information, referee's notes, two level maps, and exploration matrix keys. It provides a complete module for play of ADVANCED DUNGEONS & DRAGONS, and it can be used alone or as the second of a three-part expedition adventure which also employs DUNGEON MODULE G1 (STEADING OF THE HILL GIANT CHIEF) and DUNGEON MODULE G3 (HALL OF THE FIRE GIANT KING). TSR 9017

In this scenario, the adventurers pass through magical portals into a series of interlinked chambers. The characters are encouraged by a young scholarly mage to voyage into the Sea of Pastures, to explore a mysterious island connected with a number of recent shipwrecks and disappearances. The island is grassy and windblasted, but eventually the characters discover a stone door leading into a subterranean complex. There, they discover 18 rooms linked by secret passages and magical portals. Most of these rooms have been ransacked by a variety of other survivors, human and monstrous. These survivors are likewise trapped within the labyrinth and are either eking out a miserable existence there or else desperately searching for a means of escape. Also within the building are a number of extraplanar creatures, collectively known as gingwatzim, who can shift between various forms: an energy form (glowing ball of light), an inanimate form (usually a magical weapon), and an animate form (an animal or monster). Eventually the characters may find the exit, and are once again deposited on the dreary islands to await rescue. TSR 9110

The End of the World Is at Hand! A hideous death cult has seized control of an ancient artifact-monument known as Tovag Baragu. The power behind the cult is the Old One himself, Iuz the Evil, demonic master of an empire. He's on an all-or-nothing quest for supremacy over the world—and the heavens beyond. To stop him, heroes must face horrors never dreamed of, journeying to a shadowed city where Death rules and the living cower. Here, Iuz will achieve his mad dream by destroying the imprisoned master of that alien citadel: Vecna, the mightiest lich, an immortal demigod. Two items exist with the power to stop Iuz—the Eye and the Hand of Vecna—but using them carries fantastic risks. Not even the gods know what will be unleashed when these items are fully activated. Die Vecna Die! takes the heroes from the Greyhawk campaign to the demiplane of Ravenloft and then to the Planescape city of Sigil. However, none of the material from those settings is required for play. TSR 11662

Lots of stronghold assaults and shipboard travel/encounters in this one. This adventure's deep political basis might be seen as an introduction for the domain-focused adventures of Companion-level play. This adventure is for use with the Dungeons & Dragons Basic, Expert, and Companion Rules, and includes the intrigue of engaging with nobility's lands and agendas. Intro: All is not well in the kingdom of Vestland. Not only is the king dead and the holy Sonora Crown missing, but the heir to the kingdom was lost at birth and no on knows where to find him. As if this wasn't bad enough, the forces of the Ethengar Khanate, never on the best of terms with Vestland, are now massing on the borders, hoping to take advantage of Vestland's plight. To complete the rosy picture, traitors from within also threaten to speed the downfall of the High Kingdom. Sounds like a job for you. You must find the long-lost heir to the kingdom and recover the Sonora Crown, the mystical device without which a king cannot be crowned. Standing in your way are traitors and spies from within and invaders from without the kingdom of Vestland. Time is running out! Can you save Vestland from disaster? TSR 9218
The Lantanese have lost their magical ship, but they aren't willing to fight for it. That's where your heroes come in. She's expecting you. A party of adventures has gone missing, and the inhabitants of a local town have been acting strangely it is up to the party to figure out what is going on and stop whatever force are at work on the towns people Pgs. 8-23 & 47

After the first expedition to locate an ancient tomb was prematurely ended by monsters, the Search and Locate Treasure Consortium is doubling down. Camp established, they are looking for adventurers to make their dreams come true, but the leader of the Consortium is hiding something. Will the characters be able to avoid the Man Slayer tribe that destroyed the first expedition, help Larazmu settle his internal struggles, and locate the tomb that they have been searching for without getting into Moor Trouble?
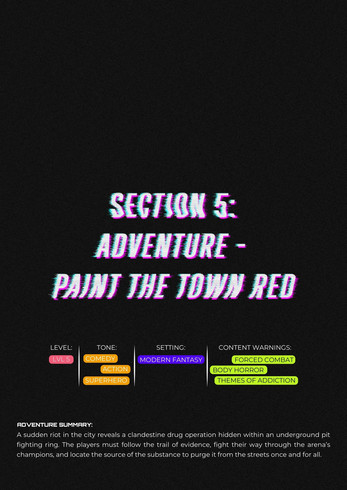
A sudden riot in the city reveals a clandestine drug operation hidden within an underground pit fighting ring. The players must follow the trail of evidence, fight their way through the arena’s champions, and locate the source of the substance to purge it from the streets once and for all.

The time has come for the brave and the bold to put an end to the machinations of Maerimydra’s demonic occupiers and their fiendish fire giant ruler. This will be no mean feat; the city is a cesspit of corruption and madness. You will have help, however, as an unlikely group of allies have gathered to your side in the Underdark beneath Faerûn. Danger, glory, and redemption await those brave enough to seize it. With allies gained from denizens of the Underdark, the former drown enclave of Szith Morcane is on the precipice of being retaken. During the battle for Szith Morcane, secrets of the drow community are revealed. What will you do with this knowledge, and how will it affect the outcome of the conflict?
An ettin has begun terrorizing the hamlet of Newkeep, stealing cattle and smashing homes—and flattening anyone who tries to stop him. Meanwhile, a mysterious riddle has appeared on the walls of the local shrine—a riddle which may hold the key to vanquishing the ettin.

While travelling the open road, the party encounters two good-hearted thieves with a potentially lucrative proposition: The despotic baroness Ytrix hoards a large treasure nearby, locked within her army’s fort. Wouldn’t it be exactly what she deserves to have that treasure stolen and given to the needy that she’s so long ignored and oppressed? That’s what the party’s new companions think anyway, and they certainly have no ulterior motive for the job... The treasure is protected by high walls, a legion of soldiers, a fanatical wizard, and plenty of other surprises to keep would-be thieves on their toes. The party will choose how to approach the fort, case the joint, make their plan, and execute their heist. When they're done—and if they're successful—they'll leave with a small fortune and even a few unique magic items. A 6-8 hour adventure for 3rd or 4th level characters.