
A great threat lopes toward a small city at the edge of a wasteland. One of the leviathans of the wasteland, a gigantic malevolent creature known locally as a “walker,” appears to be on a course directly through the city. The PCs are called to heroism by the city’s council, who have learned that the walker is being directed by a foul darakhul who has gained control of the creature and directs it from atop its shoulders! Scouts have discovered a portal used by the ghoul to teleport atop the walker. With a hastily scrawled map, the party must navigate the wild hills to locate the magical doorway. In this epic and deadly adventure, the party must navigate wild hills, locate a teleportation portal, and slay the Darakhul and his minions on teetering platforms built atop the shoulders of the walker.

The Sea Witch is a short adventure for four 10th-level characters. The difficulty of the adventure can be adjusted by changing the level of main antagonist (Black Molly, the sea hag pirate) or by altering the number of her ogre servants. To tailor the encounter to groups of different levels, refer to table 4-1 in Chapter 4 of the DUNGEON MASTER’S GUIDE. The adventure is set off a lightly populated coastline known as Misty Bay, but adapts easily to any coastal region in existing campaigns. The sea hag known as Black Molly is a notorious pirate who has plagued the coastal cities for the better part of a decade. A successful Knowledge (local) check (DC 15) will reveal that Molly and her ogre crew have a filthy reputation as merciless killers who delight not only in plundering vessels for their riches, but also in destroying the ships themselves and sending all hands to the bottom of the sea. Now the villain and her followers have seized control of the Old Lighthouse of Misty Bay located off a lightly populated coastline. For generations the lighthouse beacon has protected the fishermen of this region, warning them of the dangerous rocks that lurk just below the level of the high tides. Recently, the hag has put out the beacon, darkening the lighthouse; misery and destruction are sure to follow as ships start to blunder into the rocks. Blackmail is apparently Black Molly’s aim in this venture: She conveyed a message to the nearest shore community, the fishing village of Poisson, demanding the princely sum of 50,000 gp. Until she receives this ransom, she intends to hold the lighthouse and its beacon hostage. The fate of the human keepers who tend the lighthouse is unknown to the seaside communities at this time, but they fear the worst. The Sea Witch is ostensibly a rescue mission: The PCs are pitted against the evil of Black Molly and the brawn of her savage ogre crew. It is the heroes’ task to retake the lighthouse and, if possible, free its captives from the clutches of their jailer. What neither the PCs nor the shore communities yet realize is that while she 1would be pleased to have the gold, Black Molly is in fact after bigger treasure. Molly has no intention of giving up the lighthouse — at least, not until she finds what her master sent her here for. Lying on the sea floor practically at the base of the rock on which the lighthouse sits is the wreck of the war galley Flying Cloud, which according to popular legend was captained by a cleric who wore around his neck an amulet of the planes. Black Molly wants this prize, but so far she hasn’t been able to find it. She’s scoured the wreck without finding any sign of the magic item. Now she’s trying to determine where to search next, for the item might well be somewhere near the wreck. If she can’t find it, she’ll start torturing her captives to find out if they have any useful knowledge about the amulet.
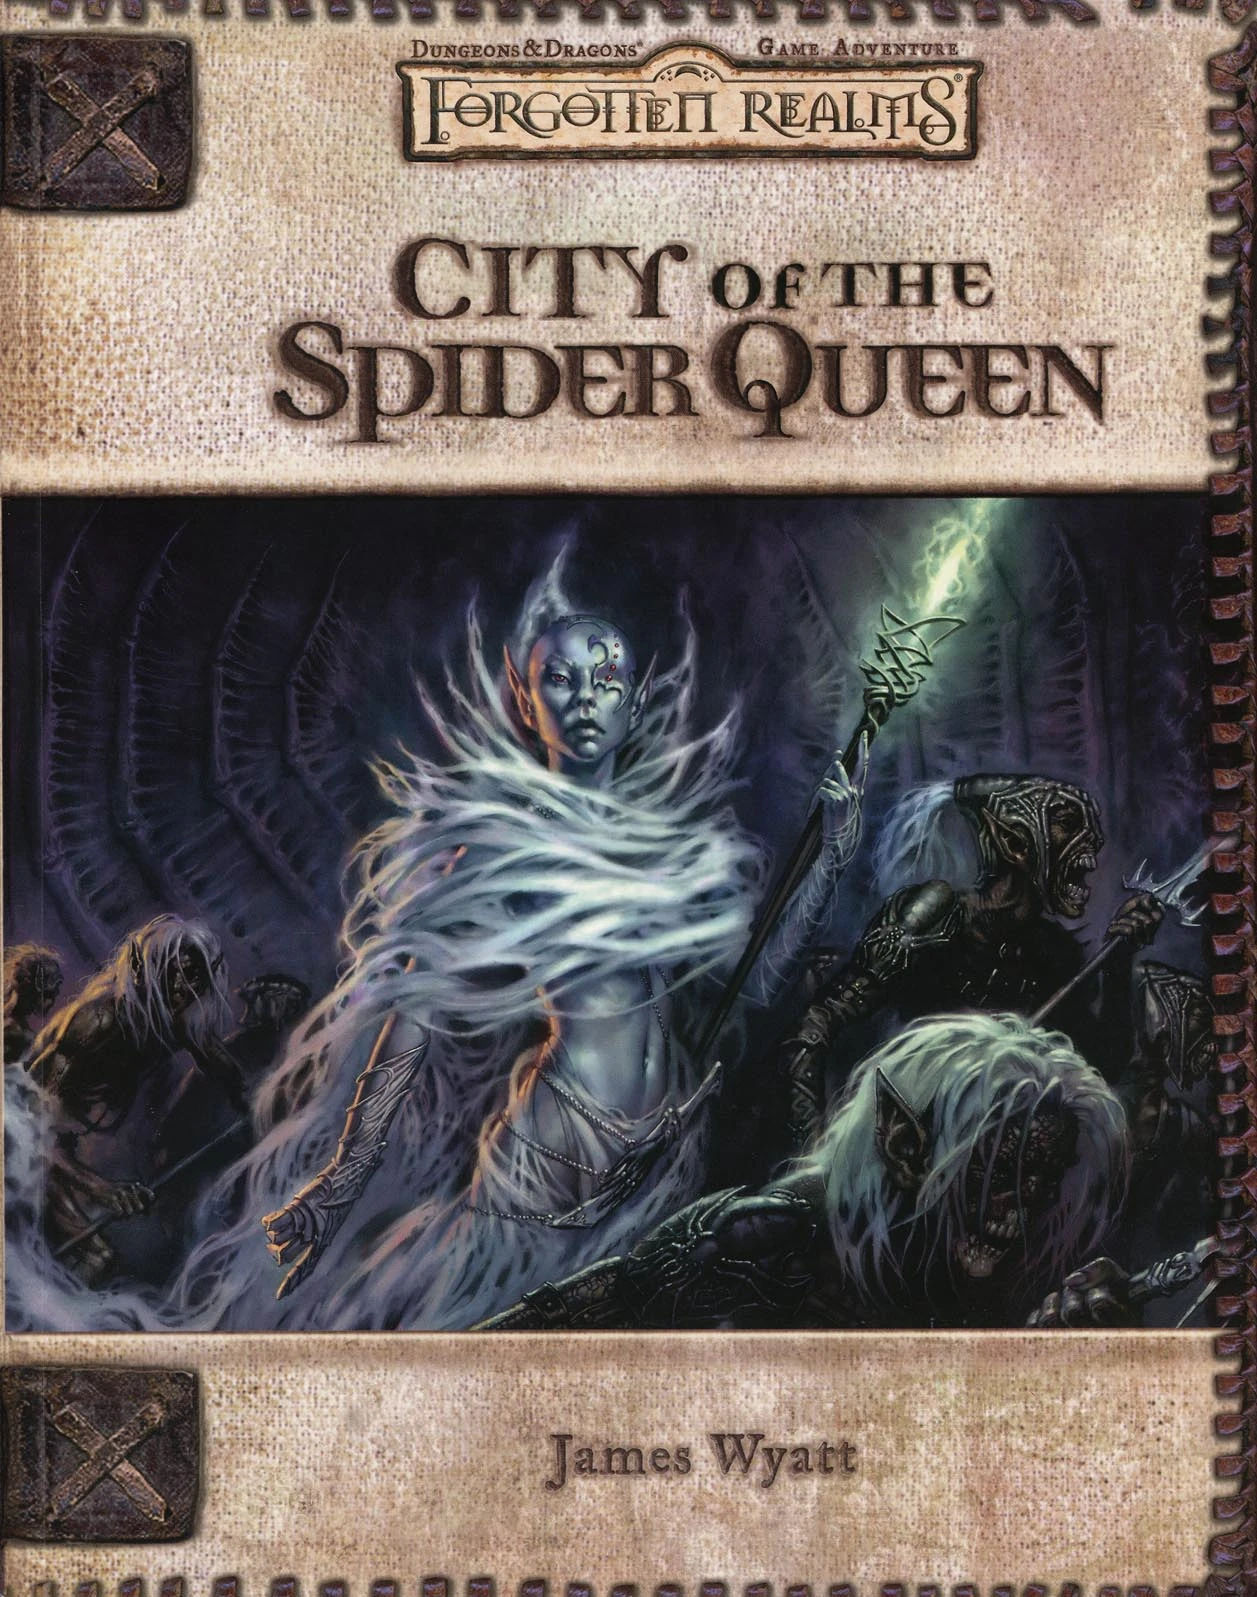
The Fate of Faerûn Lies in Shadowy Darkness! Daggerdale is reeling from a sudden series of murderous drow raids. As a grave threat to the entire surface world develops in the war-torn dark elf city of Maerimydra, intrepid heroes must discover its source and destroy it, if they can.

The wizard Kavorquian is dead. But certain items belonging to his adopted son were in the wizard's keeping at the time of his demise. Now someone must venture into the silent vaults of Kavorquian's stronghold and recover the missing property. Queen's Harvest picks up its story where B11, King's Festival, left off. It can be played as a sequel to that adventure or as a complete adventure in itself. It is tailored for beginning Dungeon Masters and players and contains helpful hints on adventuring and the land of Karameikos. The story develops simply, but ultimately leads the player characters into the nether reaches of Penhaligon's politics to confront Ilyana Penhaligon, mad pretender to the throne! TSR 9261

To a wizard, knowledge is power, and the wizard Lirdrium Arkayz wants to know the mysterious secret of The Rock. Many have tried to discover it - but The Rock keeps its secret well. The wizard offers a rich reward to anyone bold enough to solve this dark mystery. But the road to The Rock leads to danger and hidden peril - dangers that have claimed the lives of many brave adventurers. Rashness and folly will lead to quick death, but riches await the clever and brave. Have you the wits, courage and skill to survive the Journey to The rock? TSR 9106

Some dozens of leagues to the north and west of the STEADING OF THE HILL GIANT CHIEF (Module G1 of this series), amidst the tallest mountain peaks, is the stronghold of Grugnur, Lord of Frost Giants. As frost giants have been amongst those who have been in the reaving bands, the party is to deal with them as the hill giants have been dealt with. Death and destruction are to be meted out to the frost giants in the same measure they gave to the peoples below. This module contains background information, referee's notes, two level maps, and exploration matrix keys. It provides a complete module for play of ADVANCED DUNGEONS & DRAGONS, and it can be used alone or as the second of a three-part expedition adventure which also employs DUNGEON MODULE G1 (STEADING OF THE HILL GIANT CHIEF) and DUNGEON MODULE G3 (HALL OF THE FIRE GIANT KING). TSR 9017

In this adventure, the PCs discover that not all souls rest easy, particularly those spirited away to Nightwyrm Fortress. To learn the truth, players must pierce death's veil itself and enter the Shadowfell, where sinister echoes of life wing through eternal gloom. This adventure can be run as a stand-alone adventure or as Part Three of a three-part series of adventures (starting with P1 King of the Trollhaunt Warrens(TM) and P2 Demon Queen's Enclave(TM)) that spans 10 levels of gameplay.
A short adventure for the Midnight campaign setting from Fantasy Flight Games. An important resistance member has been captured by the Shadow, and the adventurers are called upon to ensure--through any means necessary--that the information he knows is not passed on to the enemy.

“The Shadow Rift of Umbraforge” is a sequel to “Siege of Bordrin’s Watch” and the third part of the Scales of War Adventure Path. In “Siege of Bordrin’s Watch,” the PCs discovered that dark creepers had sold arms and tactical intelligence to the orc war chief Tusk, aiding him in his attack against the folk of the Stonehome Mountains. In this adventure, the PCs investigate the link between the orcs and the dark ones, stumbling into an armsrunning operation that takes them to the Shadowfell in order to finally confront the charismatic figure behind it. Pgs. 4-53

Chaos reigns outside Roslof Keep, and the spread of the violet corruption runs deep within Mithelvarn's Dungeon. Now, the Company of the Ivory Scimitar must not only face the challenges of the Roslof delve, but will also find the dangers of the Kelmalin Wildlands must be overcome as well if they are ever to get to the bottom of the deadly plague that ravages the land. Time is running out, and only those brave enough will be able to face the horrors of the Glade of the Burning Dead and the dark recesses of The Hill. This adventure is formatted to both 1E & 5E gaming rules. Also available in PDF.

The Dwarven clans are in chaos, and a powerful host of goblins stand poised to sweep over the land in a wave of death and terror. Only the Axe of the Dwarvish Lords- one of the most powerful weapons ever created by the dwarven race- holds the key to ultimate victory against the massing humanoids. Can the PCs brave the labyrinth of an abandoned dwarven stronghold to find the Axe? TSR 11347

Veil Down Conquered is a free preview of the full-length adventure KOBOLDS VS. OGRES, coming in 2018! Veil Down is an affluent halfling village known for its vintners and farmers. Recent kobold incursions into the region around Veil Down have forced gangs of monsters closer and closer to civilized land...and this has brought a gang of ogres to the idyllic village! After driving the halflings out, the ogres have attempted to make the best of their situation and turn the village into their new home, but in a village built for halflings, these ogres are going to have a hard time fitting in... This adventure site contains a chapter from the forthcoming adventure Kobolds vs. Ogres, coming in 2018. Fully presented as a standalone site, expanded gameplay content includes a much more in-depth look at the gnome town of Hardbuckler, briefly touched in Volo's Guide to the Sword Coast and Sword Coast Adventurer's Guide. Additionally, extensive random encounter tables round out the book, steeped in historical lore from the Forgotten Realms campaign setting, presenting stunning mysteries, interesting sites to explore, and evocative NPCs and monsters. This chapter only begins the trials and tribulations players will face in Kobolds vs. Ogres!

The dreadful jails below the appalling City of Skulls, Iuz's nightmare capital, contain many wretched and desperate captives. Among them is Earl Holmer, Knight Commander of the Shield Lands. A brave spy in Dorakaa has shown the ay to find and free Holmer—is your party up to the job of freeing him? King Belvor IV of Furyondy believes so. In the way stand fearsome priests and mages of the Lord of Pain; ogres, giants, fiends, and worse hinder the struggle to defeat the traps and guardians of Iuz. Plucking Holmer from his grasp will bring great renown, knighthood, and treasure—for those who survive. None has ever escaped Iuz's jails. Who will you be the first to use stealth or storm to breach them? TSR 9405

The residents of Haskenport are worried -- someone is living at the old manor house. The local druid says it's a band of hobgoblins. Are they just looking for a temporary shelter before moving on? Or do they plan to bring a whole tribe to live there when the place is secured? Or do they work for an even worse creature that no one has seen yet? Whatever their reasons for being there, the situation can't be good. It's up to the heroes to clean the monsters out of the place so the townsfolk can sell it.

The heroes arrive at the eponymous Keep on the Borderlands, a fortress on the edge of civilization built to stave off the chaos and evil of the wilderness. Using it as a home base, a party can make forays into the surrounding wilderness, encountering monster and marauder alike. The centerpiece of the adventure is certainly the CAVES OF CHAOS, a network of tunnels and caverns found in the walls of a nearby but isolated ravine. It is here that hordes of evil humanoids have made their home. Through combat and negotiation, the players can try to explore and map out these caves, perhaps with the aim of accumulating valuable treasure or even cleansing the land of evil creatures. However, even the Caves are not all they seem. Beyond the goblins and kobolds lurk dark horrors: cults dedicated to fiendish chaos and a Minotaur's enchanted labyrinth await the unprepared adventurer. But for the hero who is brave, clever, and fortunate in equal and sufficient measure, great treasures and glory await in the Caves of Chaos that lie beyond the Keep on the Borderlands! TSR 9034
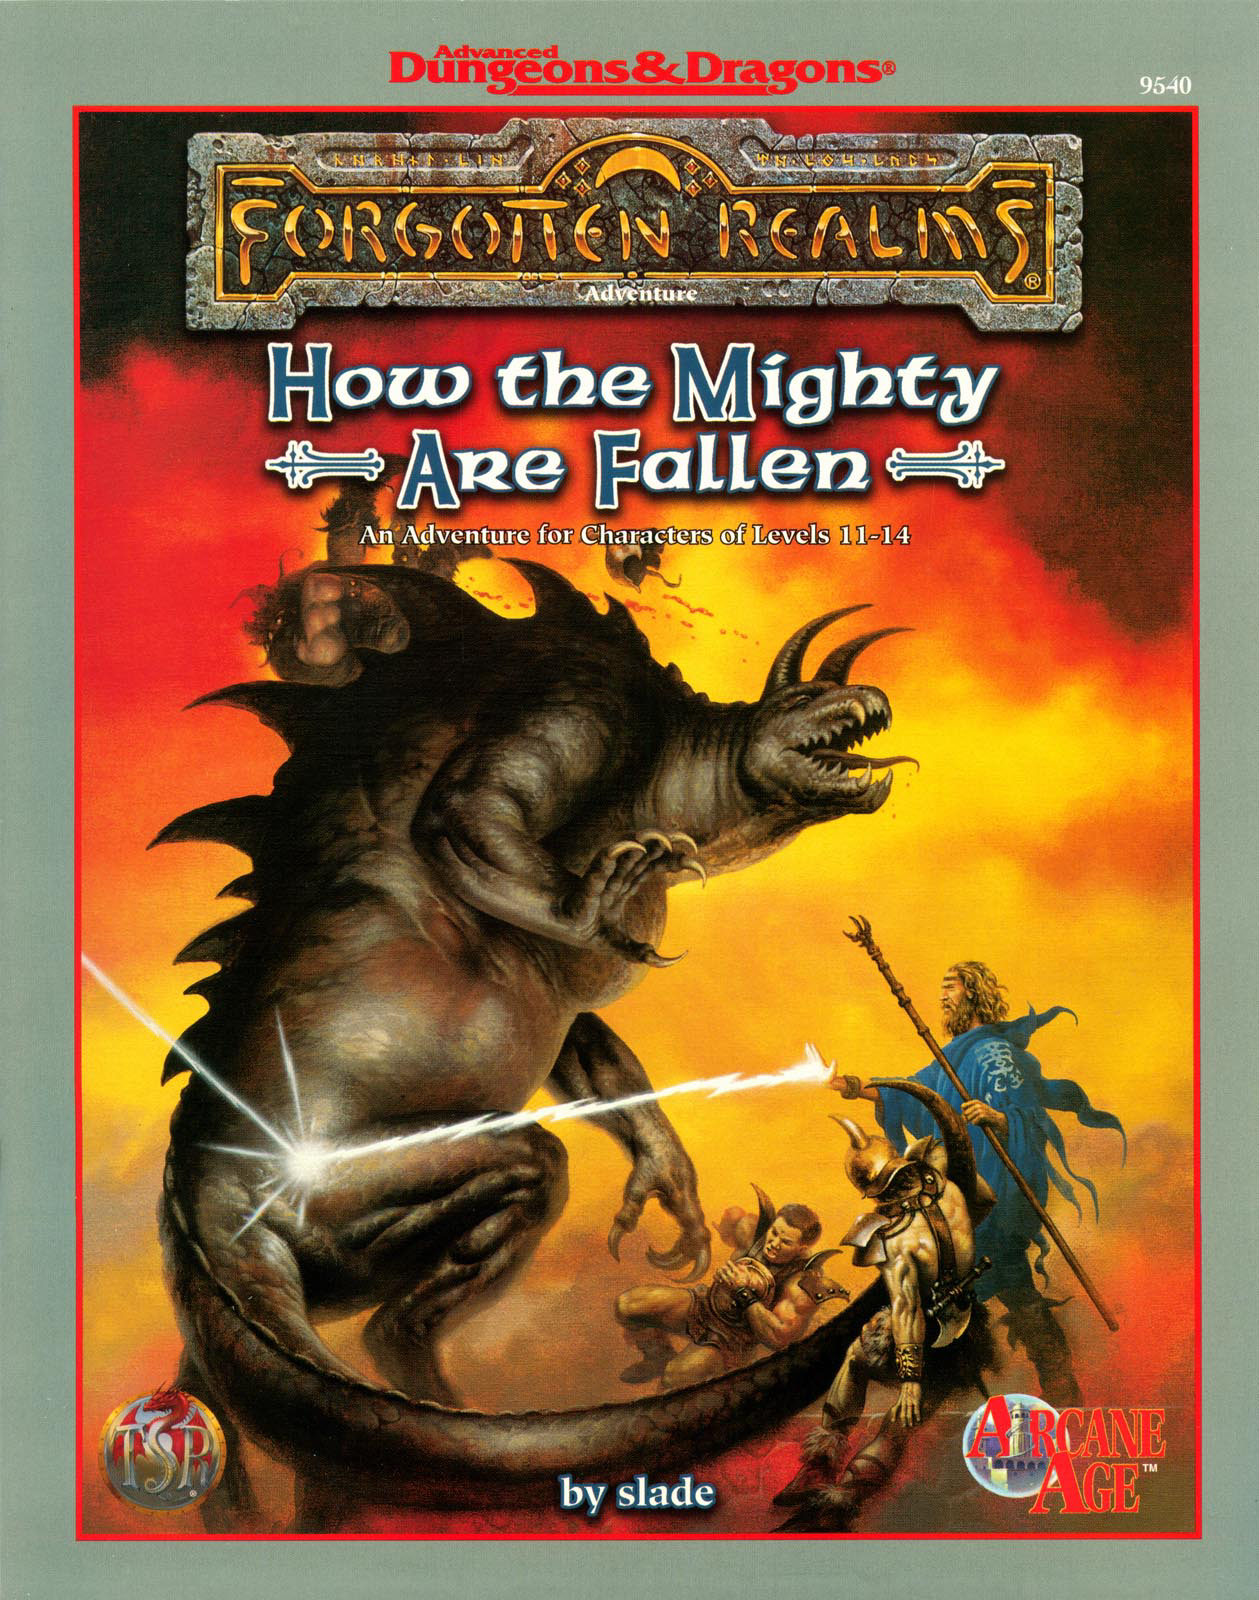
As the floating cities of Netheril hover peacefully in the air, the winds of intrigue boil all around them. The phaerimm continue to plot the downfall of the Netherese even as Karsus prepares for the casting of his greatest spell. Undead walk the land, driving orcs and humans before them. And somewhere below the greatest nation of Faerûn, the Tarrasque awakens from a long slumber. How the Mighty Are Fallen, is an adventure designed for use with the Netheril: Empire of magic boxed campaign setting (which is required to play this adventure). Within these pages, the final heroes of Netheril can : Gather the spell components, that Karsus requires for casting his "most wondrous" spell, the only 12th level spell ever known. He just needs a few body parts from two creatures - A gold dragon and the Tarrasque. Reuinte lost lovers after they have been separated by death. Nopheu's wife was killed in a magical explosions, and now he's finally saved enough money for her to be resurrected. Certainly a dead body couldn't pose a threat to a band of stalwart heroes?! Follow the winds of fate to wherever Tyche delivers them. Numerous side adventures allow players to take their characters to a variety of different locations. Some heroes might want to follow the trail of the missing nether scrolls, while others might want to join the resistance and fight Karsus and the other archwizards. But only the bravest hearts can take the first step... TSR 9540

The frost giants of the Ice Mountains have long held to the belief that a great Jarl will one day step forward to unite the families as Konung (king). With the Ordning shattered, Jarl Ryndölg believes that if he can locate Hartkiller’s Horn, a legendary artifact among giant-kind, he could be the one. He may very well have found what he is looking for. A great clarion call has echoed across the Hartsvale for two days, and the giants are all marching north, has Ryndölg done just that? A Four-Hour Adventure for 5th-10th Level Characters This adventure consists of three Parts, as follows: Part 1. The adventure begins with the characters having already arrived in Stagwick (whether sent by their faction or by their own, individual search for adventure and wealth) and have been briefed before preparing for an important journey to the north Part 2. From Stagwick, the players discover their guide has been killed and must make their way through the deadly cold fingers of the Ice Spires alone—either by skill or luck. Part 3. Once at Ise Festing, the group discovers it’s been inhabited by a troupe of Shatterblood Ogres whom they must defeat to gain access to the redoubt’s observation deck.

This adventure takes place in the Moonsea of Faerûn. The players have been brought to Melvaunt to search for the missing scions of the city's great families. To the north, in Thar the orc tribes converge on the ruined fortress of Xul-Jarak, flocking to the banner of a charismatic warlord. There, he intends to sacrifice the scions of the great families of Melvaunt in a bloodritual to Gruumsh. The players will escape Melvaunt, search along the wilderness of Thar for the Fortress of Xul-Jarak, and then explore the dungeons of the ruined fortress and hopefully rescue the scions before they are sacrificed. There also is a Web Enhancement by Eric Cagle on the archives of wizards of the coast's website designed to scale the adventure to level 8. For example, it replaces the Owlbear with a Tyrannosaurus. This is an easy to scale adventure with much of the player's difficulty coming from intelligently avoiding problems, choosing how to approach each floor in the most tactical way, and quickly adjusting when something goes wrong. The adventure has sidebars including common orc battle cries (In Orc!), ready to use orc names, weather and random encounter table in Thar, a description of what happens if the party fails or partially succeeds, and suggested minis for each of the encounters. There is even an extended description of the bloodspear ritual, an event the party is not meant to encounter in a normal run. The appendix is detailed for all the humanoid characters including the scions and their equipment, the named villains, and variety of unnamed orcs the party will encounter. The fortress also offers an opportunity to introduce the players to the Underdark and the Zhentil Keep. There is a passage to the Underdark the players can accidentally explore, and return to later. Emissaries from Zhentil Keep have come to watch the ritual and have their own motivations. These npcs provide an opportunity for exposition and role playing at a point which otherwise might be combat heavy, acting as a valve for the first floor - helping or hurting the party with subtle magic should the difficulty be off.

An Introductory Adventure for Storm King's Thunder. As evening approaches, you spot a wooden signpost next to a trail that heads north into the hills. Nailed to the post are three arrow-shaped signs. The two marked “Waterdeep” and “Daggerford” follow the High Road but point in opposite directions. The third, marked “Nightstone,” beckons you to follow the trail. If memory serves, Nightstone is roughly ten miles up the trail. This is Chapter 1 of the greater story available for free on the Dungeon Master's Guild.

The PCs answer a call for heroes by the Church of Traladara, asking for help in finding an ancient relic- the Shield of Halav. This is located in a lost temple, and the PCs must locate this temple, and brave its dangers to recover the shield before two competing teams from other churches find it first. Part one involves setting up the adventure, doing research, following clues, and discovering the site of the lost temple. Part two; once the site is known (ruins under a modern town) the heroes must travel there and find the entrance. Part three is braving the lost temple, filled with traps, puzzles, and other dangers, to find the missing shield, and then culminating in a climatic showdown with the completing teams.